It has been a while since the last Tamiya DF03 “Can It Compete” article. In this chapter we will be going over the mods and upgrades that we have done to the car.
First up are tires… We can not race the car on the stock tires and expect to do well, so some new rubber was in store. This car will be ran on Redneck RC’s indoor offroad. It is a mixture of top soil and clay that has pretty good grip. I decided to go with what works on other cars. A pair of Jconcepts Bar Codes for the front in the soft flavor and for the rear I went with Proline’s Suburbs in super soft.
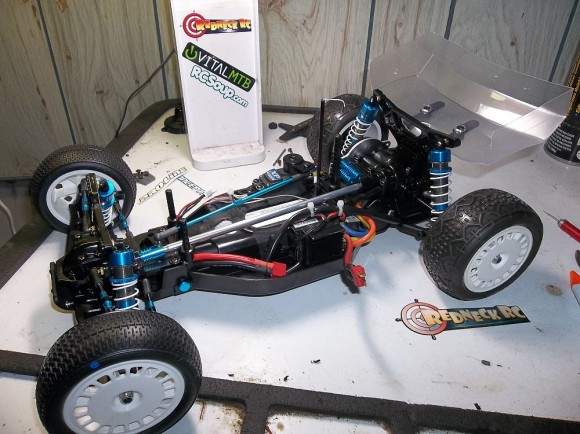
Here you can see the new rubber mounted up to the stock wheels.
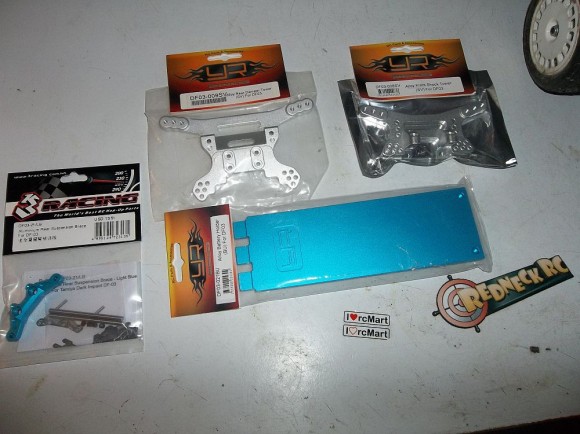
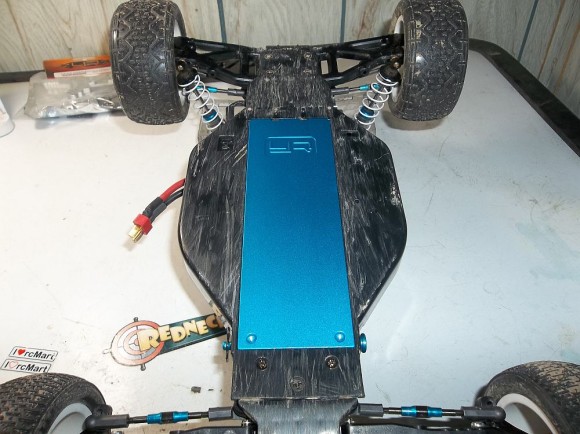
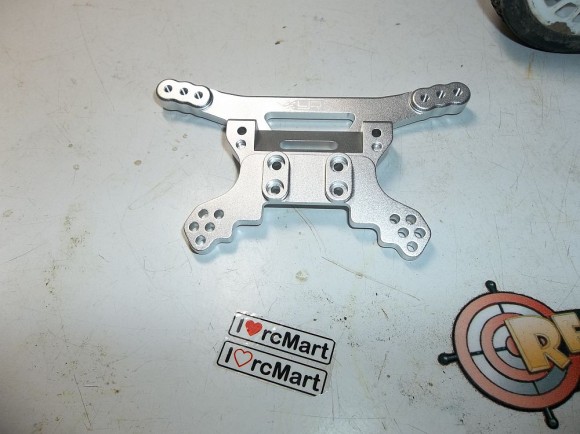
Next up is a pile of aluminum goodness sponsored by RCMART. We have shock towers and a aluminum battery cover from YEAH RACING as well as a rear hinge pin brace from 3Racing. The stock towers flex like mad so these new aluminum ones should fix that problem. The battery cover stiffens the chassis. The hinge pin brace keeps ya from ripping the rear pins out.
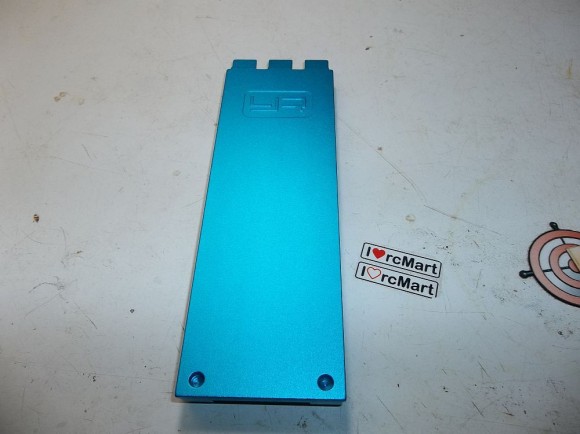
The Yeah Racing battery cover is nicely machined and comes in a brilliant blue color.
Look at that. You know you like it
Up next is the Yeah Racing rear tower. It is nicely made and very stout.
Take off the rear plastic tower…
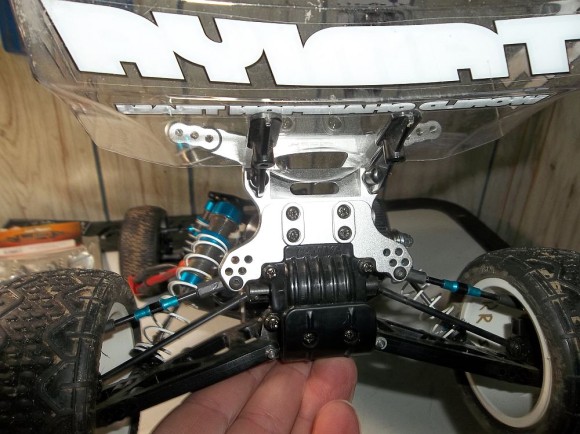
and BAM!! put on the new aluminum tower. Looks nice.
So having the rear of the car in hand I decided to put on the 3Racing rear hinge pin brace. This piece comes with new hinge pins that are held in by set screw.
Remove the rear bumper..
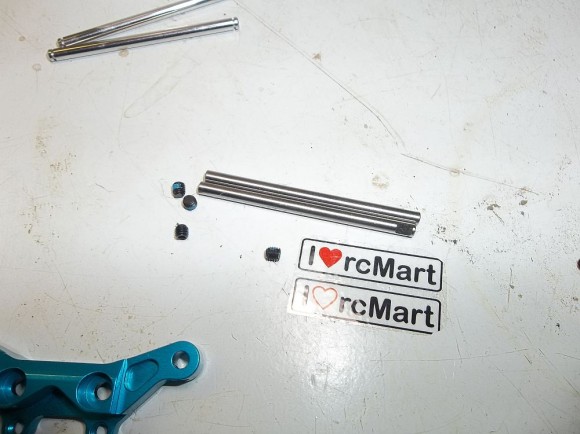
Organize your parts that are going to be put on..
Notice the groove for the set screw in the hinge pin. Make sure this is in the correct spot.
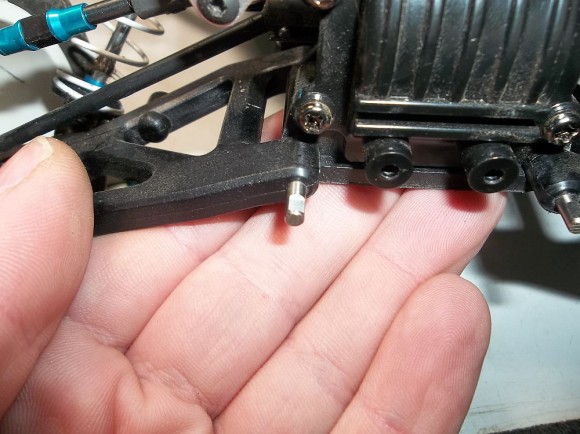
Take the rear brace and screw it on. Add the set screws in the threaded hole provided making sure set screw seats into groove on the pin and you are done.
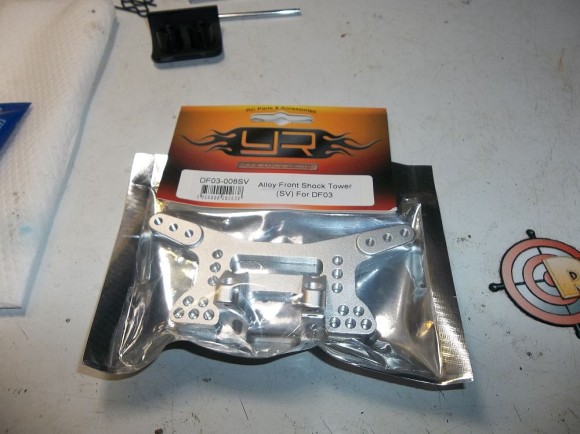
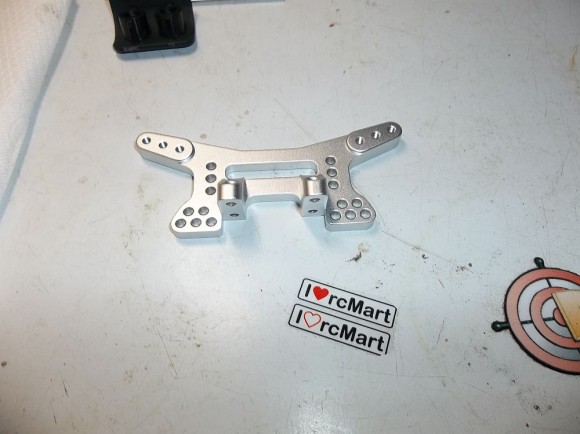
Time for the front tower.
Again, a nicely made piece.
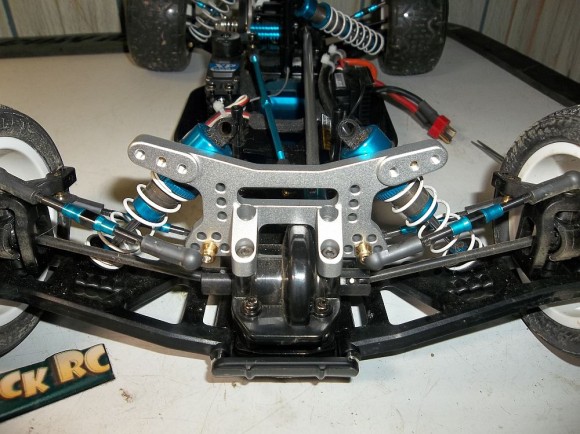
Very simple to install and looks good. Bling Bling.
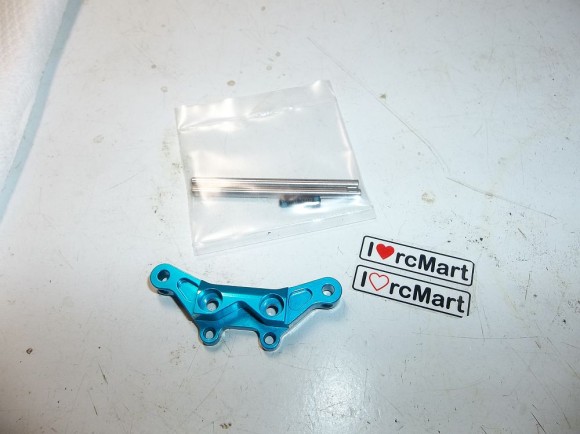
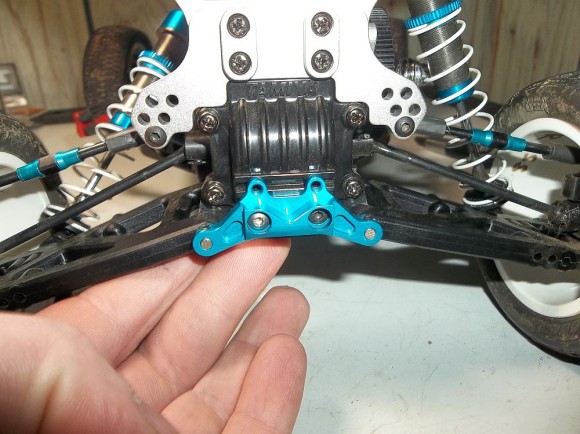
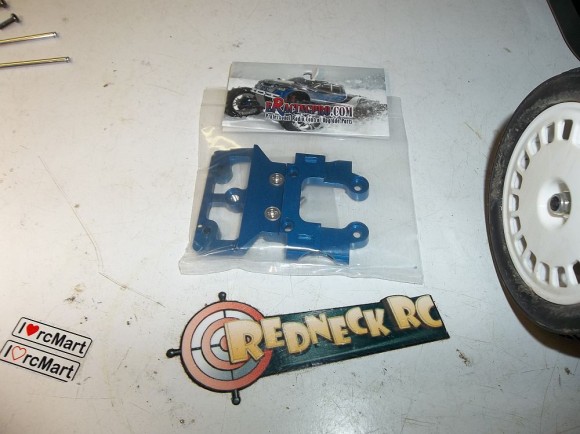
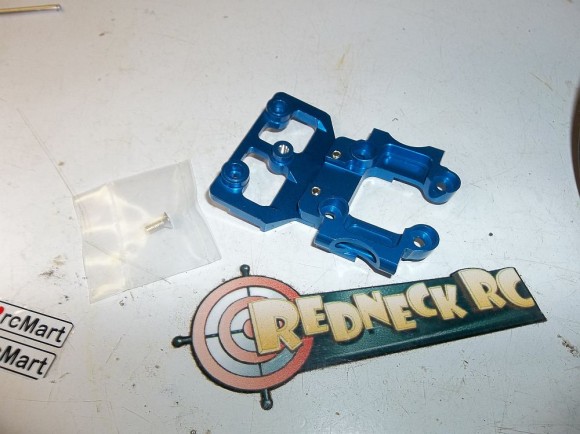
Now this piece was recommended by people on the forums. It is a bottom gear box mount for the front of the car made by Eracing.
It is a two piece design and has a small kick up in it to match the stock unit.
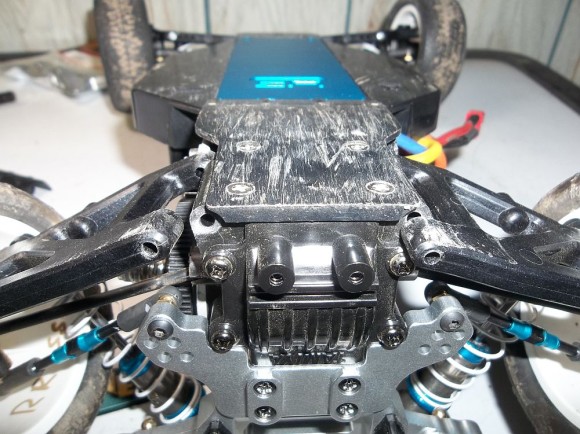
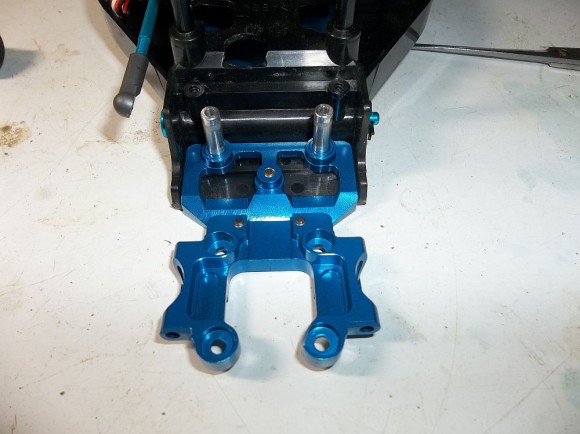
Here you see it partially installed. The two top tubes are the steering post.
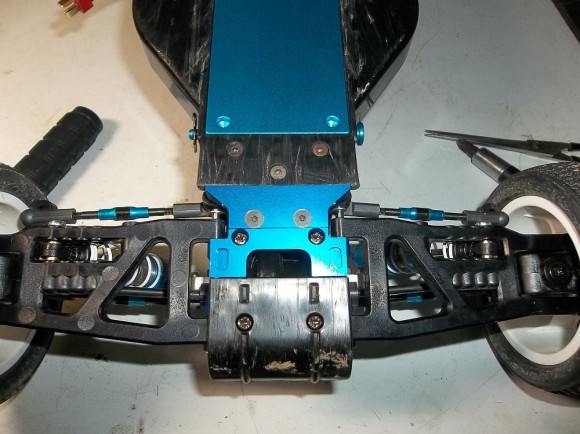
After adding the rest of the parts it is on the car. Very easy to install.
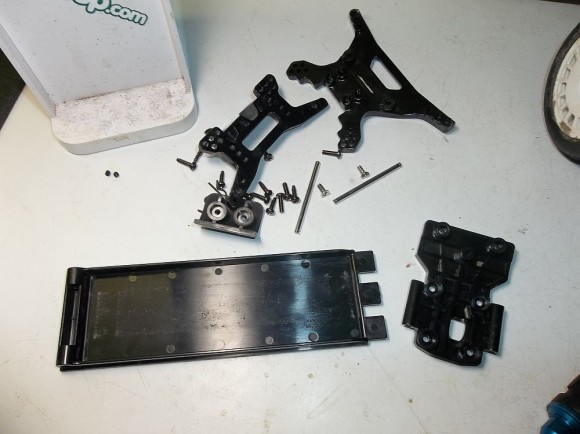
Here is a shot of some of the parts we took off the car.
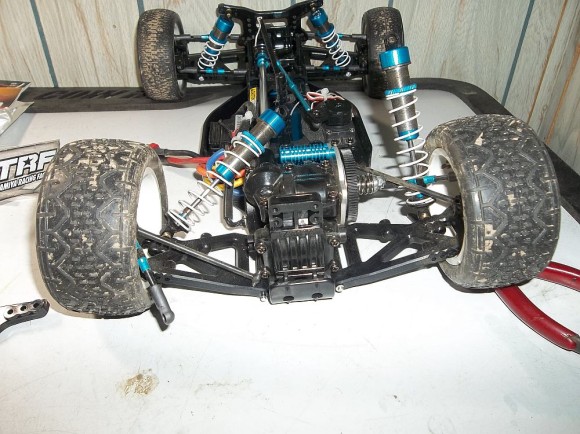
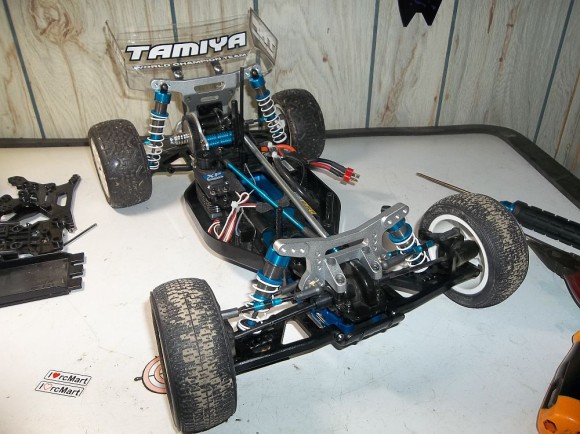
And a shot of the car with the hop ups installed.
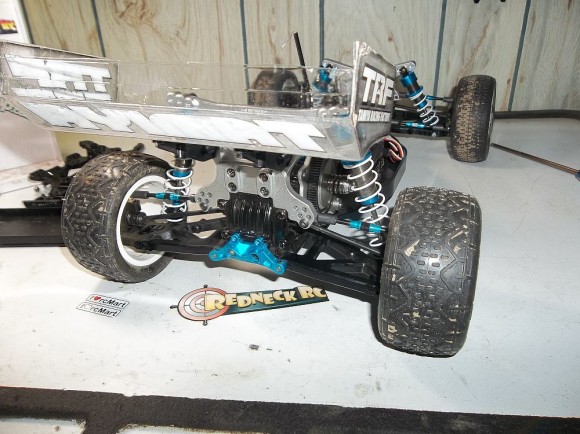
A look from the rear.
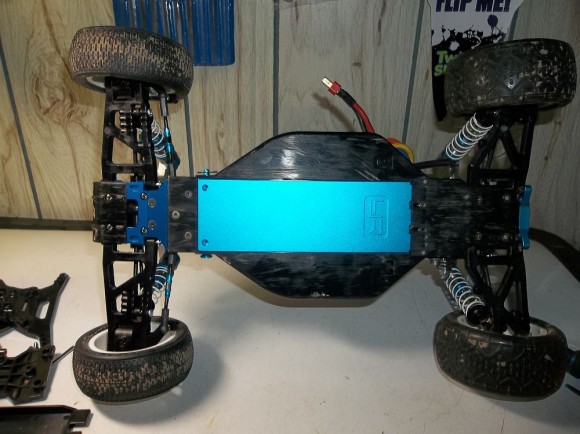
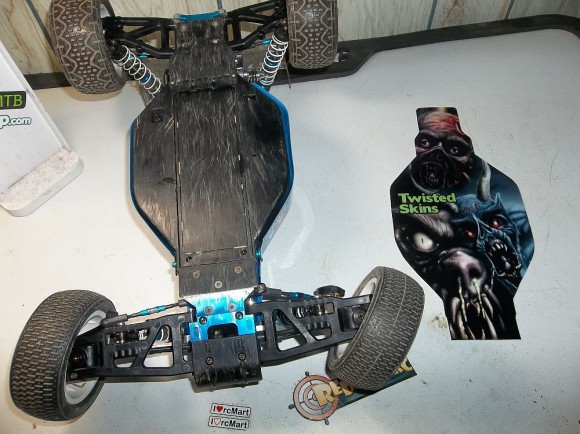
A bottom view.
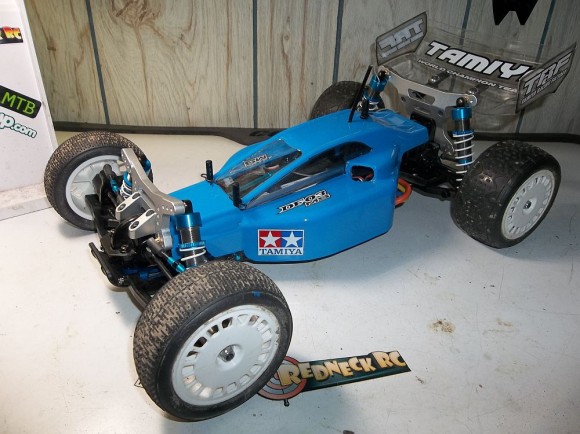
A nice pic with the body on. (yes the tires are dirty, we had to do some testing 
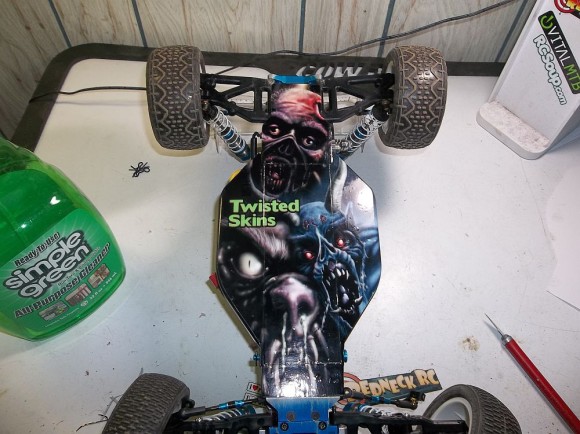
Whats this?? A TWISTEDSKIN?? For those of you that might not know I am a artist by trade. About a year ago I decided to start bringing the two things that I love together. Art and racing. So I started making skins for rc chassis. Check out my Facebook page here: https://www.facebook.com/TwistedSkins
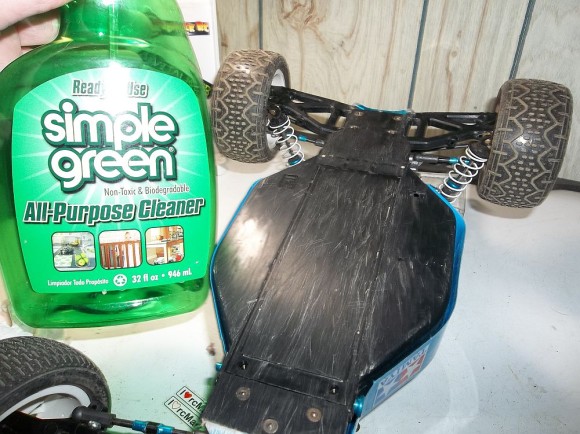
To apply the skin you 1st want to clean the chassis very well. I either use alcohol or Simple Green.
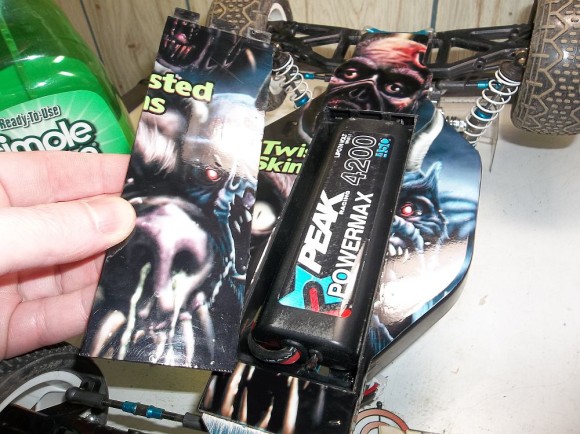
Once the skin is applied to the chassis some slight trimming might be needed. For the DF03 the battery door needed to be cut out.
A nice clean cut.
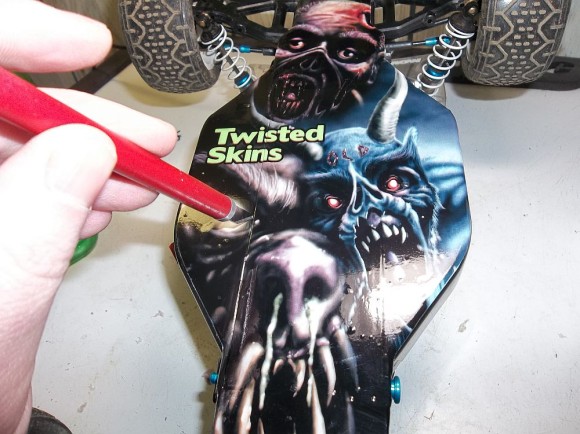
Here is the skin applied. Looks pretty good if i do say so myself.
Well that will conclude this chapter for the DF03 mods. Keep an eye out for the next installment “Can It Compete!”


 June 27th, 2014
  Geo
Geo 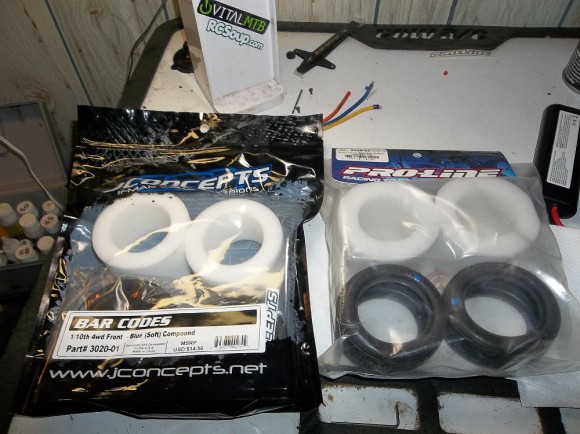

 Posted in
  Tags:
Tags: