There’s nothing quite as awesome in this hobby to me as a Tamiya Monster Truck. You’ve seen us build a few in the past including a super-over-the-top Modified Clodbuster as well as a Stock Super Clodbuster. This time around we are tackling their other solid axle beast, the Tamiya TXT2 Agrios. This truck features dual motors on a single center gearbox and shaft driven axles (whereas the Clod is dual MOA (Motor on Axle)). It is a progression of the older Tamiya Juggernaut and TXT-1 platforms.
This truck is special in that it features a realistic style chassis design with it’s molded tube frame and aluminum chassis panels. Tamiya stepped away a little bit from their normal fashion with this truck, opting for smaller tires and a racier short course styled body. From my observation it’s yielded mixed responses from the Monster Truck crowd. I do think the tires in this kit don’t suit the size of it. I believe I will be doing a followup article after this initial build where we install some proper rubber on this hoss.
The following is a step by step build progression of this truck. You can follow along as we build the vehicle from start to finish or jump around the pages to see any key areas you may be interested in.
Our build up includes the following components:
Kit: Tamiya TXT-2 Agrios
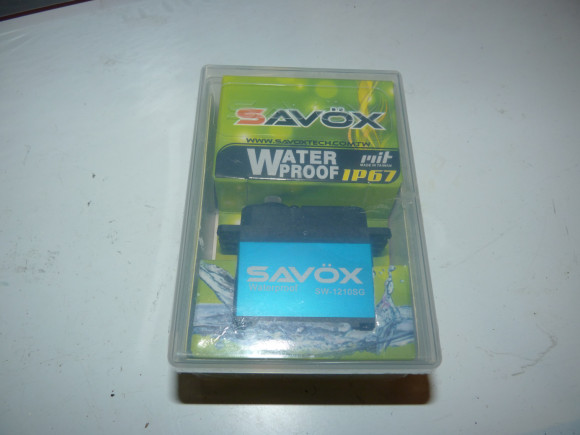
Servo: Savox SW-1210SG Waterproof servo
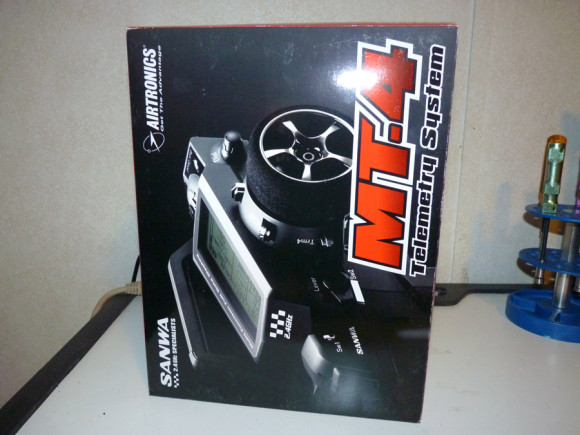
Radio: Airtronics MT4 Telemetry 2.4ghz radio
ESC: Castle Creations Mamba Max Pro w/ 10A BEC
Motors: Stock silver can (included in kit)
The radio we’ll be using; Airtronics/Sanwa MT-4. I’m excited to try this one out.
Close up of the Savox waterproof servo. With close to 300oz in torque, this should be plenty strong to steer this truck with authority.
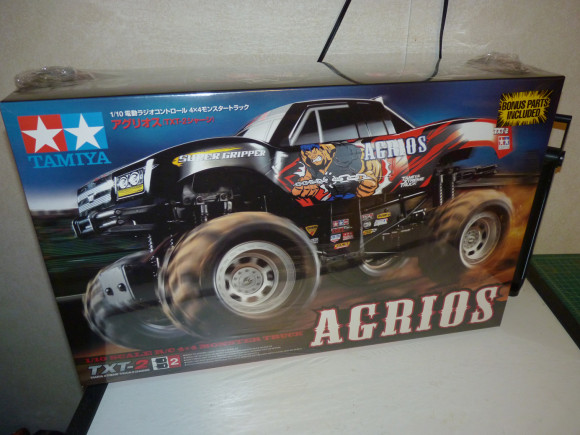
The Tamiya TXT2 Agrios box. Sweet box art as usual from Tamiya. The “Bonus Parts Included” is a complete set of bearings.
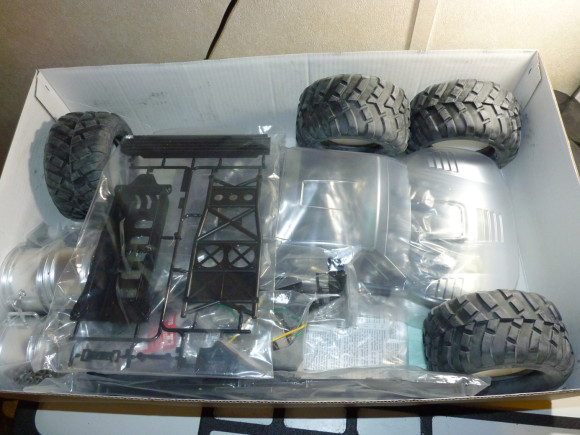
Box contents. Everything is decently packed.
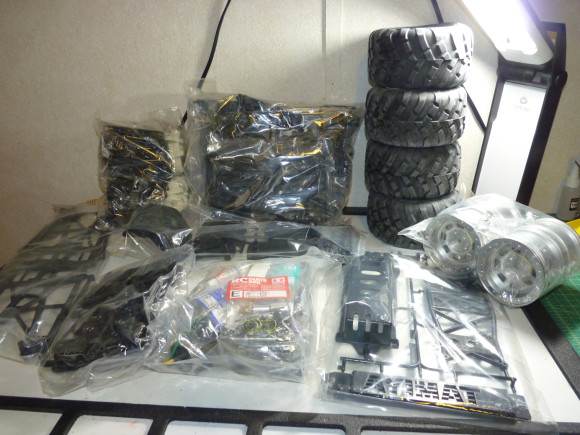
Everything spilled out onto the CowRC Jumbo Work Mat.
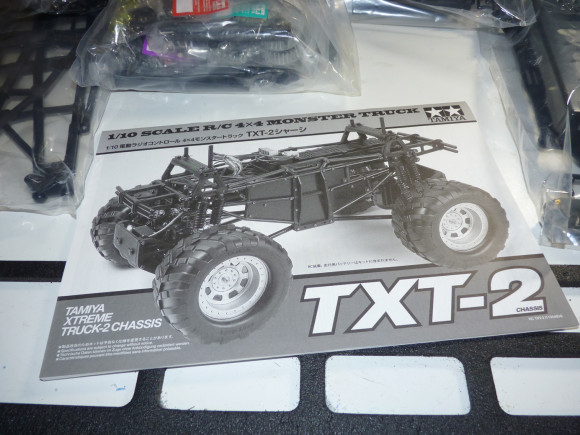
The TXT-2 Manual. (TXT stands for Tamiya Xtreme Truck).
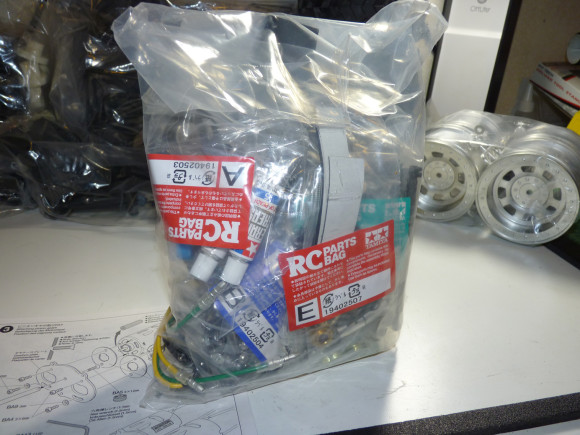
Above is the giant bag of parts bags. In here is all the hardware and other main non-plastic components.
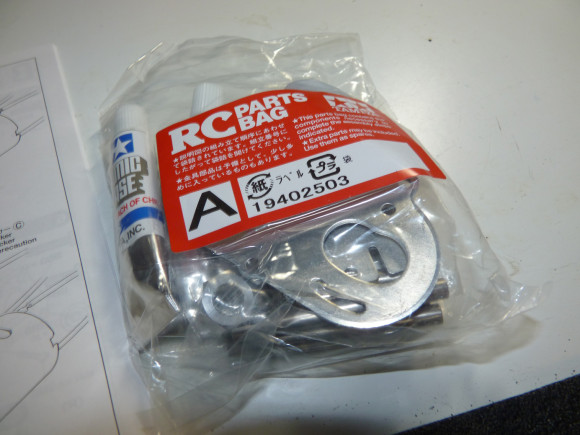
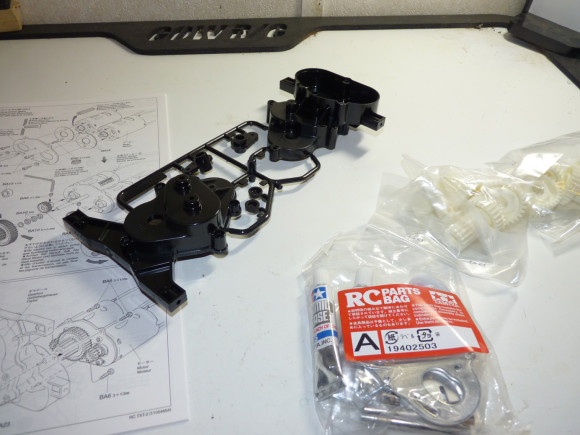
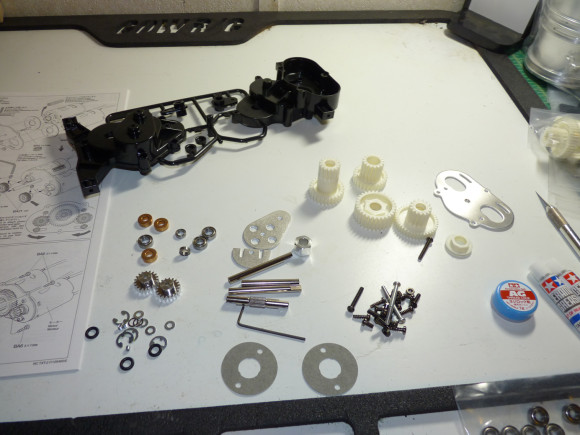
We start with Bag A. This contains parts to build the center transmission.
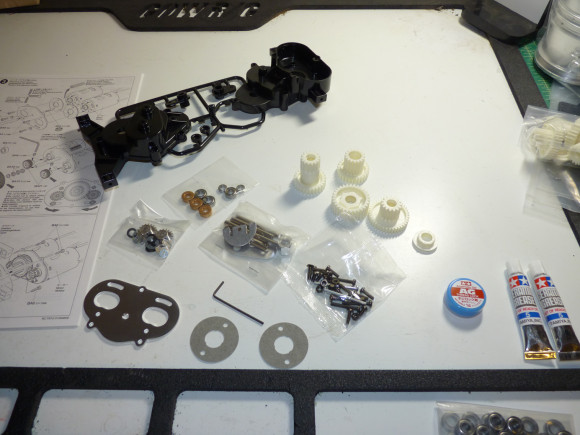
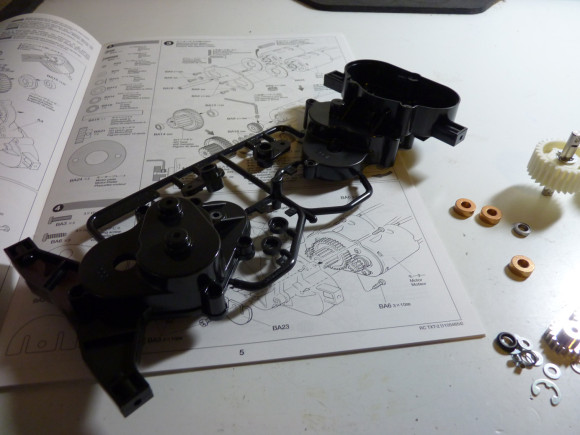
The first thing I always do at every step is sort out the items the manual calls for so I have a neat and organized build.
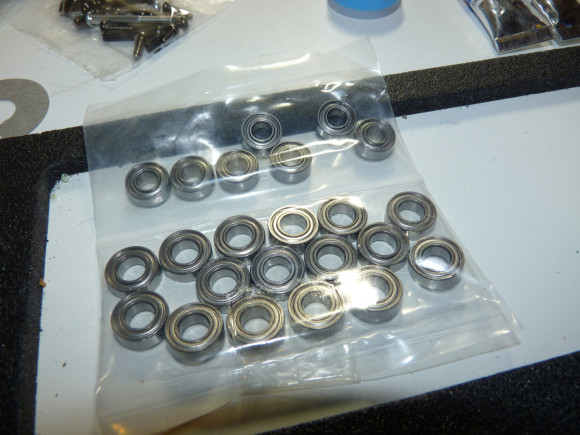
The bearing set included as a bonus with the TXT-2.
Now we’re ready to start building.
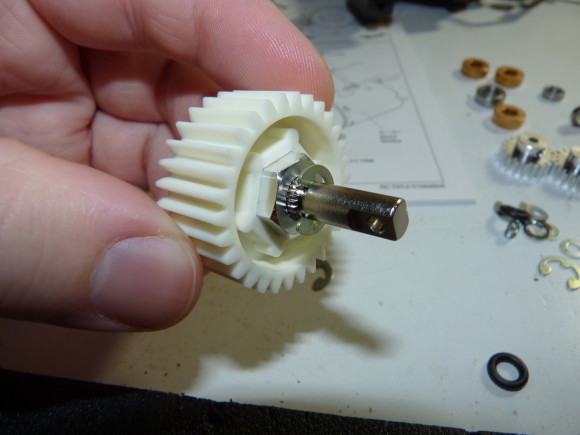
First we’ll start with the inner gear assembly.
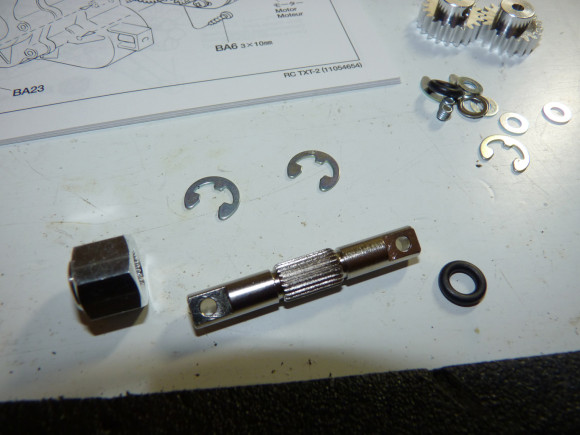
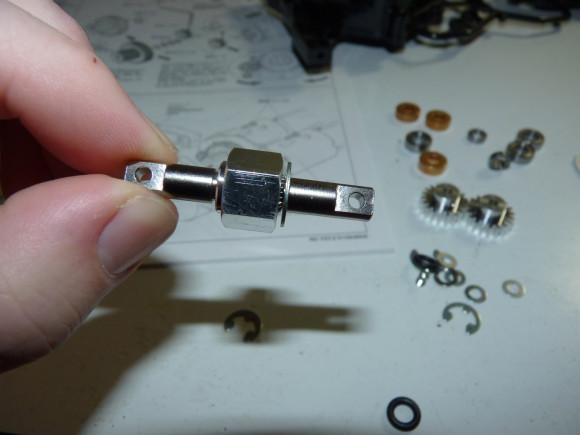
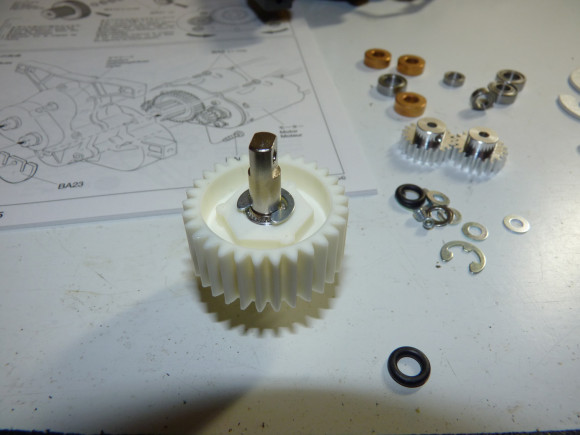
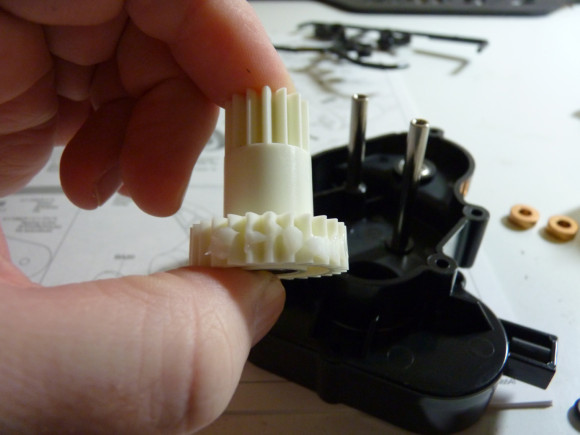
Install the gear hub on the small splined drive shaft and secure with E-clips.
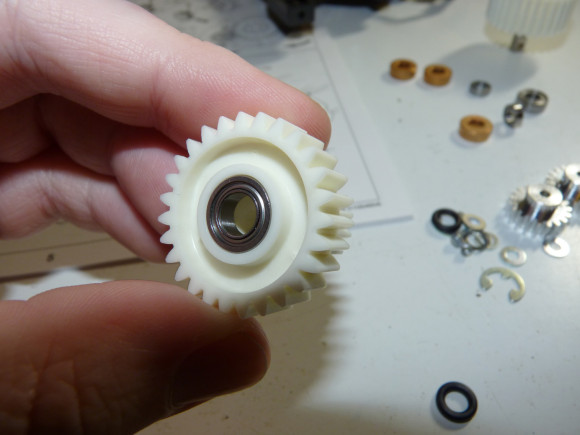
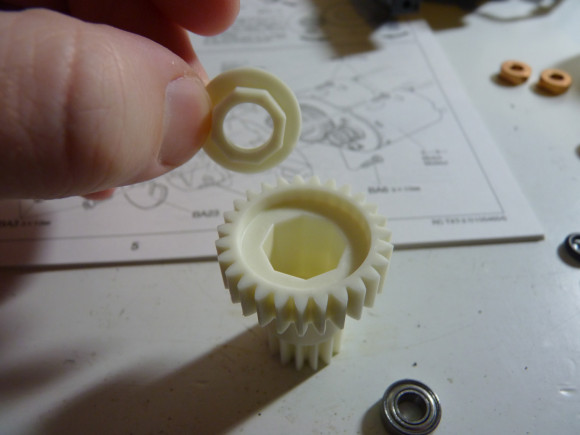
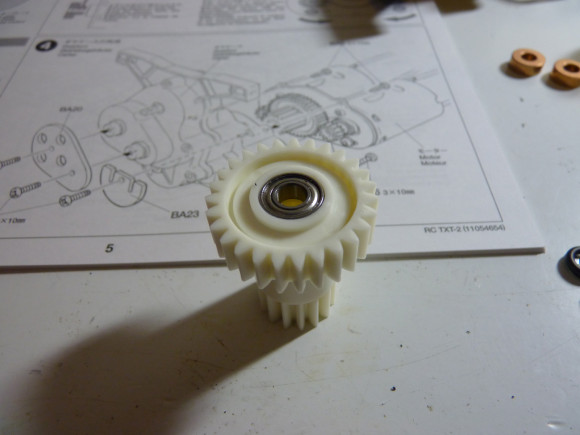
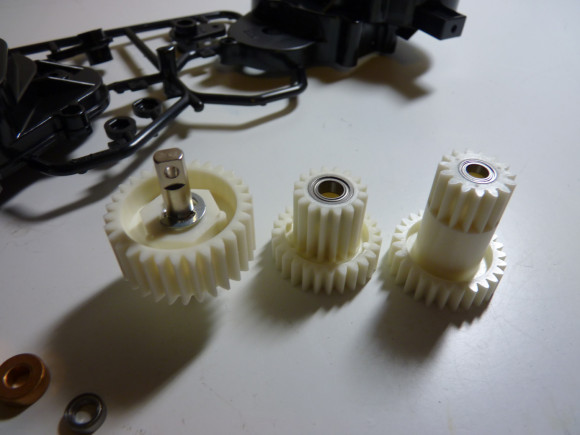
Next we install the bearings. The long gear needs the bearing holder inserted first as shown below.
Now all of our transmission gears have their bearings installed.
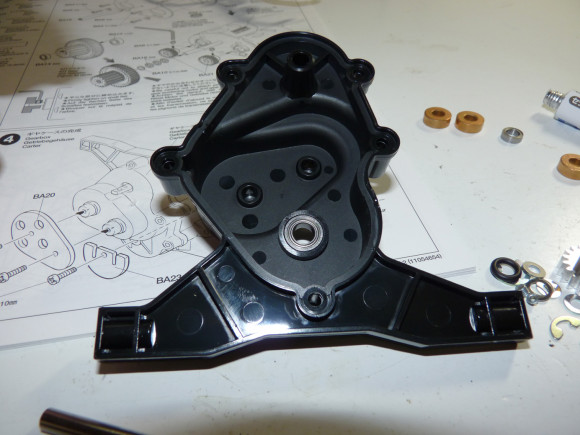
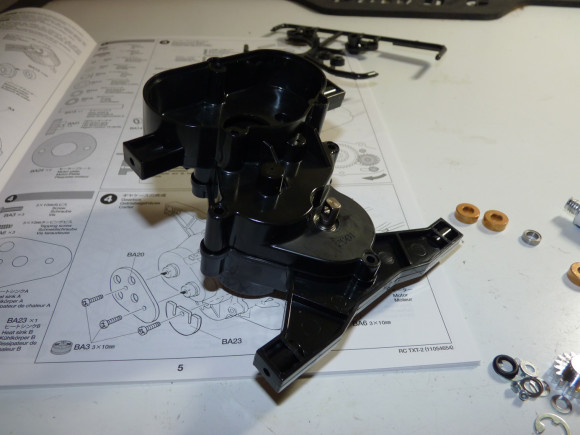
Time to remove the gear box halves from their parts tree.
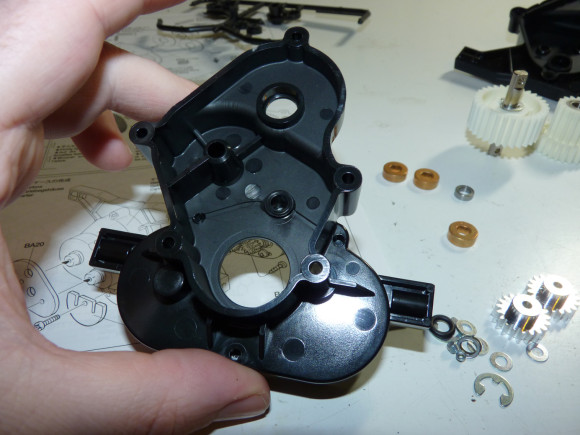
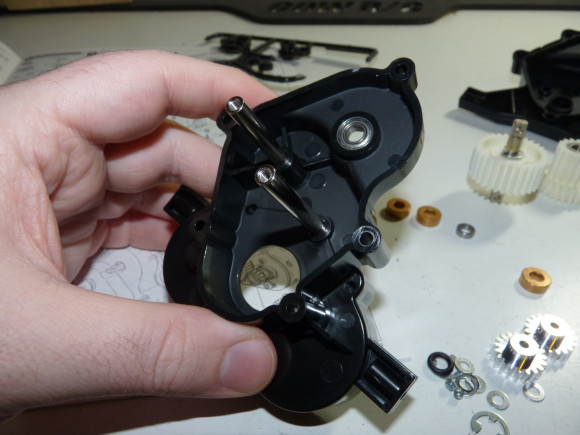
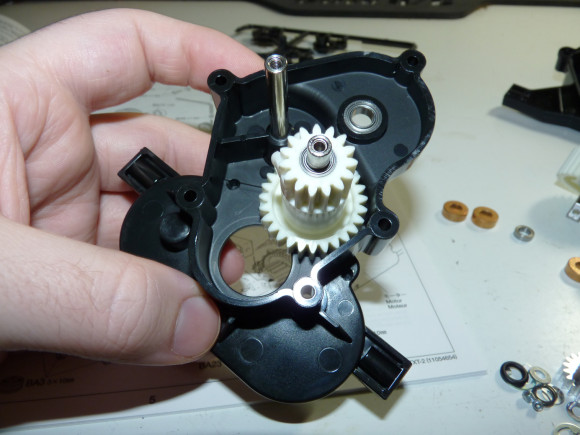
Install the gear shafts and bearings in to the gear case halves.
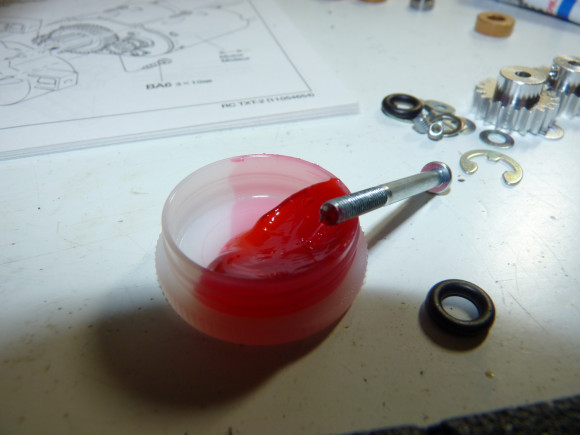
Now we’ll apply some of the included Tamiya grease to the gears for lubrication.
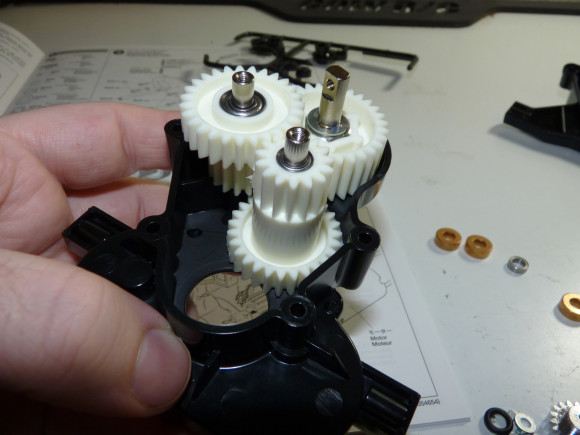
Install gears in the case.
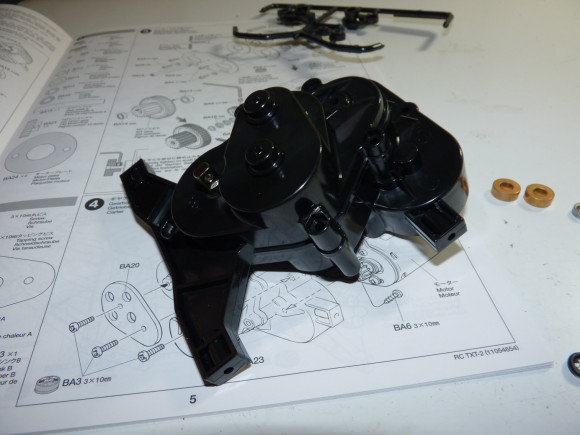
We then install the other half of the case and secure the halves together with 5x m3 screws. They thread into nuts that fit into hex shaped sections of the case half. They are not nylock nuts, so be sure to use some thread lock so they stay tight.
Now we have an assembled center gearbox. That was pretty painless.
Follow along with the page numbers below. Continue onto Page 2.


 February 26th, 2014
  Kevin
Kevin 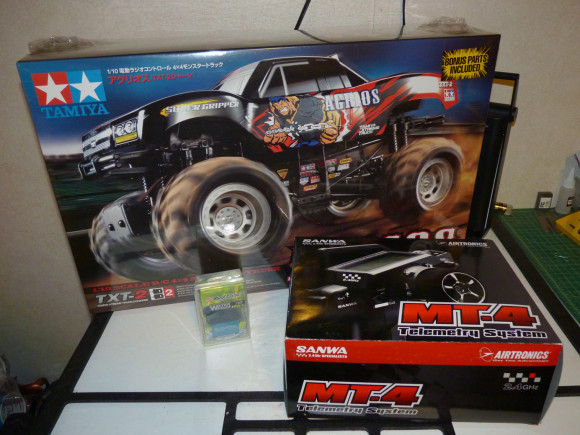
 Posted in
  Tags:
Tags:
[…] night before to switch all my “race” vehicles onto that Airtronics MT-4 we used in the Tamiya TXT2 build up. I didn’t get a lap on either car (or the radio) before the tone went off during my first […]