Back in early December I posted a teaser pic of the Tamiya DF03-MS with a title “Can It Compete?” I finally got around to building it. First off I would like to thank Calvin Hall, owner and operator of REDNECK RC for sponsoring this article series. Calvin at Redneck is one of the best in the biz, and knows what the hobby is about – Having FUN! Something we at RC Soup always try to do with everything we cover. REDNECK HOBBY AND RACEWAY is a premier R/C facility located in Baldwinsville, NY. The fully stocked hobby shop features two tracks, an indoor off road and a carpet oval both of high caliber. They are also planning a ton of cool stuff for outdoor coming this summer. Redneck’s prices are also very low so give them a call or check them out on facebook.
Now the idea of this series of articles is to take a kit that’s out on the market that is not really marketed as a racer, and attempt to race it at a club level. How would it do? Would it be competitive with the B44’s, Schumacher’s and Durango’s? We will soon find out but first we have to build it!
Tamiya is known for their box art and though this isnt like a retro Frog or Grasshopper box I think it is still pretty cool.
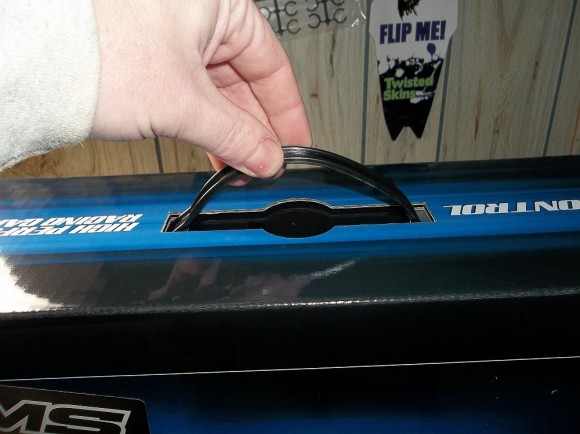
It even has a cool little handle making this box dual purpose.
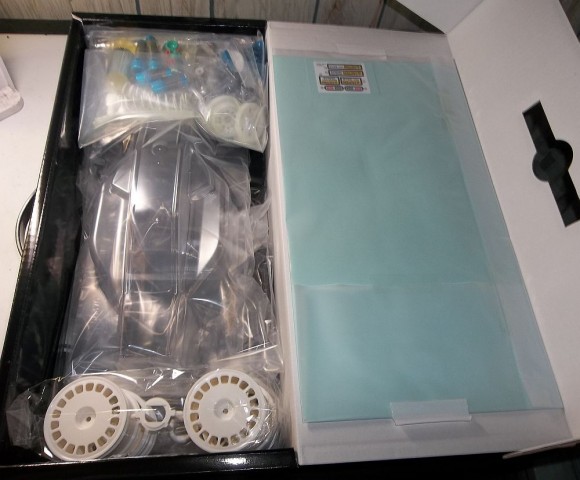
Nicely packed don’t ya think?
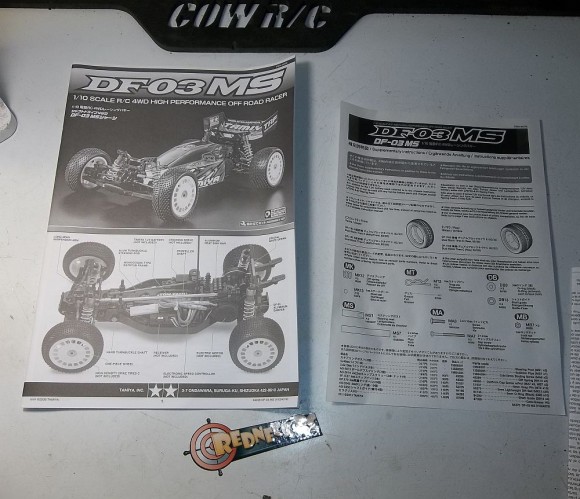
Another thing Tamiya is known for is their instructions. Easy to understand and well detailed.
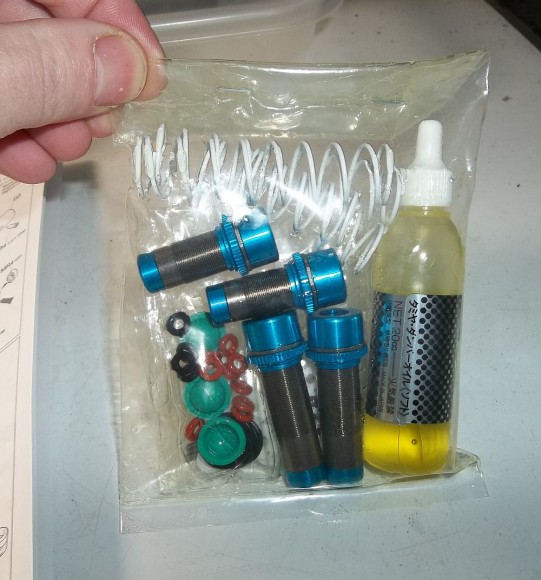
After going through the parts in the box there was one thing I noticed that I wasn’t happy with… The oil for the shocks leaked in the parts bag it was in. I have built many of Tamiya kits and this is the 1st time I have seen anything like this so I do not hold them responsible. It was just one of those things.
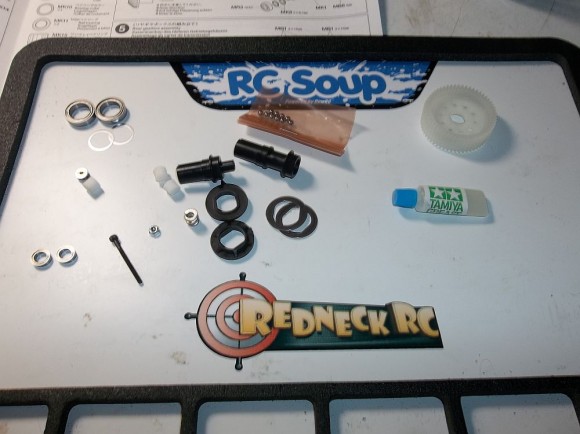
First up to assemble is the rear diff. Here you can see the parts needed for this step.
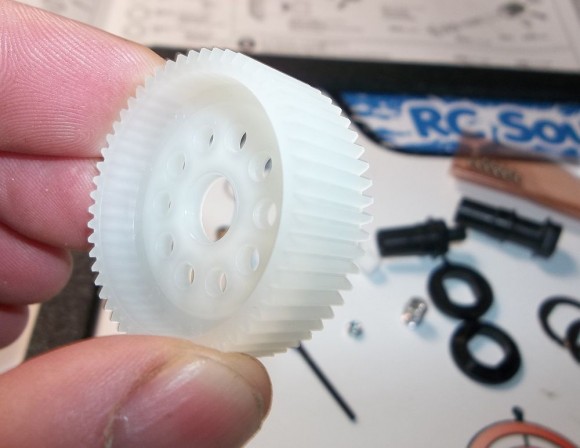
I am not used to seeing this type of plastic in Tamiya kits. I am not sure what type of plastic it is but I sure hope it holds up.
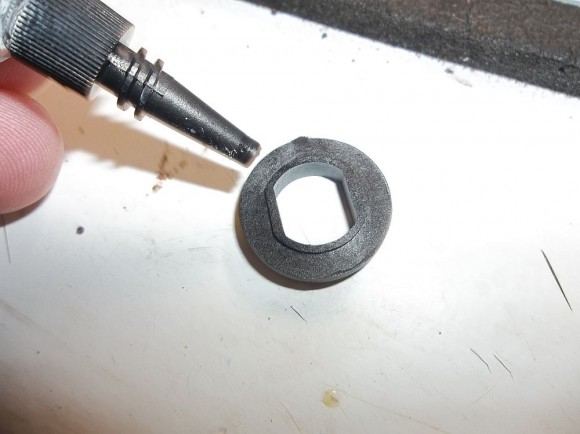
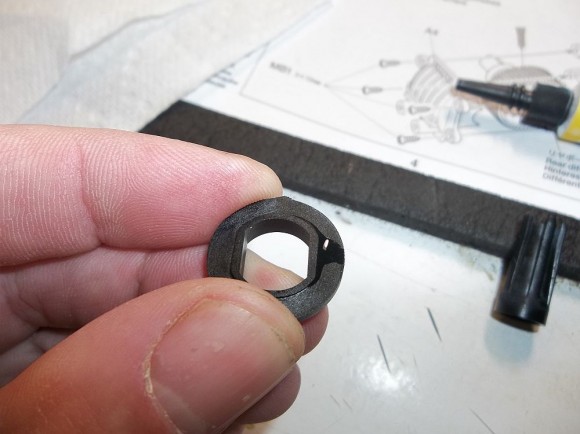
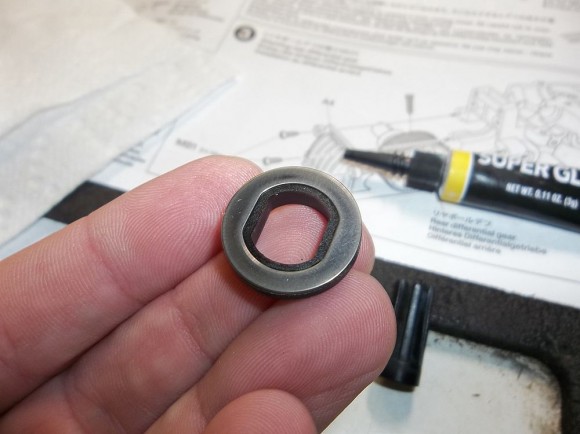
The diff uses plastic seating washers for the diff rings. Take some CA and glue the diff rings to them.
A dab will do ya.
Diff ring installed. A good tip, clean the rings with denatured alcohol for better contact.
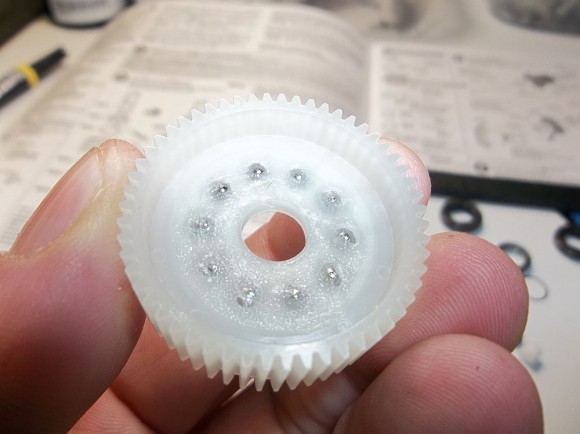
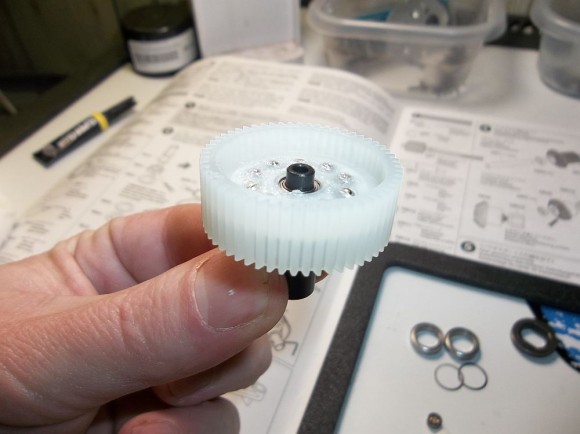
Now we lube up the diff gear with the included ball diff grease and install the balls.
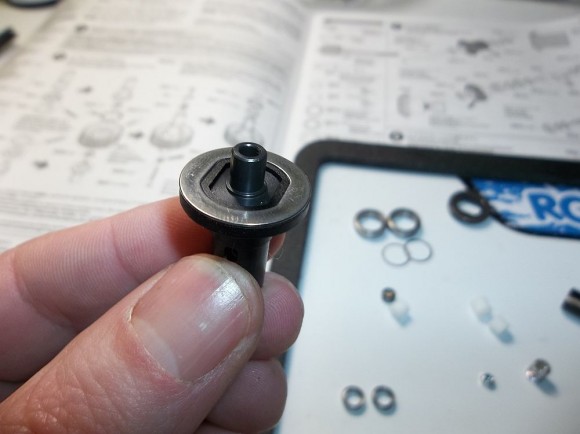
Place the diff ring/diff washer assembly onto the diff outdrive.
Then take the diff gear and balls and place them onto diff outdrive. Also place the small bearing in the center of the diff gear as instructed in the manual.
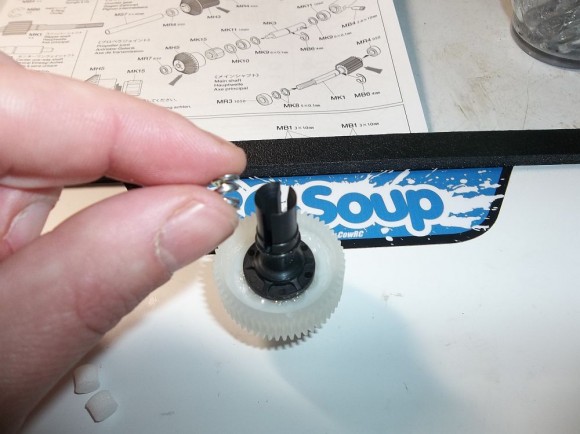
Now slide the other outdrive onto the opposite side of the diff assembly. Then take the diff spring (shown between my fingers) and a pair of needle nose pliers (not shown) and give the spring a nice squeeze. This will set the spring. Now drop it into the outdrive side that is shown in the manual.
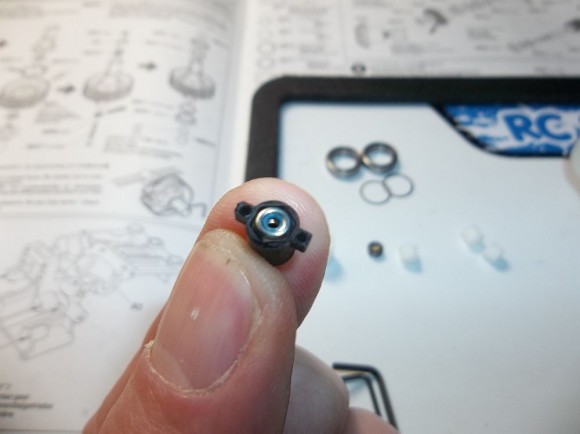
Here is the T nut. This goes in after the spring washer.
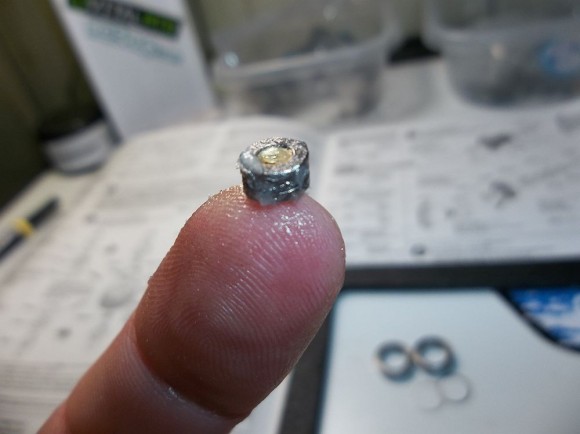
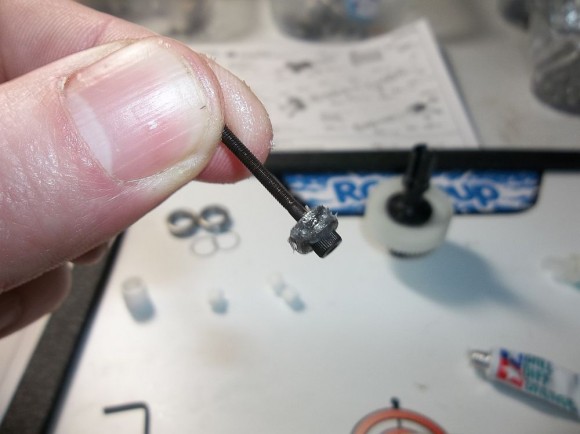
This gooey little piece is a lubed up thrust washer. As you can see here I gave her lots of grease.
Place the thrust washer over the diff bolt. Then slide it into the correct side noted in the instructions and tighten all the way down and back it off till the diff does not slip. Pay attention to this step in the instructions.
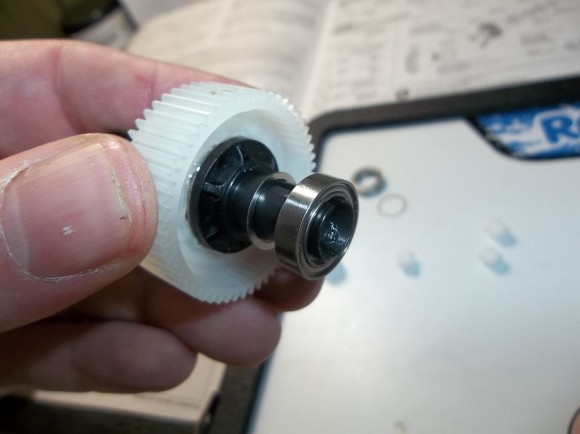
Place a diff shim and then a bearing on both sides of the assembled diff.
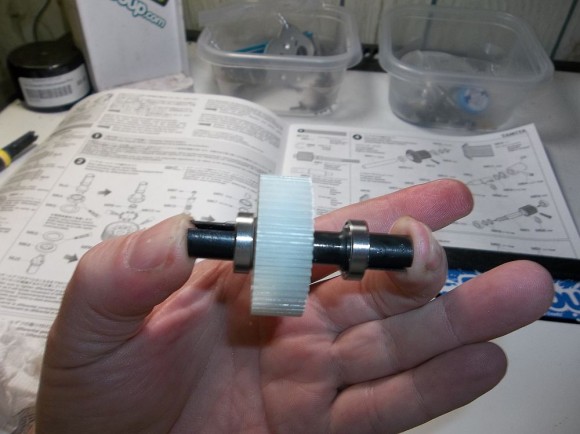
The finished rear diff.
Click the Page numbers below to go to the next page!


 January 24th, 2014
  Geo
Geo 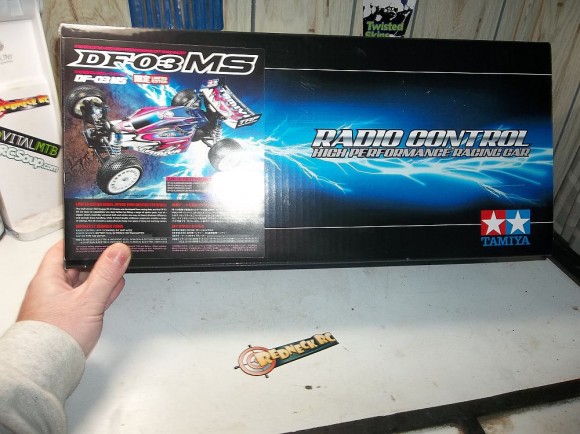
 Posted in
  Tags:
Tags:
I’m looking forward to part 2. I’m a Tamiya fan (because of how much fun they are to build) and would love to see how this matches up with the big guys.
Bin the Tamiya shock oil and use racing quality oil.
plus use green slime when you build those shocks.
You will need Tungsten Carbide balls in that rear dif !!!!