So a few of us were sitting around at the local track bench racing, and the topic of “Can old cars compete with new cars” came up. Of course the most common response is “No way”, or “If the old cars were so good, why are there new ones?”. I was one of the few who thought that an older car could compete in today’s racing world. So I got a hold of Kevin, and said “Let’s do this!”
We need to make a plan. First we needed a car. Kevin said he had a lead on an Associated TC4. It was then that I knew what we needed to do. We would take an older car, give it a makeover, and then see if an older car could indeed compete against the cars of today!
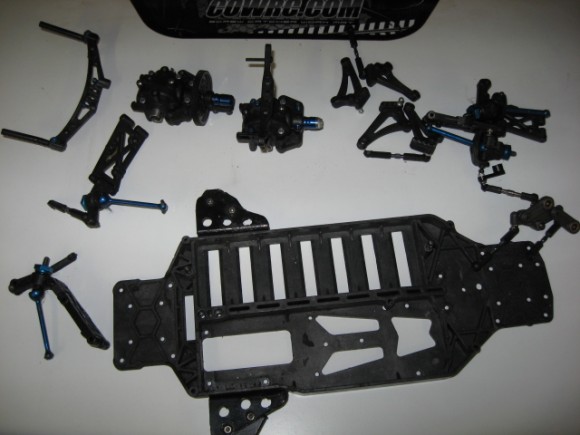
The donor car has arrived! As soon as Kevin showed me the car, I knew I had my work cut out for me. This car has not had a happy life. It had been used and abused, and it appeared that it had a “mish-mash” of assorted hop up parts (some of which did not even go to a TC4!).
Trust me, these pictures do not do justice to how much of a basket case this car was. All of the outdrives were chewed up. The diffs were toast. A lot of the screws were stripped out. There were some handmade parts on it. Time to get to work!
Remember this photo. The next time you see this car assembled it will look VERY different. Let the extreme makeover begin……
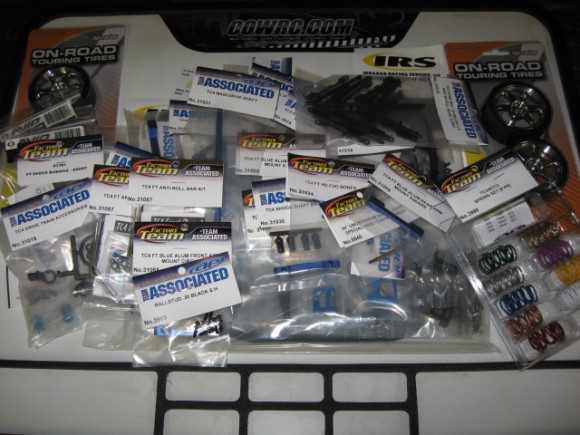
Shopping spree!!! With the Halloween Classic approaching, and with them running the growing USGT class, this is the class than I decided to run the car in. Normally I would not have replaced this many parts, but due to how bad of shape this car was in, I decided to make this car right.
The first thing I did was strip the car. Some of this is staying, but most is going!
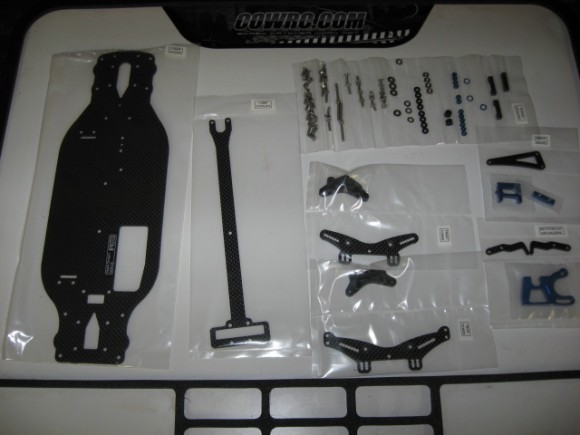
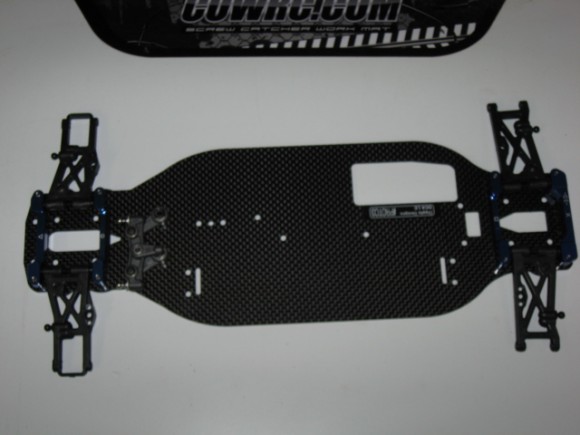
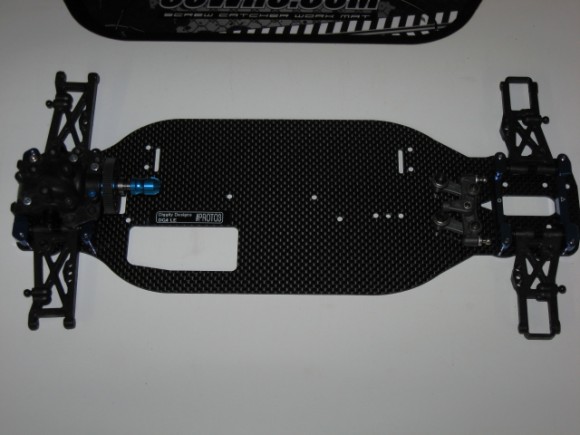
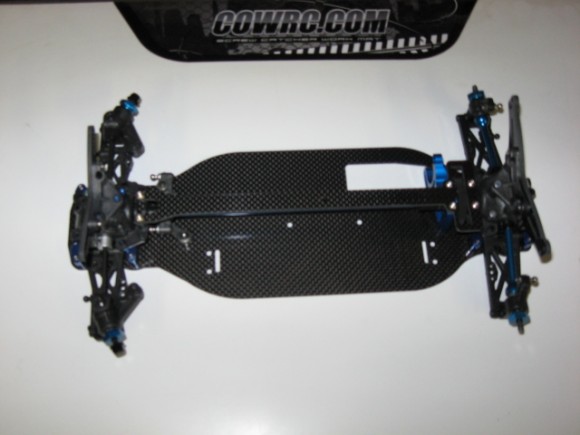
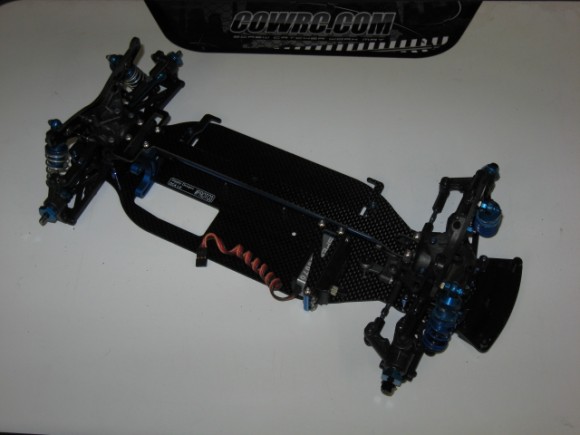
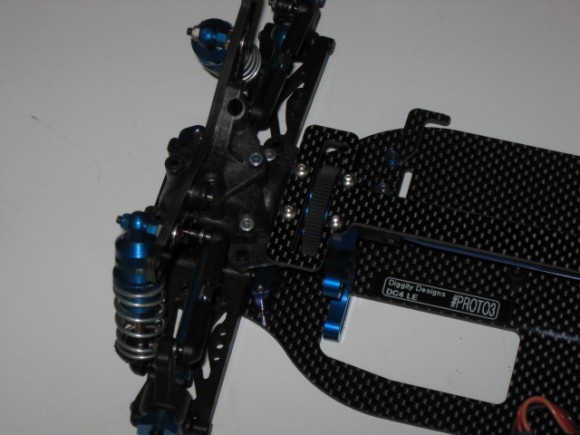
Here is the platform that I will be using. The Diggity Designs DC4 Limitied Edition TC4 Conversion. You get a new chassis designed for use of Lipo batteries and brushless motors, matching top deck, new shock towers, motor mount, floating servo mount and lots of hardware and a set of instructions.
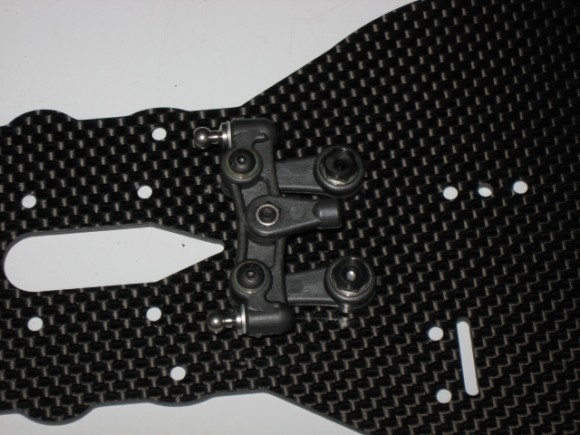
Refurbished steering rack installed onto the new chassis.
Next, A-arms, hinge pins and suspension mounts were installed. Make sure everything is free!
New rear diff in place. In the last few years, gears diffs in the rear have become the standard in touring car. With this car being from 2004, there are no gear diffs available. I rebuilt the ball diff with new balls, rings, outdrives, ring and pinion gears and some fresh Avid Bearings. I also had to replace the diff case as the old one had only one hole that would tighten up, the rest were stripped out, hence the damage to the gears inside.
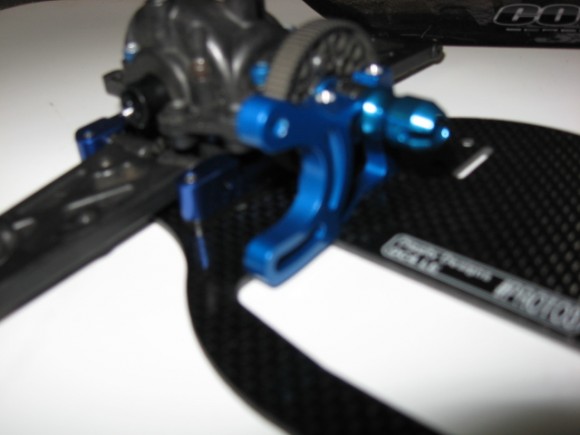
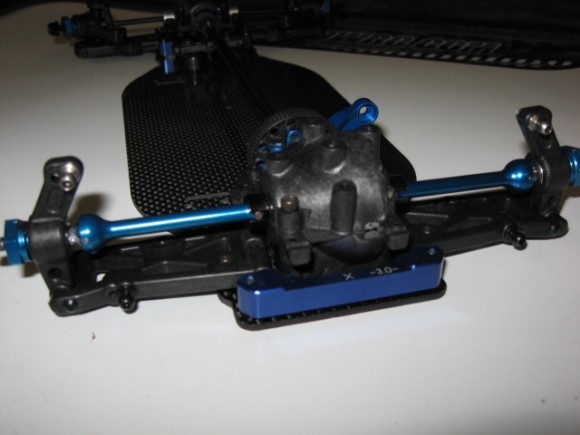
At RC Soup we get you close to the action! You are so close to the new Diggity Designs motor mount that is out of focus! I do have a word of caution here. The blue center drive shaft outdrive pictured here I found on Ebay by searching TC4. It came from overseas. I thought it would be some inexpensive bling. IT DOES NOT FIT CORRECTLY!!! It is too tight on the shaft of the diff pinion and the center drive shaft does not fit in the drive cup. I ended up using a stock Associated plastic one and it fit great. Save yourself the money and headache and skip it.
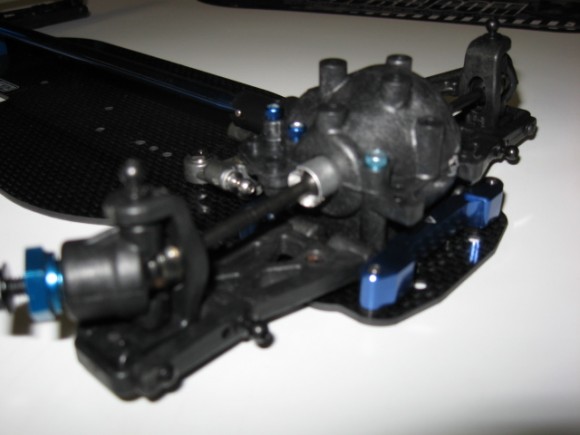
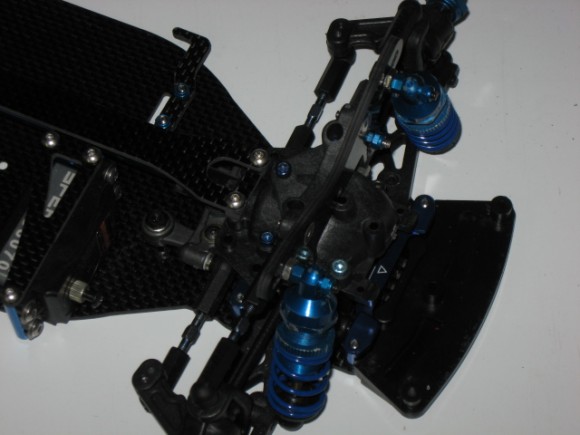
Front spool, diff case, C-Hubs and steering blocks in place. When using a front spool, you need to use a double jointed CVD. This gets rid of the “shakes” when turning than the spool causes. Due to the age of the car, there are not any made for the TC4. However Losi made some for their JRX-S line of cars, and they bolt right in! The part number is LOSA3344 (LCD Driveshaft Set). They are becoming a little tougher to get as Losi has discontinued them, but they are out there.
New rear CVD’s, and rear hubs on. Lots of pretty blue stuff on this ride!
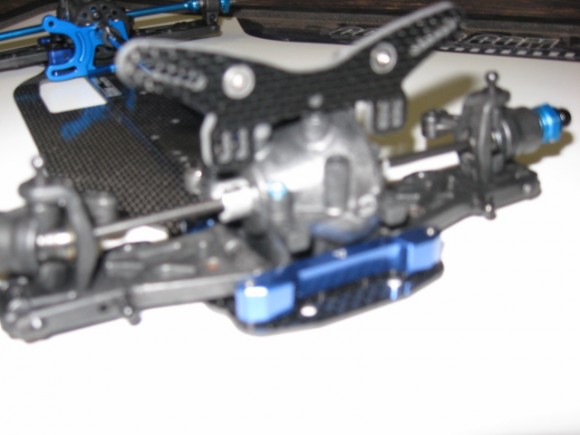 Good thing I can drive, because I suck at taking pictures! Here is the new Diggity Designs rear shock tower bolted in place.
It’s starting to take shape! Center drive shaft, both shock towers and the new top deck in place.
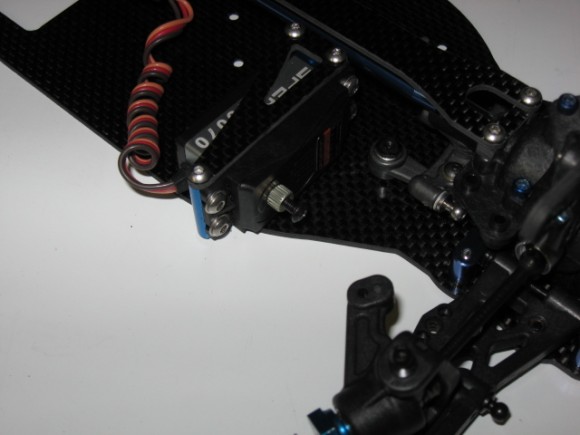
Spektrum 6070 low profile servo mounted to the Diggity Designs “floating” servo mount. A “floating” servo mount is only mounted to the chassis on one side. The outer side of the servo mount “floats” and is not attached to the chassis. This helps eliminate tweaking issues caused by a standard servo mount shifting on the chassis.
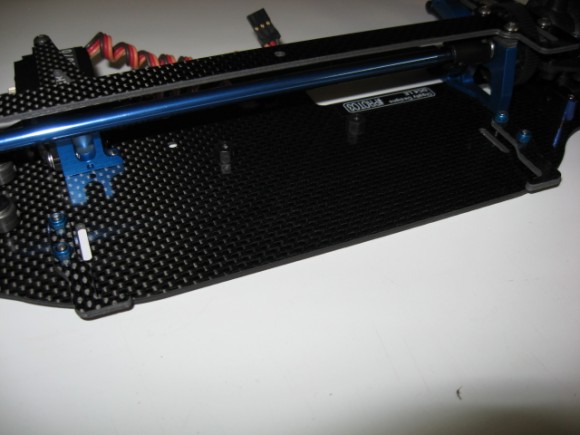
Here are the mounts to keep Lipo batteries in place. They are adjustable so you can move the battery left or right to help balance the chassis.
Tie rods and shocks on. I did not replace the shocks, but I did rebuild them. The shock bodies were pretty scratched up but they did not leak so I kept them.
Close up of the front end. Hey, at least its not blurry!
…….And the rear end.
Next, I put on the sway bars.
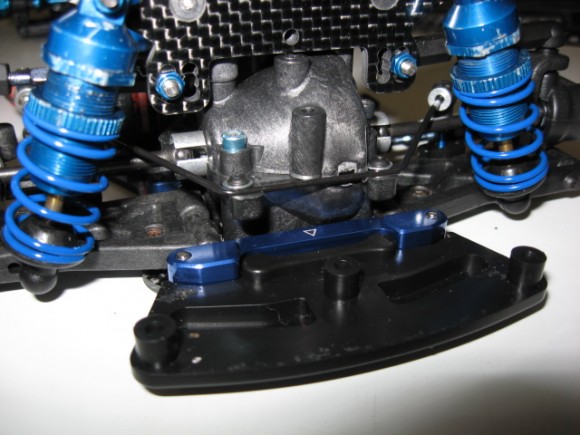
I mounted up a set of HPI X Pattern tires on some dialed chrome rims to get ready for the USGT class. The class requires any treaded tires. In 2014 they will be changing to a spec tire. If this class is of interest to you, make sure to check with your local track to see what rules they are running. Here, I also have the front bumper in place as well.
When using the Losi LCD front driveshafts, make sure you use the included wheel nuts as they are a different size than the stock Associated ones. They are not serrated so get them tight!
All wired up!
ORCA sent me the speed control and motor. ORCA speed controls have been showing up in A main cars all over the world in the last year or so, and they are bad fast. This is their Vritra VX speed control and TX motor. With their program box, (not included), you can change from blinky mode to boosted mode, no computer needed! The Diggity chassis has plenty of space for all your electronics. You can see that there is room between the motor, the speed control and the KO Propo receiver for their KIY radio system that I use.
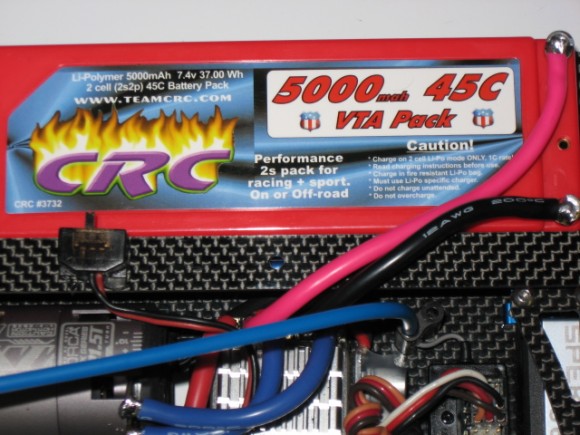
You can’t go fast without a good battery, and Team CRC has some of the best! I chose their #3732 VTA pack as this car will see use in both USGT and VTA.
You are probably wondering what the heck this is. I am sure Kevin is too. Remember when I told you that this car was in pretty bad shape when I got it? All of this fuzz and hair and other “stuff” came out of the drive train of the donor car. The sad part is, this is not all of it. At first I was throwing it away as I found it, but there was SO much of it, I had to keep it and show you guys. I am not entirely sure what all of this is, and I am not sure I want to know. I just hope all the pets of the car’s prior owner are all accounted for. Please, please, please, CLEAN YOUR CARS! They will be much happier, and trust me, so will you.
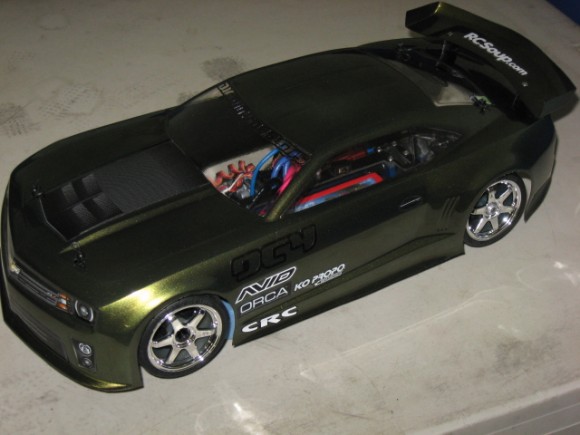
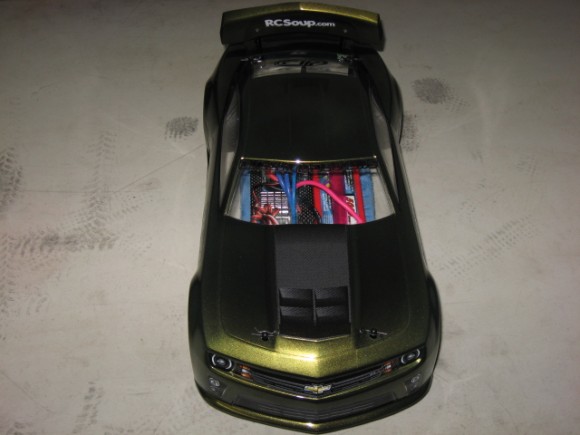
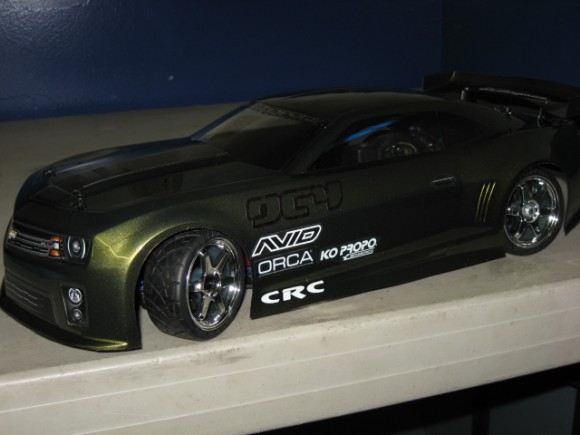
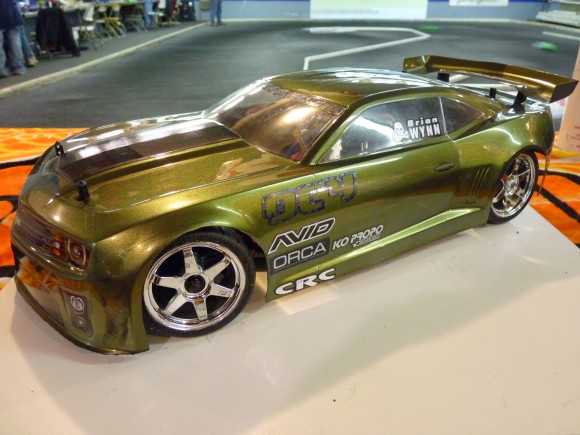
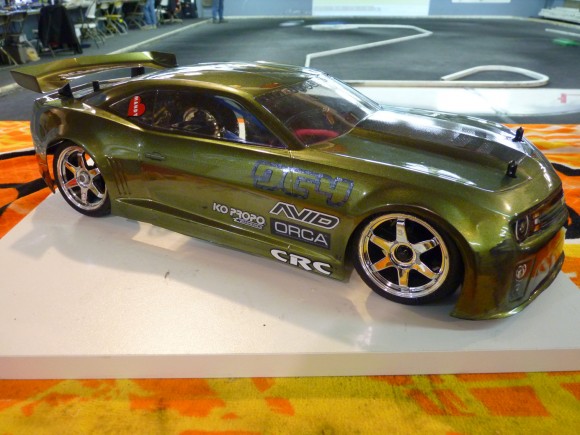
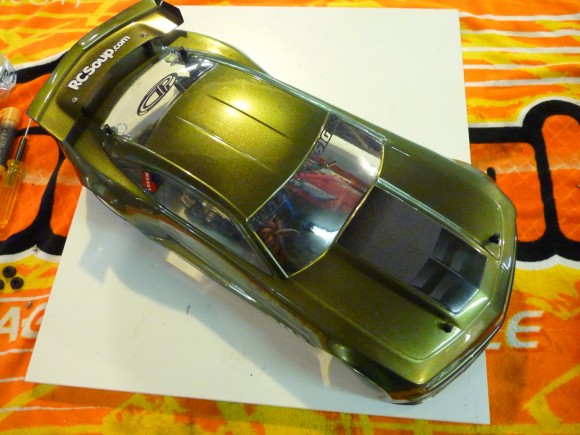
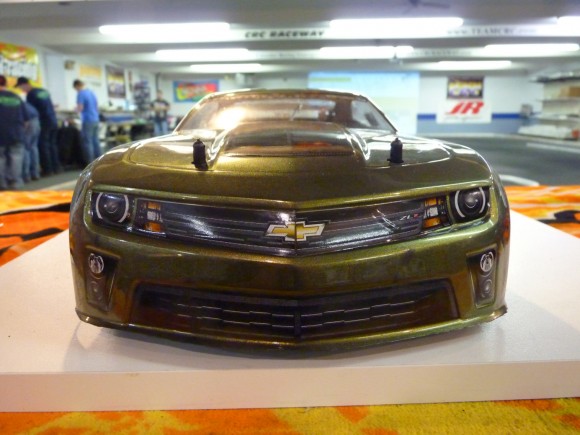
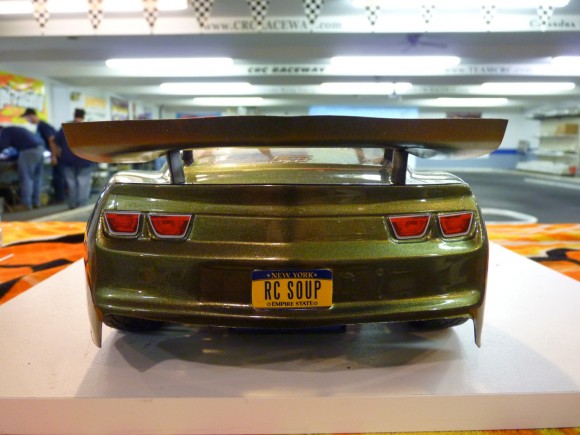
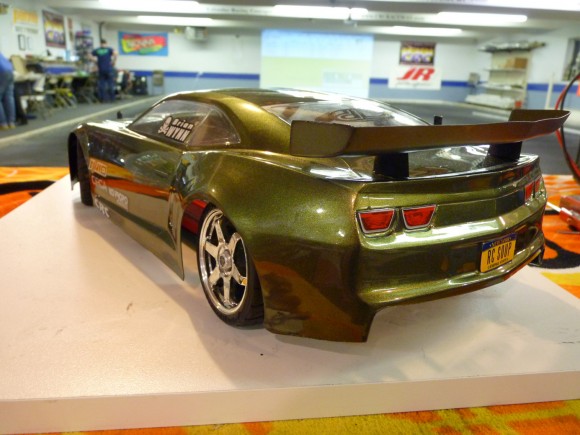
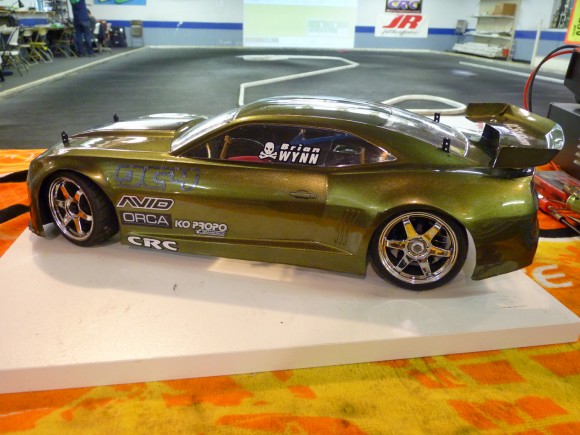
I topped the car off with a Protoform 2012 Camaro body. Tom’s Paint Werks laid down the sick green paint. It is a simple paint job, but does it ever look sick in person. It is not metallic, but it sure looks it under the light. With those rims, it looks like it could have just rolled off the assembly line!
Rolling up on ya!!
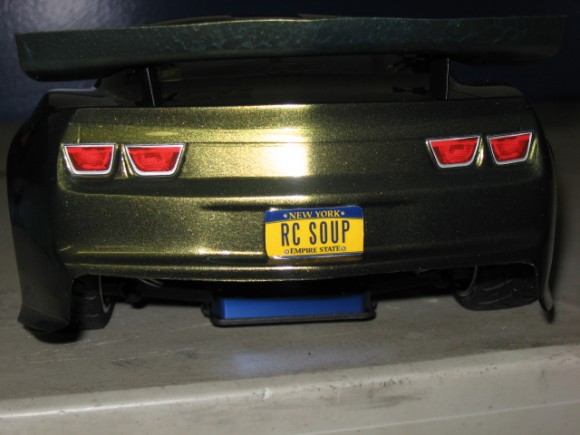
Check out these new super sweet RC Soup license plates! Contact Kevin to find out how to score some of these!
So there you have it. I took a poor, beat down, mistreated and abused old car, and turned it into a beautiful racing machine! But the question is, does it run as good as it looks?
I ran a couple of packs on it at home on the road course at CRC Raceway & Hobbies. The car felt pretty good. It tweaked nice and flat, and the ride height was set with no problem. So now it was off to the Halloween Race held by The Gate in Brunswick Ohio.
Once I got on the big track at the Gate, I did have to make some suspension changes. I needed to stand up the rear shocks to help the car corner better. This was not a big surprise as I kind of made up my own setup. But the car was right on pace from the moment I got there! Competing in the USGT class, there was a mix of older and newer cars. After round 1, I was qualified second. When round 2 was over, I was TQ! It was not meant to be however, once all the qualifiers were over, I ended up 5th, less than 2 seconds from TQ. The main was a bloodbath. Let’s just say it was not the cleanest touring car race ever! I don’t really think it was anyone’s fault in particular, just a bunch of evenly matched cars all competing for the same piece of real estate. In the end I finished 4th, nose to tail with second and third. The winner was able to get away and stay out of the fist-a-cuffs.
So, what is the verdict? Can this car compete in today’s touring car world? YES! With a little more time on it, and some work on the setup, this car can win. With that being said, to make your life easier, make sure the donor car you are starting with is in decent shape. If I had a better donor car, this project would have been much cheaper and easier. With Associated still selling the TC4 Club Racer, spare parts are readily available. The Diggity Designs kit goes together with ease. Someone who has some experience with the TC3/TC4 line of cars could be really fast with this car as it mixes the super efficient drive train of the TC4 with current chassis technology. Look for the Diggity Designs DC4 in the Winner’s Circle very soon!
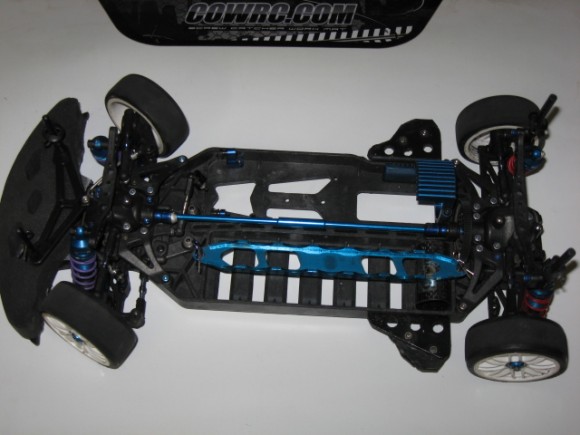
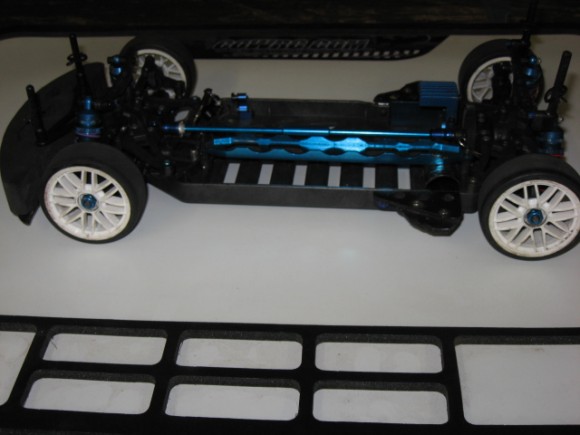
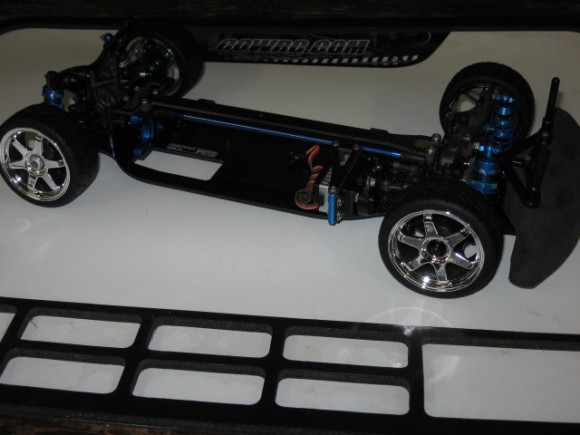
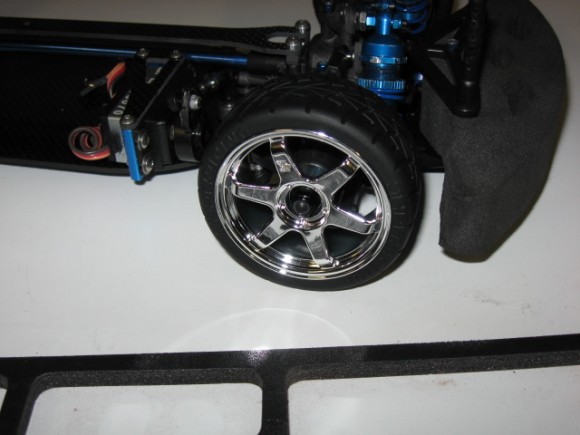
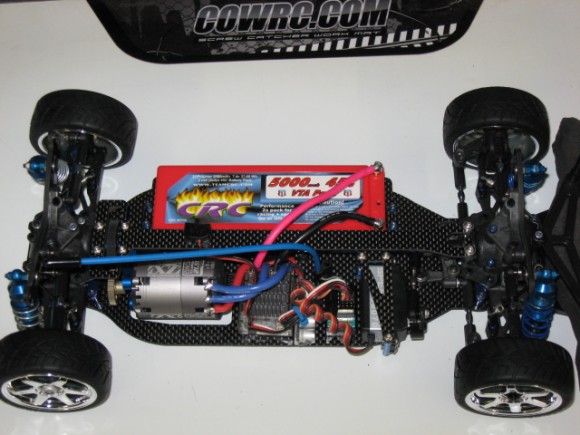
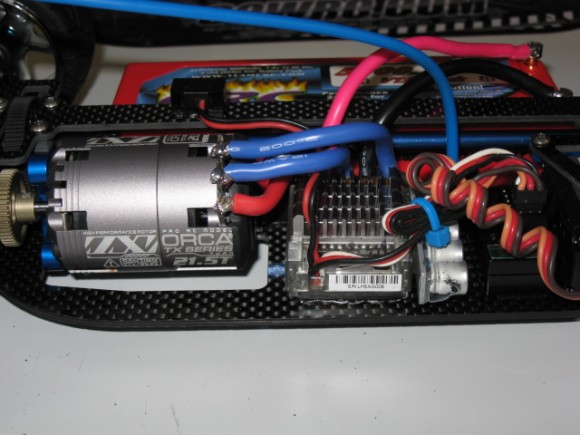
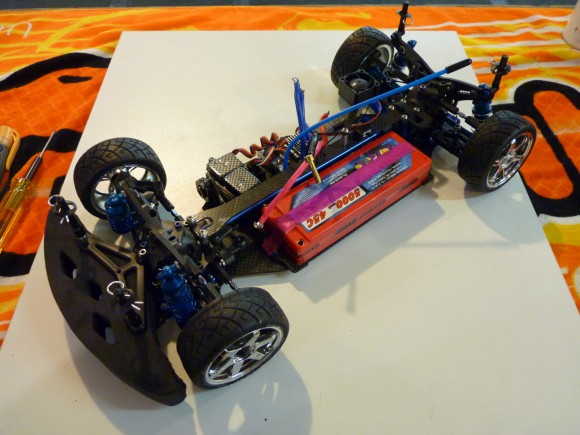
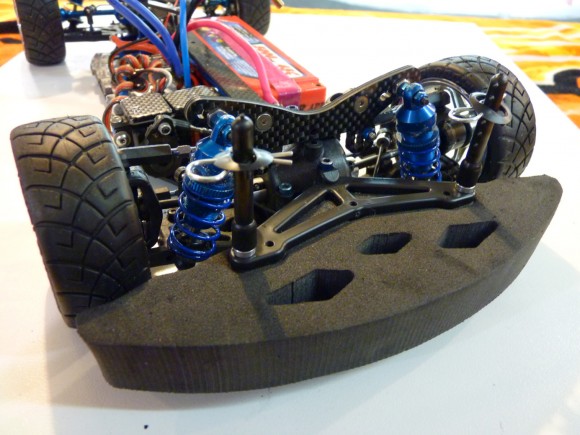
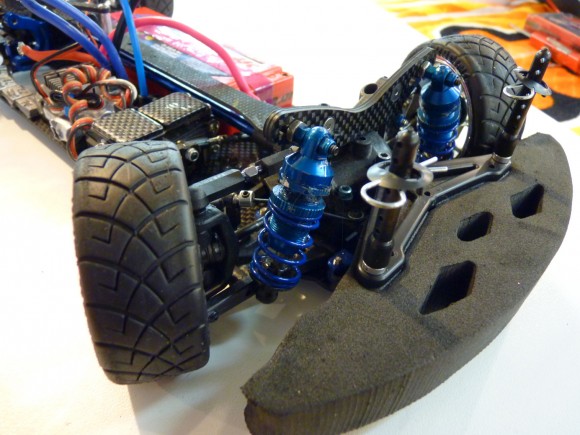
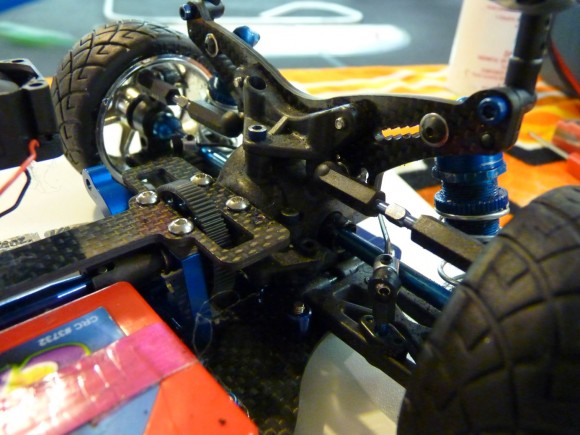
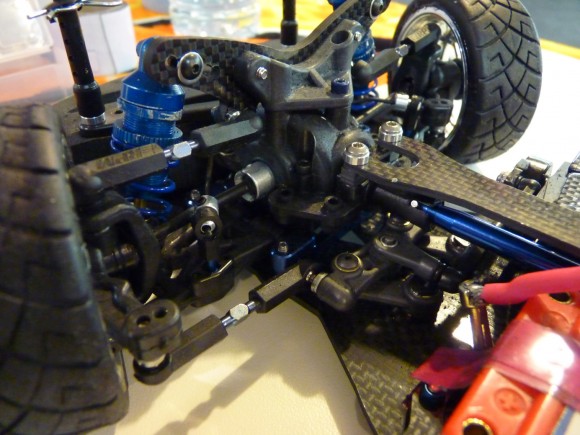
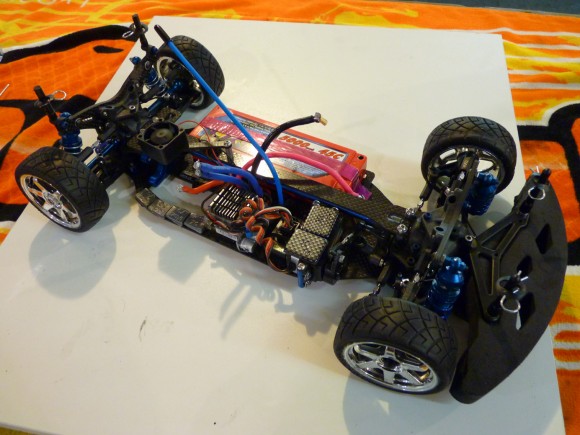
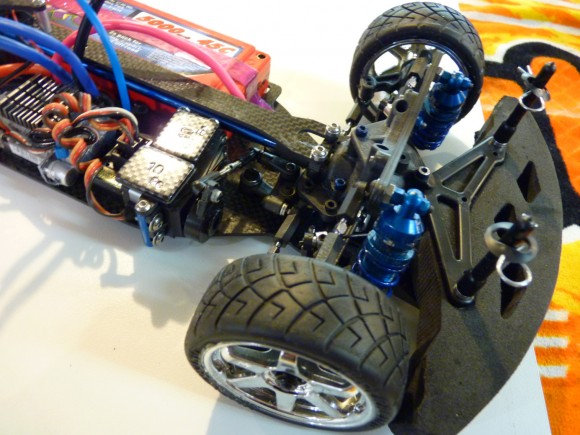
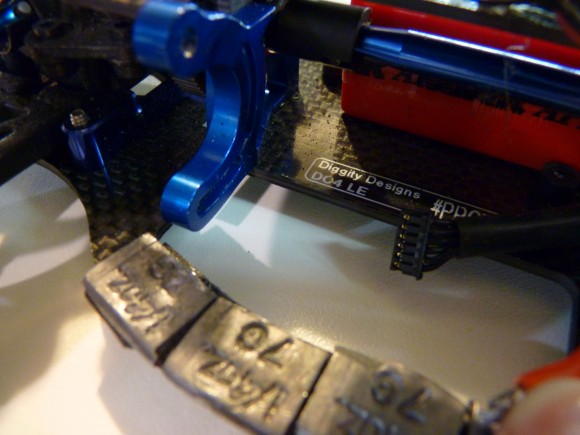
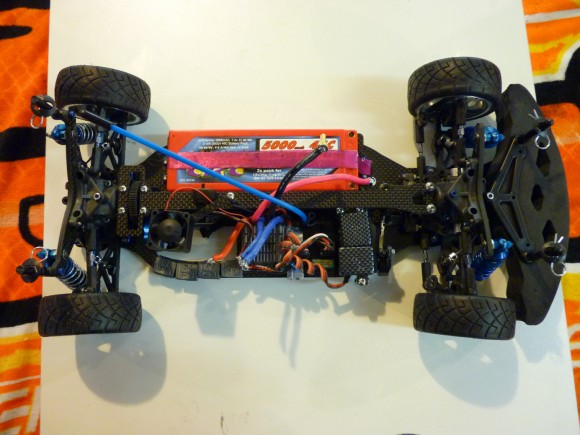
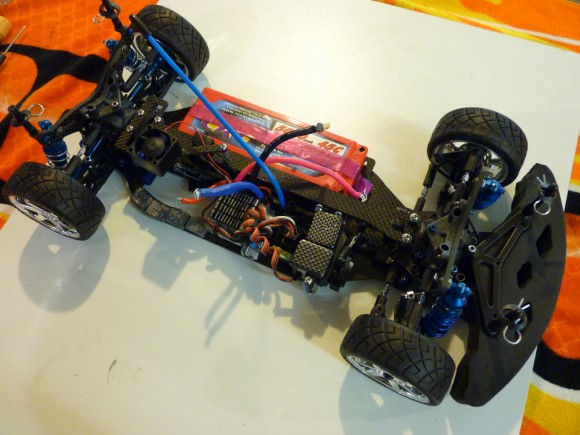
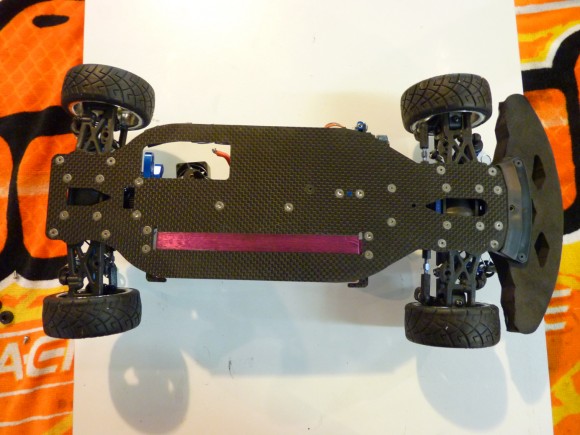
Kevin took the following shots of the car after it’s return from the Halloween Race in OH. She’s a little battered and bruised, but not really any worse for wear. You can see a little more detail in some of the photos on my setup, and the quality of the Diggity Designs kit itself.


 December 12th, 2013
  Brian
Brian 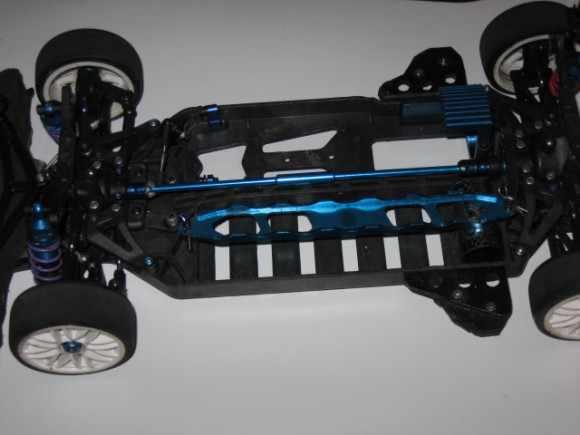

 Posted in
  Tags:
Tags:
Would love to see a full setup sheet on this rig.
I just bought one. Haven’t had the chance to open the box yet. I have to wait til the wife goes to bed. I want her to think it’s a Christmas gift (for someone other than me!)
[…] Designs DC4 write up http://www.rcsoup.com/2013/12/diggit…c4-conversion/ __________________ http://www.teamcrc.com, http://www.awesomatixusa.com, KO Propo USA, http://www.crcraceway.com, […]
[…] Designs DC4 write up http://www.rcsoup.com/2013/12/diggit…c4-conversion/ __________________ http://www.teamcrc.com, http://www.awesomatixusa.com, KO Propo USA, http://www.crcraceway.com, […]