The iCharger, One of the most used chargers in today’s racing world. This charger has caused a lot of controversy in the Stock world as the high amp charging and high amp discharging has sparked a lot of issues in the racing community.
The iCharger 308, 3010, and 4010 duo’s all run the same software, and programming except for the differences in amperage / cells. With the 308, you can charge up to 8s at 30 amps. With the 3010, you can charge up to 10s at 30 amps, same with the 4010, except you can charge at 40 amps.
Most people would wonder why you would even need to charge at such high amps, well i honestly don’t believe you need to, but if you’d like to the option is there. Lots of people have chose this charger for the settings, and what you can do with it, and within this post, ill explain some of the amazing and cool features!
What you will need with this Charger :
Power supply That can Output at least 60 amps. ( I had a buddy who converted a used server power supply for me that outputs over 80 amps)
Two plugs of your choice for the Pre-tinned leads for the charging adapters
Bullets for the DC power supply to hook the charger up.
Specifications ( for the 308 duo ) :
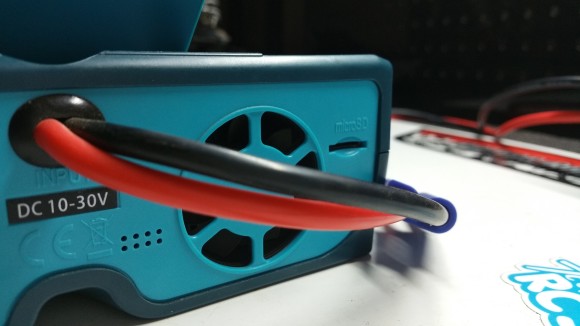
Input voltage :10-30 Volts
Max Input Voltage : < 60 amps
DC Charge Current Range: 30 Amps per port, 50 Amps syn. mode
Maximum Charge Power Capacity : 1300 watts ( 800 watts per port )
Maximum Discharge Power Capacity : 80 Watts ( 120 watts channel )
Maximum Regenerative Discharge Capacity: 1300 watts ( 800 watts per port )
Current Drain for Balancing 1.2 Amps per port, 2.4 amps syn. mode
Balance Accuracy : <10mv
Lipo Battery Cell Count : 1-8
NIMH/NICD Battery Cell Count: 1-20
PB Battery Cell Count:1-15
Battery Setup Memories: 64
Intelligent Temperature Control : Yes
PC Connect : Yes
Weight : 0.91 KG
Dimensions (LxWxD) : 171x118x59
*** Specs Taken from: http://www.icharger.co.nz/ ***
On to the Pictures :
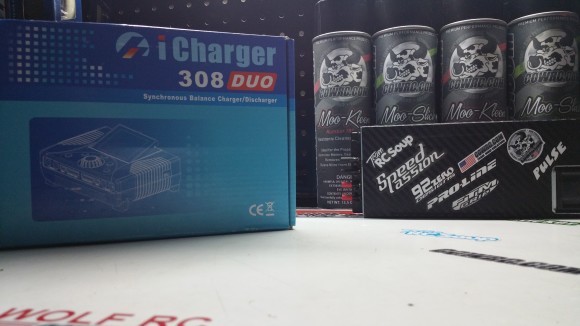
The Packaging is sorta lame when it comes down to it. You figure with a $250 + Charger, you would get a sort of flare-y package, but you don’t.
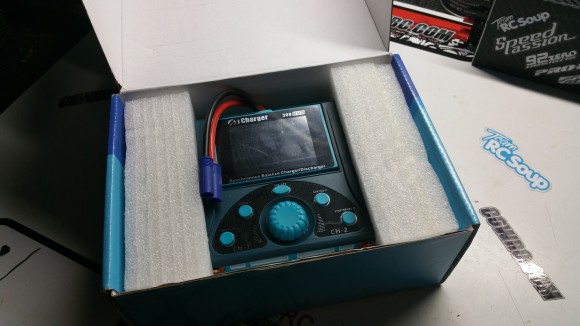
Open up the box and you’ll see this, Dont worry, you get other things, just took them out for now
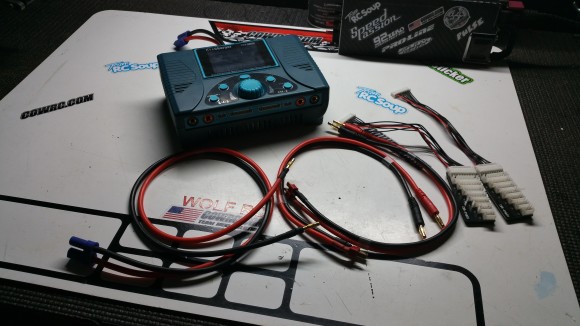
You will get two Pre-Tinned leads (deans not included) , Two balance boards for up to 8 cells, and one connector with EC5 and also pre-tinned for Bullets of your choosing to hook up to your power supply.
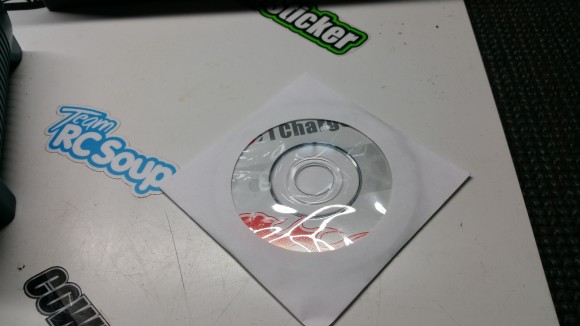
You also get a Disc, The disc contains the E-manual. Yeah, that’s right! Icharger does not send a manual with their chargers, not that’s bad, However i do prefer to have my own copy that i can read when i need too in paper.
iCharger Manual : http://www.icharger.co.nz/manuals/308DUO.pdf
Looking at the charger in detail first, Lets go over the exterior features.
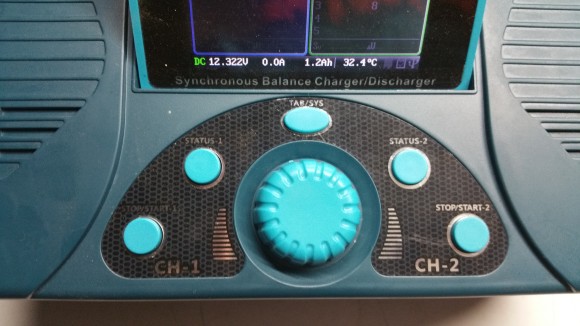
Channel 1 and Channel two both share the middle Scroll , and Tab/Sys buttons. While each channel has their own Status, and Stop/Start buttons.
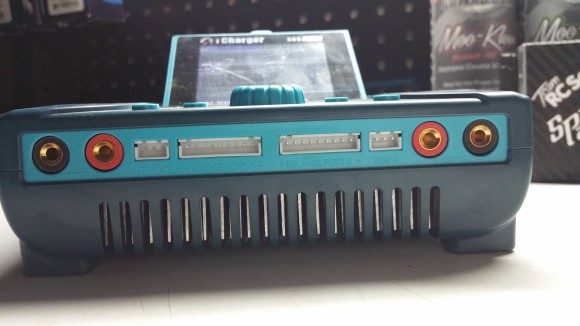
As with all dual chargers, Each have their own output’s, Balance ports, and Temp Sensors.
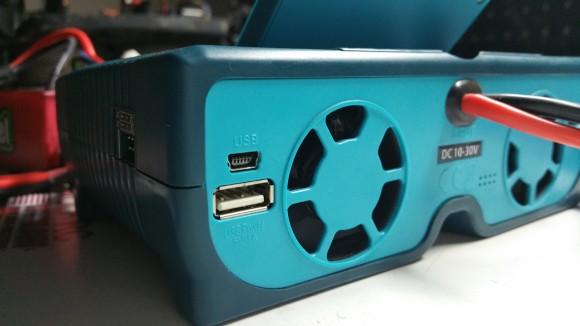
The ichargers allow you to save battery and Charge data’s onto the SD Card for review.
Upgraded USB port outputs 1 Amps / 5 Volts to be used for a phone charger or other!
Unique to the Icharger, and very other few chargers, the Icharger has a Servo tester!
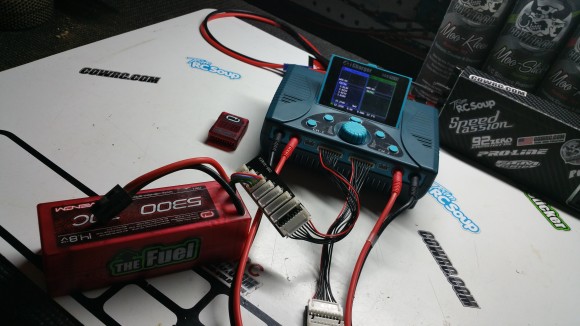
Lets plug this thing in, and see what happens when it turns on!
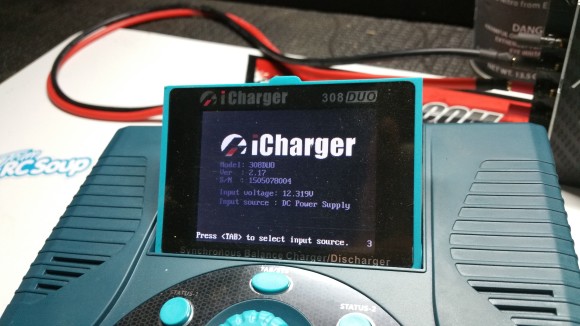
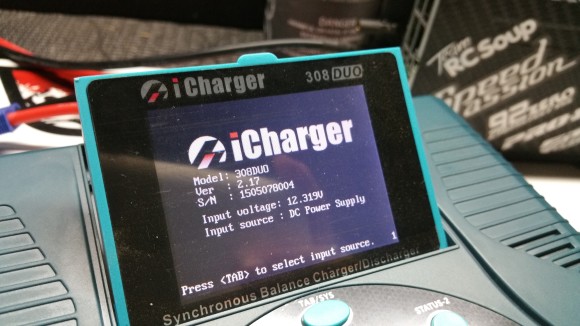
Turning the Charger on, you see a few different things. The Model, Software version, Serial Number, Input voltage, and input source.
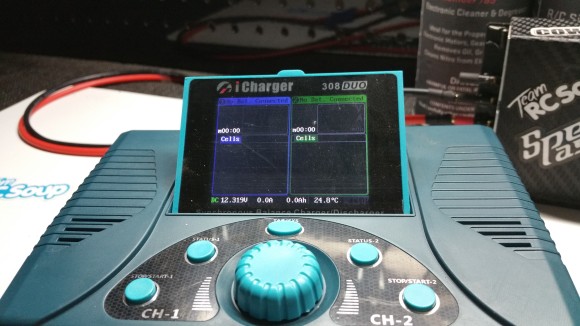
This is the Main screen that displays when using the charger, Blue side is channel one, while green is channel two.
At the Bottom you will see the Input voltage, Temperature of the battery, what amperage is being charged at as well.
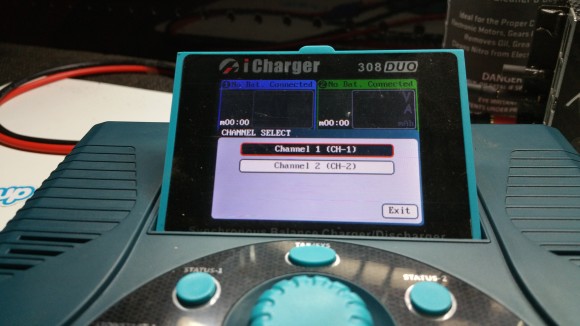
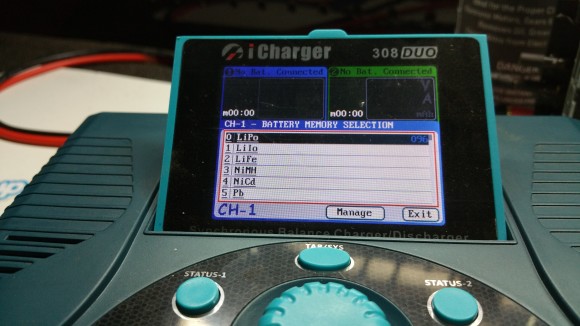
Starting the Charge is fairly easy, Once you choose a channel you get brought to the Battery selection page, fairly simple. Choose a setting and move on.
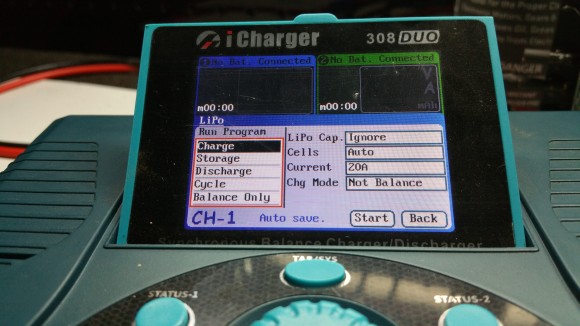
We choose lipo, and see all the options we have with this charger!
Theres lots of charge features on the charge section!
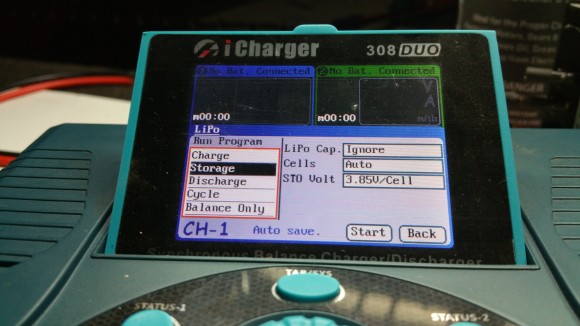
Storage is very common settings, however you are able to adjust the storage charge/discharge voltage, unlike some other chargers.
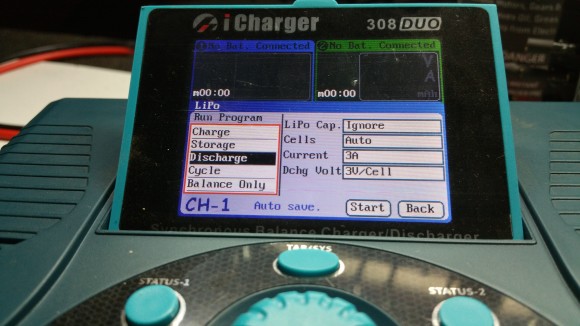
Discharge is fairly standard as well, however you are able to discharge into a power bank, or Resistor bank to allow the iCharger to discharge at a higher amperage. Which is part of the reason that 90% of people aim to purchase an iCharger, To heat up the battery and lower the IR Rating.
Team EAM 40 Amp Discharge Resistor Bank : http://www.teameamotorsports.com/index.php?route=product/product&manufacturer_id=11&product_id=188
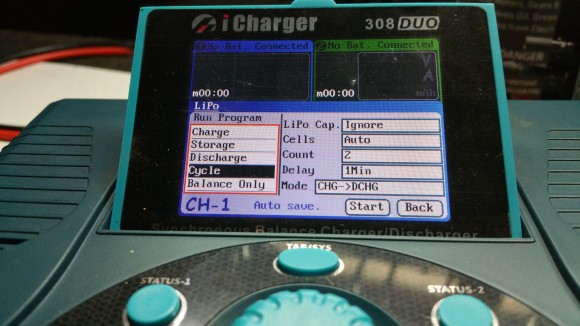
The Cycle Program is pretty cool, you can tell it how many times you’d like to cycle the battery, and in what order, and if you’d like to delay in-between each charge/discharge.
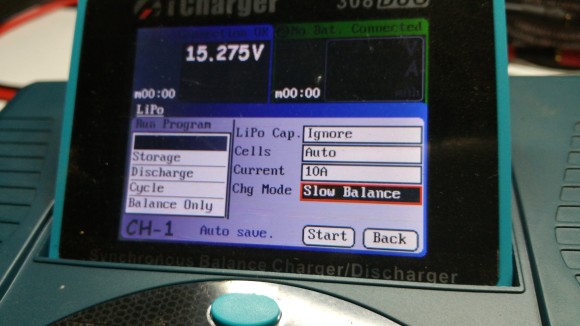
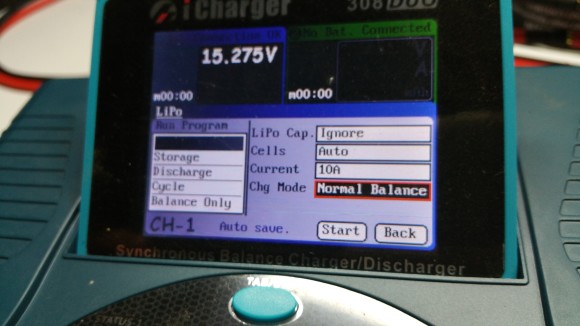
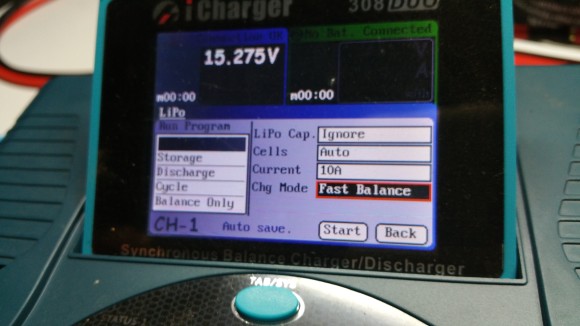
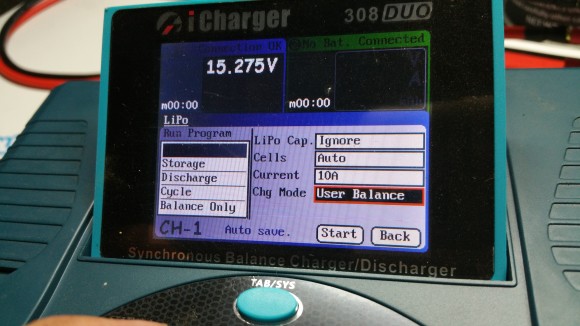
Getting on to the topic of Balancing, The iCharger has a few different ways to balance, all of which are important.
We have a Slow Balance..
We have a Normal Balance..
We have a Face Balance..
We also have a User Balance..
This is what i consider important to keep in mind.
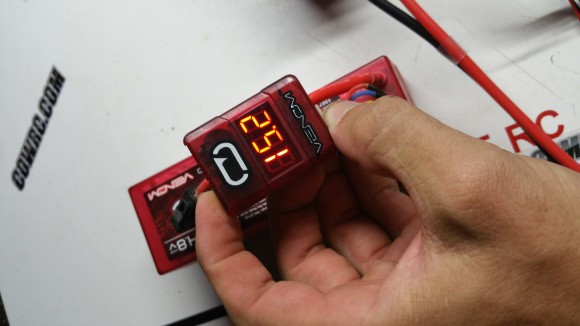
Alot of people use a external balancing tool, Similar to this :
However, This is not a balance tool, this is a volt checker, it displays the same principle.
External Lipo Balancer : http://www.amain.com/rc-cars/hitec-lithium-battery-voltage-checker-equalizer-hrc44173/p239736
However i always recommend using the chargers balancing function than an external device.
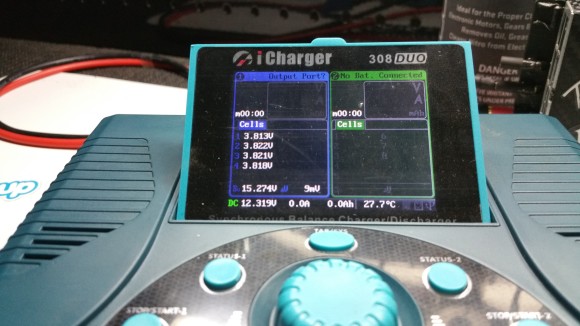
Another really awesome feature of the Icharger is that once you plug in the balance plug, the voltage displays on the Screen.
Once we get into the Actual charging, there’s some feature that really make the iCharger stand out.
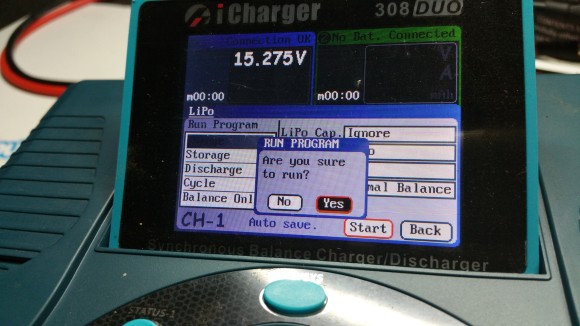
Like most other chargers, it asks us if we are sure if we would like to Run the Program. Yes, We do.
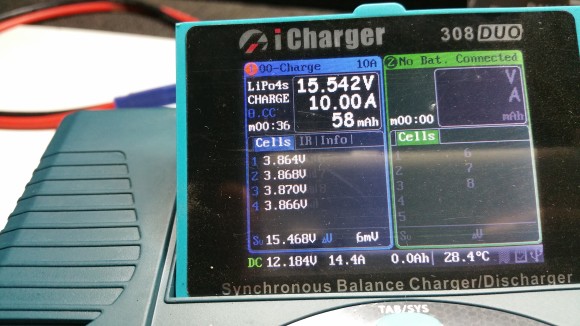
Lots of normal information on the front charge page, Although, most other chargers dont show the maximum cells Voltage difference. ( shown as the 6mV)
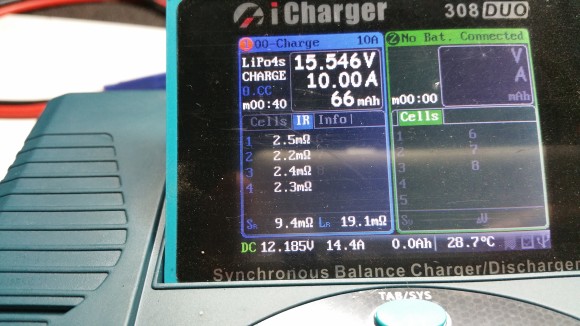
What helps this Charger stand out is the IR Info page.
Showing the IR Information of each cell is very helpful to know the life / health of the Lipo!
The Sr shows the Packs Internal Resistance, and The Lr shows the line resistance.
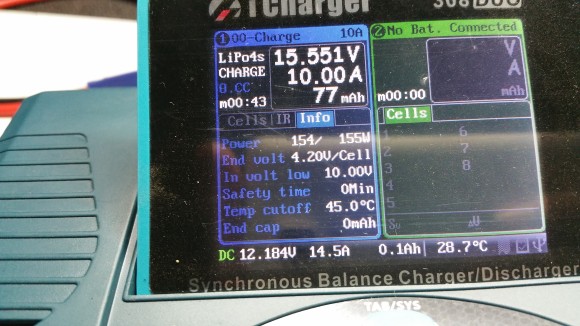
On the “info” Tab, you are able to see the wattage that is being used. And the End Voltage, of which can be a huge controversy as you are able to change it past the Roar Legal maximum of 4.20 volts per cell.
* I am not condoning you to charge past 4.20 volts, this voids most batteries warranties, and RC Soup is not responsible for any damage if you charge past the recommended voltage*
Summary :
Ease of use – The Charger itself is very easy to use, although once you get more into the sophisticated features, it gets alittle tricky to figure out. However the manual is very detailed and helpful.
Features – The amount of features that are in this charger is too much to list, but with the majority of the features will probably never be used by the average person. But having the features if you want them is nice.
Cost – You can find the Icharger for around $250-$350 Depending on which model you get. The cost is in fact the biggest deal breaker for icharger, but i do believe that the cost is worth what the charger can do. On top of this, You need a Power supply, but you can find converted Server power supplies for a decent price.
Products used in this Review :
Icharger : http://www.icharger.co.nz/Products/308-Duo.aspx
Deans Plugs : http://www.amain.com/rc-cars/deans-male-ultra-plug-2-wsd1302/p3597
4mm bullets : http://www.amain.com/rc-cars/protek-rc-4.0mm-super-bullet-solid-gold-connectors-4-male-ptk-5035/p177896
Venom Battery : http://www.atomikrc.com/collections/venom-lipo-batteries/products/venom-70c-4s-5300mah-14-8-hard-case-lipo-battery-roar-approved-with-uni-plug
Venom Low voltage Alarm / Cell Checker : http://www.atomikrc.com/products/venom-low-voltage-monitor-for-2s-to-8s-lipo-batteries


 August 26th, 2015
  Dallas Pruett

 Posted in