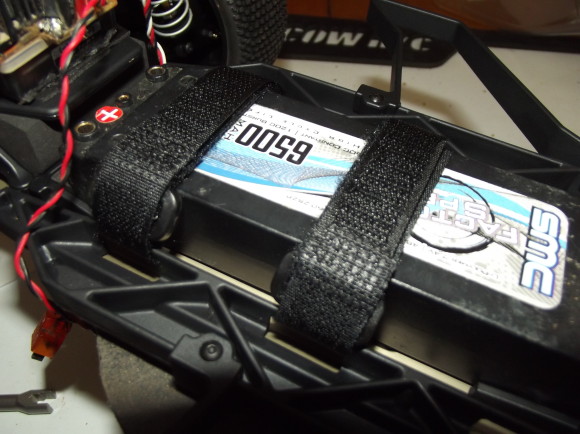
To hold a battery in, these velcro straps are included. They are long enough to accommodate a 4S lipo. But in our case we’ll be using a 2S. I also installed the foam liners for the bottom of the battery tray. These will help stop the battery from moving around. 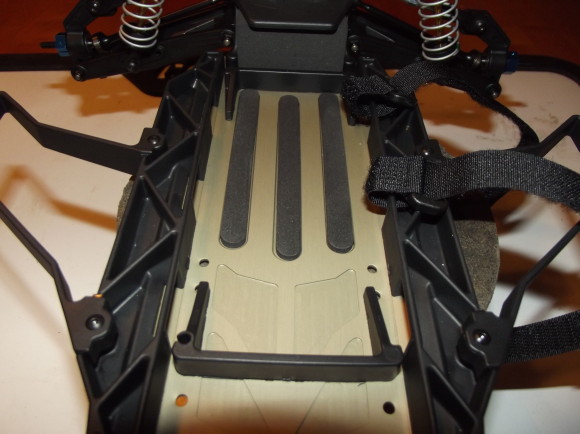
We’ll be tackling the servo and servo link next. The servo link is assembled sort of the same way we build the camber links.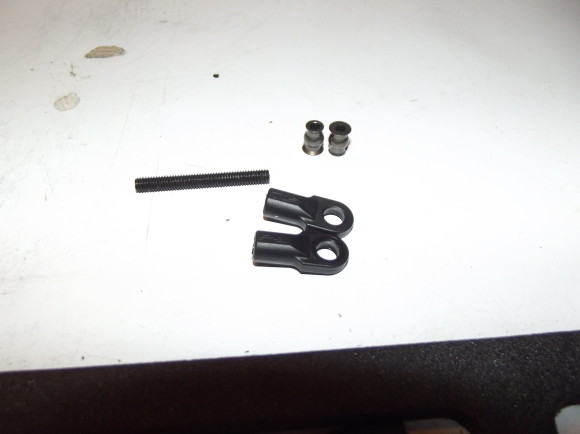
These are the servo mounts. 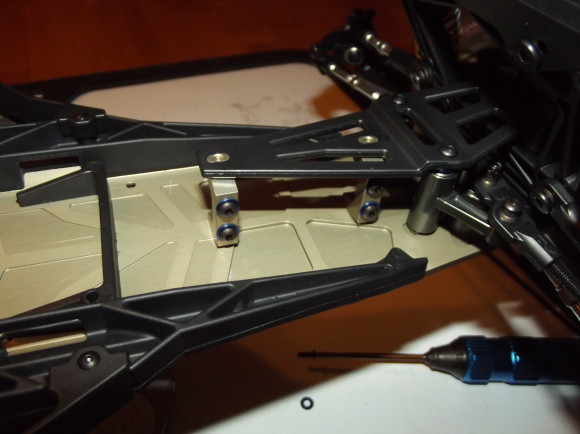
Something that puzzled me at first glance was that the front mount did not have a lower screw. It is only held on but the upper screw through the plastic plate. Time will tell if this setup holds in place. 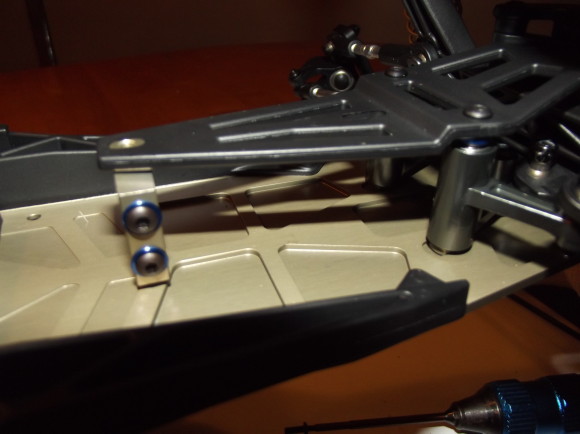
I mounted a Savox 1258TG in there. I’ve had this servo for a couple of years, but it still works great.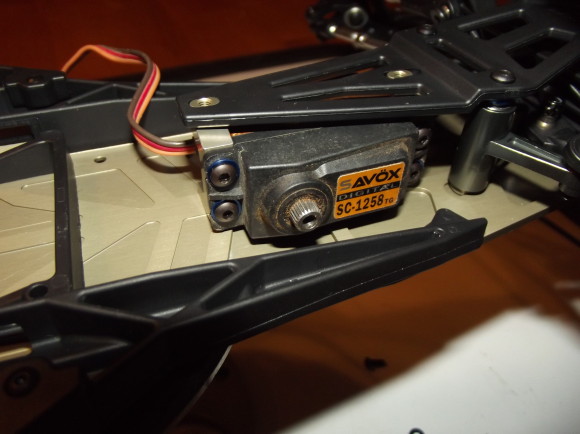
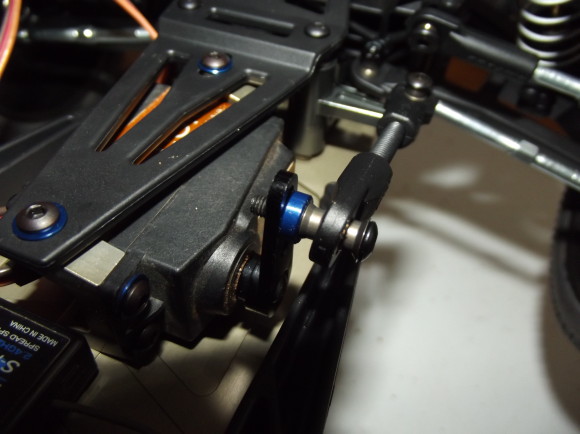
When you attach the servo link to the steering rack, you want that link as straight as possible. They included a couple of blue spacers to help you get it just right.
For electronics, I’m going with a Novak Havoc 3S ESC. I’ve had this for a couple of years as well. It is a blinky ESC, which is to say you can’t adjust any kind of timing in it. But we will be running an 8.5T motor, so no timing is really needed. There should be plenty of speed on tap.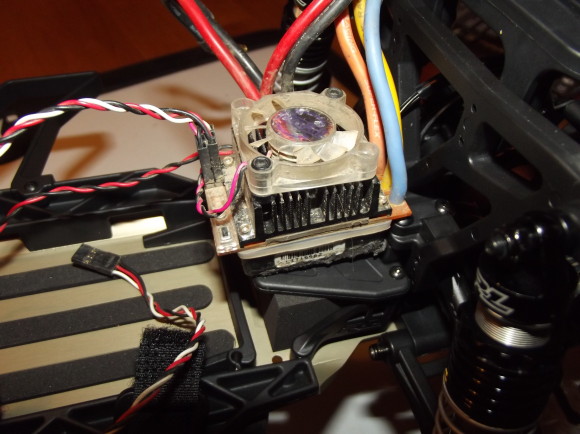 Our motor is the Savox SX-1 Stock Spec BLH 3650 8.5T. This range of motors is available from 4.5T to 23.5T. It is a 540 sized 3 pole motor. Should be plenty of power for this truck. I’ve not used savox motors before so I’m interested to see how it does. For those wondering, this motor is indeed on the ROAR approved list.
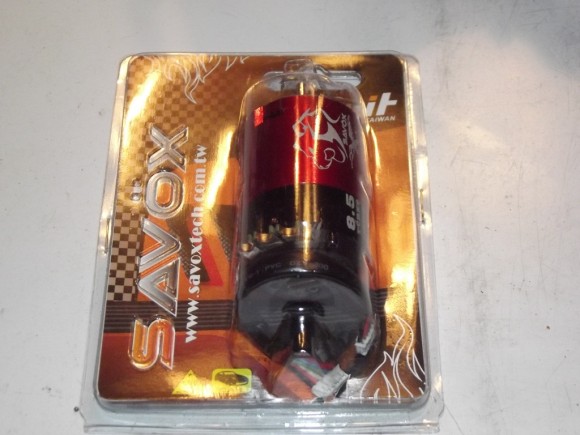
Shiny. It comes with an uber short sensor wire. For this application it was too short, but I had a longer sensor wire on hand.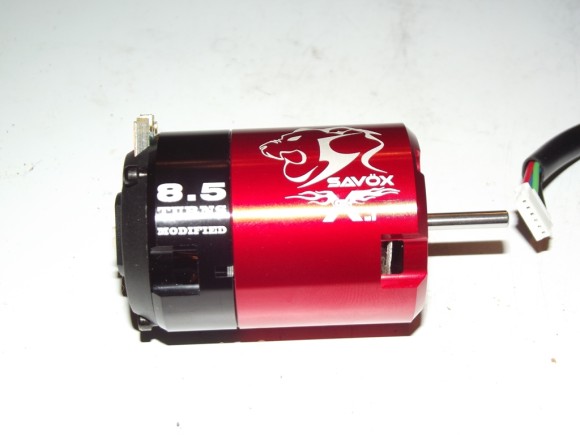
First we get it loosely mounted to hold it in place.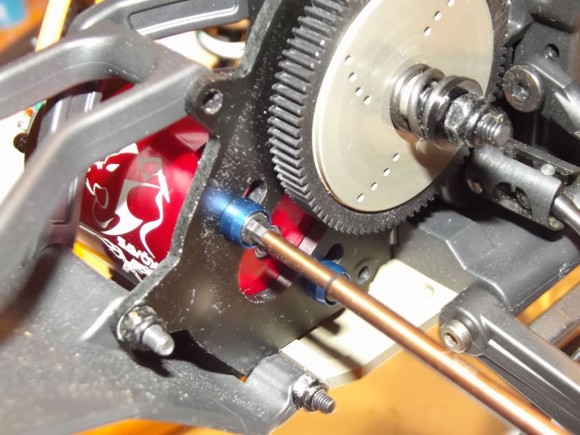
The motor wires get soldered into these grooves.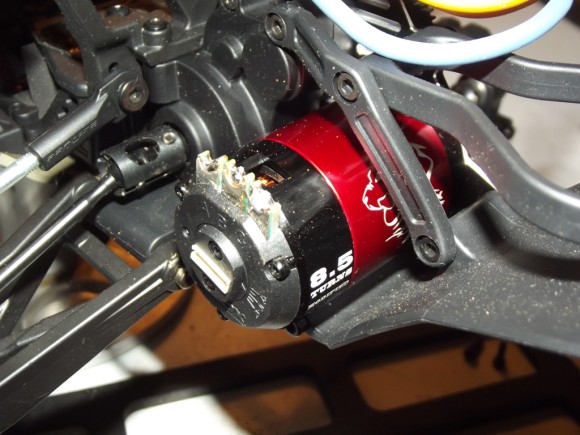 Voila.
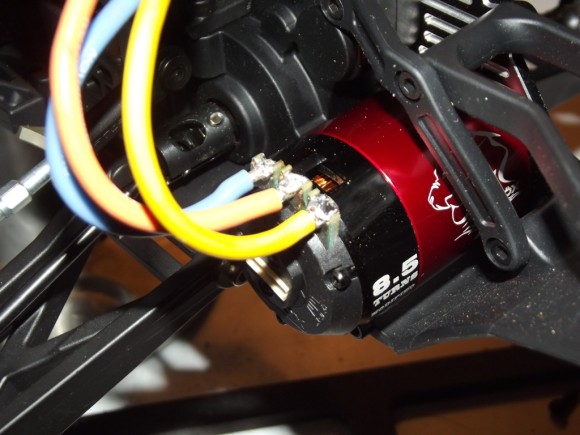
I tried a flat ribbon style sensor wire at first, but later switched to a different style wire based on this one being a little short.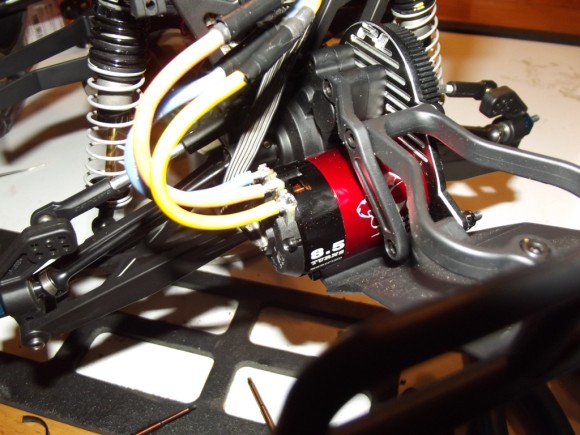
Now we can get a pinion on there. I wasn’t sure where to start with gearing on an 8.5T motor. I started with a 23t pinion, and the stock spur is an 86T. I’ll adjust gearing based on temps at the track.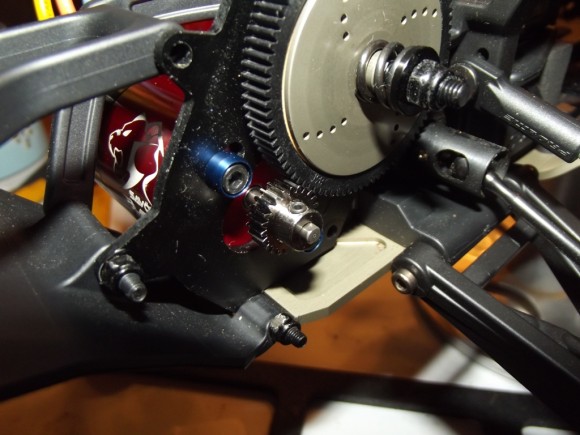
The Pro-2 comes with a clear spur cover, which you can adjust slipper tension through without having to remove it.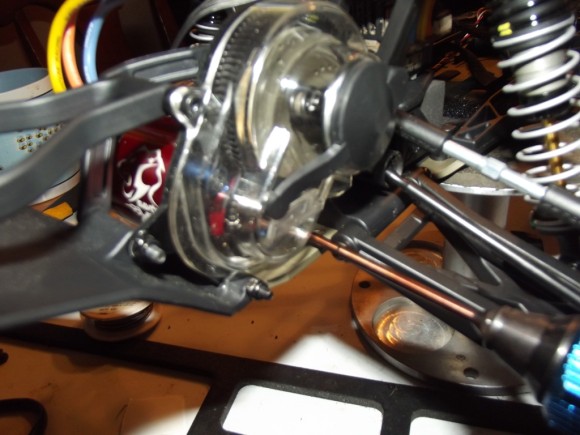
I installed a Futaba receiver to run this truck off my 4PL.
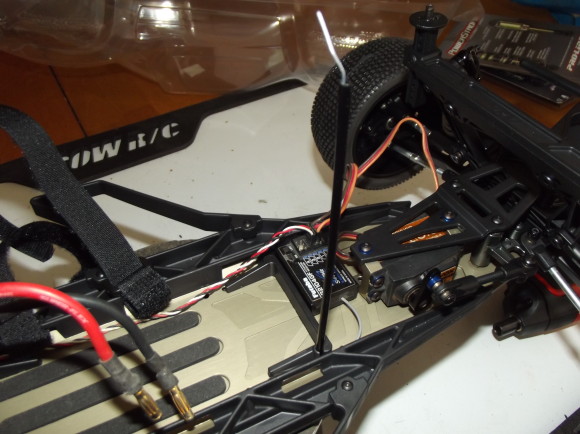
A little cleanup work on the wiring. 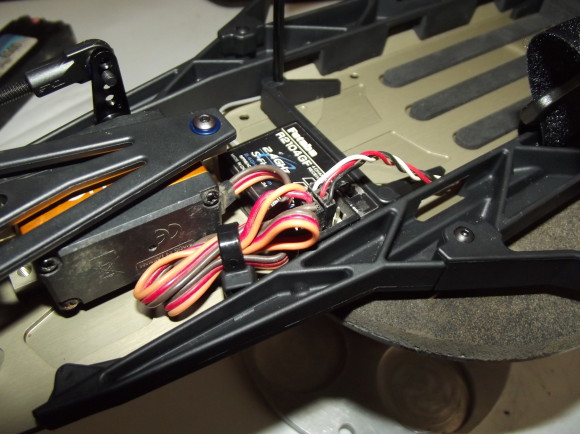
I’m not sure if the ESC wire will stay here. I tried to tuck it on the outside of the battery straps but it was too short. So the wire is inside the battery tray, but doesn’t hinder fitting a 2S stick pack in there.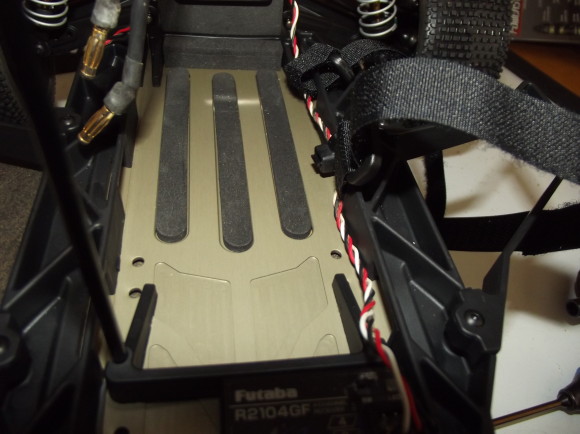
Way too much battery for such a light truck. I’m going to pick up a lower Mah pack to try and shed a little weight. But for longer practice sessions this will work just fine.


 April 9th, 2014
  Matt
Matt  Posted in
  Tags:
Tags:
[…] has plenty of great tips and photos on his thread..P-L Pro2 Build..I'll post more pictures after more setup is finalized Why are you gonna use a 10.5t motor? […]