Next up is the front differential.
Build it just like the front.
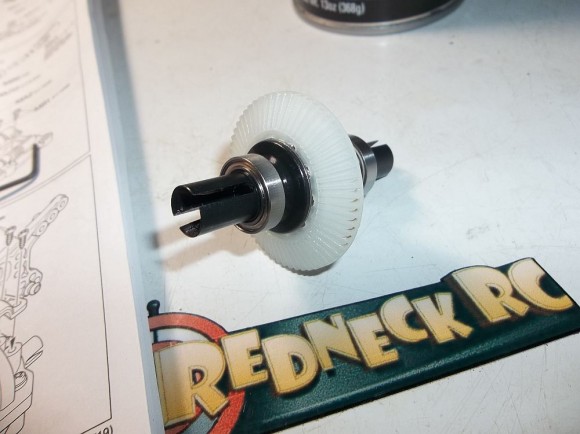
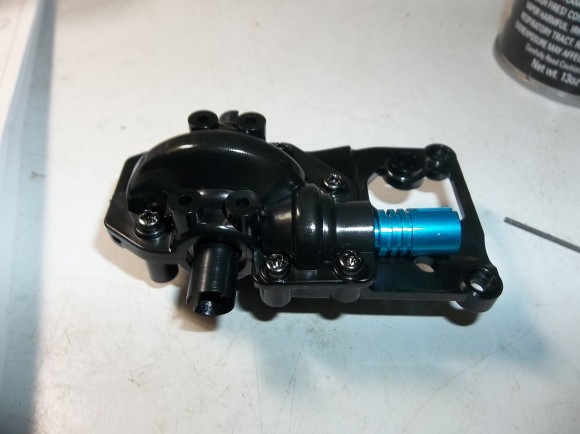
The assembled diff.
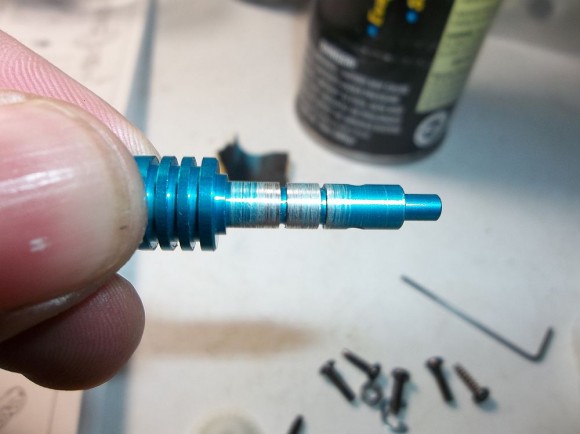
This is the center aluminum outdrive. I had to sand some of the anodizing off of the shaft to get the bearings to fit. That is how close the tolerances are.
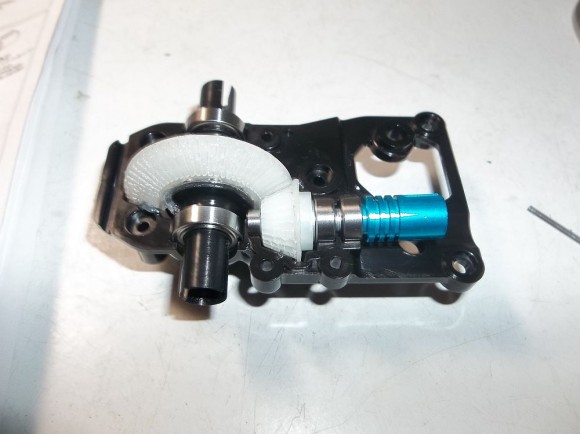
Here you can see the inner workings of the front gearbox.
The top cover in place.
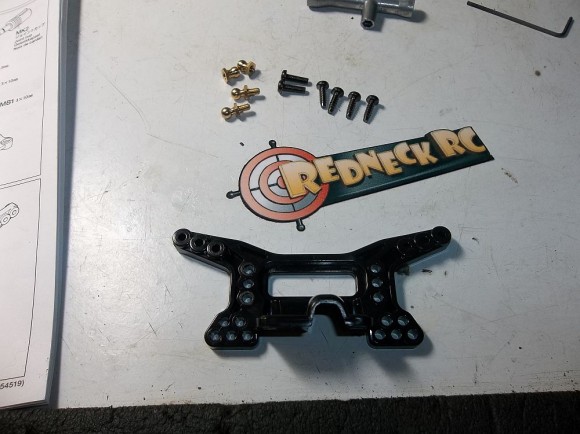
Now for the front shock tower.
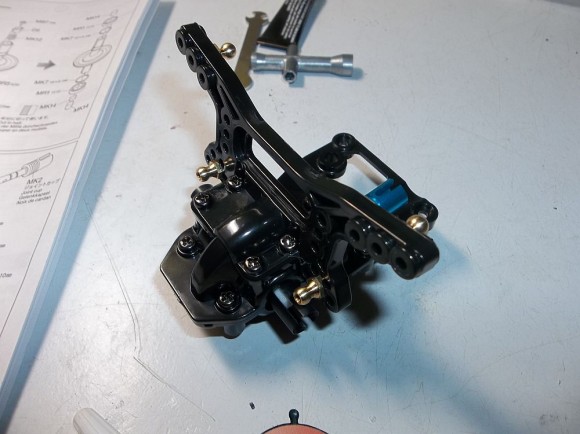
Attach the ball studs and screw the tower to the gearbox.
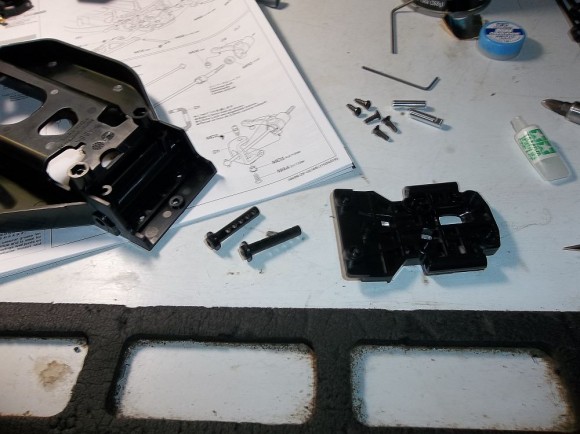
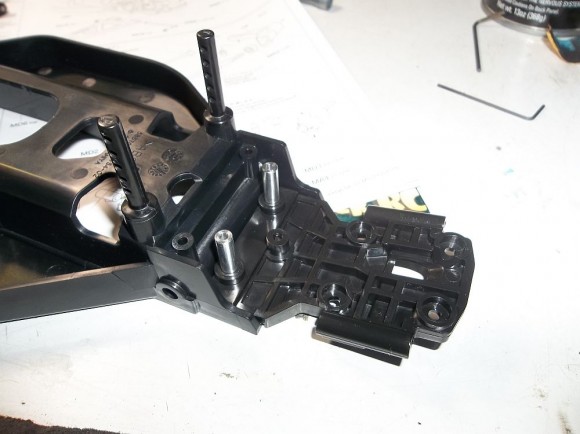
This is the lower gearbox/kick up.
Here I have attached it along with the front body mounts and steering posts.
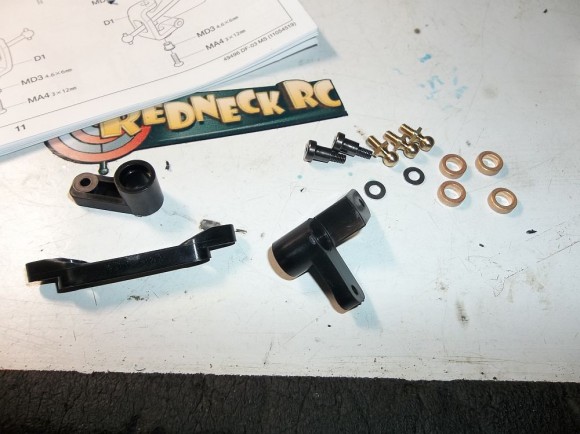
Here we have the front steering rack. I was a little disappointed to see bushings. After all this is the “Hopped up” version of the DF03. We’ll have to make an order with our friends over at FastEddy Bearings for some replacements. Look for that as part of a followup article.
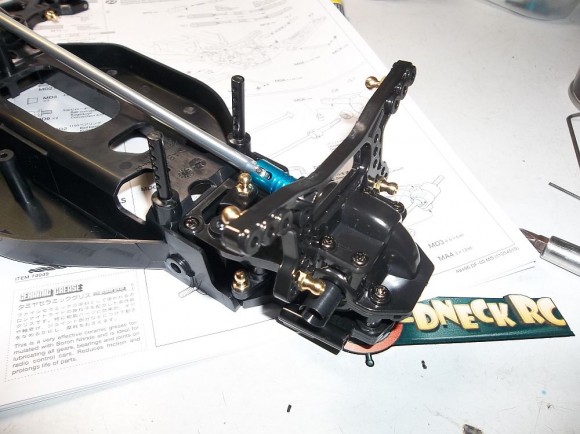
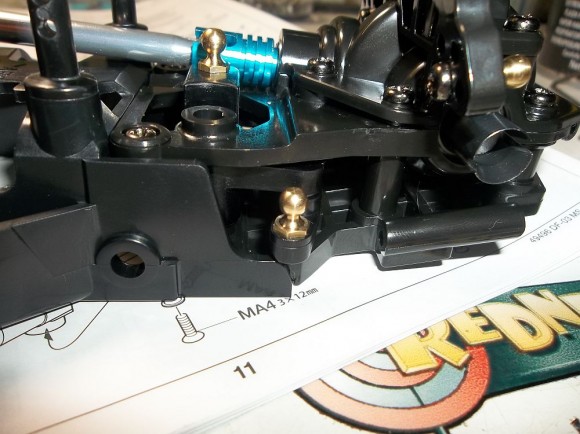
It is hard to see but the steering rack is installed.
A different view.
Check this out. The center drive shaft has little plastic collars that fit over the pins to protect the aluminum outdrive. That is a nice touch.
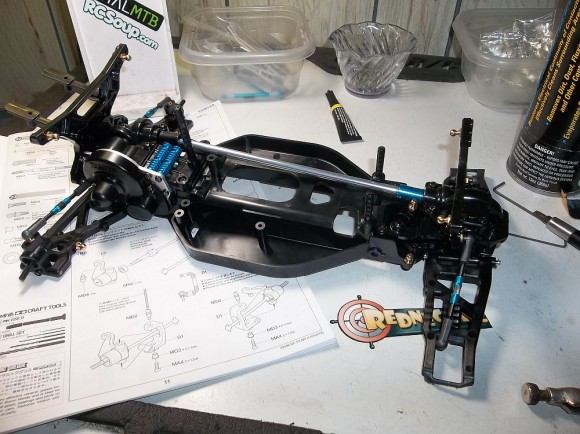
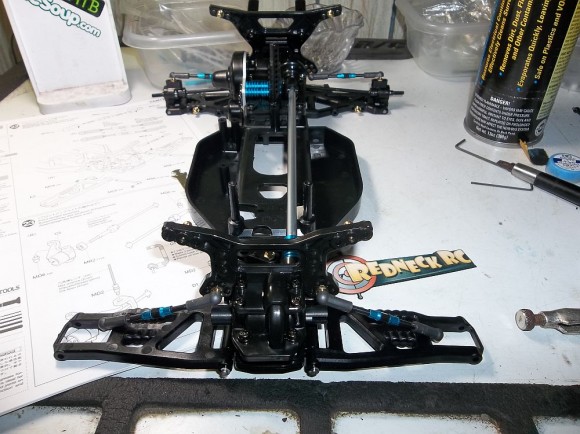
Time to build more tie rods and mount the front arms.
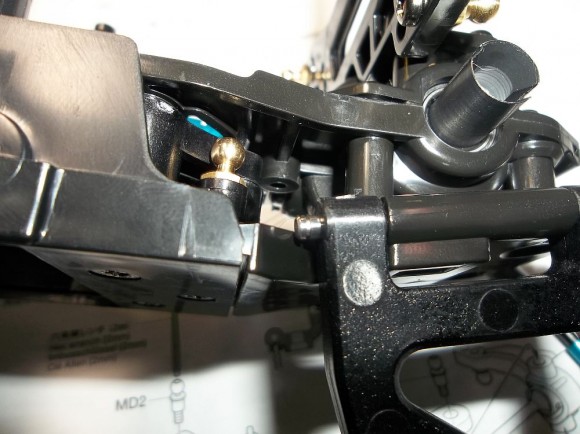
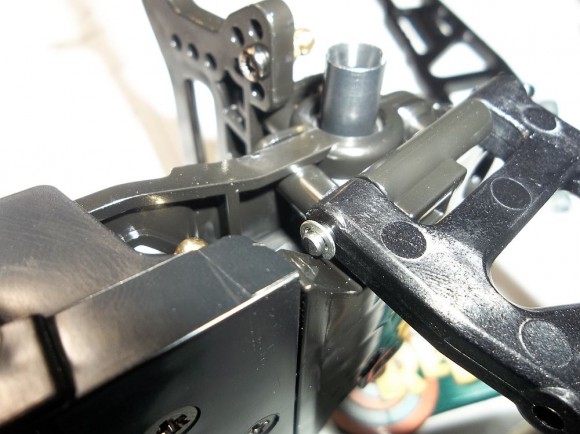
Not a lot of room here to get the E-clip on so be careful.
It is on!
Starting to look like a car!
Front view with the arms installed.
Click the Page numbers below to go to the next page!


 January 24th, 2014
  Geo
Geo 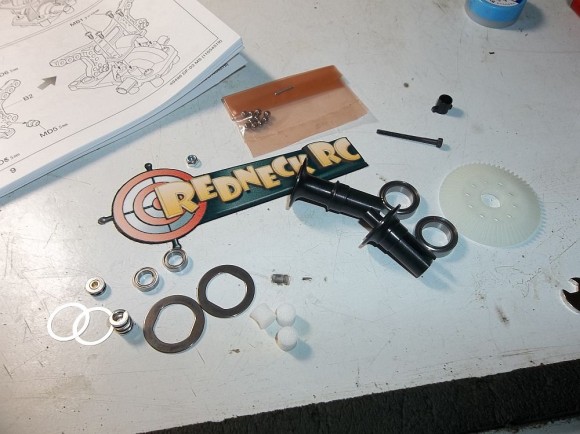
 Posted in
  Tags:
Tags:
I’m looking forward to part 2. I’m a Tamiya fan (because of how much fun they are to build) and would love to see how this matches up with the big guys.
Bin the Tamiya shock oil and use racing quality oil.
plus use green slime when you build those shocks.
You will need Tungsten Carbide balls in that rear dif !!!!