The driver figure all assembled. I chose not to paint him and let that job go to the winner of the raffle.
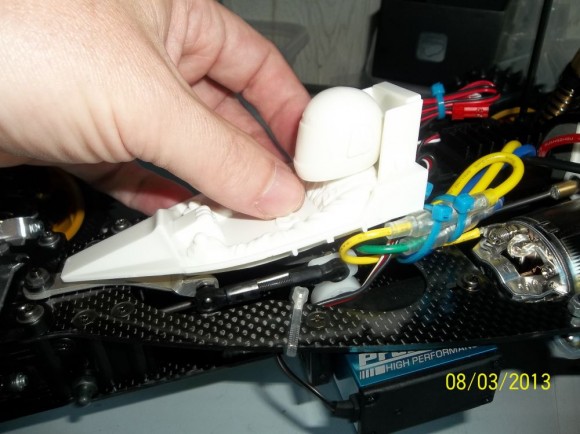
Here is how he sits.
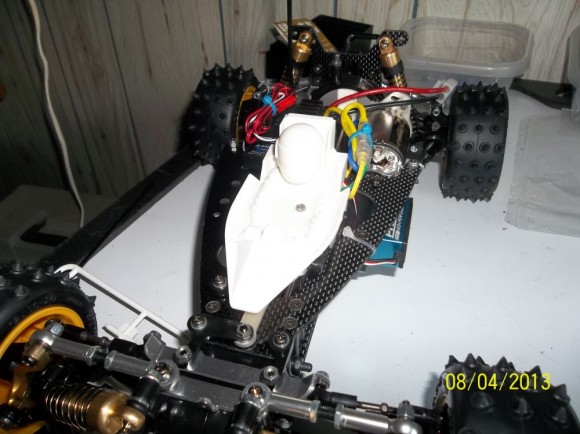
Held on by one screw.
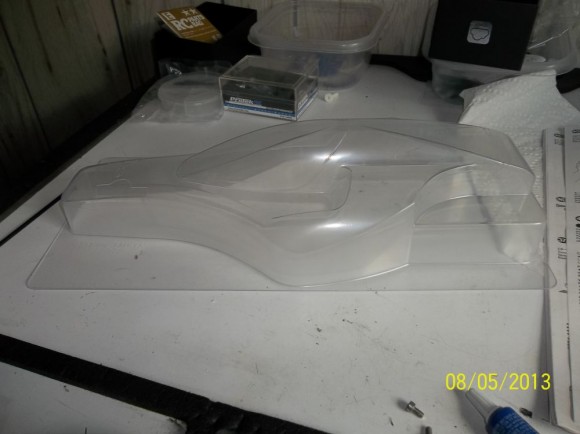
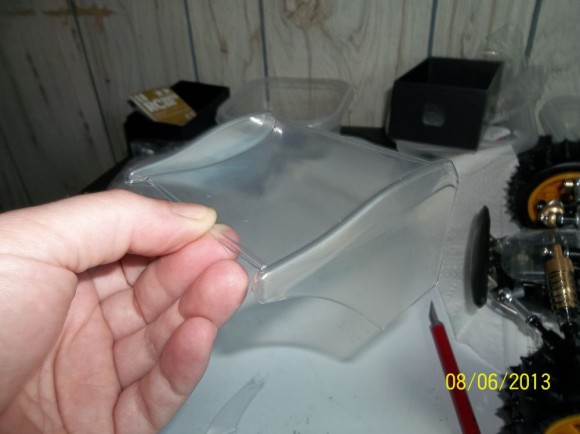
Time to cut out the lexan body and prep it for paint.
The main body all cut out.
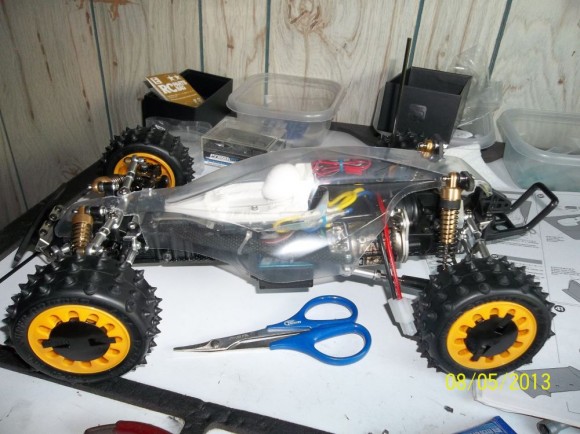
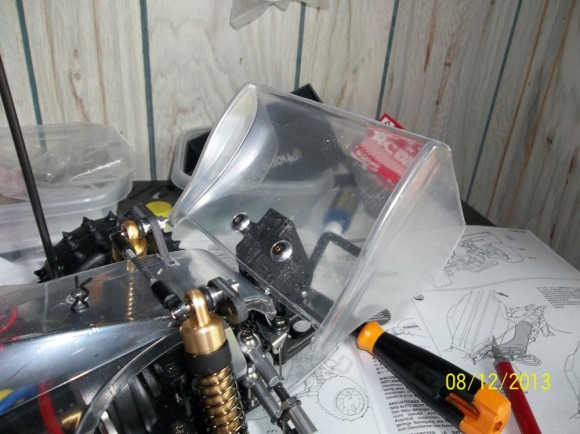
I set it on the car just to get an idea.
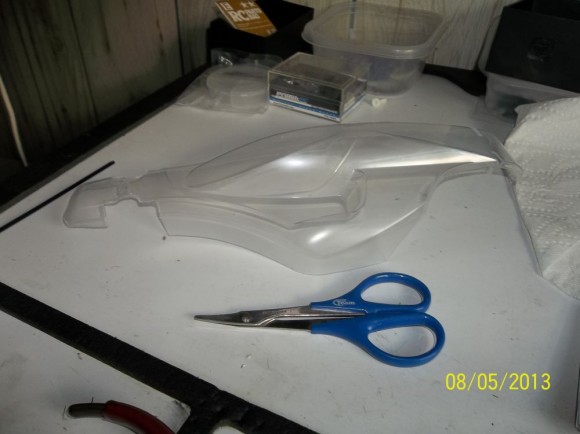
The rear wing is next up for some trimming.
All trimmed up.
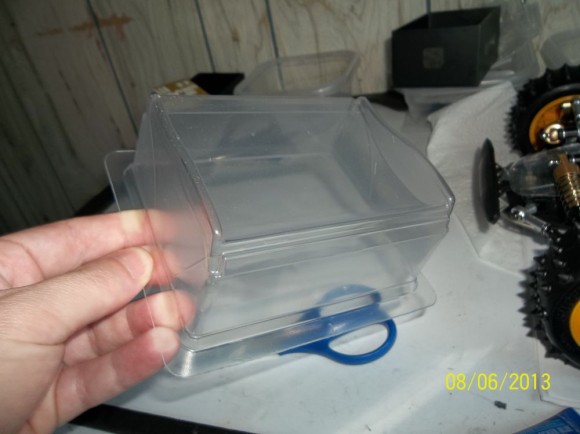
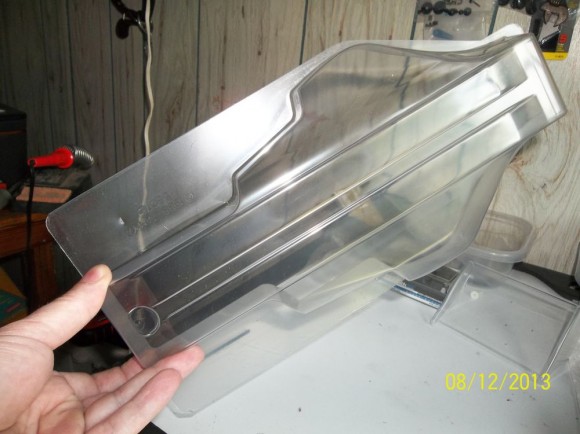
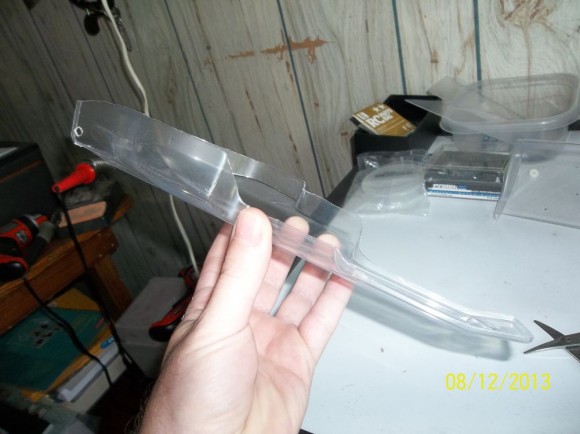
The Avante comes with an under tray that also needs to be trimmed.
Trimmed and ready to go.
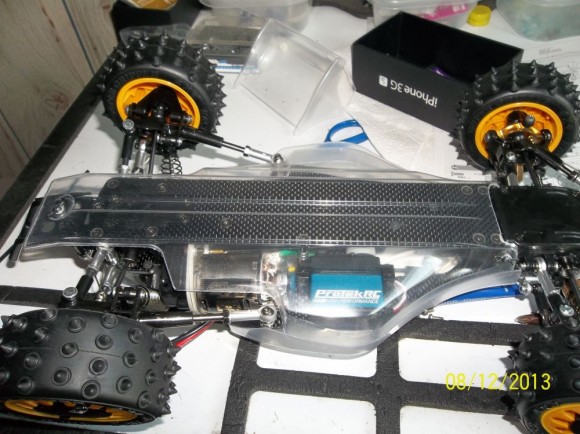
Here it is mounted.
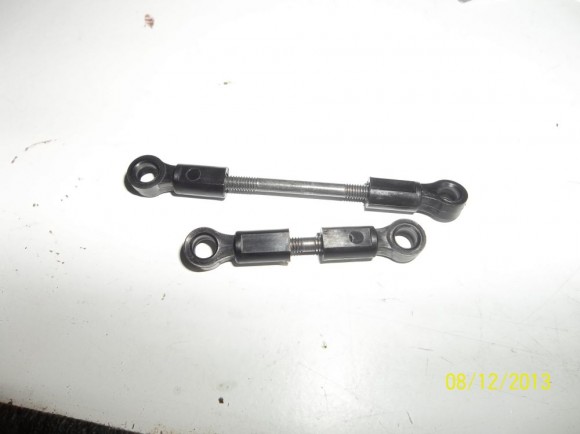
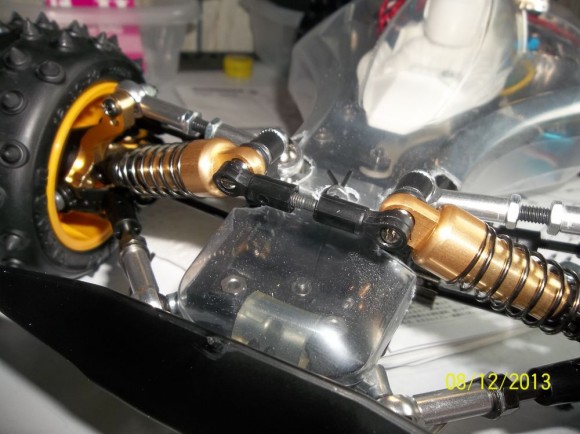
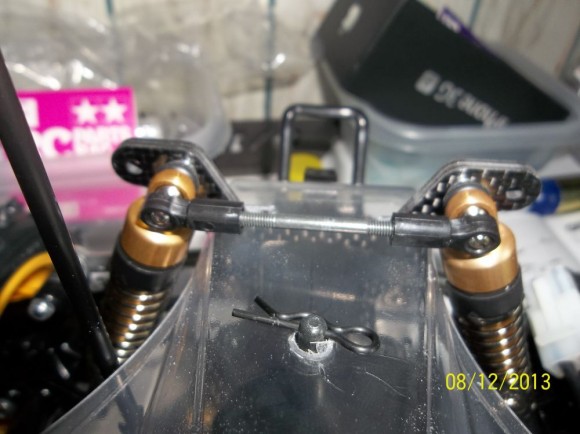
More tie rods? Yup..these are shock tower braces.
They snap onto the ball end screws. This is the front.
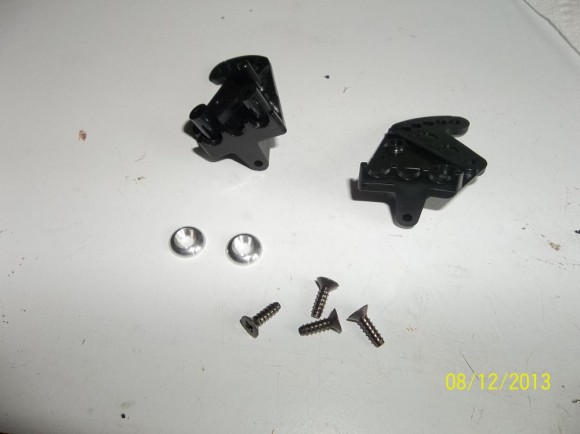
Here we have the wing mount parts.
Screw the two pieces together with the hardware for this step.
The mount attaches to the rear of the car with two shafts and some body clips. Notice the amount of adjustability you have.
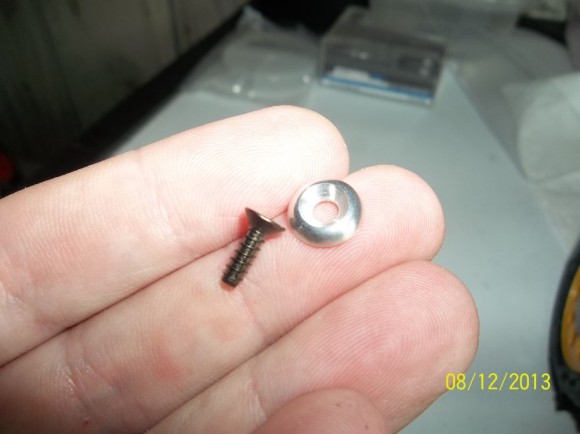
The lexan wing is secured with two screws and a large beveled washer.
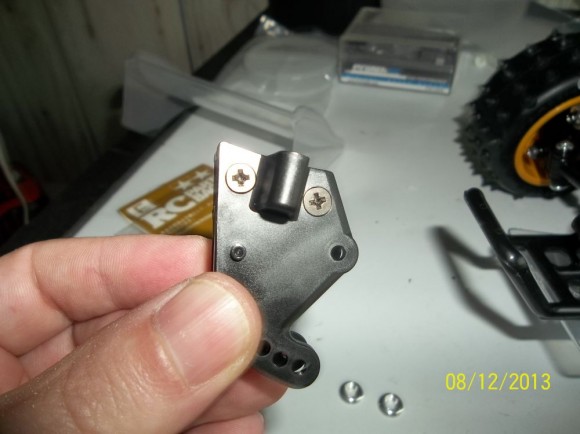
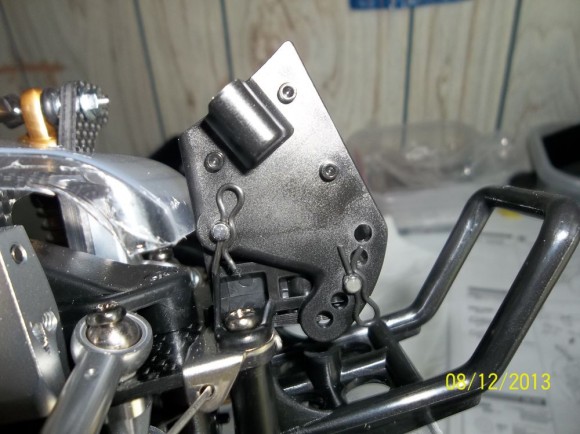
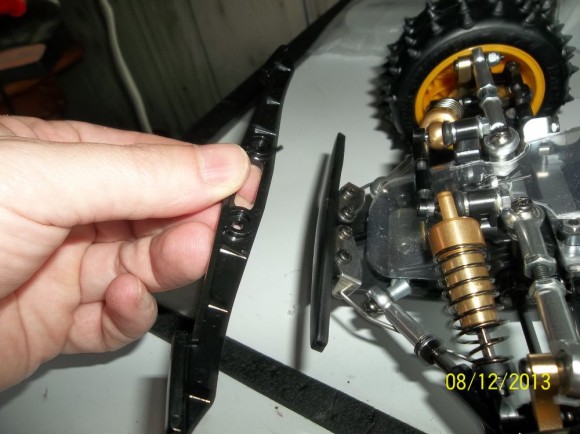
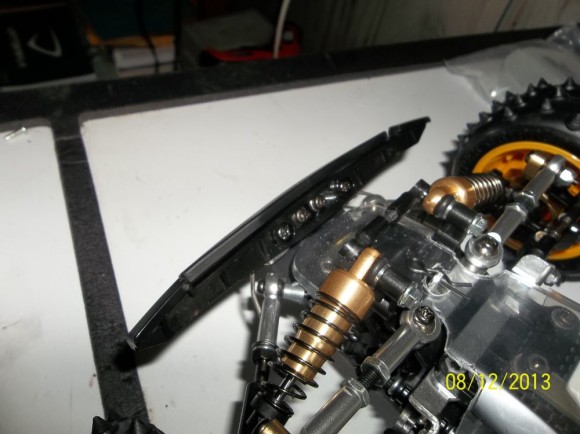
This is a bumper add on. I am guessing this is an added piece for the Avante 2011 kit.
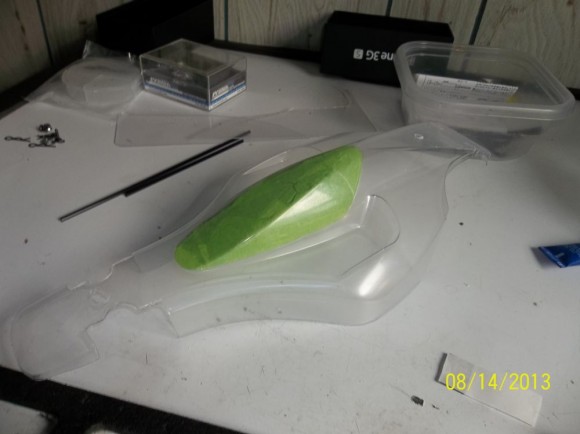
After thoroughly cleaning the body with soap and water its time to mask out the window.
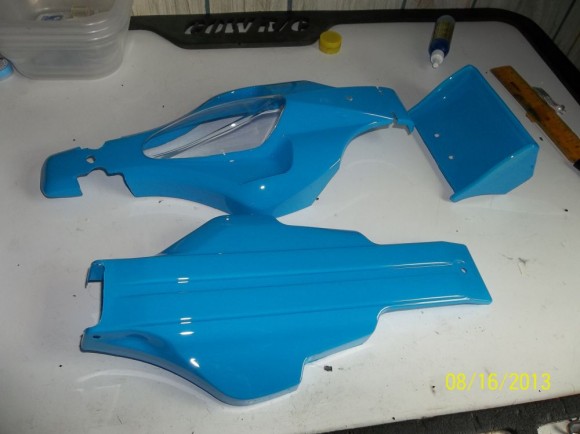
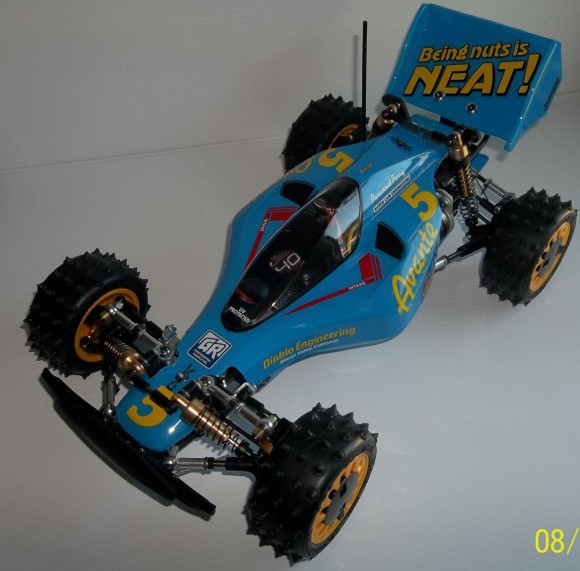
I chose a nice sky blue from Tamiya’s line of paints.
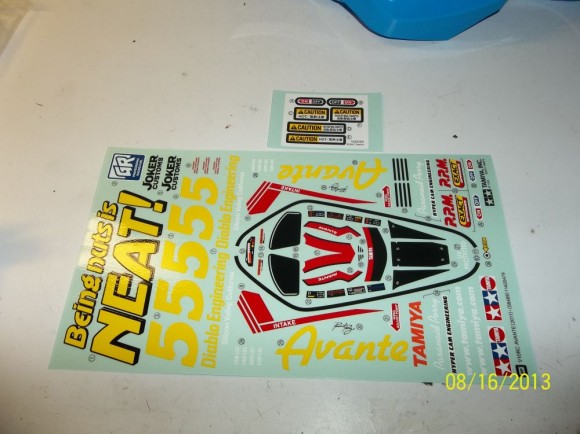
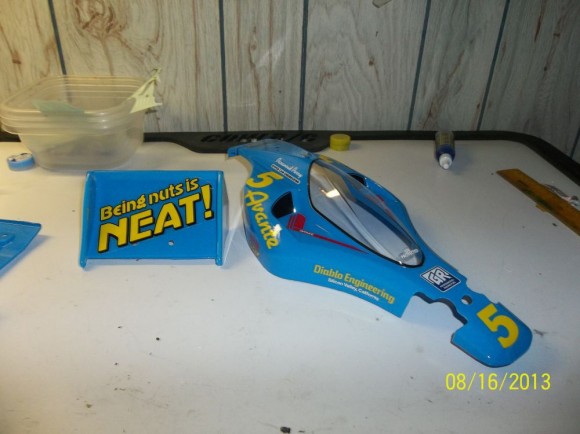
Now its time to add some decals.
Love the odd sayings on older tamiya kits! Ya its NEAT
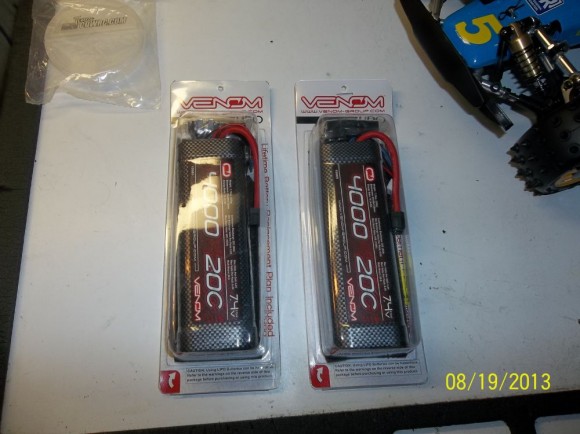
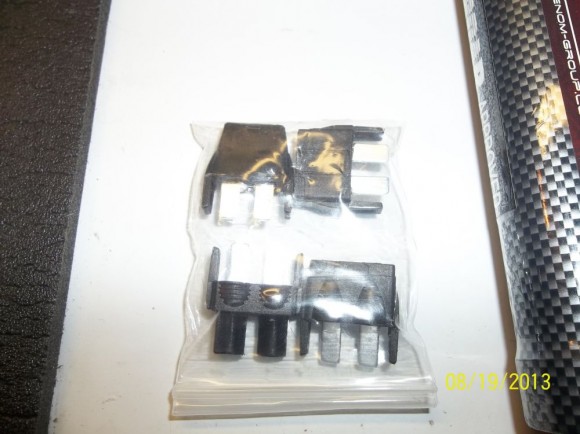
Here are the packs we will be using for this car. Venom’s 4000 20c 7.4v 2s lipo packs. We chose these packs because they are shaped like the old NIMH/NICD packs some of us older racers used back in the day. Most of all the Tamiya kits were designed to use this shape of a battery. Another cool feature of these packs are that they come with 4 adapters for most popular plugs out there. YAAA! I don’t have to solder!
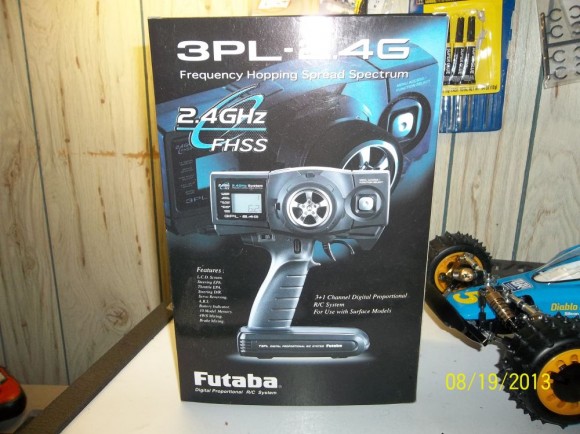 Time to program the radio and ESC
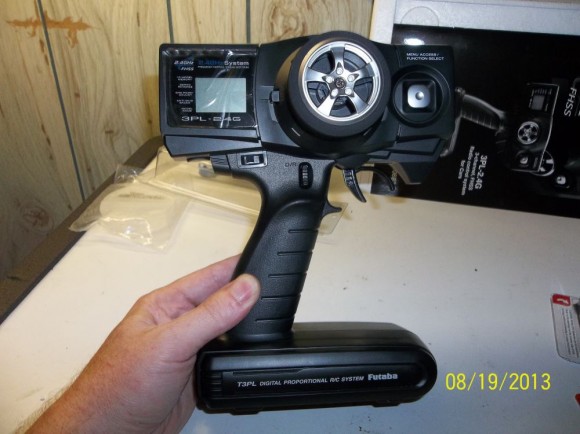
A nice looking radio. This should work great with this kit.
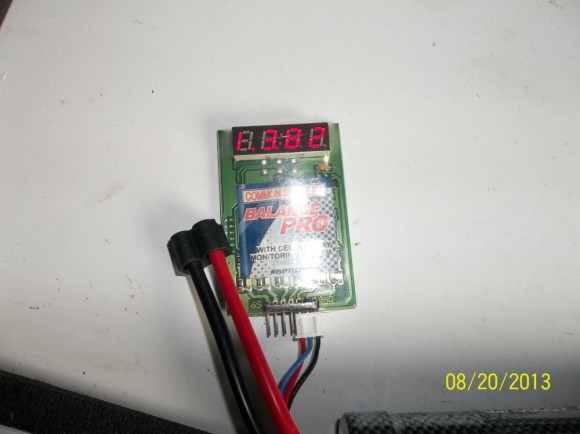
I checked the voltage of the Venom packs right out of the pack. They were balanced and at a good storage voltage.
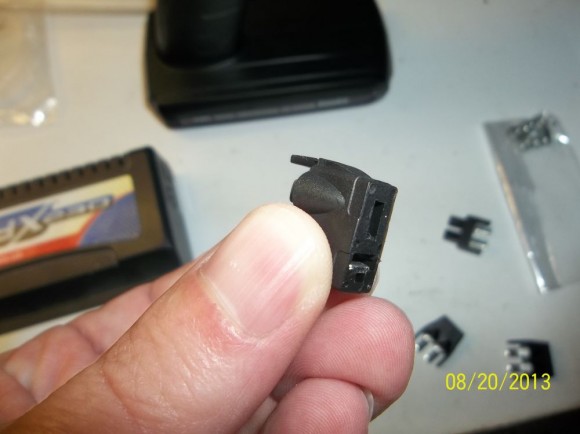
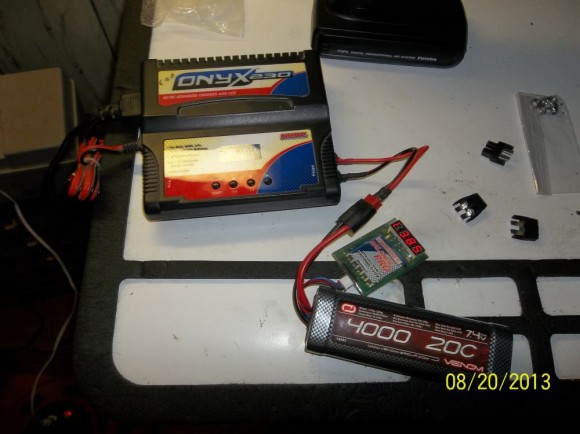
I use deans on all my race stuff including my chargers. So I needed an adapter that will would allow me to charge the pack on my charger. It was in that bag.
Getting my charge on!
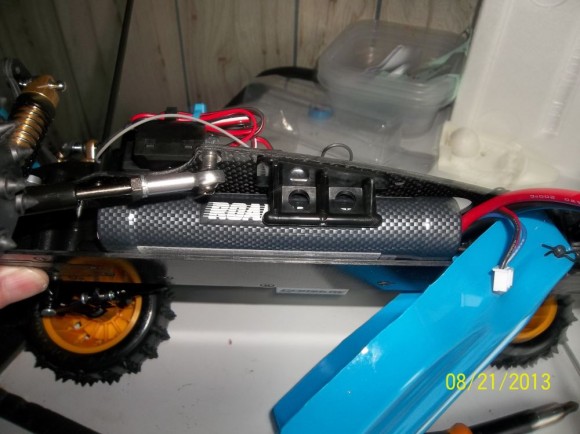
Here is where the battery fits. Nice and snug but I do believe you could get a 2s standard pack in the chassis.
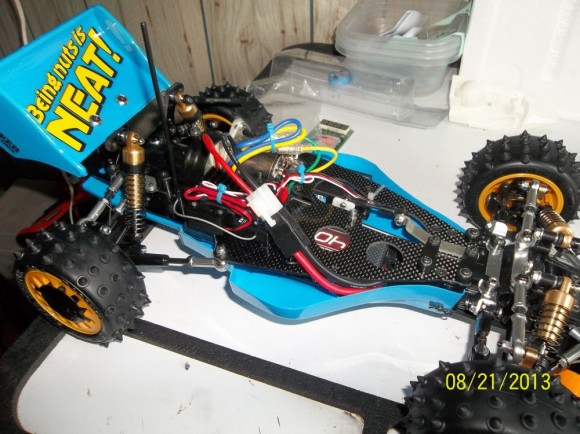
Here we have a shot with all the electronics installed and set.
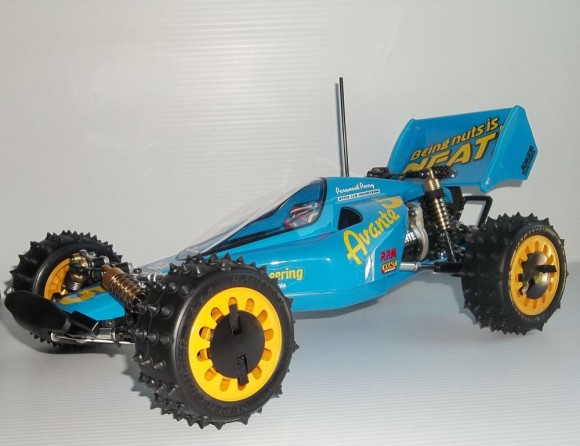
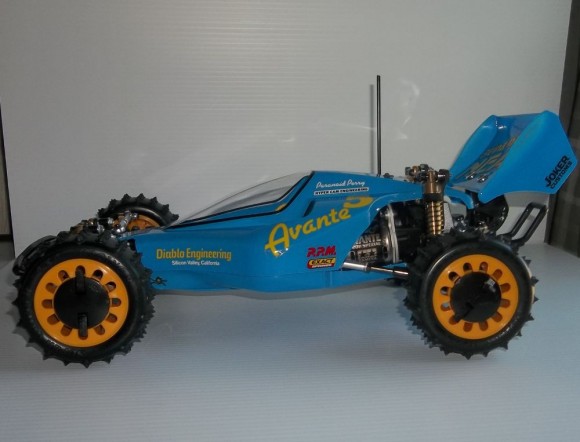
Finished! This car looks so cool
Side view.
Top view.
Below is video of us running it in the yard. This is with the stock esc/motor. Our servo saver we chose was a bit weak and didn’t center well, so we will be upgrading to an aluminum horn in the very near future.
[youtube]http://www.youtube.com/watch?v=IP4NqkbZQ-4[/youtube]
So far its a fun vintage beast. The tires are insane. The car will wheelie on short grass. They’d be a bit much on a track though, so that is why we’re going to modern tires before we attempt to race it. Sadly Kevin forgot the radar gun for this video, but we’d guess it probably does around 19-20MPH stock. The video gives you a pretty good idea how it handles. It’s perfect for bombing around your yard and reliving your childhood with a classic Tamiya ride.
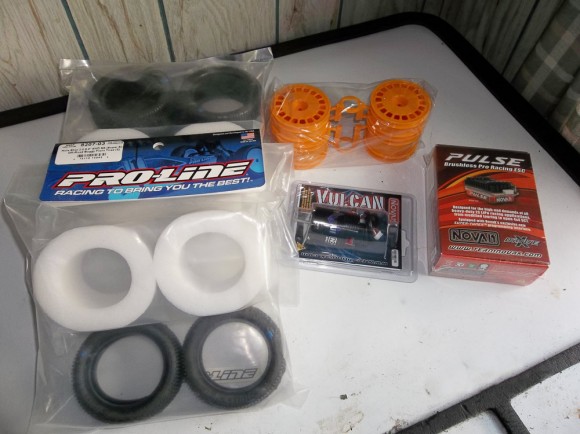
Look for our upgrade article coming very soon where we will be installing the Avante’s modern sized wheels with Pro-Line Holeshots tires, as well as a Novak Pulse ESC and Vulcan 13.5 Brushless motor. That should really wake this car up, and get us into a competitive level for the Vintage Off-Road Nationals in just 10 days.


 September 4th, 2013
  Geo
Geo 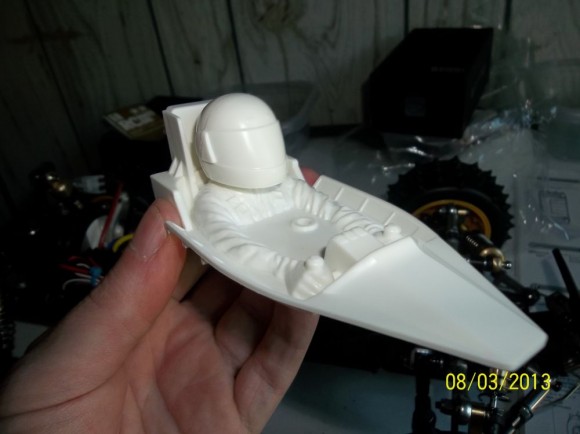


 Posted in
  Tags:
Tags:
Were you able to run this even though it was a re-release?