Bring on Bag E!
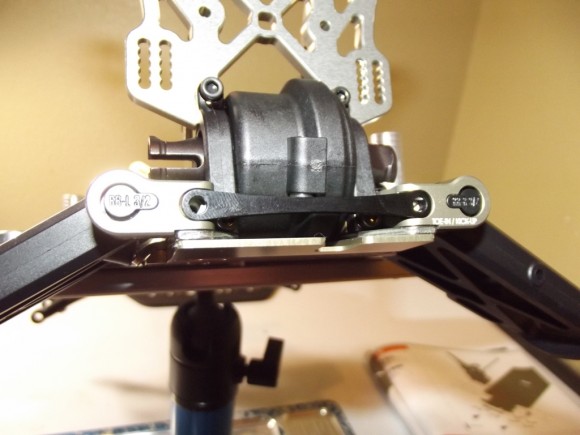
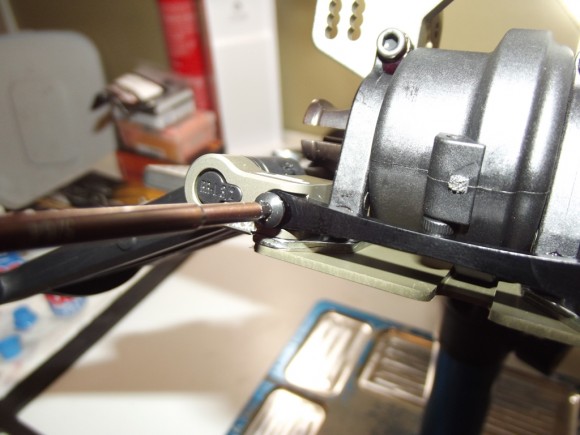
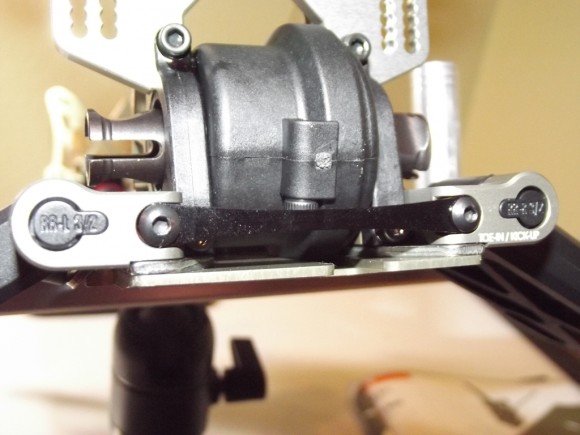
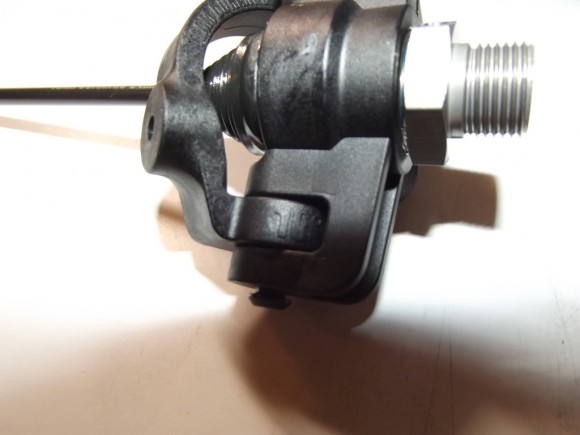
This strap in the rear serves as extra support for the toe blocks,
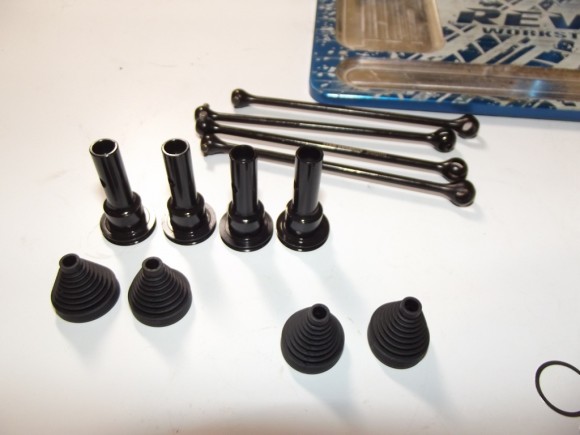
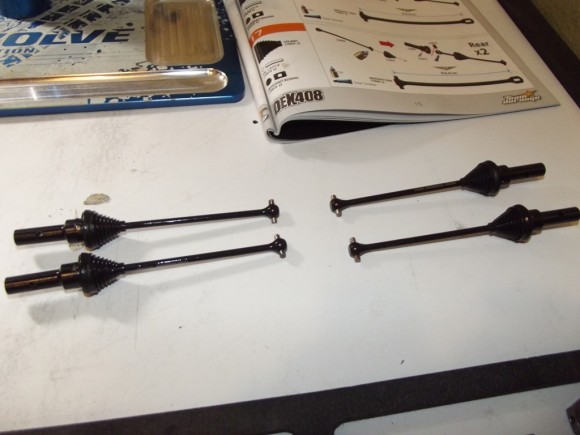
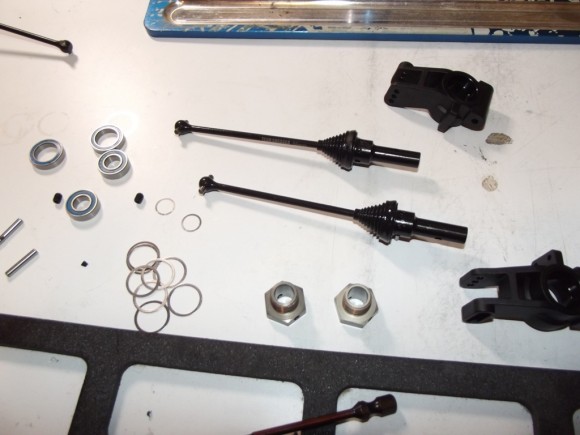
These are the parts for the 4 CVA shafts.
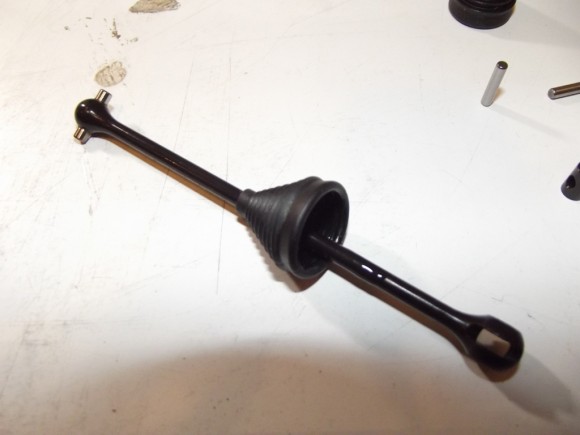
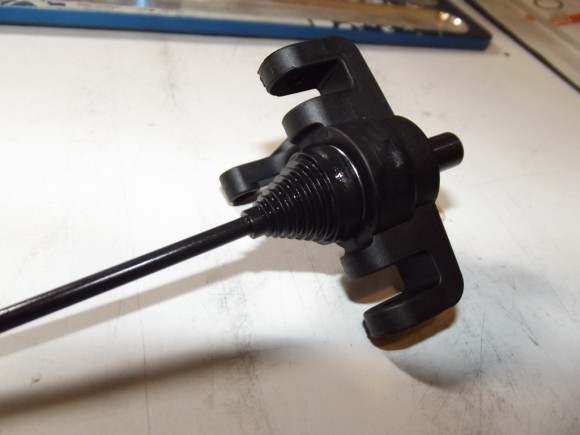
The kit came with rubber grease boots for each CVA which should help keep the dirt and grime out.
I used a small glob of water resistant grease in here to aid in keeping things moving freely.
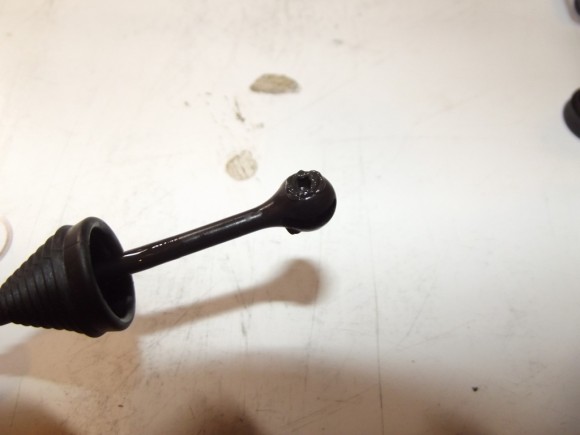
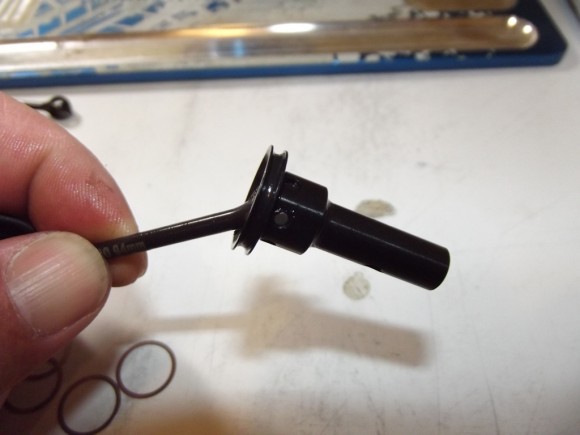
Now we’ll lineup the driveshaft so we can insert the drive pin
You need the drive pin to sit flush
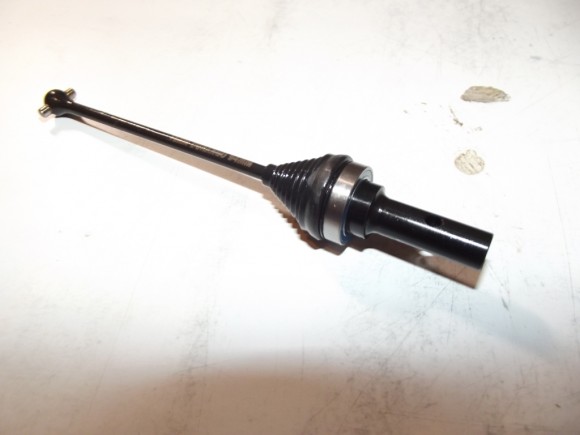
All 4 go together the same way.
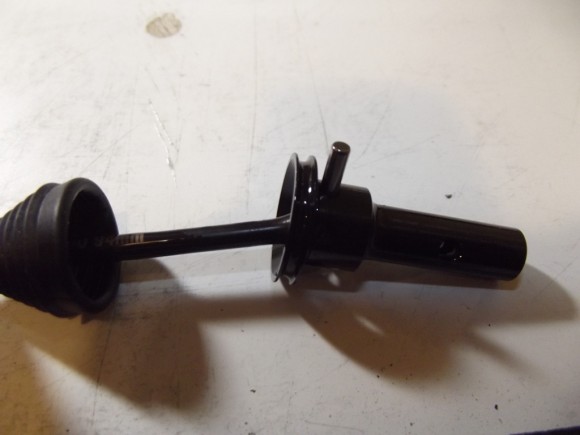
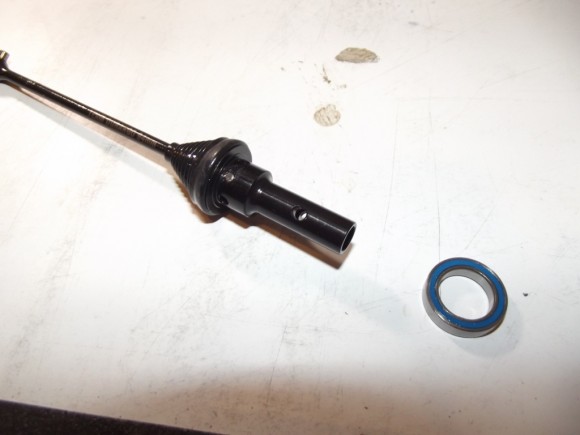
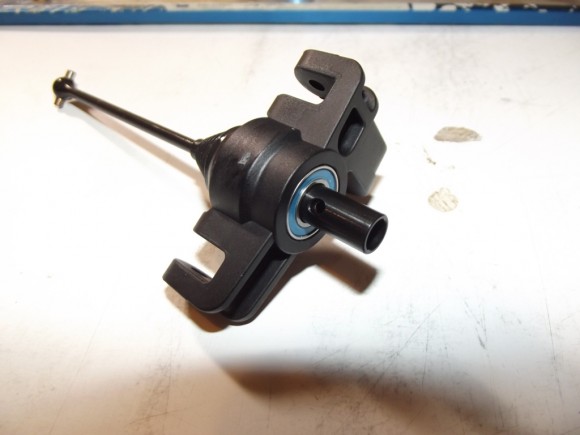
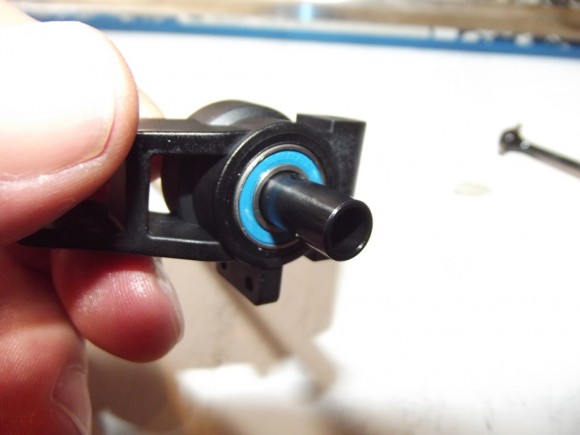
Now we’re going to slide a bearing onto the driveshaft
You’ll notice it slides right over the top of the drive pin. The bearing is what holds it in place, no grub screw on these.
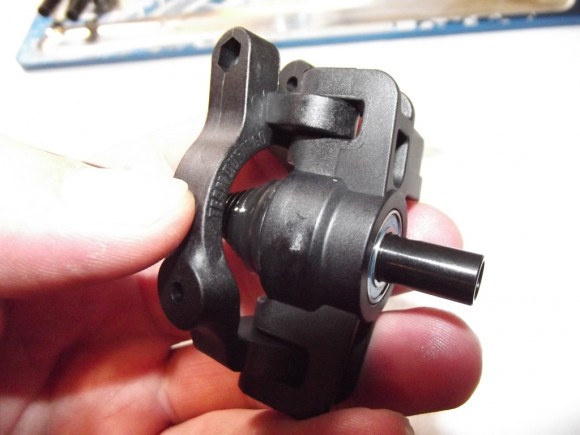
Now we can insert the driveshafts into the hub carriers. The kit gives you a couple options here for different caster angles.
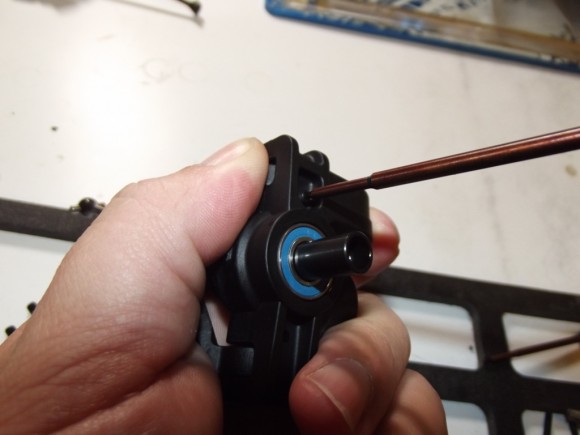
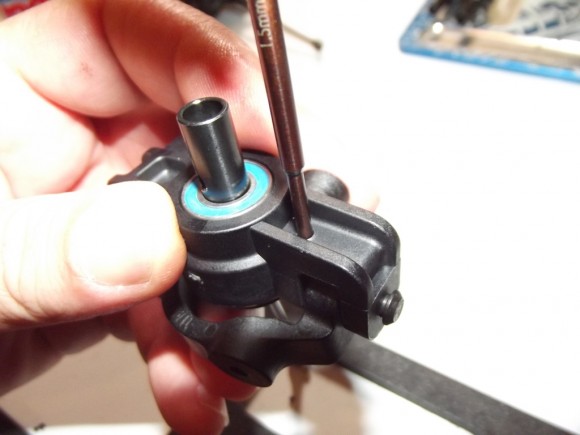
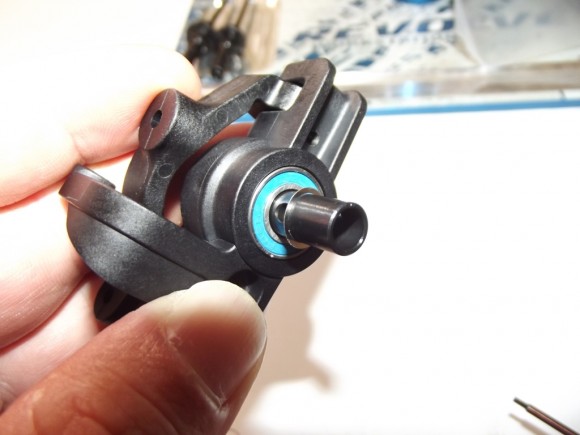
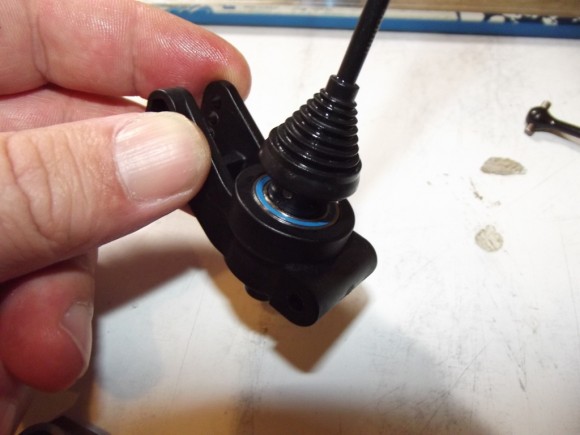
It gets another bearing on the outside
This is the C hub in the front, it provides the pivot point to allow the front wheels to steer.
A couple screws to hold them together
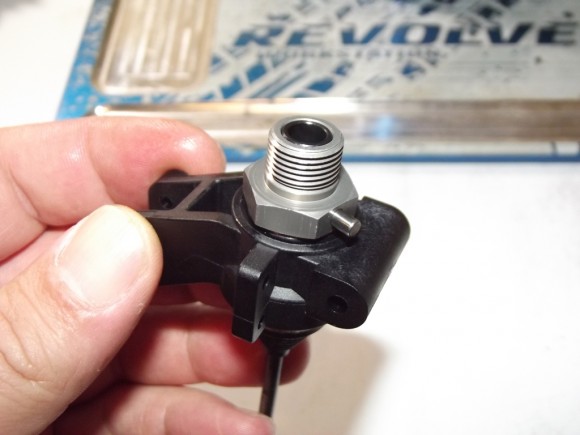
Now we’ll throw a thin washer over the outside of the driveshaft
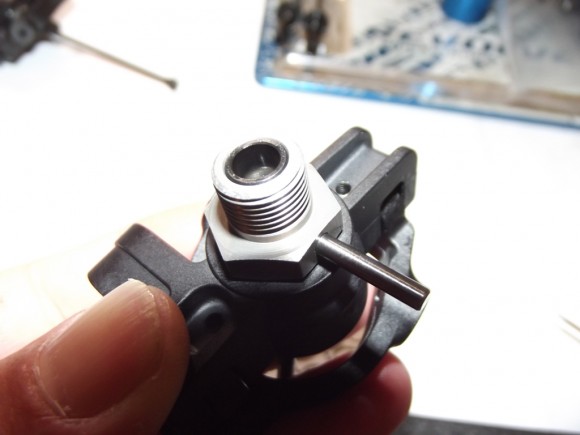
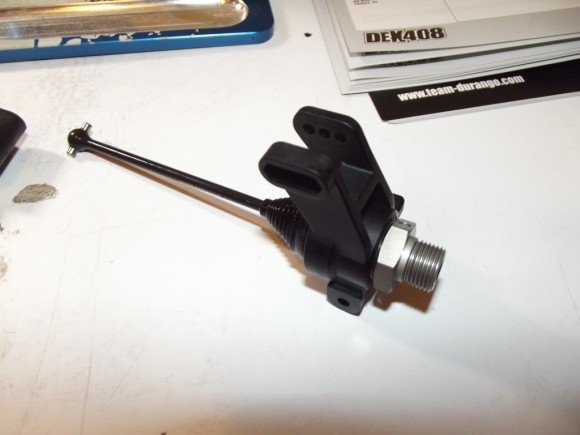
This is the 17mm wheel hex, and the drive pin going through it and the driveshaft
There is a small grub screw to hold the drive pin in place, which we’ll throw a dab of thread locker on.
I used the 10 degree caster blocks
Time for the rears
The magic of Hollywood
You’ll notice the drive pins on these are held in by the bearings, just like the front
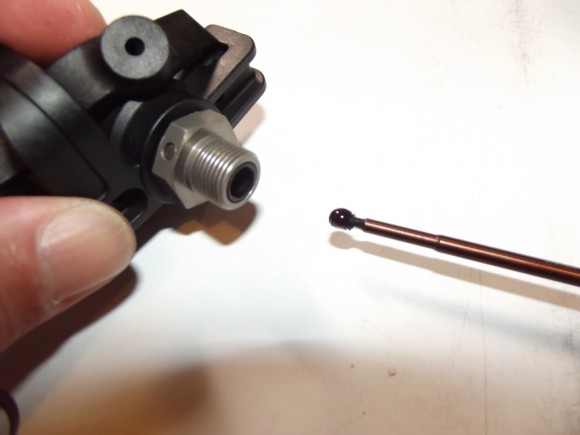
A thin washer for the proper spacing of the hex adapter
Drive pin through the hex adapter and the driveshaft
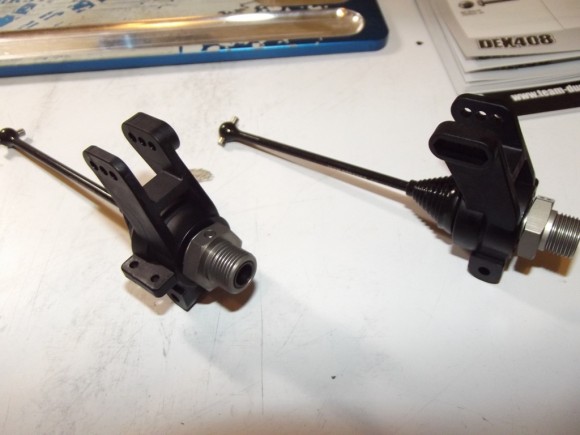
Both rears complete


 April 20th, 2013
  Matt
Matt 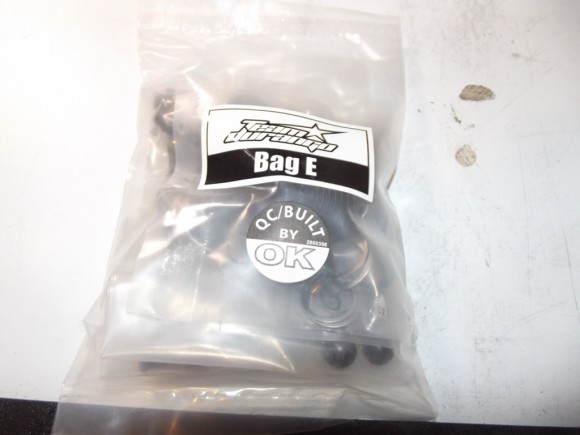
 Posted in
  Tags:
Tags:
[…] a DEX408, and will be reviewing it over the course of the next few months. Check out the build here __________________ http://www.rcsoup.com – R/C Reviews, News, and Tips <<- PM Me if you'd like […]
An excellent write up with great tips!