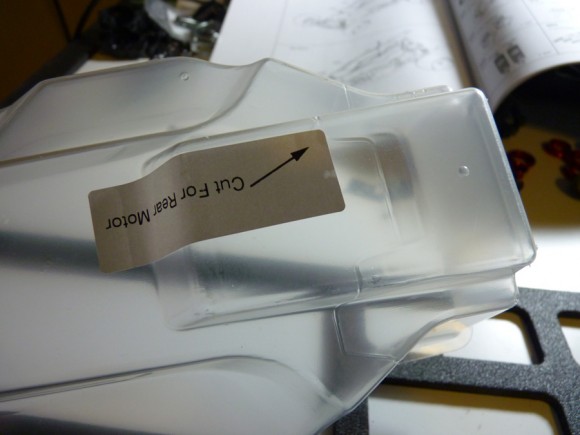
Here’s the body. You only need one (there isn’t a different body for rear motor compared to mid motor). They just have different cut lines.
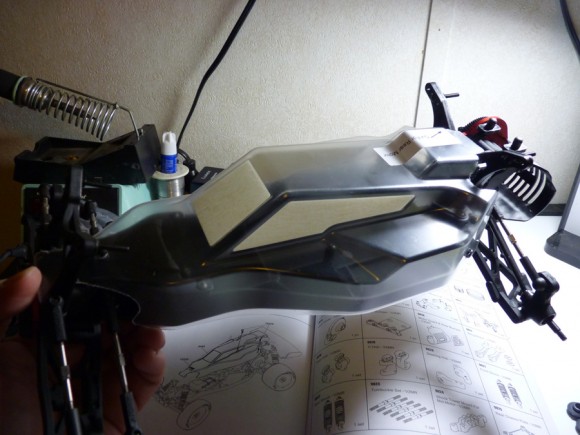
Rough mounted. We literally finished this build only a couple days before heading to Motorama, so we went with a single color, bright orange.
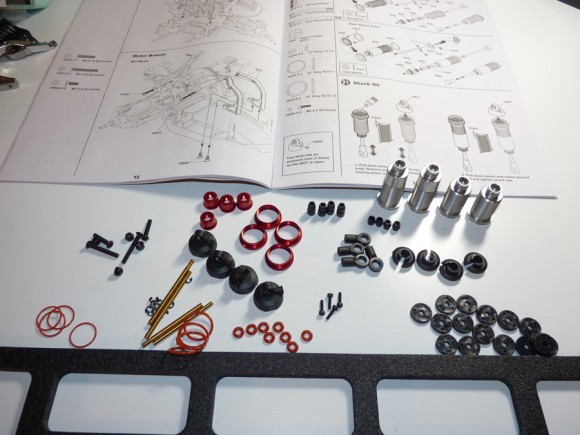
Now its time to build some shocks! These are pretty nice actually.. They are threaded big bores with Titanium-Nitride plated Shock Shafts.
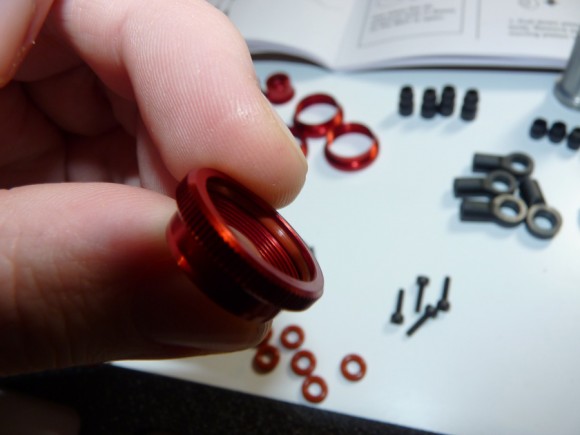
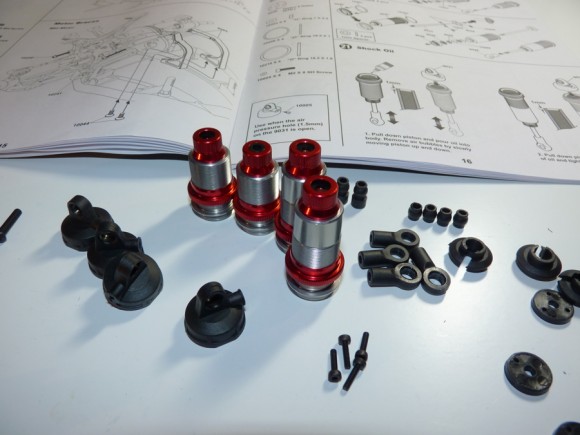
We insert an O-ring into the collar to prevent it from moving freely on the shock when it’s getting tossed around on the track.
Bodies with collars installed.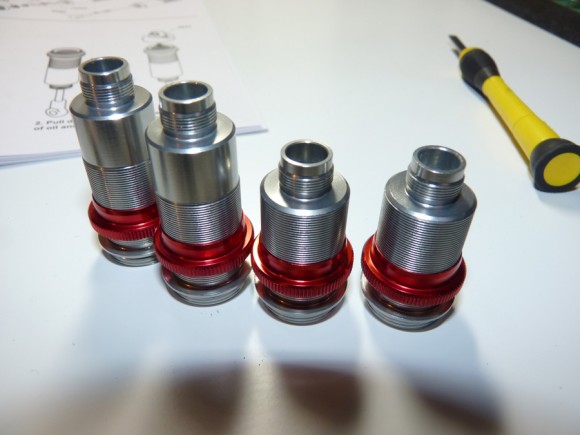
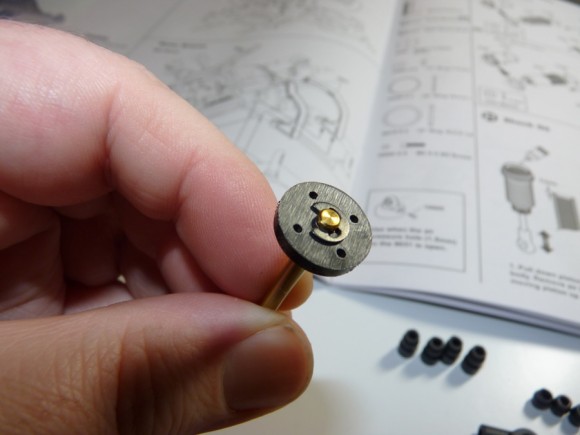
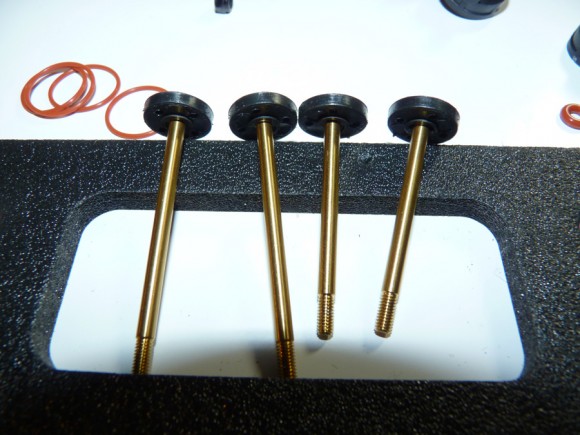
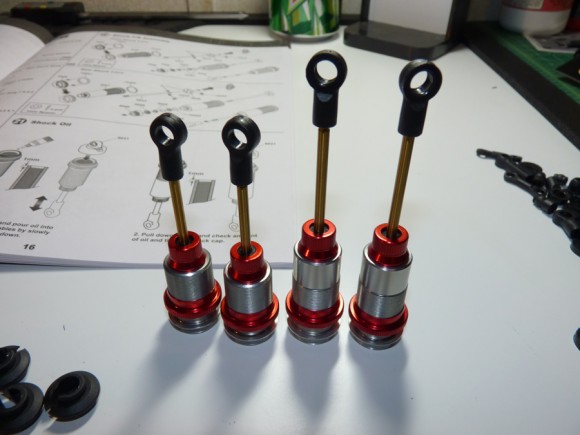
Piston installed on the shock shaft.
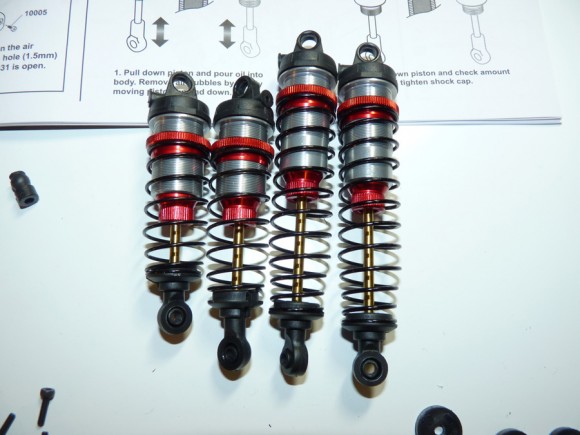
Wrapping up assembly (all pretty straight forward, similar style to other shocks we’ve seen before).
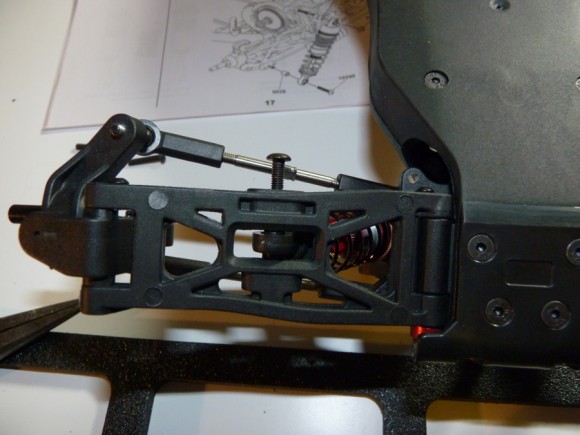
Completed shock build. Notice the tapered spring. It’s impossible to install the spring upside down. The taper helps give more clearance around the lower arm areas for turnbuckles, etc and to help prevent hitting them.
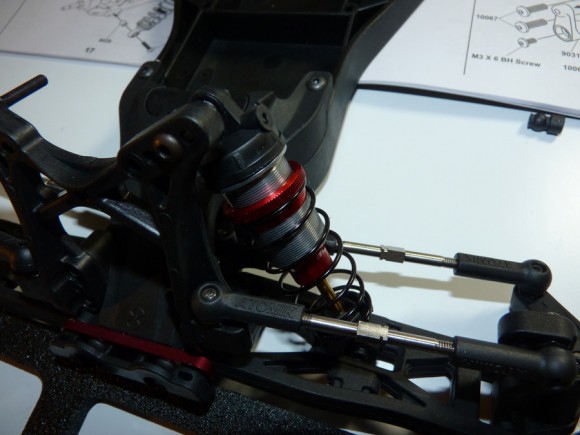
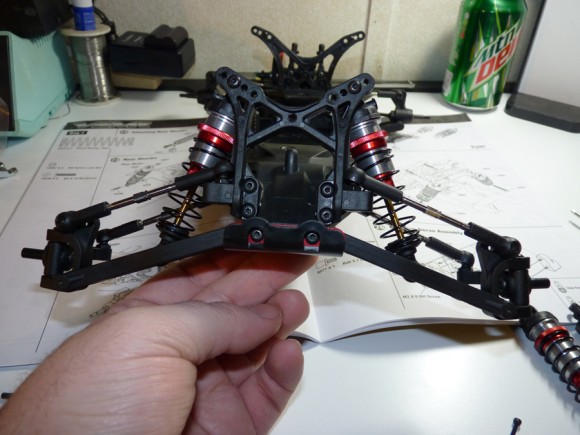
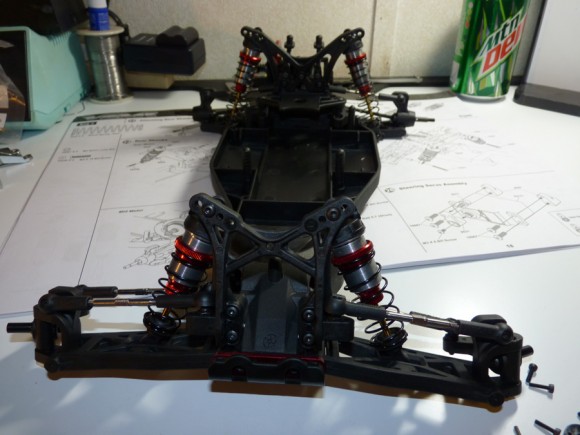
Now we install the front shocks.
Lookin good!
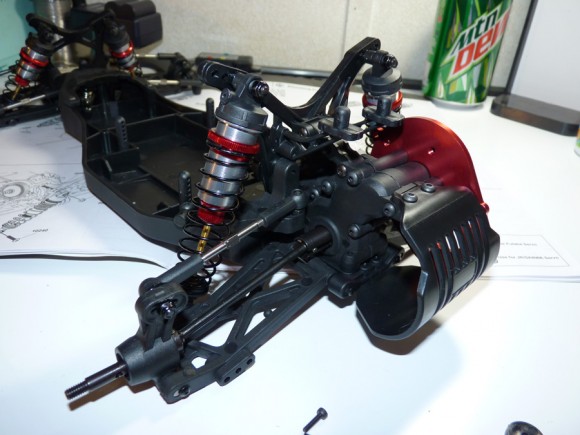
Here we also have mounted the rears.


 March 26th, 2013
  Kevin
Kevin 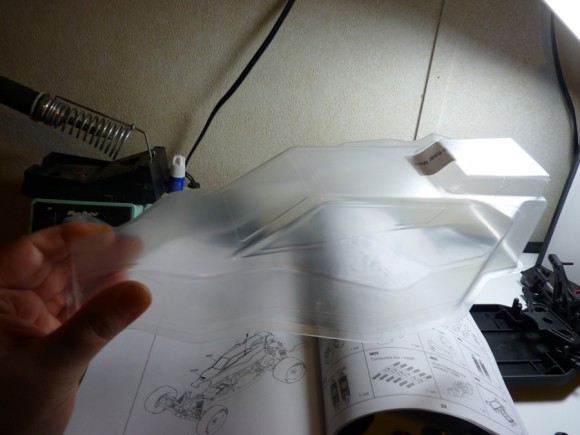
 Posted in
  Tags:
Tags:
[…] Soup's V2MR build is now live! http://www.rcsoup.com/2013/03/atomik…uggy-build-up/ __________________ http://www.rcsoup.com – R/C Reviews, News, and Tips <<- PM Me if you'd like […]
Kevin,
I am really impressed with the time and attention to detail you took to do such a complete build-up of our new V2MR buggy. Looking forward to reading your next commentary on the buggy.
Clint Bower
President
Vertical Partners West, LLC – Atomik RC, Venom & Steerix
[…] over the RCSOUP write up about the car, he uses B4 standard rears with no issues. http://www.rcsoup.com/2013/03/atomik…gy-build-up/9/ __________________ Joey King Old School Racer, Vintage RC Car nut Atomik/Venom, RC Carbon […]
What gearing were you running for stock
I have one this kit -Atomic V2MR 1/10 buggy,really easy bulid up,and the price is very cheap,but the performance is perfect,I like this kit