Now it’s time to work on the front of the buggy. We’re going to build the bellcrank/servo saver next. They are all in Bag C.
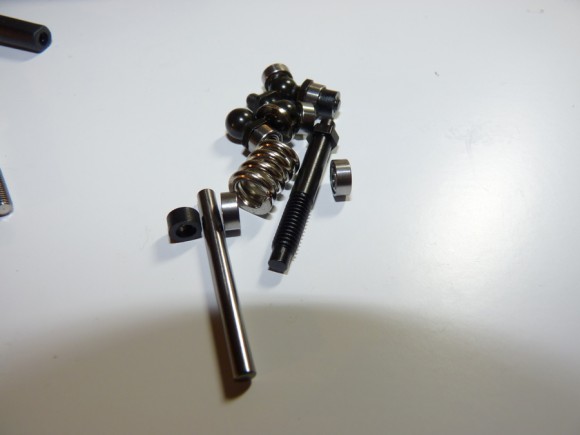
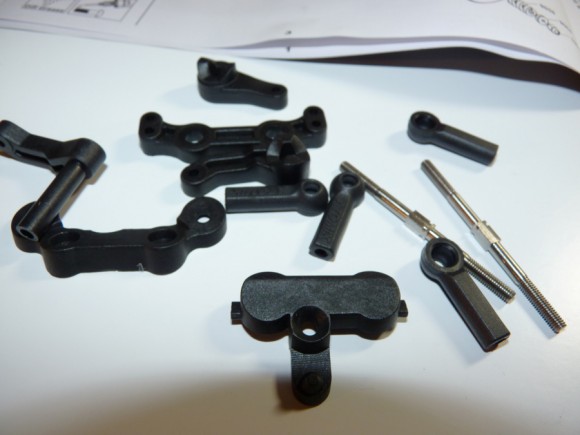
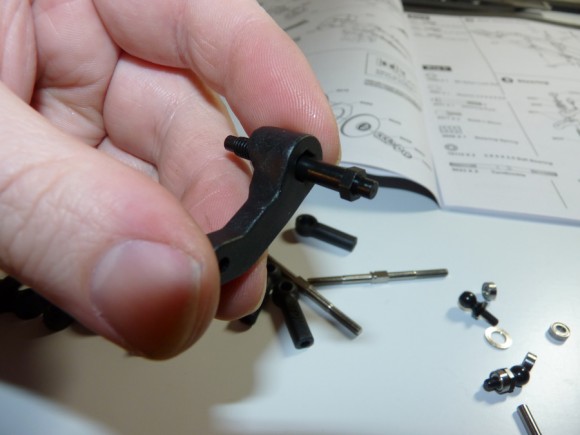
Here are the steering posts, servo saver spring, bearings, and ball studs.
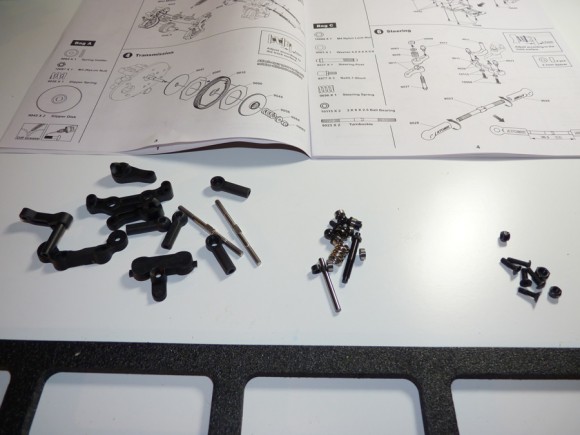
The titanium turnbuckles, rod ends/ball cups, and steering rack parts.
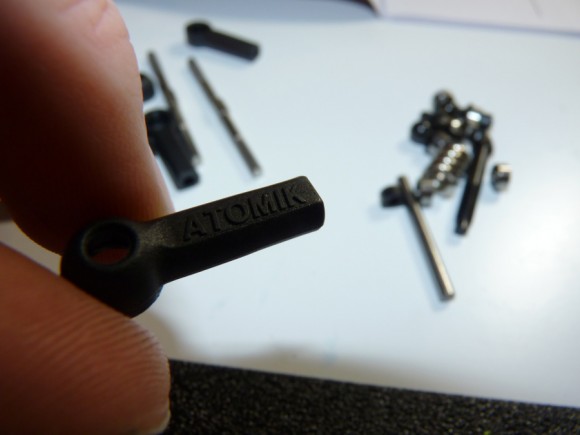
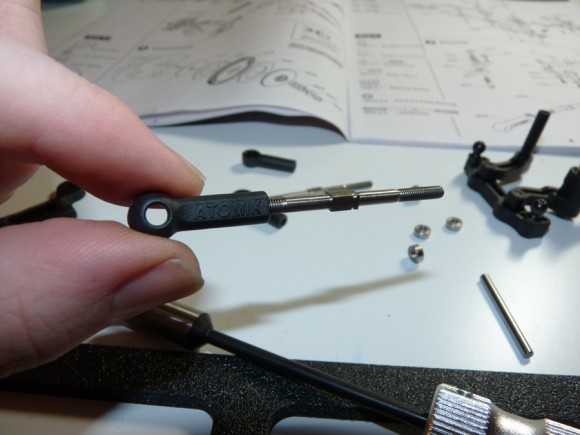
The Atomik rod ends are pretty cool. The are open ended. They are also branded with the Atomik name.
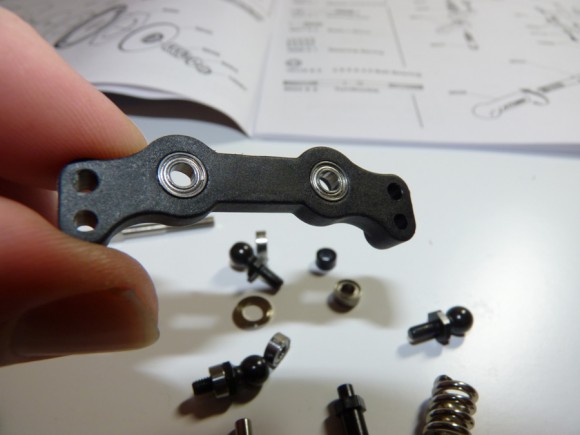
First we install bearings in the steering rack.
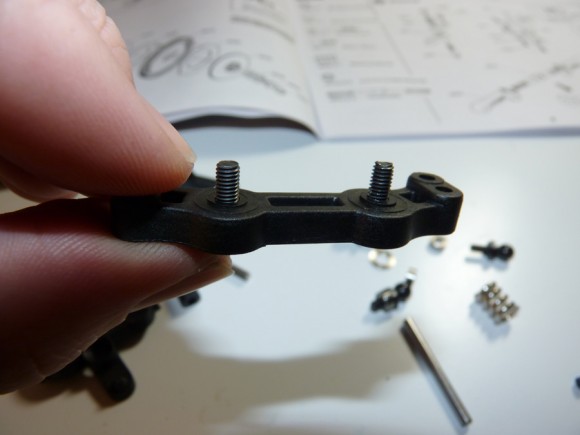
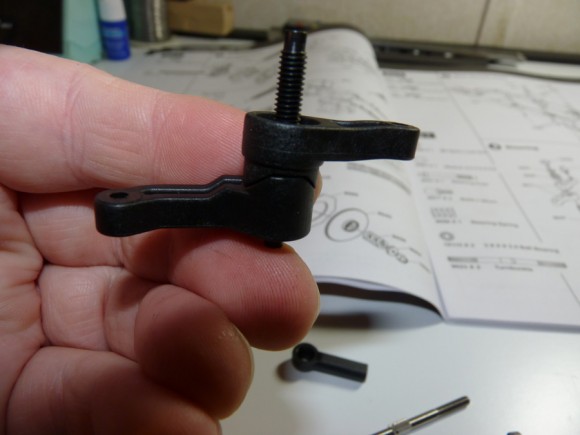
Next we attach the bellcrank arms to the rack (we’ll fully assemble the system first though).
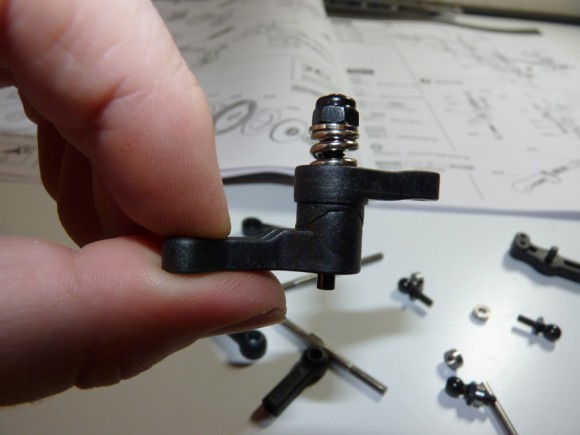
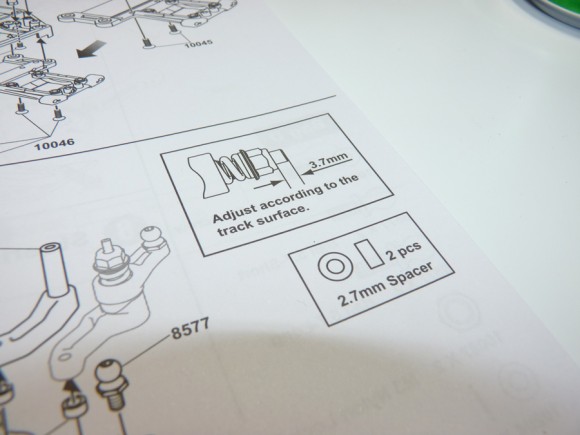
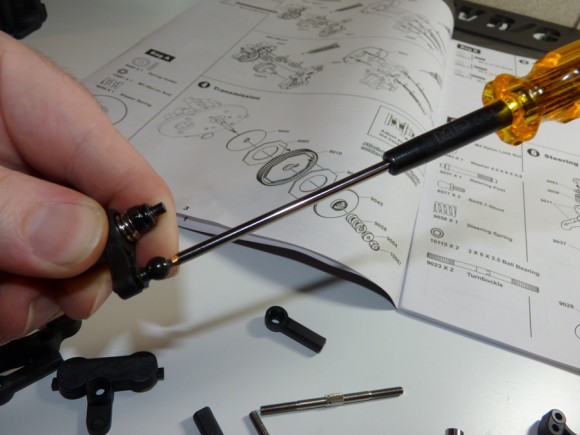
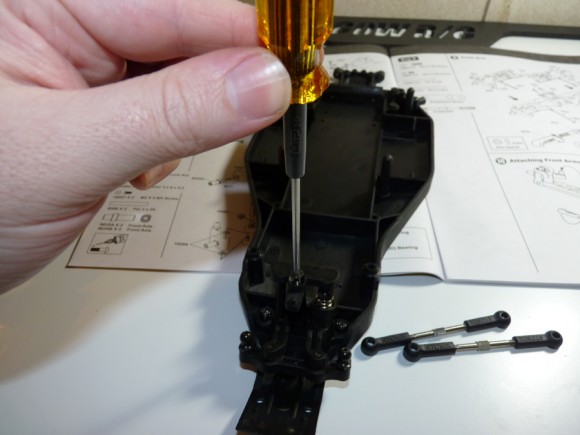
The manual shows where to adjust the tension on the servo saver.
MIP hex driver in action.
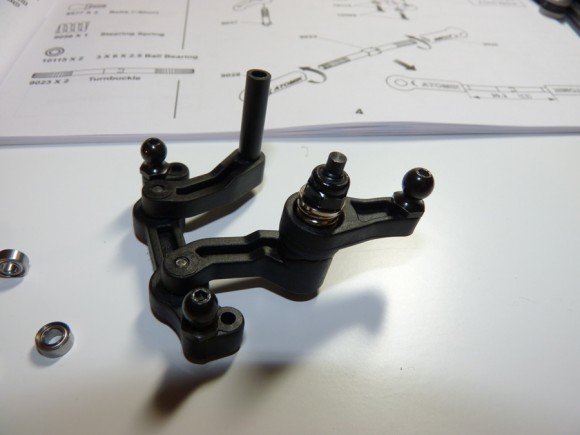
Assembled bellcrank/servo saver!
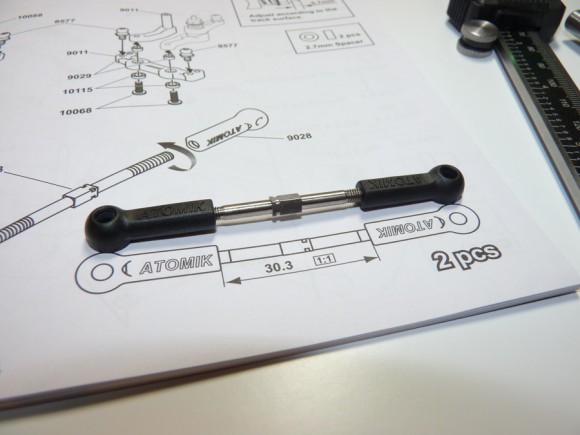
Turnbuckle time! My favorite part of a build.. lol. These were actually pretty easy to assemble. No blisters.
Manual coming in handy again.
Now it’s all ready to install.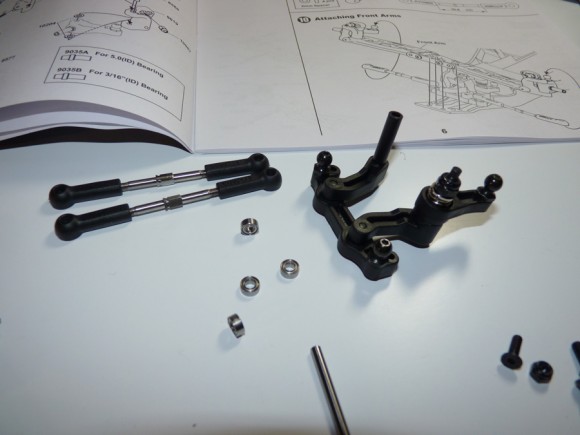
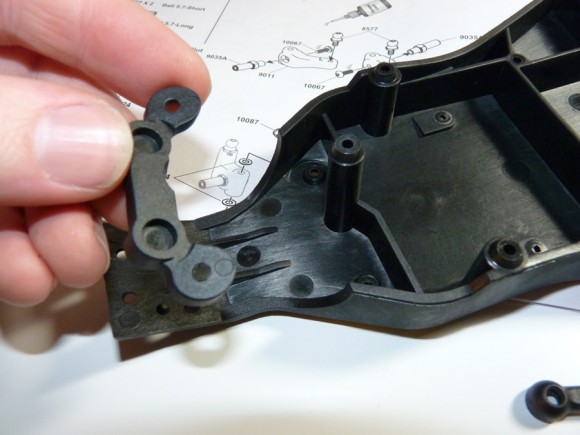
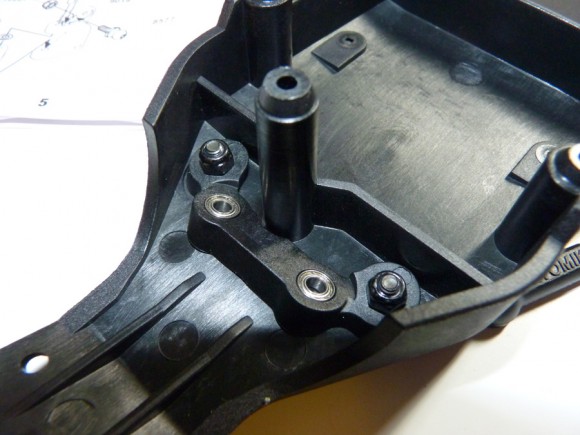
This bottom mount gets inserted onto the chassis first.
It bolts from the bottom and is secured with locknuts.
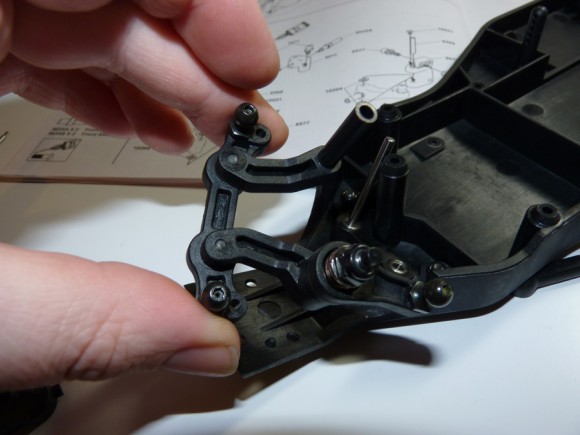
Now we plop in the servo saver assembly.
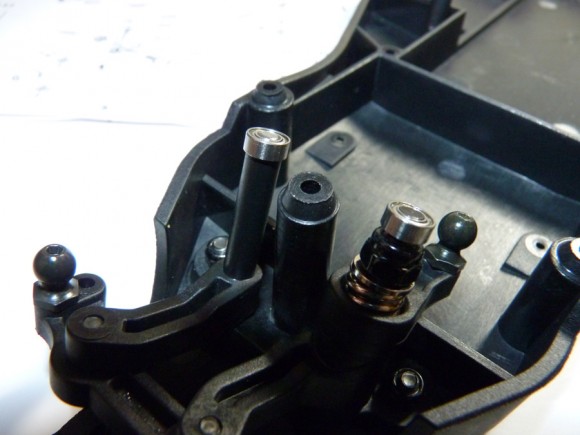
Don’t forget the bearings!
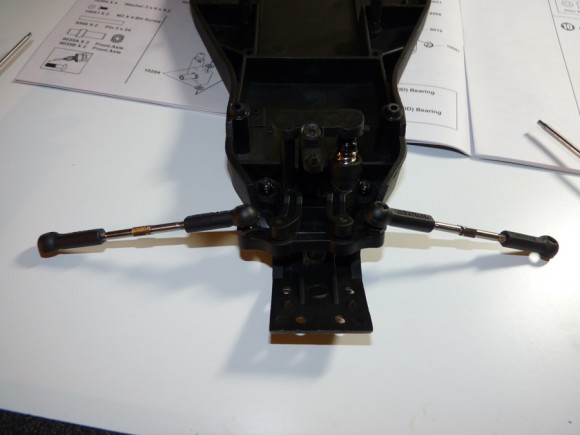
We then secure the top steering rack support and have a functioning steering assembly.
Snap on turnbuckles.


 March 26th, 2013
  Kevin
Kevin 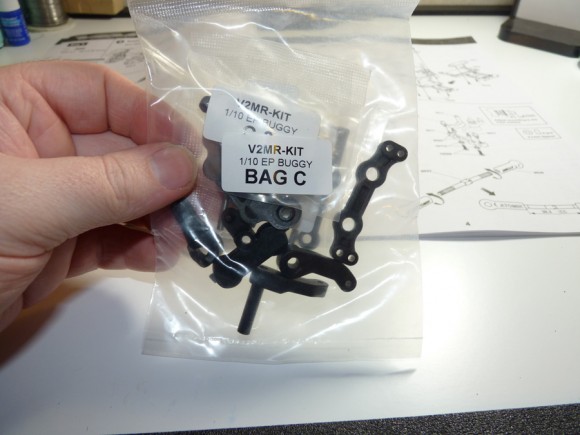
 Posted in
  Tags:
Tags:
[…] Soup's V2MR build is now live! http://www.rcsoup.com/2013/03/atomik…uggy-build-up/ __________________ http://www.rcsoup.com – R/C Reviews, News, and Tips <<- PM Me if you'd like […]
Kevin,
I am really impressed with the time and attention to detail you took to do such a complete build-up of our new V2MR buggy. Looking forward to reading your next commentary on the buggy.
Clint Bower
President
Vertical Partners West, LLC – Atomik RC, Venom & Steerix
[…] over the RCSOUP write up about the car, he uses B4 standard rears with no issues. http://www.rcsoup.com/2013/03/atomik…gy-build-up/9/ __________________ Joey King Old School Racer, Vintage RC Car nut Atomik/Venom, RC Carbon […]
What gearing were you running for stock
I have one this kit -Atomic V2MR 1/10 buggy,really easy bulid up,and the price is very cheap,but the performance is perfect,I like this kit