Chassis time! The chassis tub is pretty straight forward and similar in style to what a lot of buggy owners are used to seeing. It has a molded T-plate rear end that mounts to the main chassis.
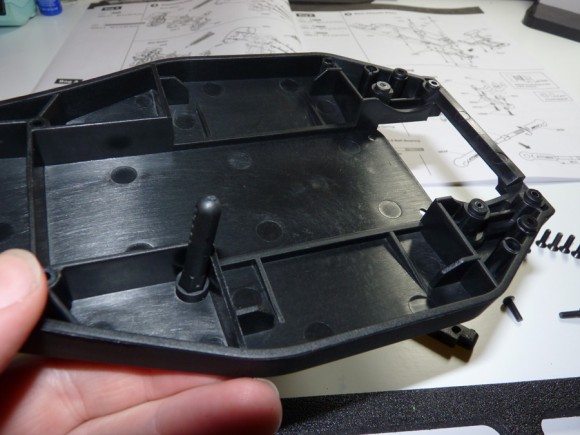
First we’ll install the battery hold down posts.
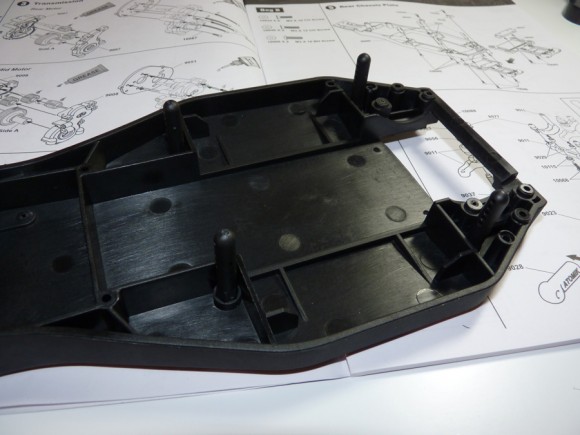
Next we install the rear body mounts. I’ve always found this location to be a bit annoying for getting body clips in and out because it’s so close to the tire. Most guys I see run velcro instead, and Atomik leaves plenty of meat on the sidewall of the chassis to allow for the velcro method of body mounting if you so choose.
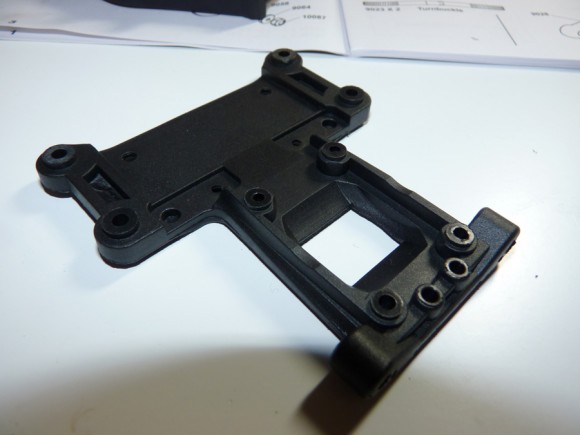
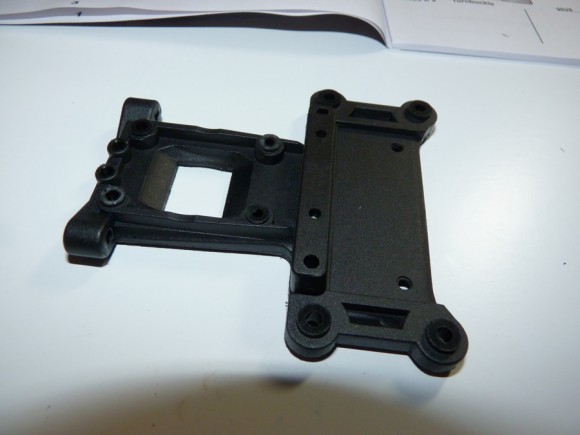
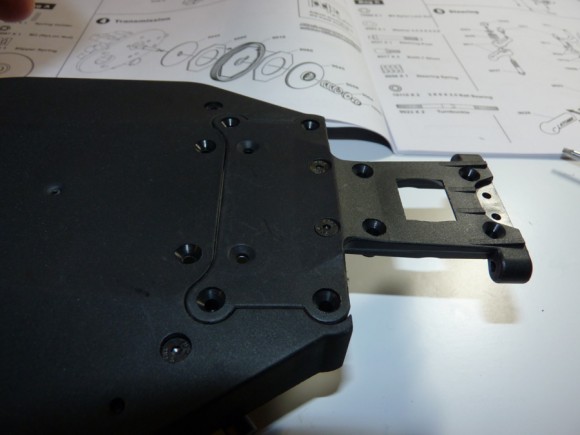
Now we have the rear arm mount/chassis plate. This mounts to the chassis, and the rear suspension arms mount to it.
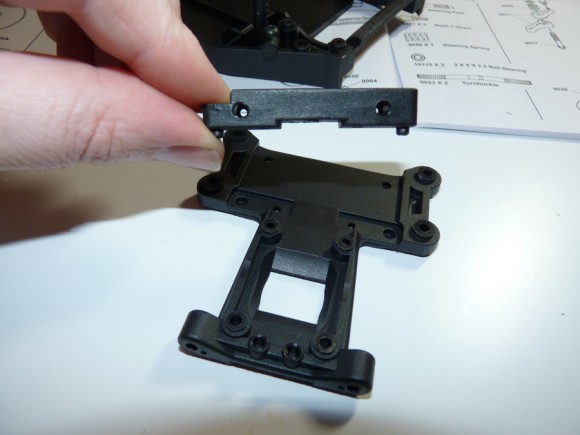
This is the hinge pin holder/toe block. This mounts to the rear chassis plate.
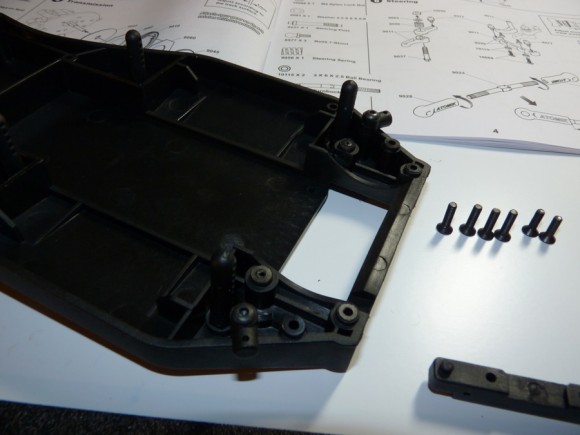
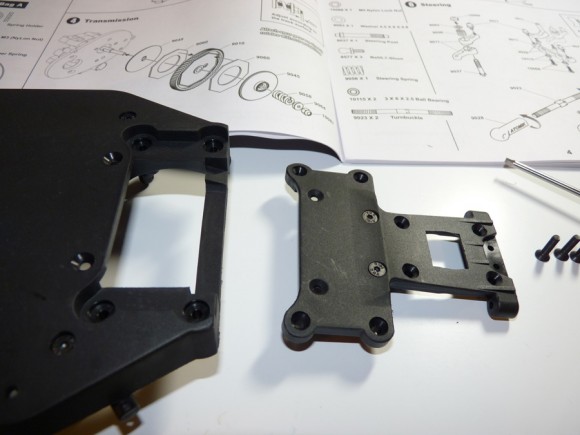
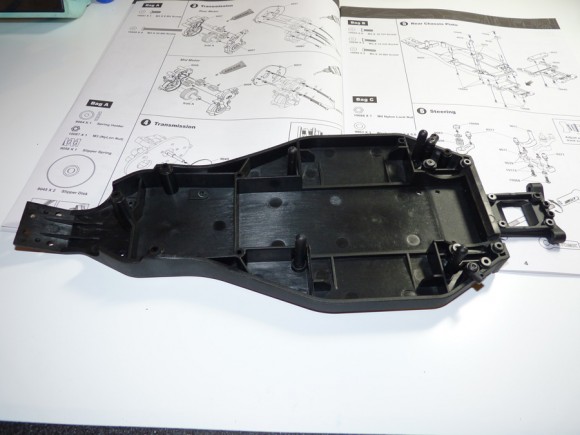
Then we attach the rear plate to the main chassis. The fit and finish of these parts is very nice, and the plate fits in the chassis like a puzzle piece. Very solid design work on these molded parts.
Chassis and rear plate become one.


 March 26th, 2013
  Kevin
Kevin 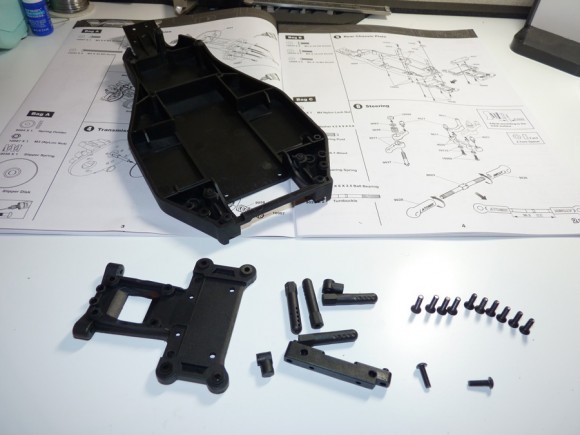
 Posted in
  Tags:
Tags:
[…] Soup's V2MR build is now live! http://www.rcsoup.com/2013/03/atomik…uggy-build-up/ __________________ http://www.rcsoup.com – R/C Reviews, News, and Tips <<- PM Me if you'd like […]
Kevin,
I am really impressed with the time and attention to detail you took to do such a complete build-up of our new V2MR buggy. Looking forward to reading your next commentary on the buggy.
Clint Bower
President
Vertical Partners West, LLC – Atomik RC, Venom & Steerix
[…] over the RCSOUP write up about the car, he uses B4 standard rears with no issues. http://www.rcsoup.com/2013/03/atomik…gy-build-up/9/ __________________ Joey King Old School Racer, Vintage RC Car nut Atomik/Venom, RC Carbon […]
What gearing were you running for stock
I have one this kit -Atomic V2MR 1/10 buggy,really easy bulid up,and the price is very cheap,but the performance is perfect,I like this kit