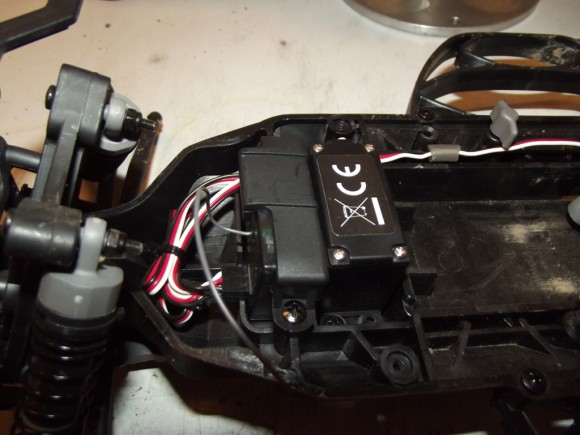
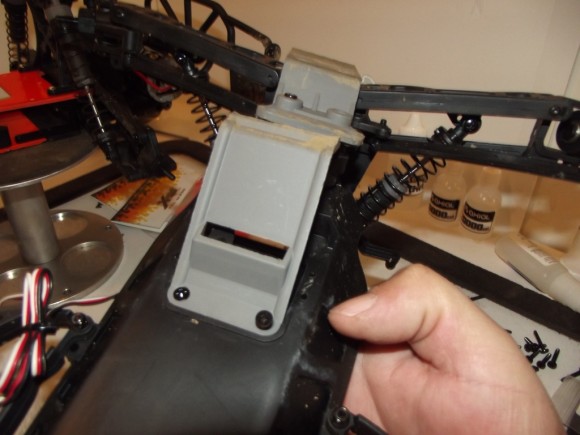
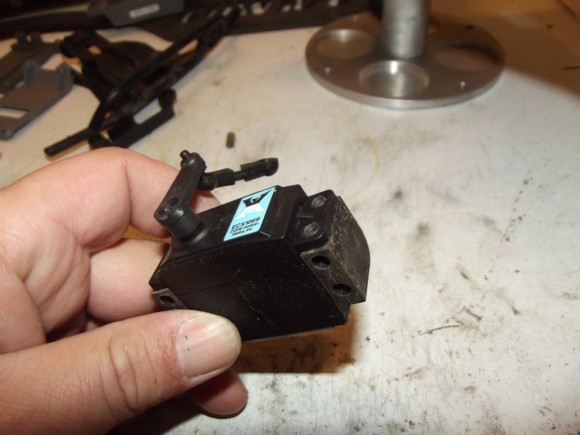
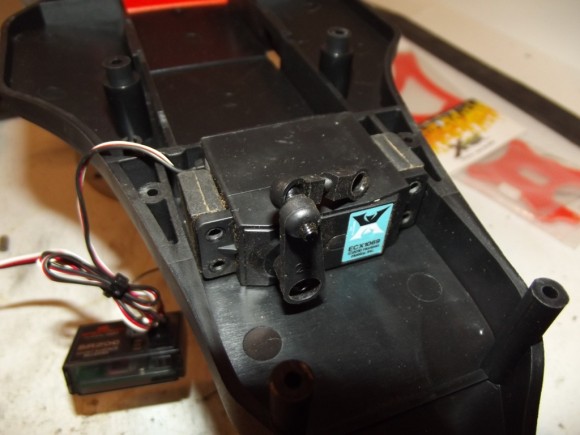
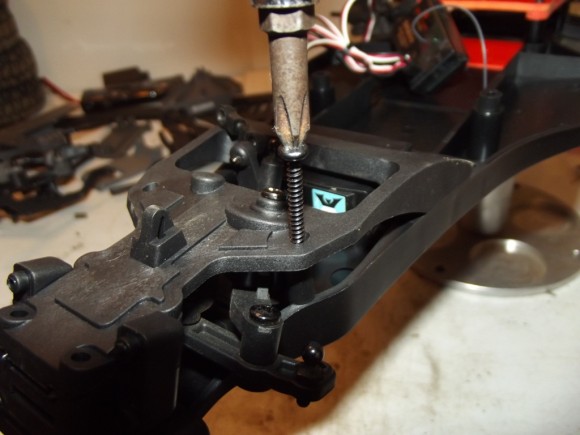
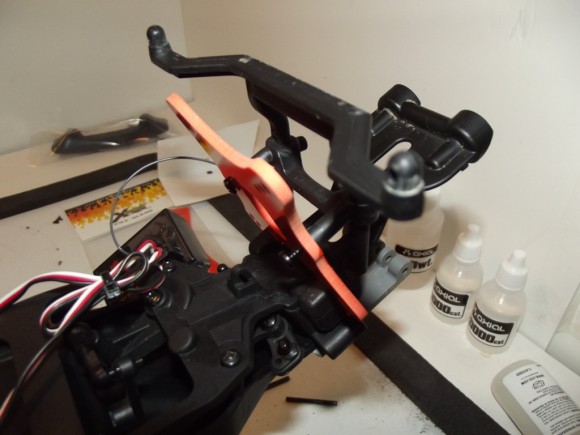
Moving on to the front of the truck, this cover hides the servo and receiver
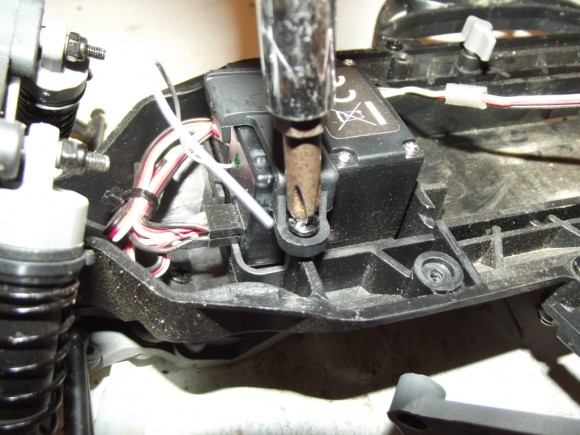
The receiver is held in with a plastic strap
We also disassemble the front bumper at this point
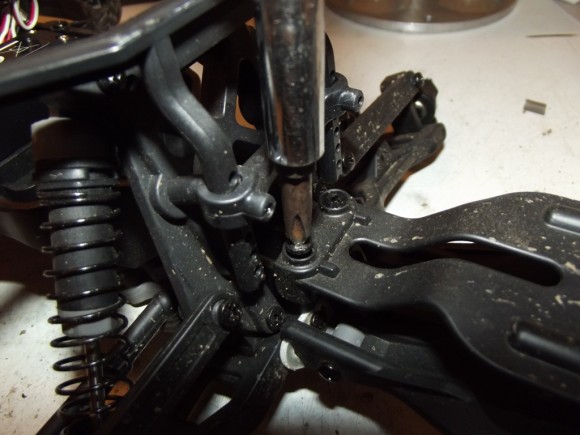
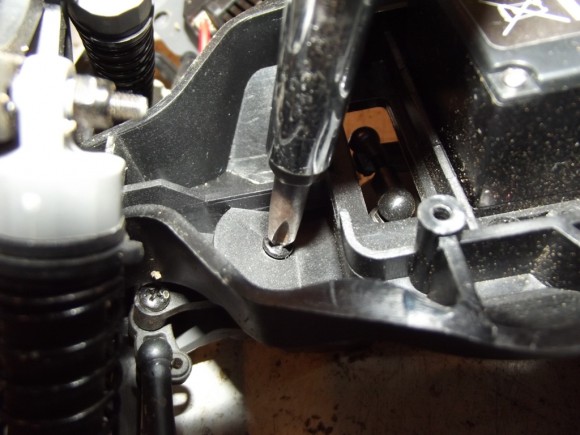
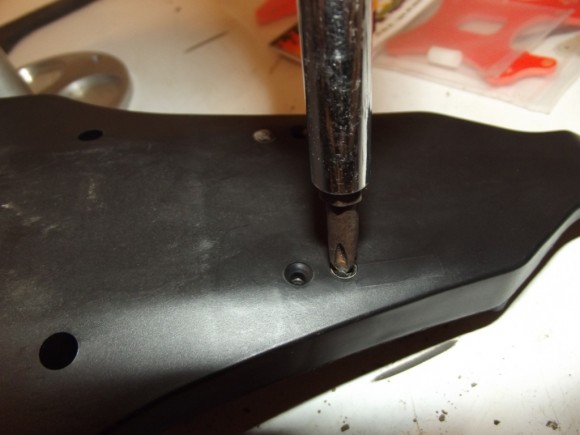
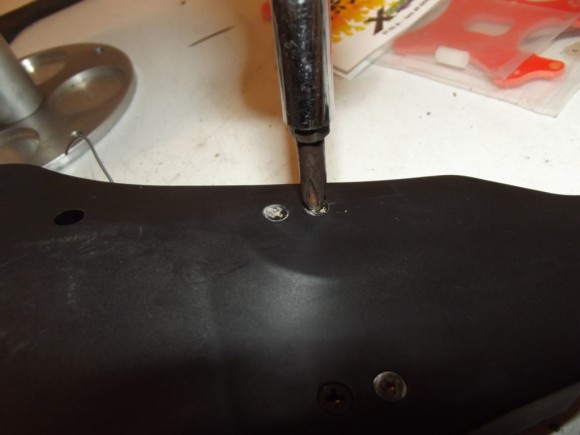
Also remove the screws through the front suspension mounts
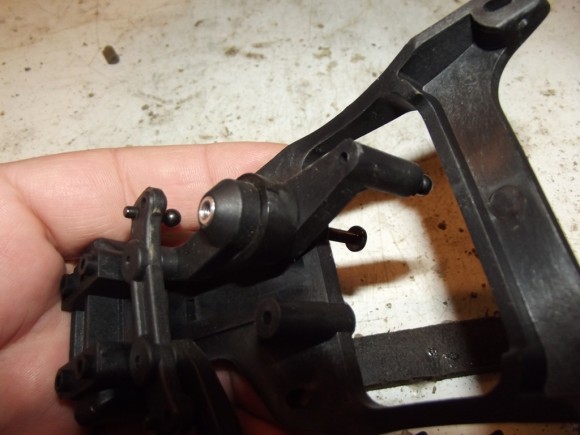
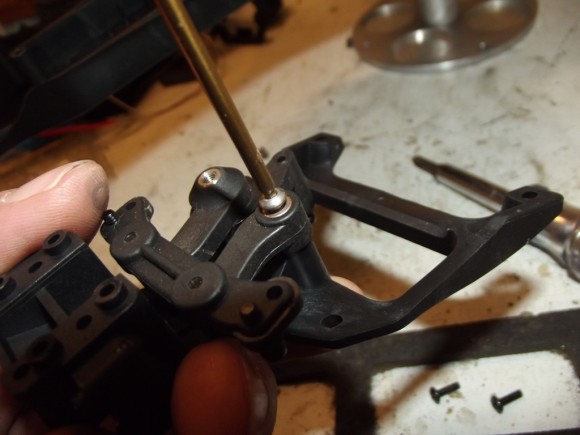
The steering posts also come out
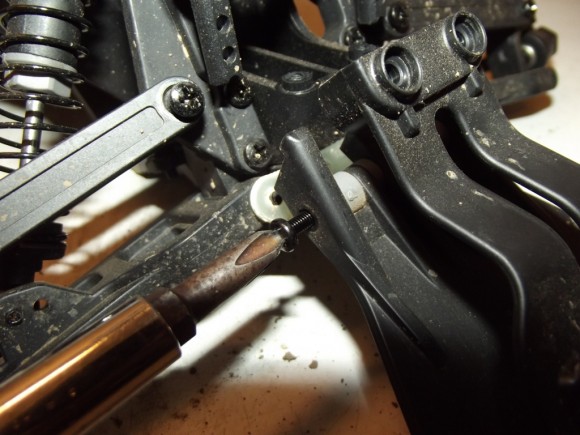
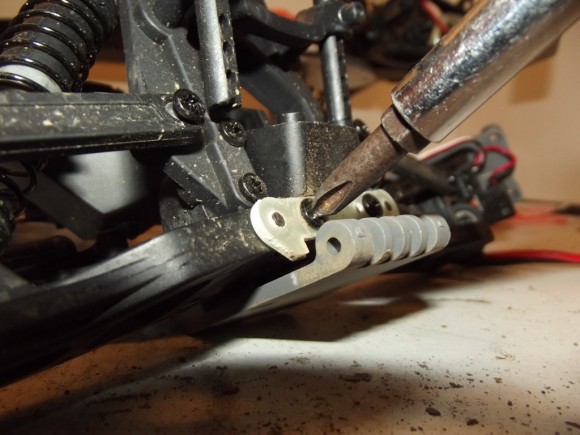
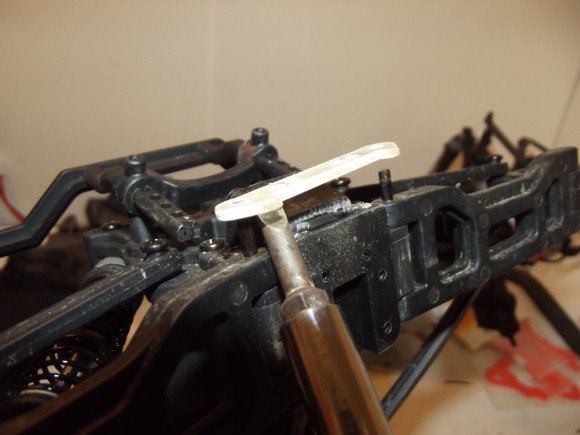
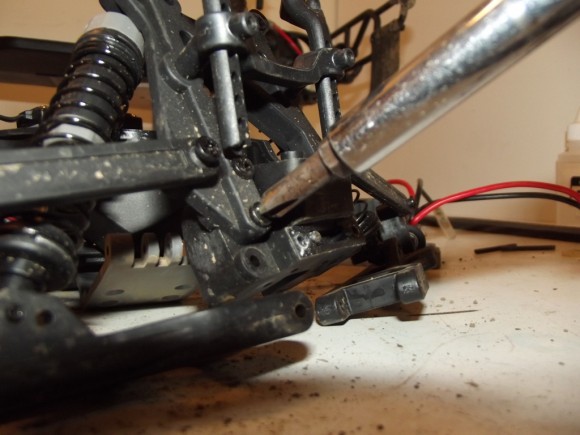
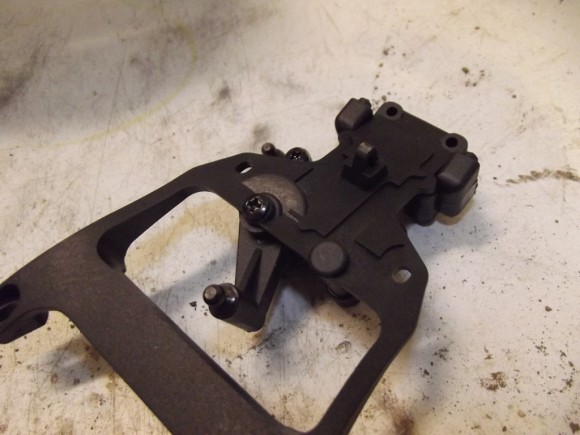
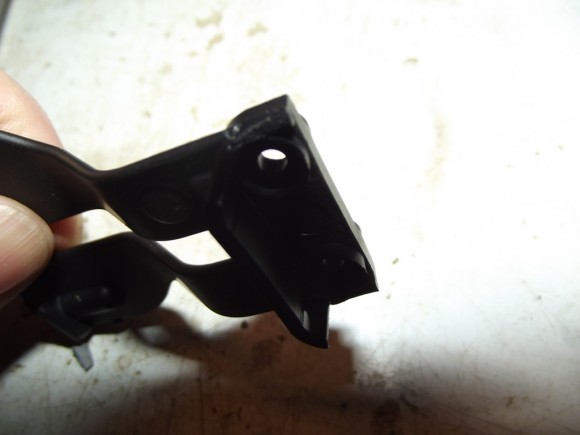
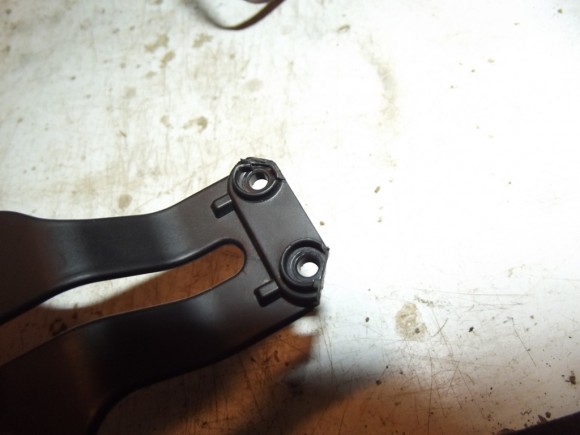
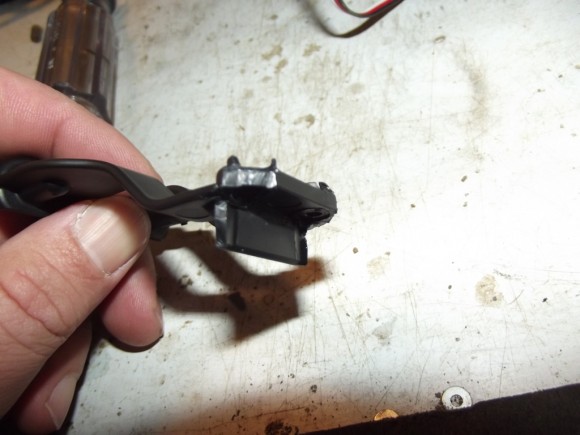
This plastic brace serves as the front attachment point for the hinge pins for the front arms
I had to pry it a little to get it off
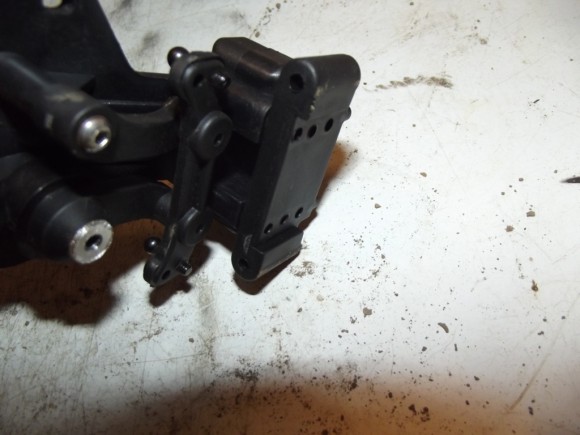
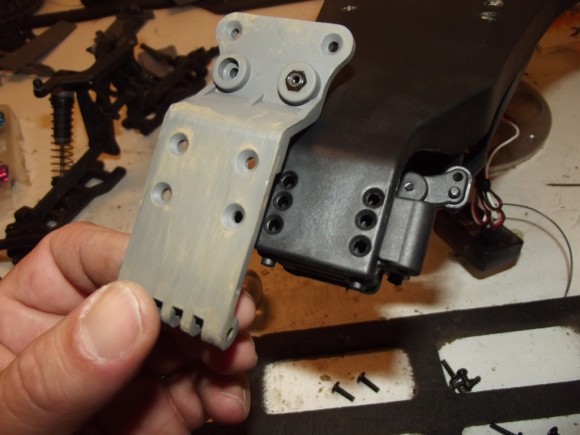
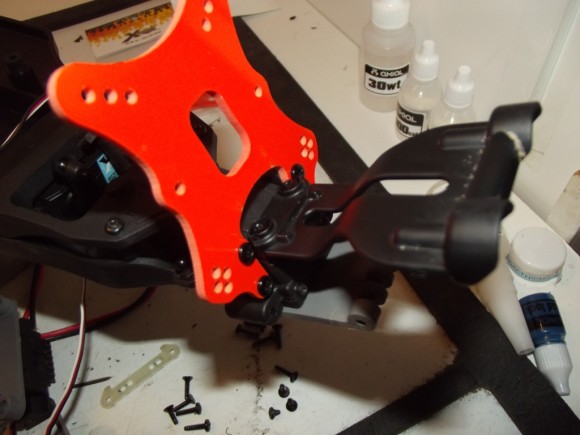
detach the front shock tower via the four screws
To start assembling it for the new chassis, we’ll need ECX1029
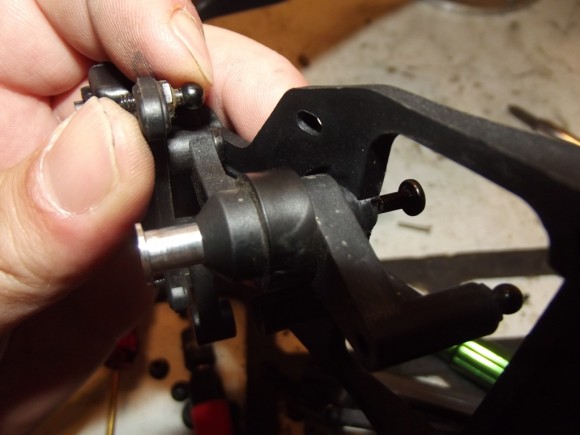
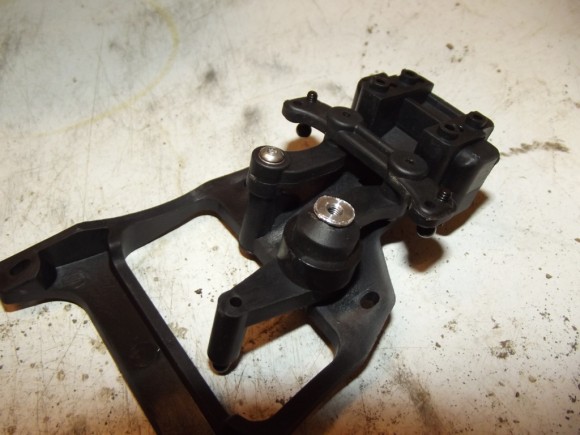
The Torment steering posts fit right into the ECX Circuit top plate
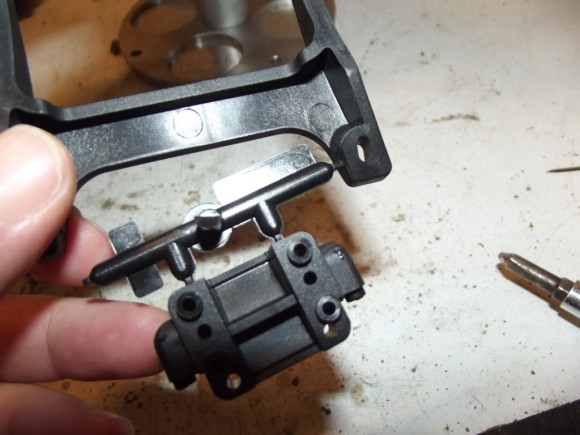
Here is the completed steering rack
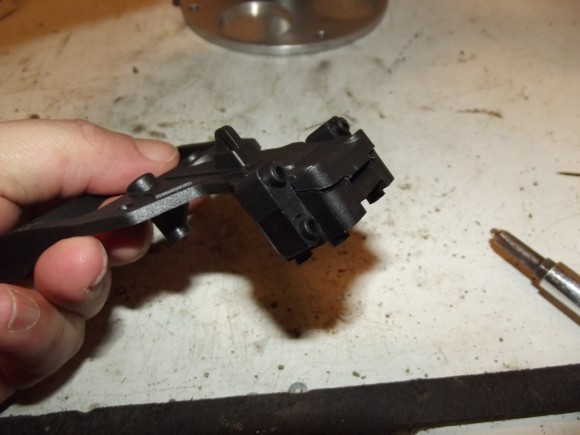
The front hinge pin bracket from the ECX Boost pops right on the bottom
The servo mounts also need to come from the ECX Boost or ECX Circuit
They get screwed in from the bottom of the chassis
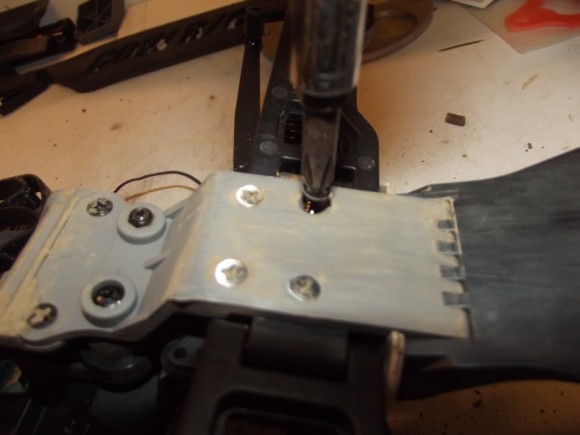
The top plate gets attached to the chassis with a couple of screws
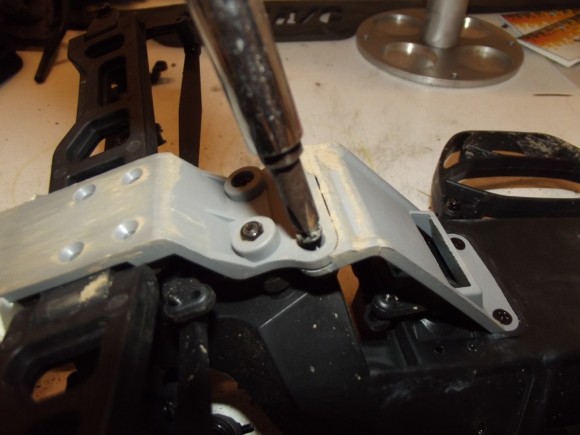
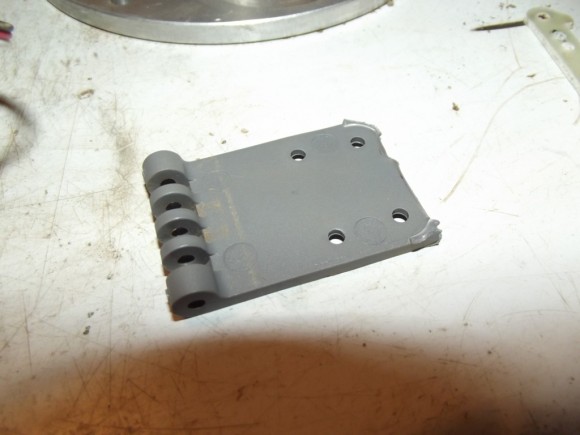
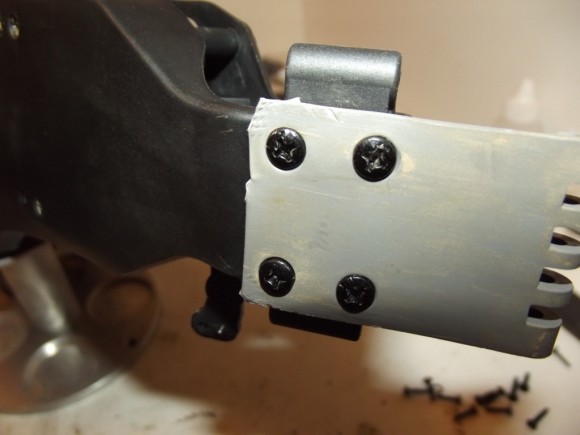
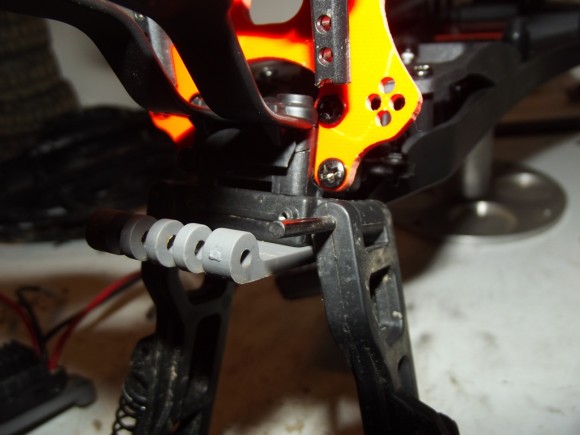
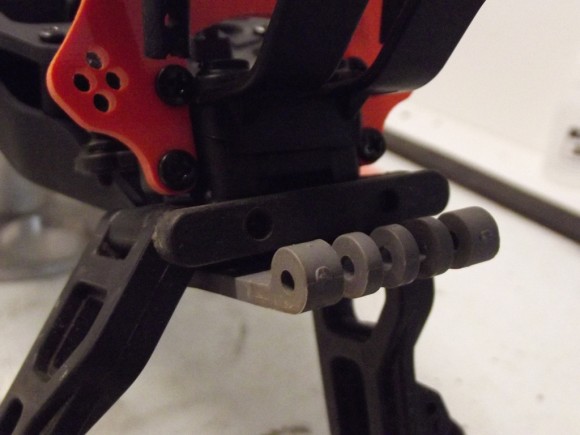
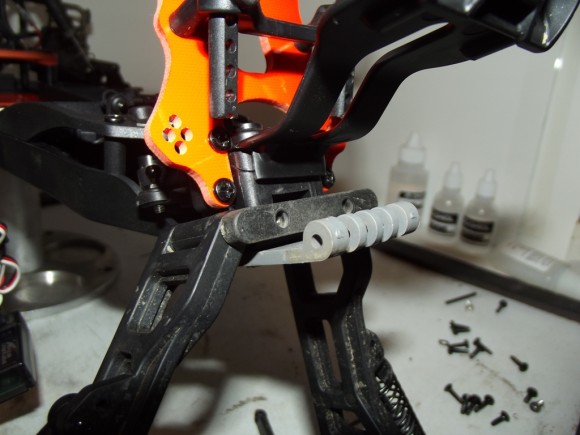
In order to reuse the front bumper, we needed to reuse this gray plastic brace. However you can see it isn’t a match for the Circuit chassis.
I trimmed it down so that the rear half of the brace was removed.
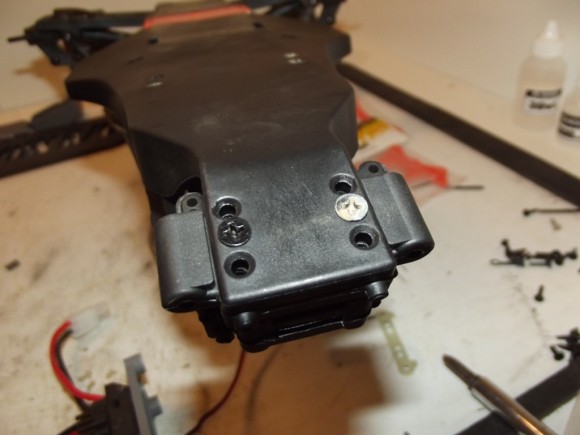
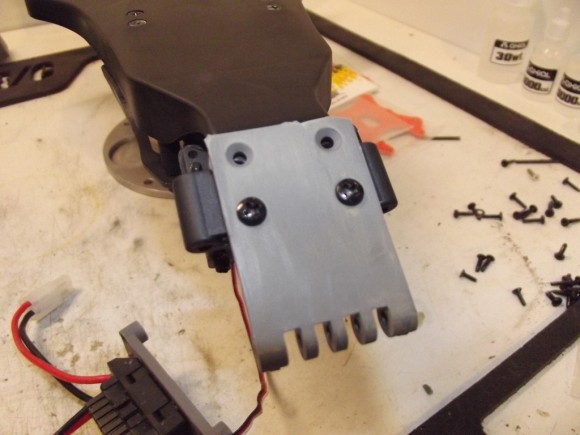
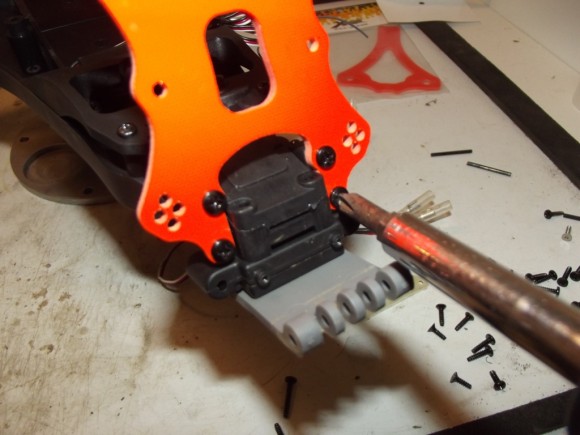
The two center screws attach the chassis to the top plate
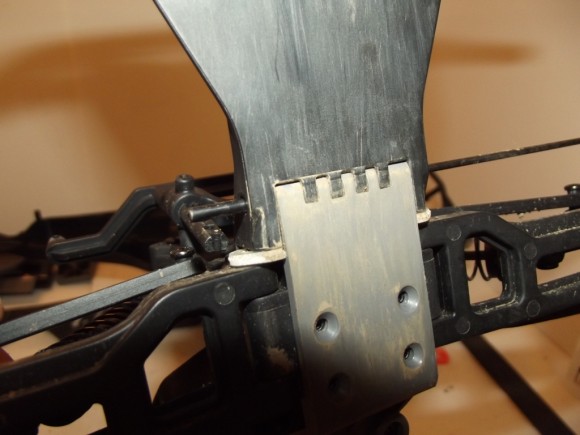
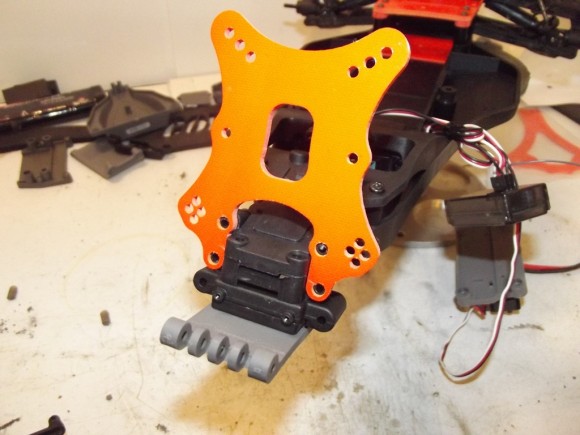
Then the bumper brace will use the 4 remaining holes
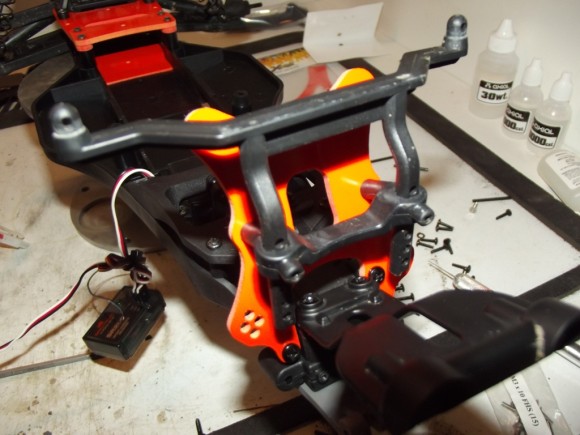
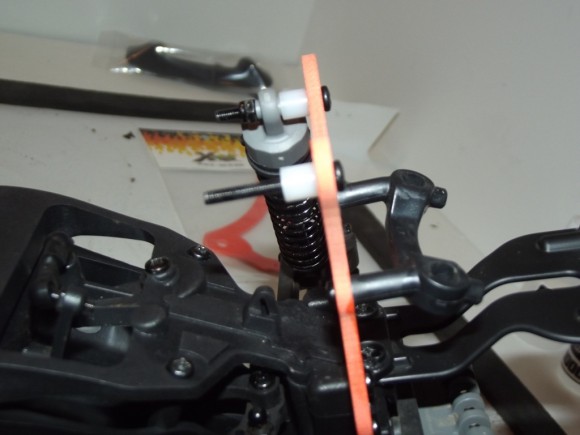
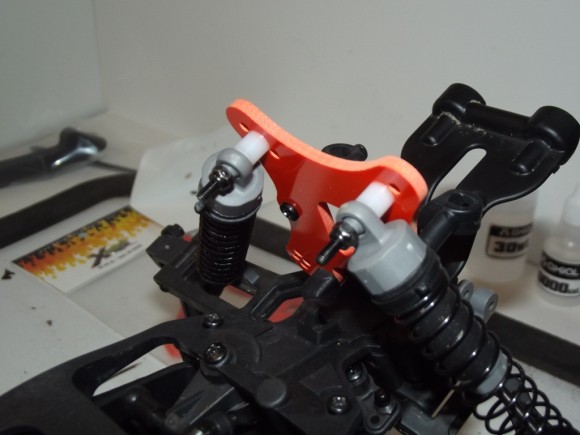
Xtreme sent along their new ECX Torment fiberglass front shock tower, and it uses the stock screw locations
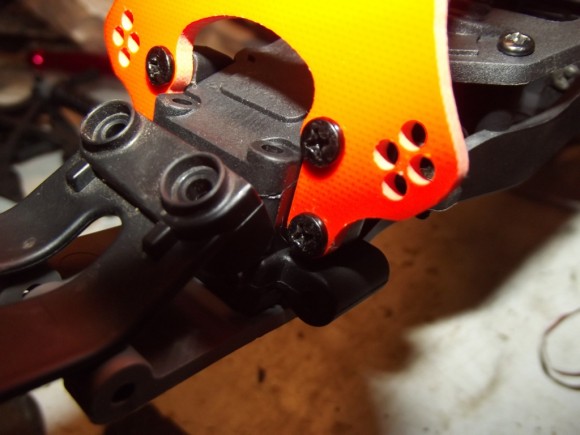
Next issue I ran into. The upper bumper mount won’t fit in the gap in the shock tower, so I needed to trim it down
The front body mount gets screwed into the new front shock tower
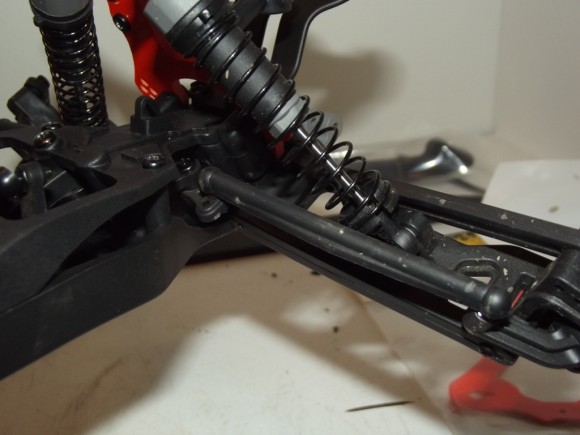
The front hinge pins go in, and the front arms get hung
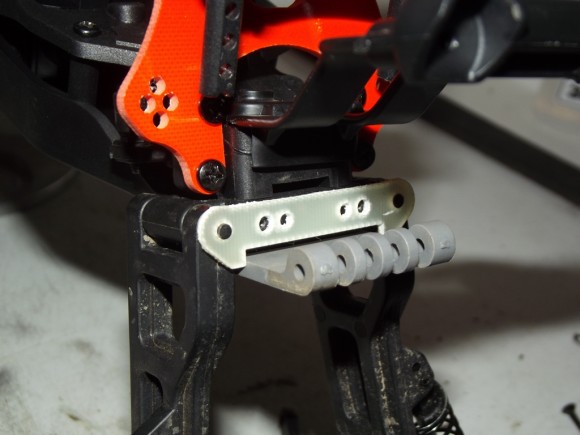
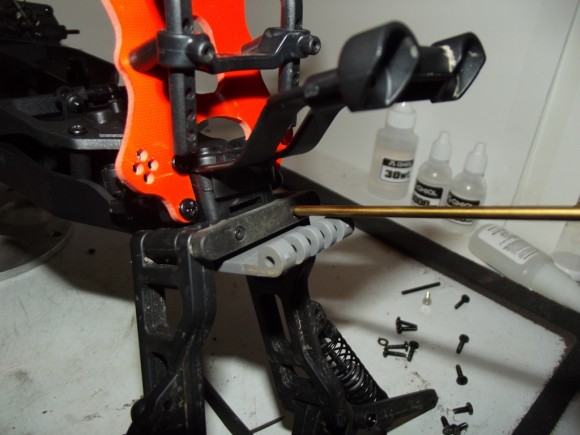
Once both hinge pins are on, we put the plastic hinge pin brace back in
This plastic cover holds the pins from sliding out
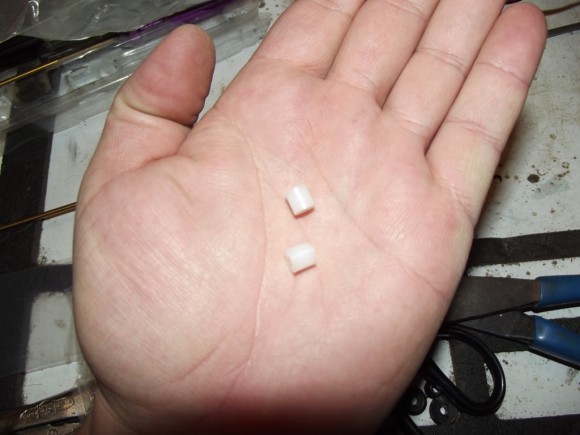
These white plastic collars are used as standoffs for the front shocks
Both shocks are attached to the new shock tower
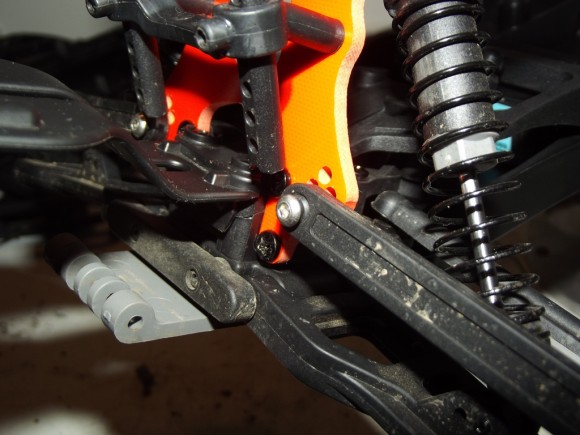
In order to attach the front camber links, I needed to find some screws and some nuts to through bolt them.
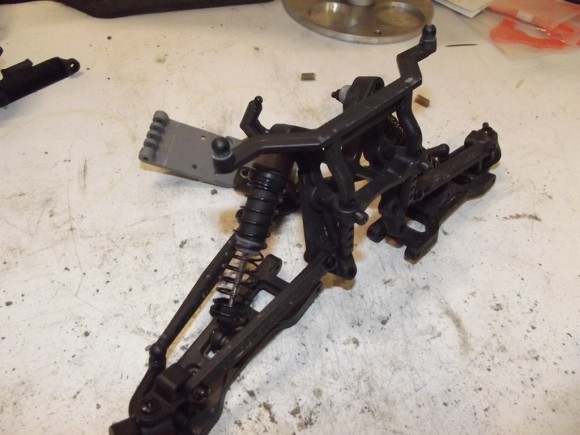
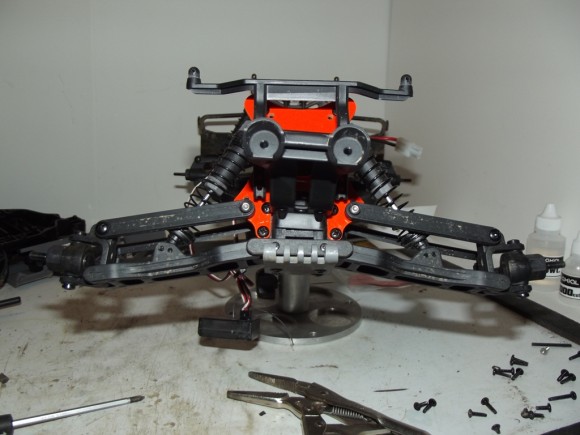
Here’s the front end thus far
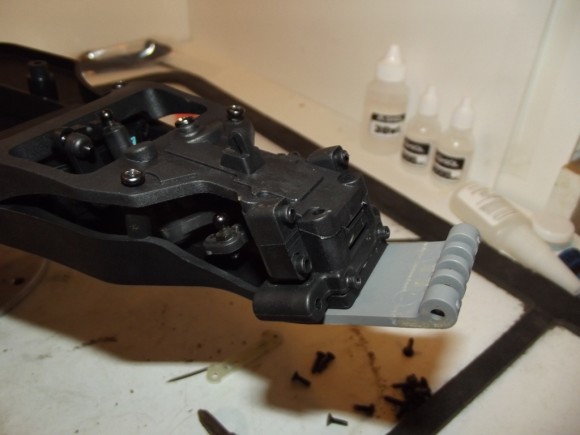
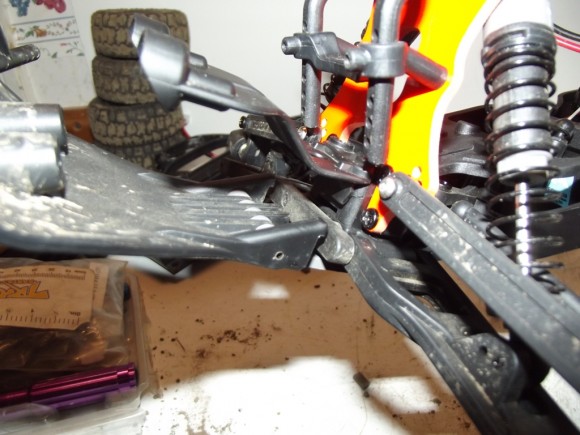
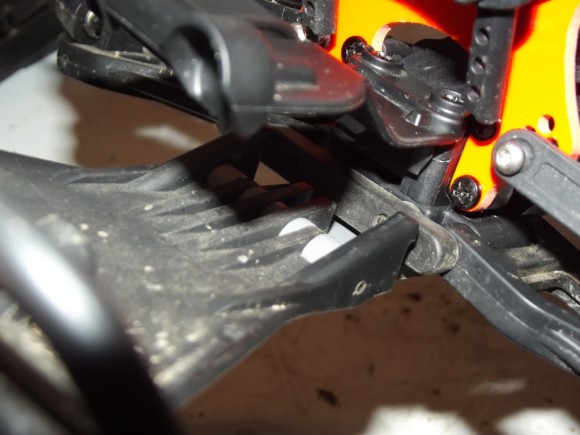
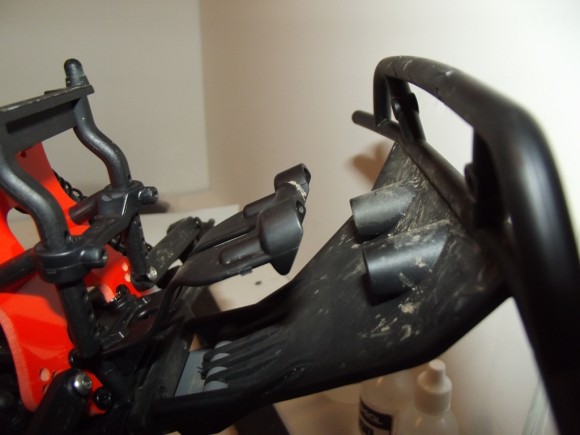
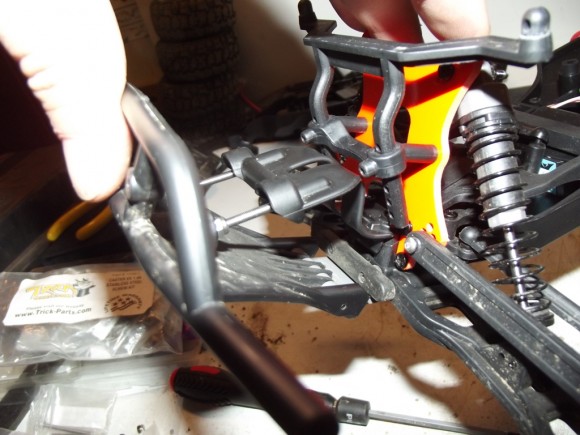
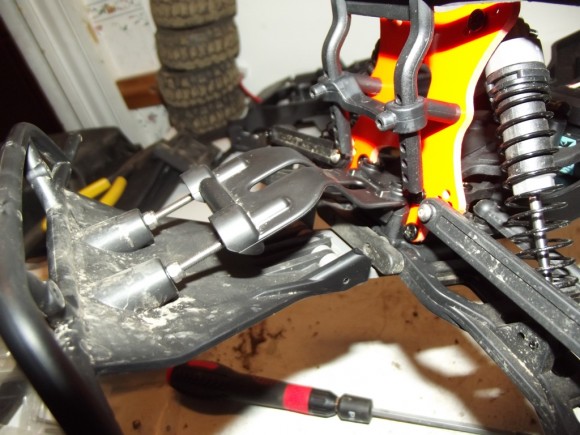
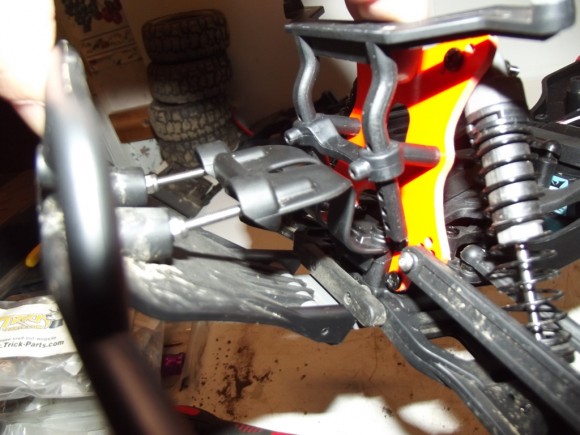
When I tried installing the front bumper, I found that the angle of the plastic was interfered with by the bottom of the chassis
At the furthest we could move the bumper, the upper mount was still an inch or more away from the bumper
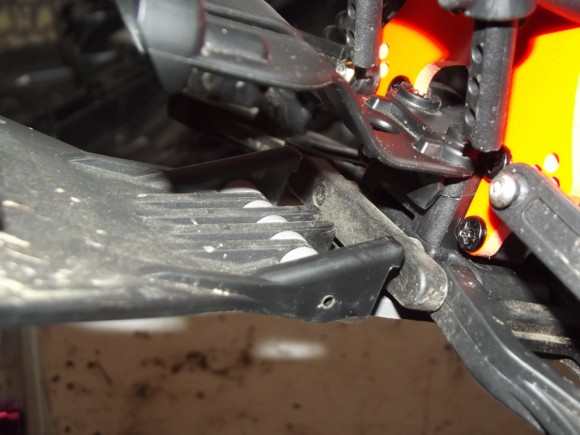
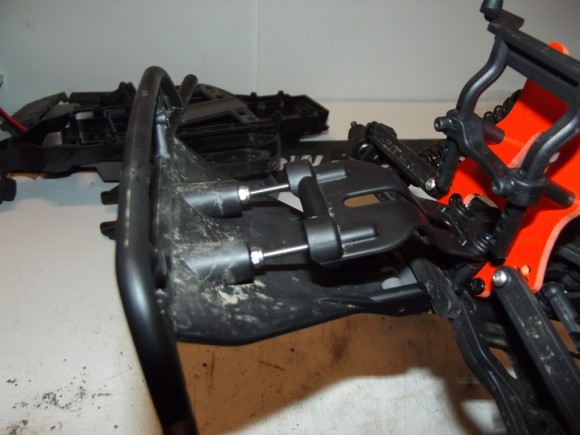
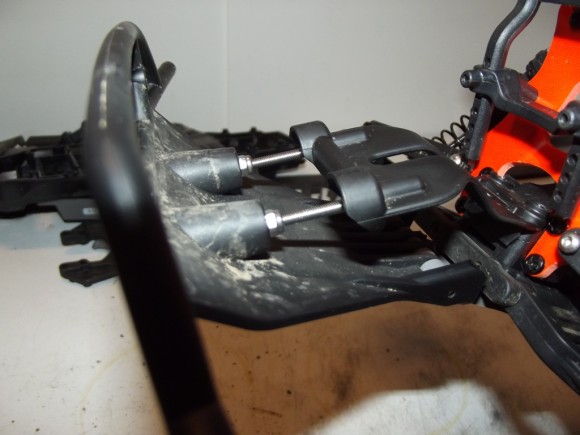
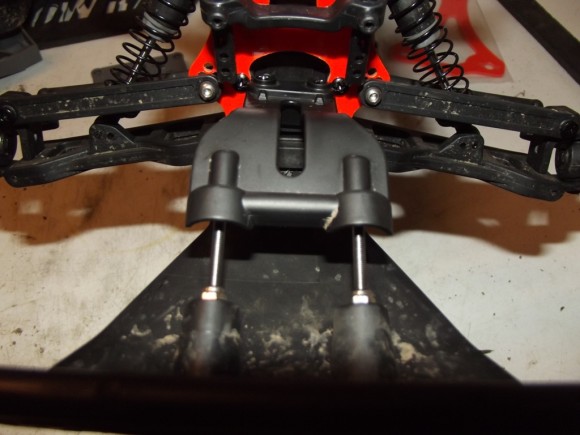
My solution was some longer screws, and locknuts, essentially extending the upper bumper mount
When the bumper is hit, the upper mount compresses, just like stock, showing the design should hold up to abuse.
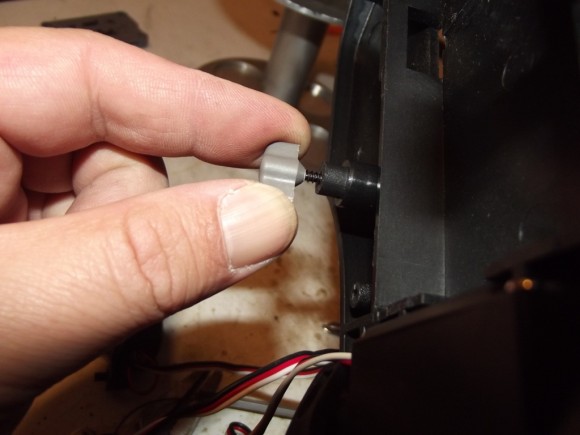
Xtreme RC sent us a fiberglass battery strap, which uses the stock hold down T Nuts. We’ll move those to the new chassis now.
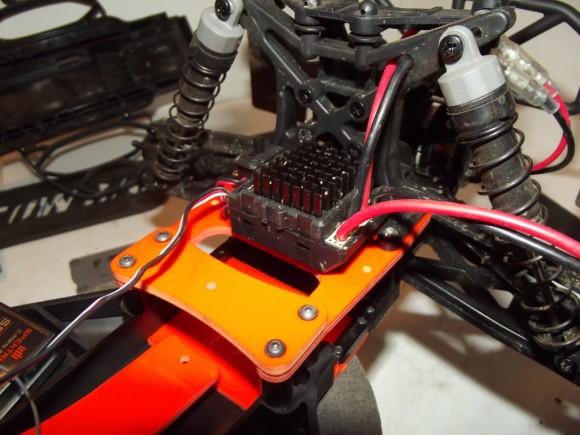
I mounted the ESC on top of the new extension plate
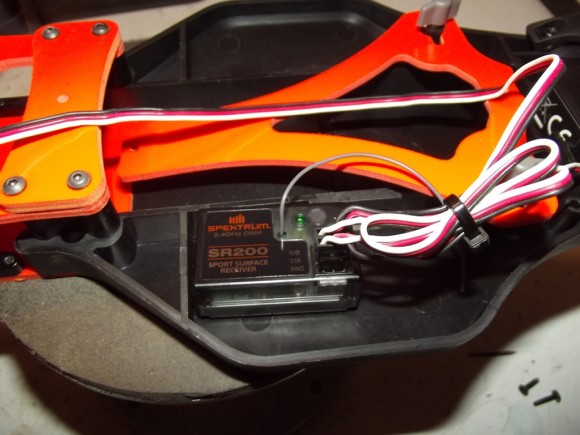
Using some double sided servo tape, I installed the receiver in the bottom of the chassis


 January 17th, 2013
  Matt
Matt 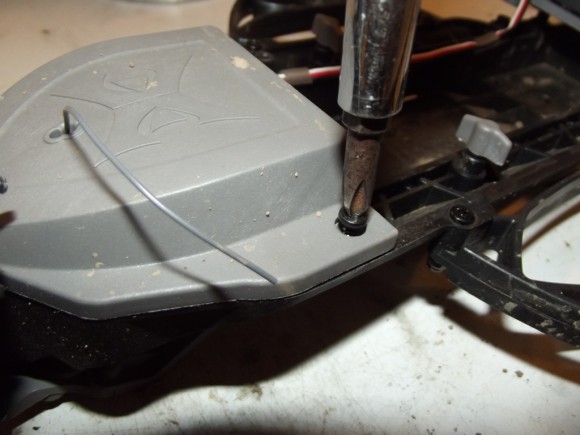
 Posted in
  Tags:
Tags:
How much did the entire LCG upgrade cost, what tools did you use, and do you recommend this truck to a beginner?
For tools it was mostly a phillis head screwdriver. Total cost for all of the pieces is less than $100. This is definitely a good beginner truck, in fact I bought one for my daughter.