Next we have the remaining parts of the rear pod bag. These include the motor mount, top plate, and rear brace.
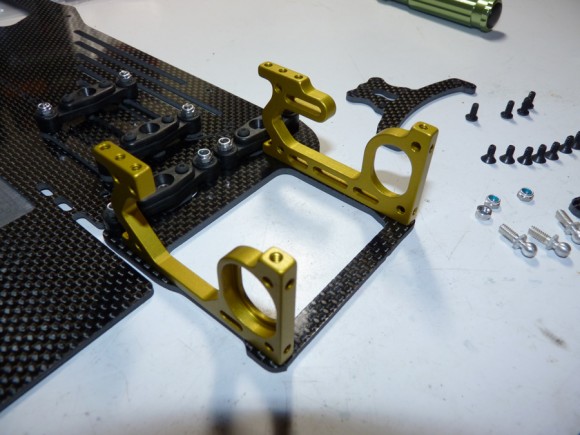
I just set the motor mounts on the rear pod to get an idea of how it all goes together. I then bolted it down.
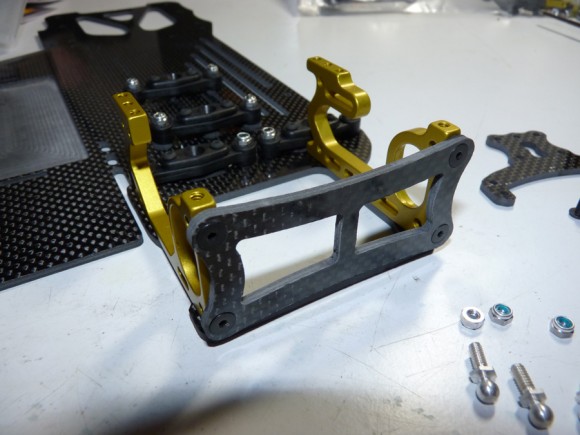
Next we install the rear brace.
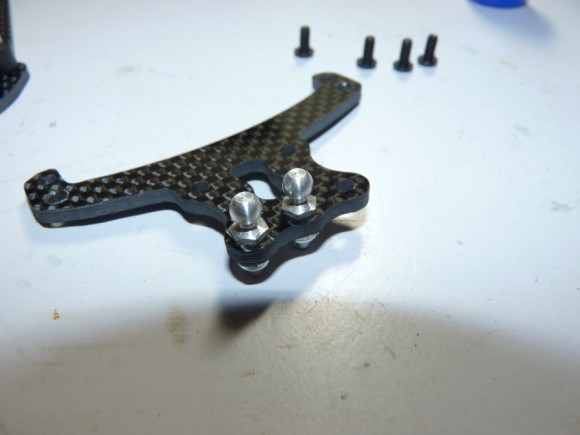
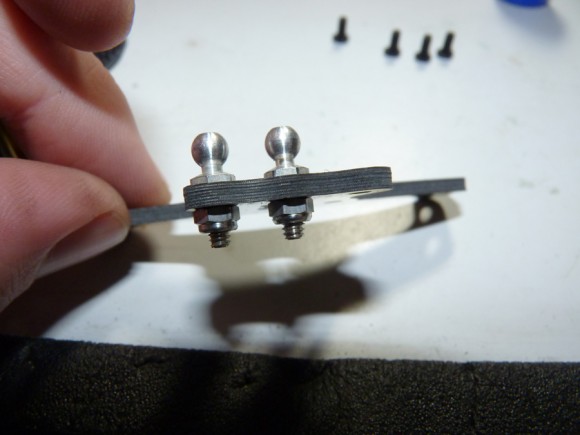
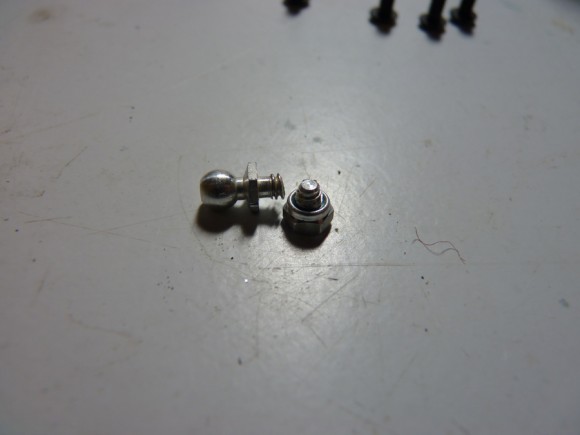
Ok. Now.. what I mentioned in the very beginning. Ball studs. Don’t be an ogre like me. These are lightweight aluminum ball studs. I snapped two of them during my build by over-tightening the locknuts on them. For the top plate, install 3 ball studs with locknuts as shown.
Don’t be an ogre. lol.
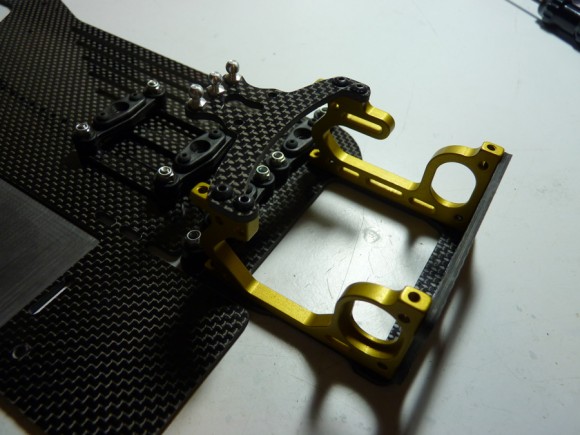
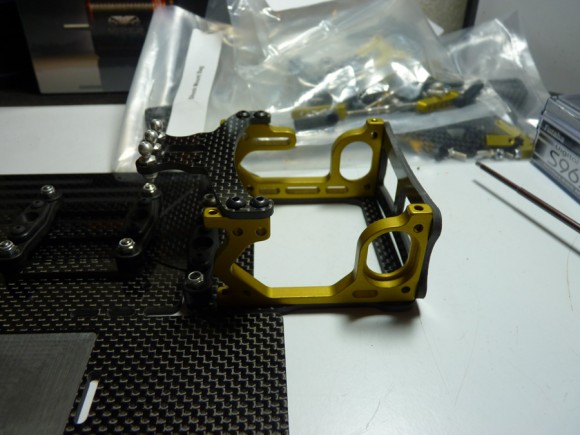
This is how it should look when done, and mounted to the rear pod. I used one of the ball studs from another part of the kit to get me by until I made a trip to the local hobby shop.
Now the rear pod is pretty much together.
Now, I was going to do the entire rear end at this point.. but did not have any Associated Diff Grease on hand.. so I moved to the front end.
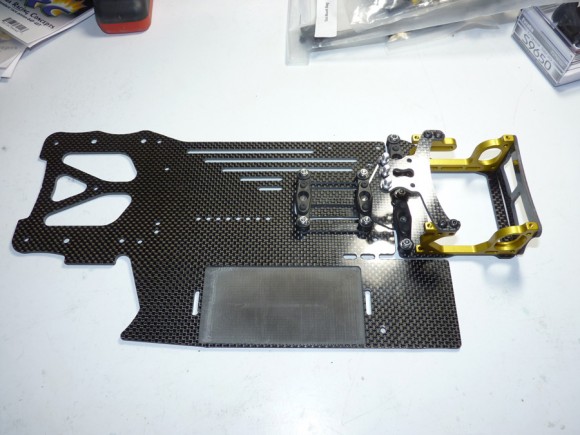
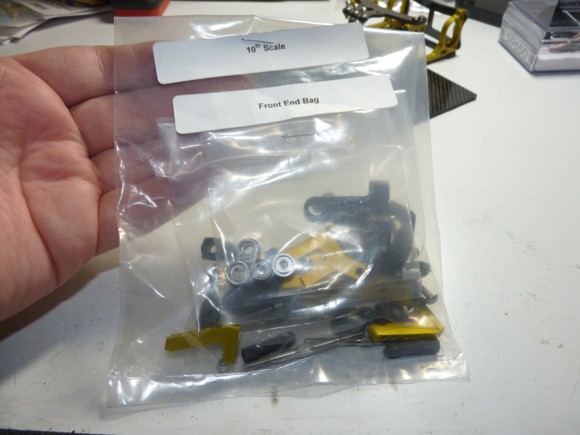
Not having instructions, I decided to narrow down the parts by mounting up what I knew first.. starting with the servo parts.
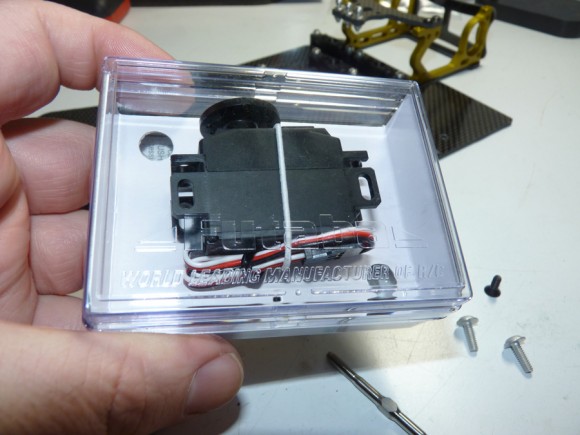
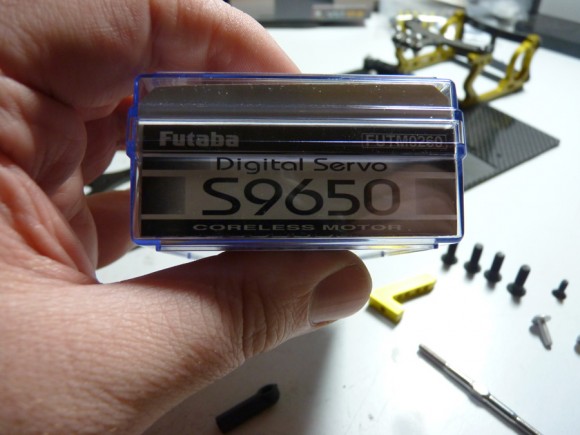
My servo of choice, the Futaba 9650. This was highly recommended to me by others, and is reasonably priced for a nice servo (around $60).
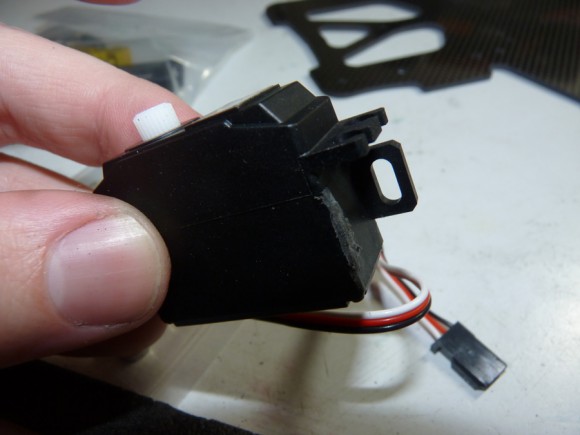
It has extra mounts on the case we don’t need. I hacked them off quick with a dremel and hobby knife.
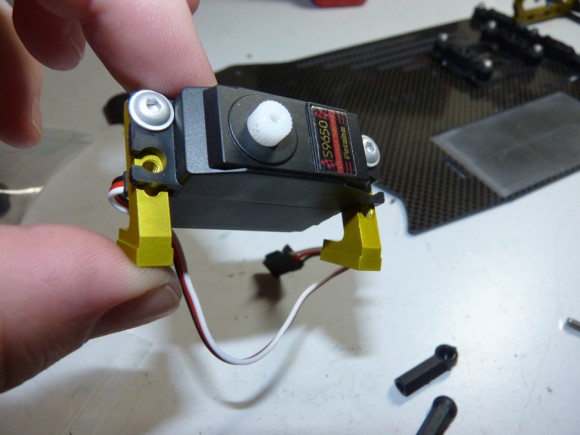
Next I mounted it to the servo posts.
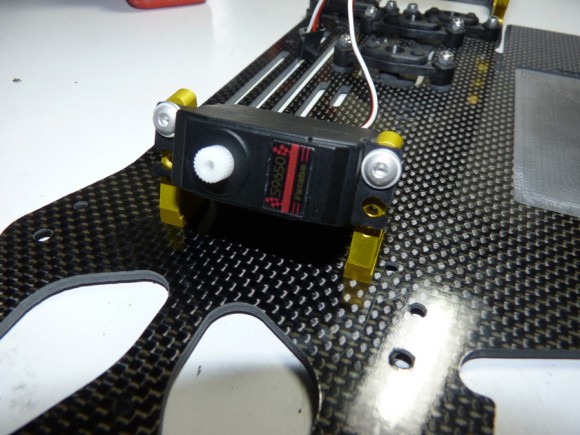
And bolted it to the chassis.
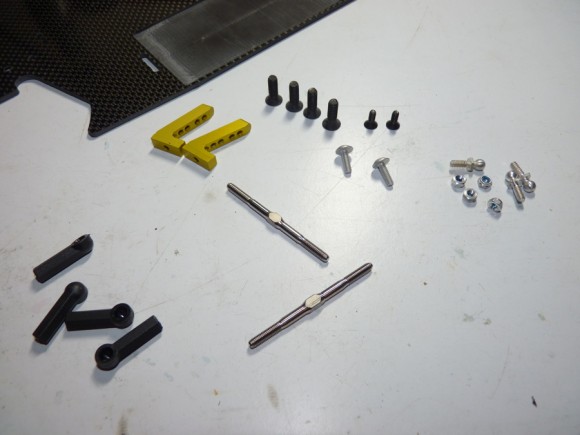
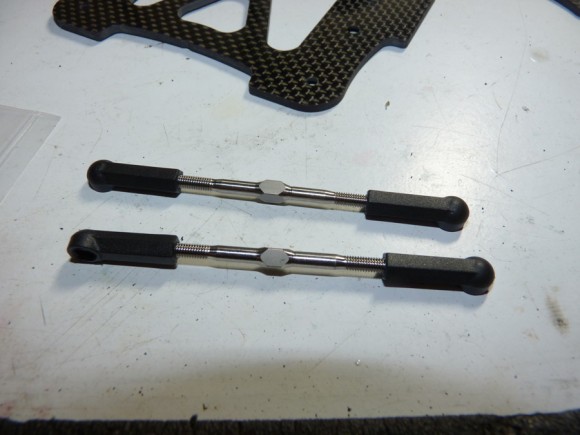
We then assemble the turnbuckles and set them aside. They actually need to be a LOT shorter than this. When I was done assembling and put them on, I had to turn them in until there were almost no threads showing. I installed the ball studs above, later at the track and have no good photo for them, but 2 go in the servo saver, and one in each steering arm. Not hard to figure out.


 January 7th, 2013
  Kevin
Kevin 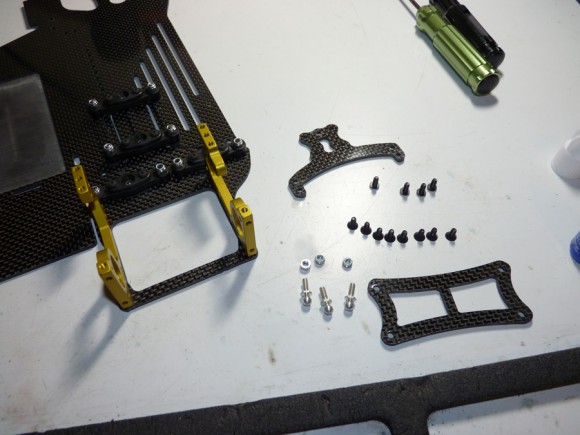
 Posted in
  Tags:
Tags:
[…] is my Pemberton Raceworks SJ-10 Chief I build almost specifically to race here. I sold the old roller I ran last year. It handled ok. I […]