The rear toe blocks, ball studs and spacers. More slugs too, these slugs will be for adjusting toe-in.
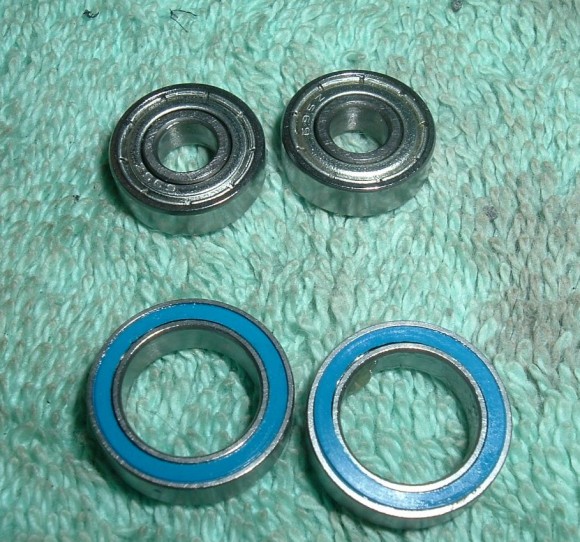
Bearings.
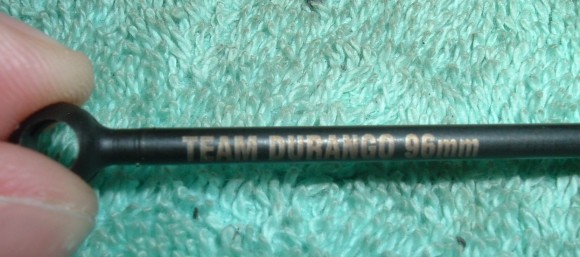
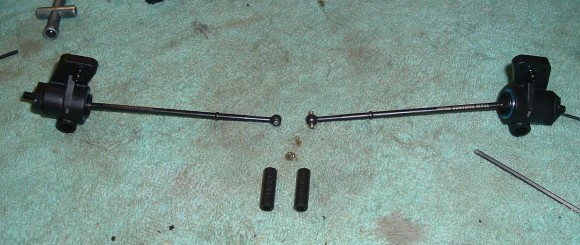
Here is the cvd for the rear end drive. Notice the writing on the dog bone? Nice touch.
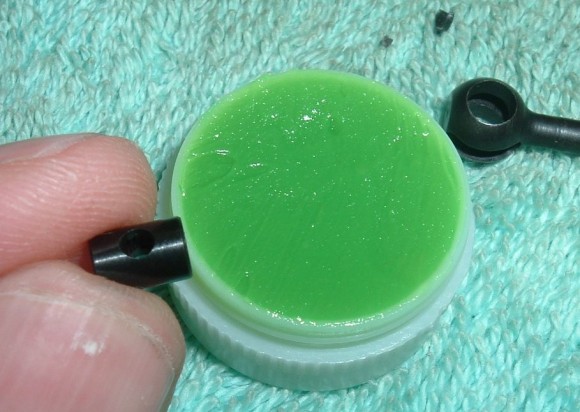
When building the cvd’s make sure to use the cool looking green grease. Don’t eat it.
CVD’s installed into the toe blocks.
Yep another blurry pic…(old camera) This is the slug used to adjust toe in. Same thing applies here as it did for the caster block. Its hard to tell but the slug says L-1/R+1. If you put the slug on the left side with the L-1 facing forward, you take away 1 degree of toe in. If you put the slug in the right side with the R+1 facing forward you add 1 degree of toe in. There are also a variety of slugs to adjust the rear toe. I went with 0 degrees of toe as the inner hinge pin block has 3 degrees already. You can go from 1.5 degrees of toe in to 4.5 degrees of toe in. All in .5 increments and the parts supplied in the kit.
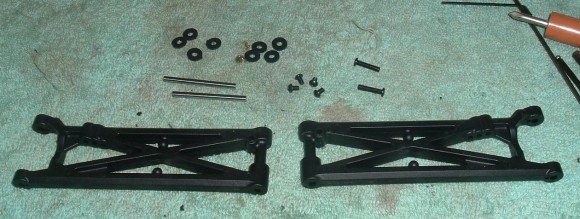
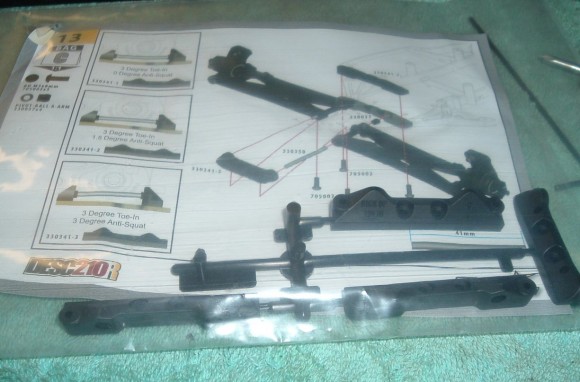
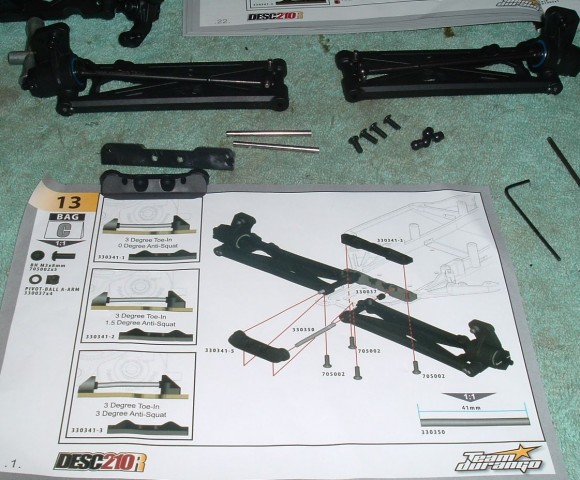
Parts needed to put the rear arms on.
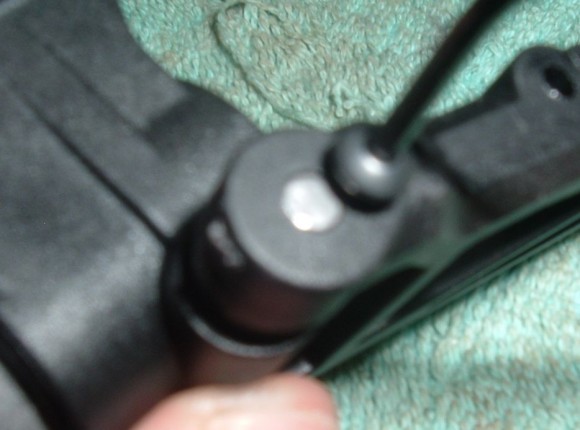
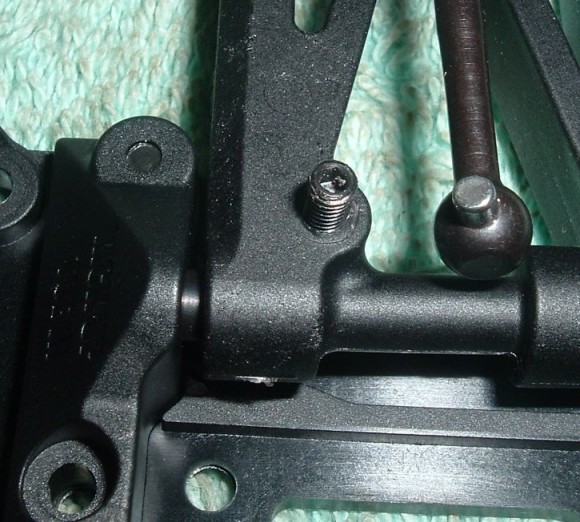
Here we see how the hinge pin is held in. A tiny button head screw (this is done through out the kit).
Back to the updated parts.
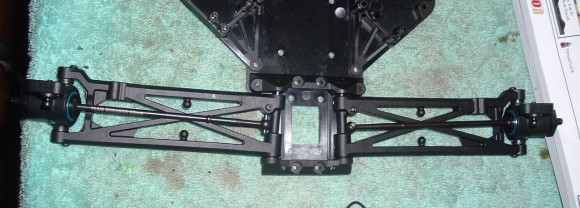
In this step we use the NEW updated rear block. Also being installed is the rear toe block/anti squat block. The kit comes with 3 different choices for this block. you can go with what the kit shows to use , the 3-3 block. 3 degrees of toe in and 3 degrees of anti squat or you can go with the 3-1.5 or 3-0 blocks. You can also see the rear arm/CVD assembly here.
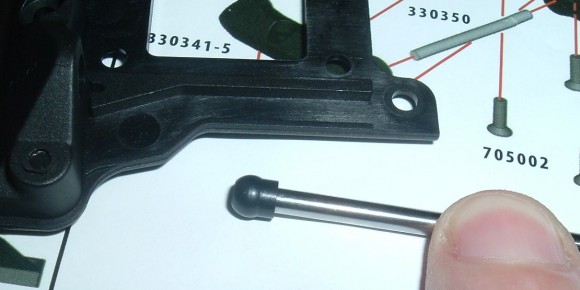
I thought this was pretty cool. The hinge pin uses a ball on the inner toe in block side.
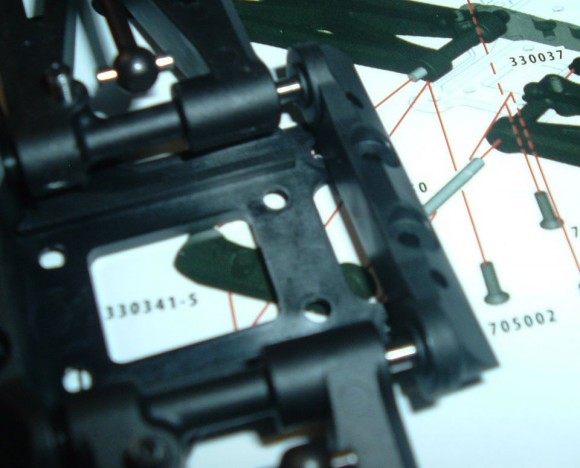
The new updated block being installed. The new block doesn’t use the balls like the old one or the toe in block does. They were prone to pop out under a heavy hit. The hinge pin just slides into the block. You can also get these blocks in aluminum.
Everything installed.
Large droop screw pins for the rear also.


 October 19th, 2012
  Geo
Geo 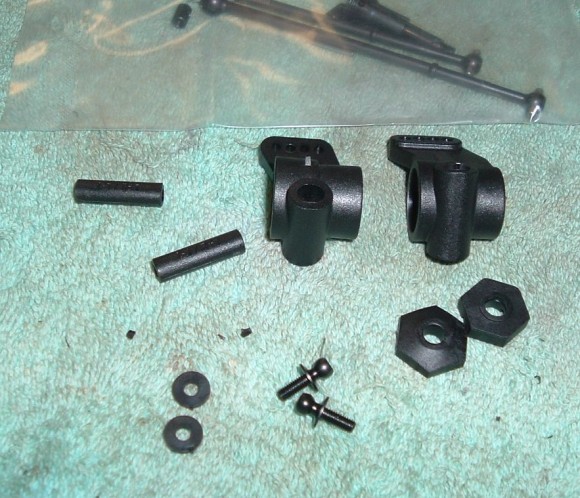
 Posted in
  Tags:
Tags:
[…] also guys, check out my build up of the kit on RCSOUP : http://www.rcsoup.com/2012/10/team-d…-kit-build-up/ […]