Wow, alot of parts here, caster blocks, steering arms etc.
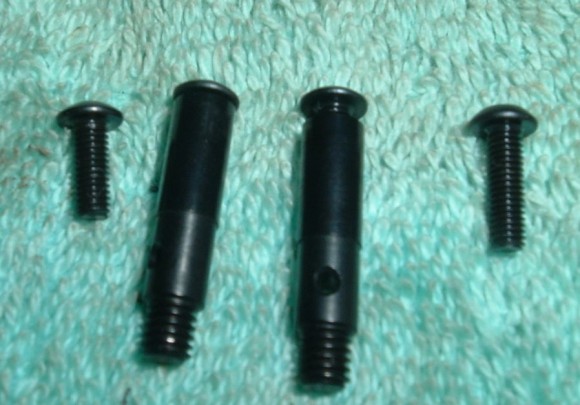
The axles. OK, the instruction book is wrong in this step. It tells you to use a screw that is too long. Take a look at the axle on the right. Notice how the screw does not thread in all the way? This is the screw that is too long. If you use this screw you will have alot of slop in your front axles and wheels.
Look at the left axle, see how the screw goes all the way in? That is the proper screw to use and you can find it in an unmarked bag of screws. This bag contains spare screws.
Next to each axle is the screw used. You want to use the screw on the left. It is slightly smaller then the one on the right.
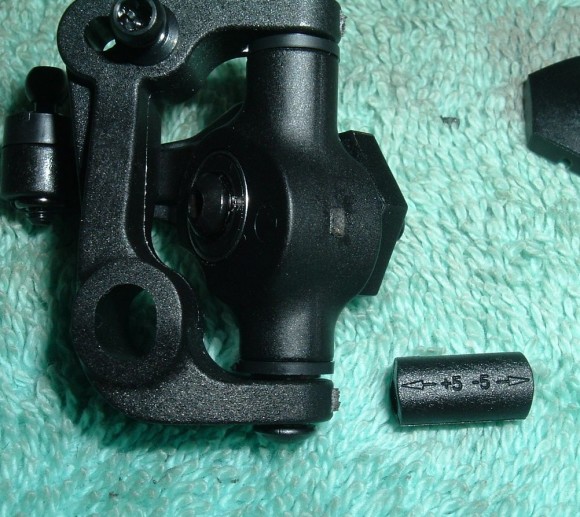
Here is the caster block all assembled. Its pretty straight forward. (see the above mentioned screw from the last step sitting nice and flush here?) Check out that little piece of plastic with the arrows and the number five,we will call that the “slug”. That is used to adjust your caster. The truck comes with 25 degrees of caster built in. The little slugs are slid into the oval hole in the caster block to take away caster or add caster. If you put the “slug” in with the + 5 arrow facing forward you add 5 degrees of caster for a total of 30 degrees (this is how I set mine up), if you put the slug in with the -5 facing forward you take away 5 degrees for a total of 20 degrees of caster. The kit comes with a variety of slugs to add or take away more or less caster. You have a choice of 15,20,30 or 35 degrees of caster with the included slugs.
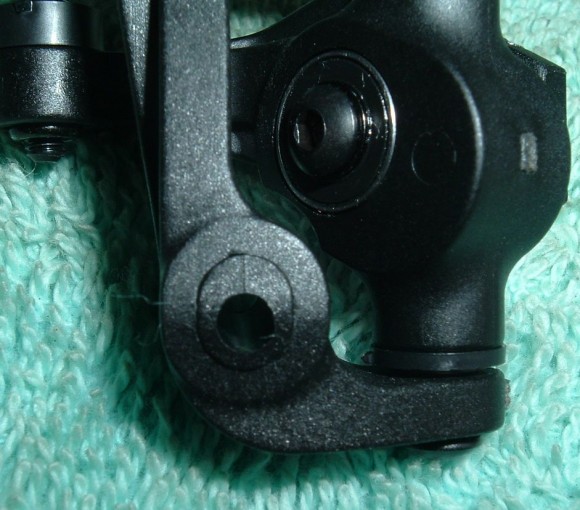
Here you can see the slug inside the caster block.
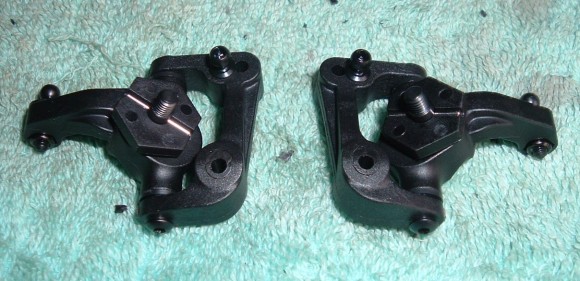
Caster blocks fully assembled.
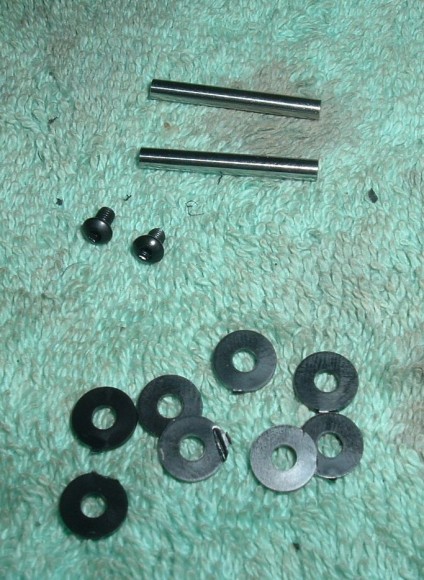
Front outer hinge pins and spacers.
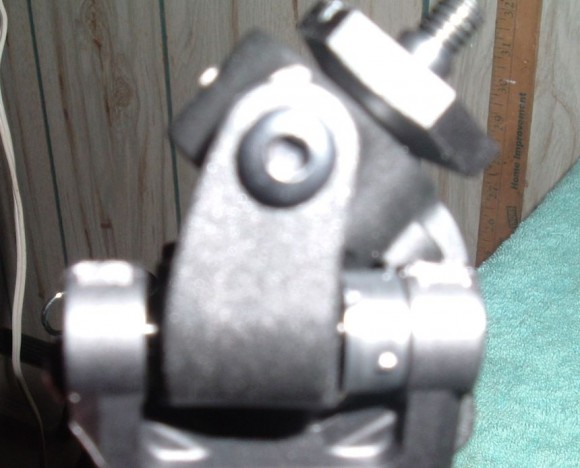
Blurry pic again sorry but you can see the spacers installed onto the front arms.


 October 19th, 2012
  Geo
Geo 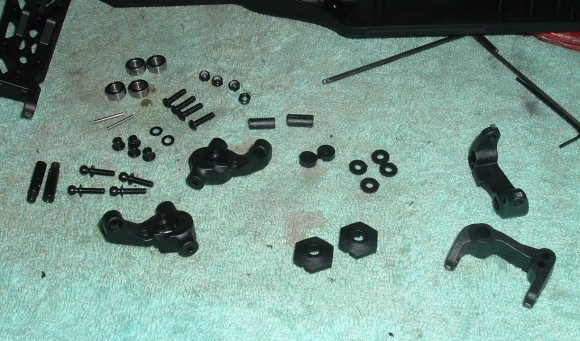
 Posted in
  Tags:
Tags:
[…] also guys, check out my build up of the kit on RCSOUP : http://www.rcsoup.com/2012/10/team-d…-kit-build-up/ […]