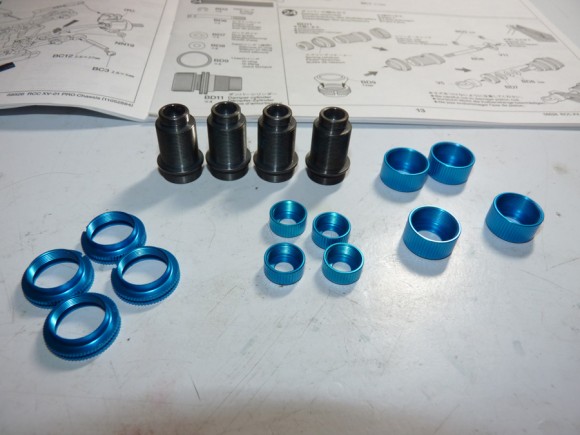
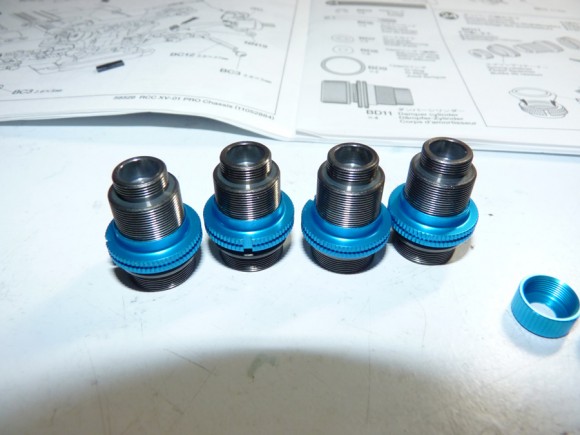
The shock bodies are threaded aluminum. They come assembled and the first step to building them, is taking them apart.
Here’s what we end up with.
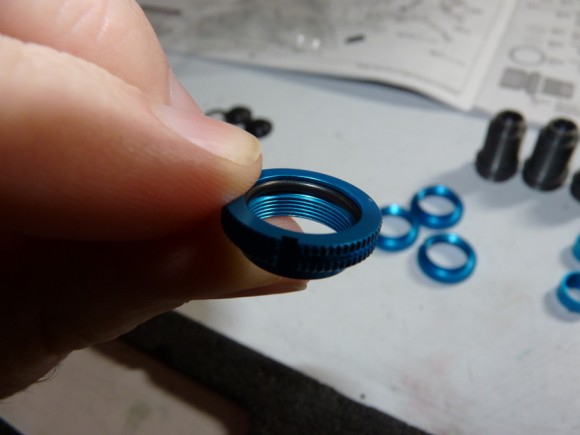
We then need to insert O Rings into the spring retainers. This will help them stay put and not shift with vibrations from running.
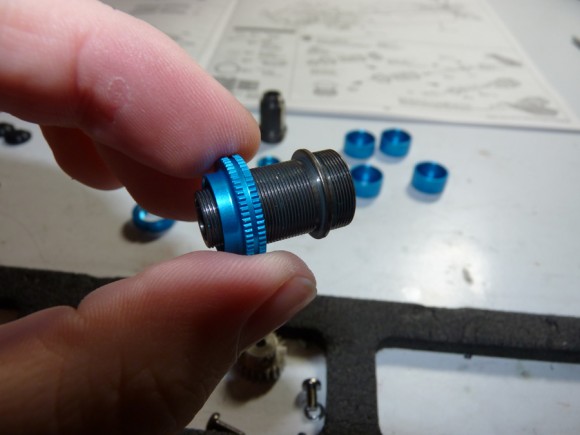
We then thread those onto the shock bodies.
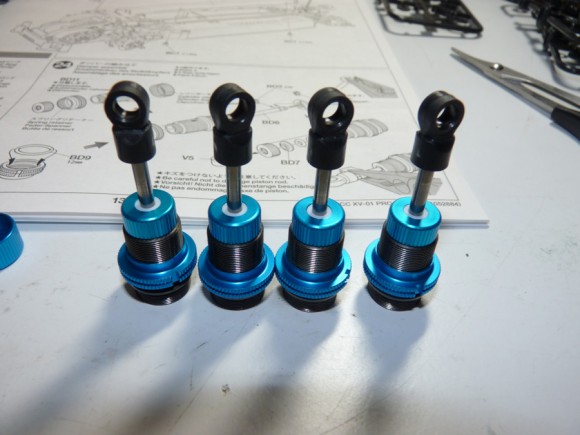
Here are all 4 shock bodies with the spring retainers reinstalled.
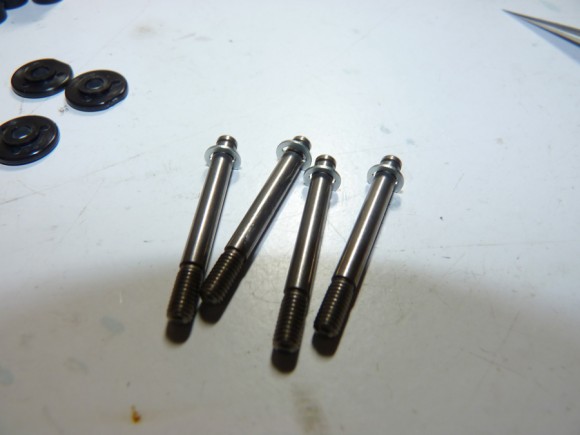
Now we install an E Clip onto the shock shafts.
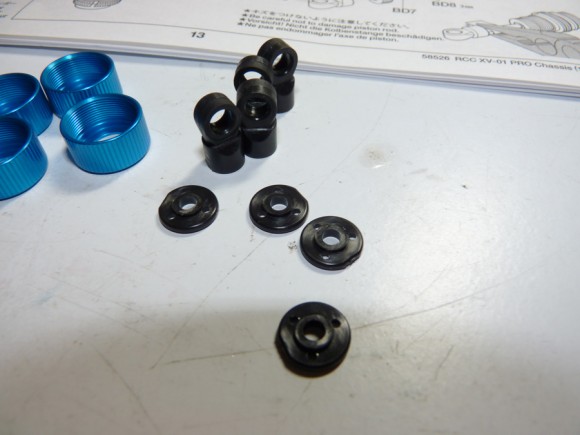
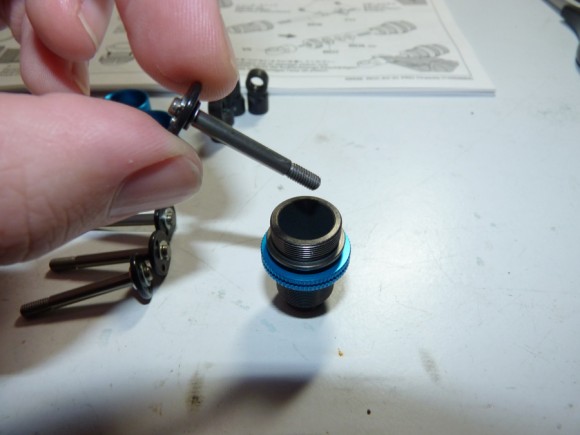
Here are the lower rod ends and 3 hole pistons we’ll be using.
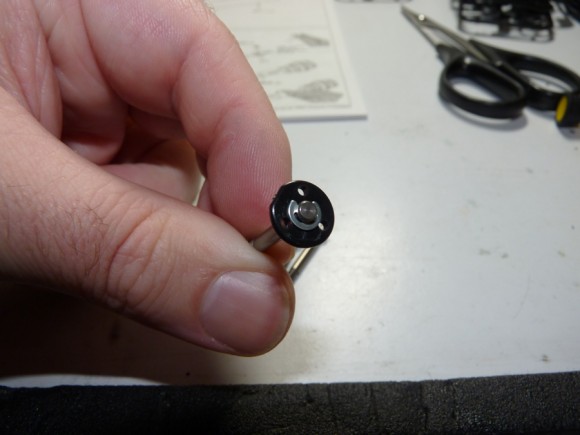
The pistons install very simply, with E Clips. No tiny screw to loose like some kits I’ve seen recently.
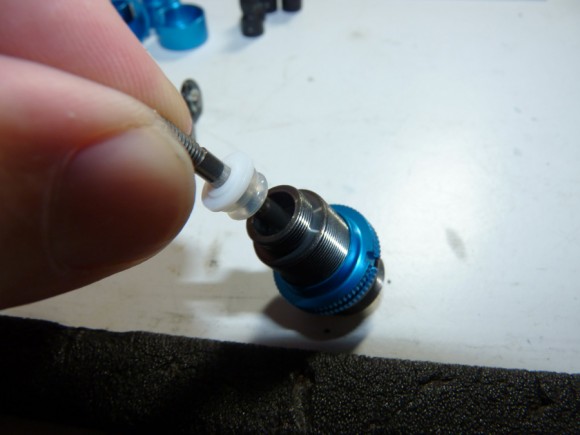
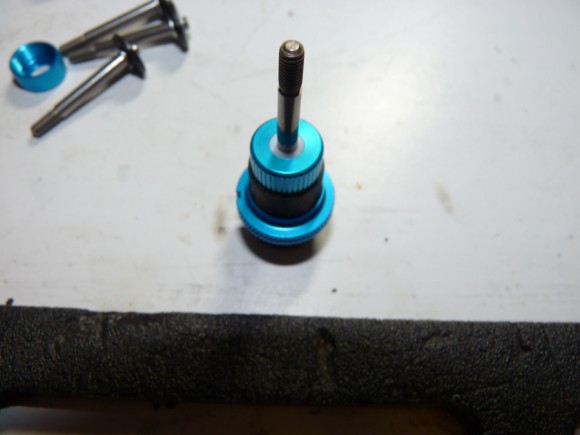
We then take the piston/shock shaft and insert it into the shock body.
From the bottom of the shock body, we will then install 2 O Rings and the rod guide. These press up into the body, over the shock shaft.
We then install the lower cap to seal it all up.
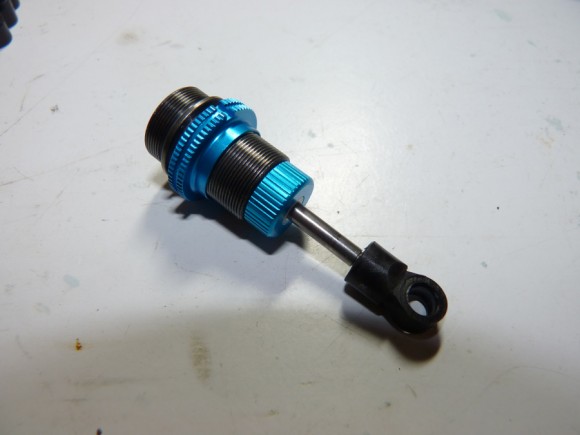
Then comes the lower rod end. It gets threaded onto the end of the shock shaft. Be sure not to mar up the shaft with pliers or you will risk leaving gouges in the metal, which will let oil leak thru, or worse it will leave burrs that can rupture your O Rings.
Now we have 4 shocks ready for oil!
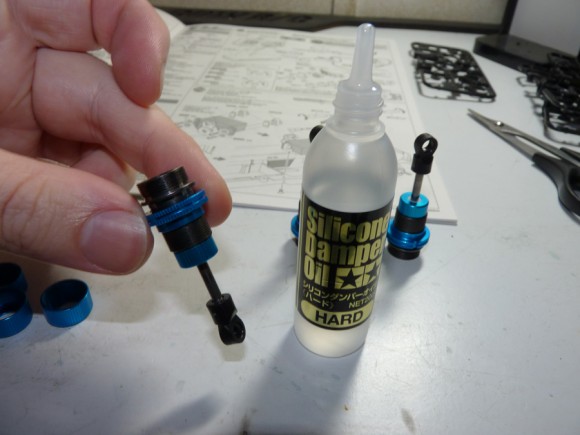
Here we are, using the same Silicone Damper Oil we used for the differentials.
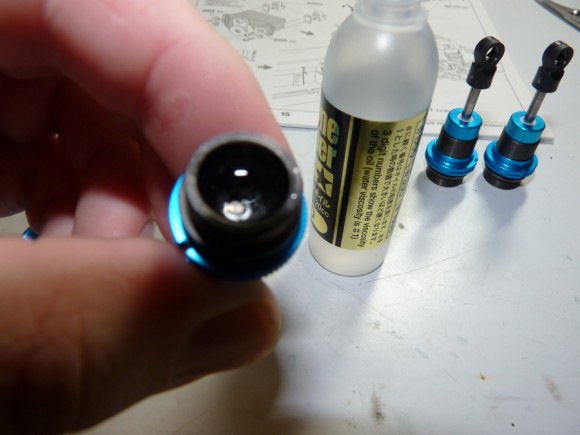
I usually fill the shock almost full (leave room for the bladder), and then start bleeding the shock to rid the oil of air.
Once the shocks are bled, we install the bladder (or oil seal).
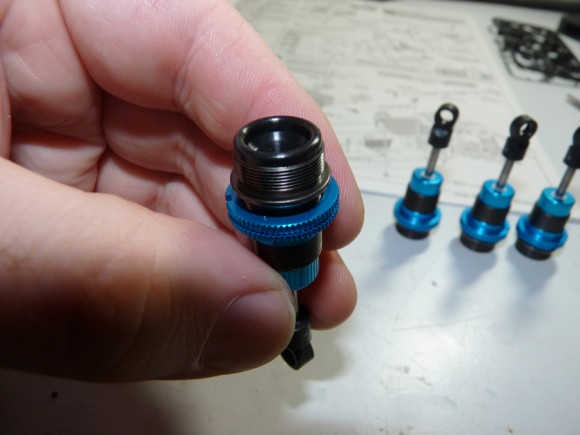
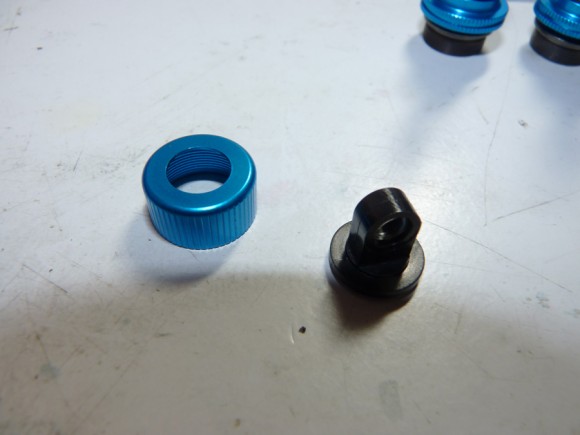
These shocks use a 2 part cap. This allows the mounting portion to rotate freely from the shock cap itself. It’s a little different than what I’m used to but they seem to work just fine.
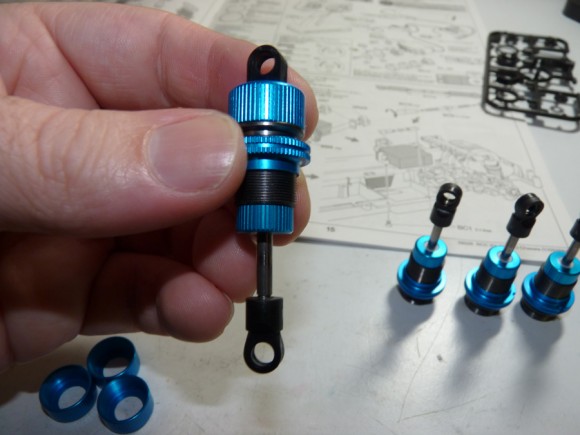
Here we are. One completed shock. Now we repeat the filling process for the remaining 3 and move on to the spring installation.
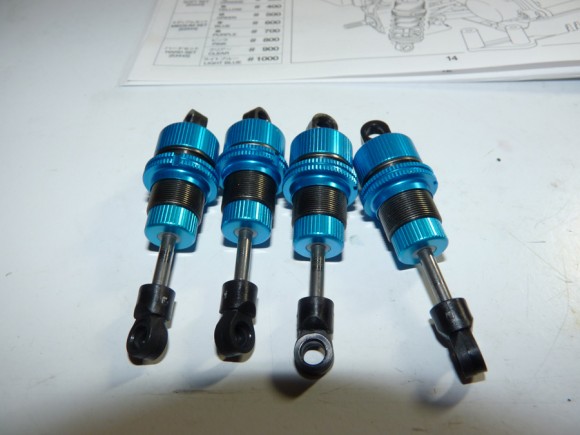
Here are all 4 shocks ready for springs.
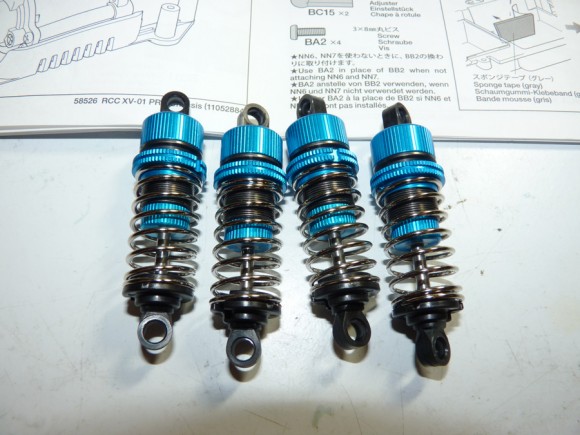
Here are the springs and lower spring retainers.
We compress the spring to be able to slide the retainer over the lower rod end, and then everything clicks into place. Now all 4 shocks are ready for mounting.
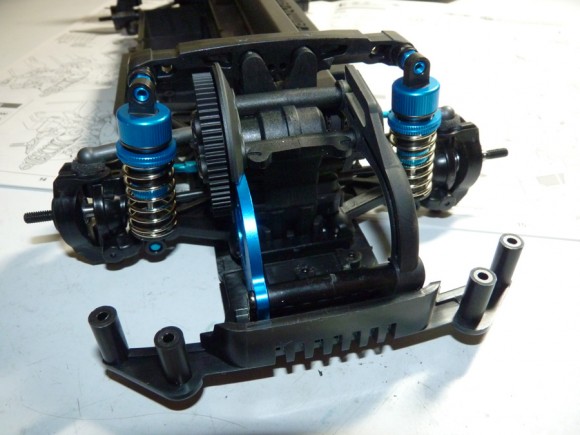
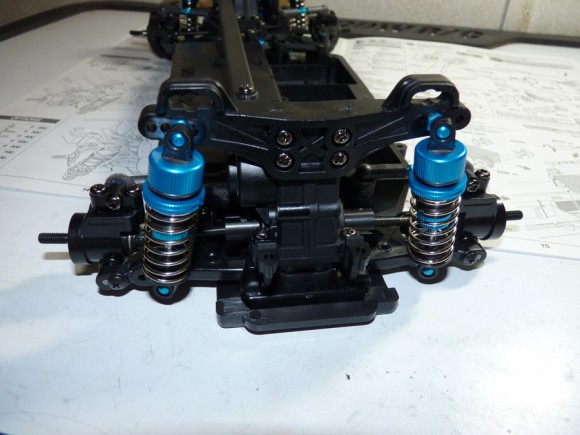
To mount the shocks, they simply get snapped onto the ball studs that we installed earlier. It really doesn’t get easier. Mounting this front one concerned me, having not mounted the motor in yet, but it pops off easy enough that it was not a big deal.
The rear end with shocks now installed.
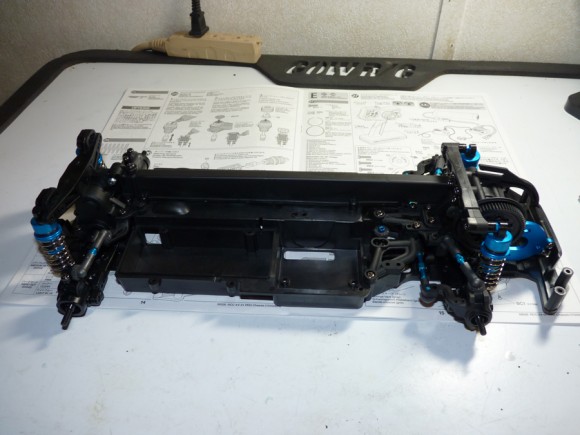
Roller is coming along. I think it’s time to install the electronics.


 October 7th, 2012
  Kevin
Kevin 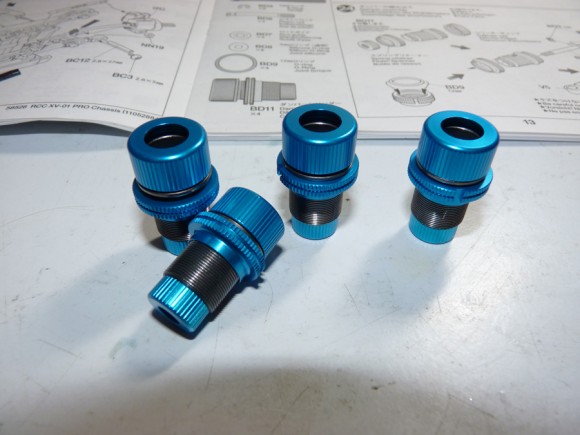

 Posted in
  Tags:
Tags:
Hi, nice build. I just did mine but located the ESC at the rear instead as there is more room under the cover there, had no problem fitting the mamba Max in there. This also gives more room for the wires exiting the cover.