Below is the hardware bag for the rear suspension. It includes the rear camber links, CVD’s, and actually all of the shocks as well. The shocks look very nice compared to what I’m used to seeing in Tamiya kits (as mentioned, this is my first PRO kit build).
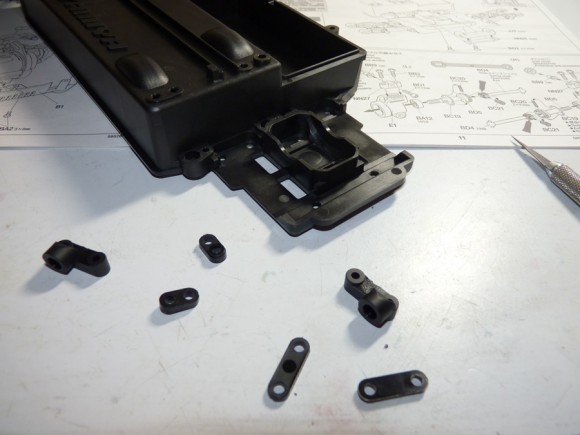
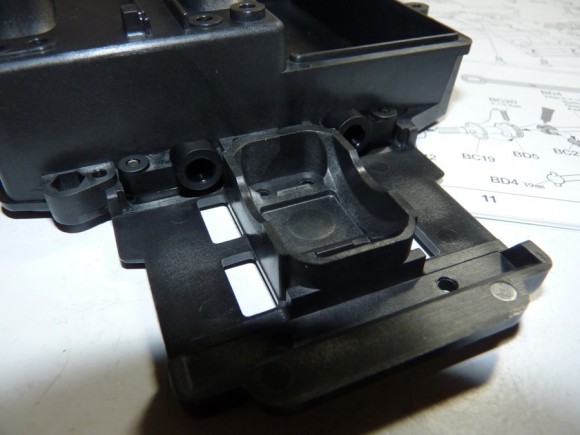
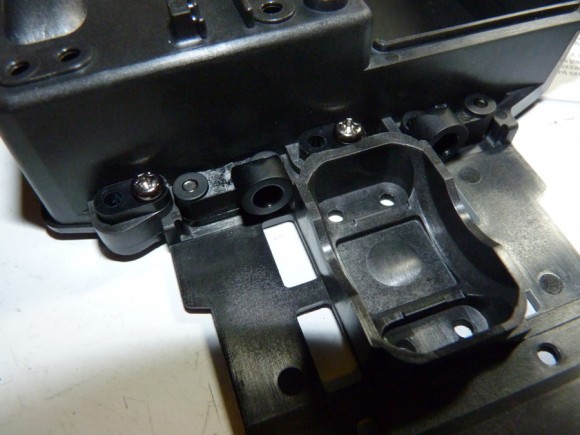
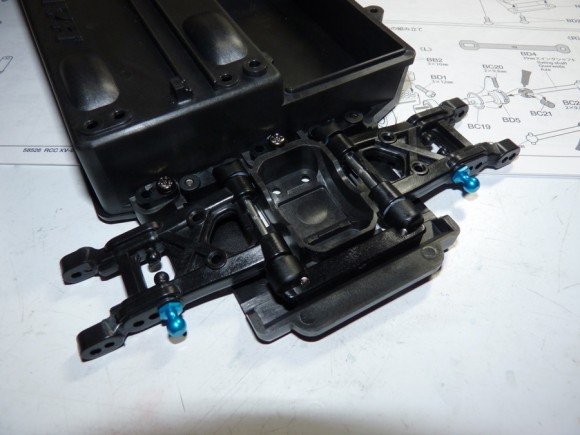
We’ll start off by installing the rear suspension mounts, just like the front ones.
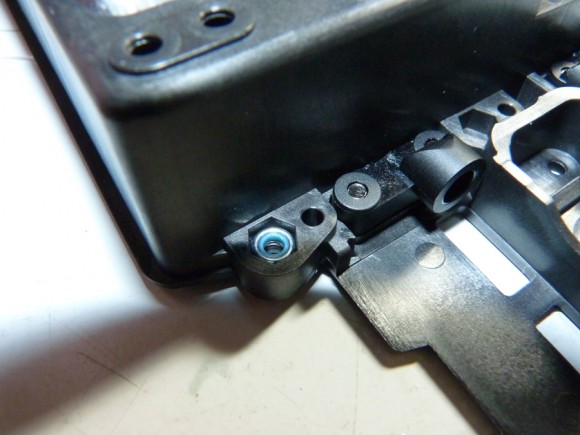
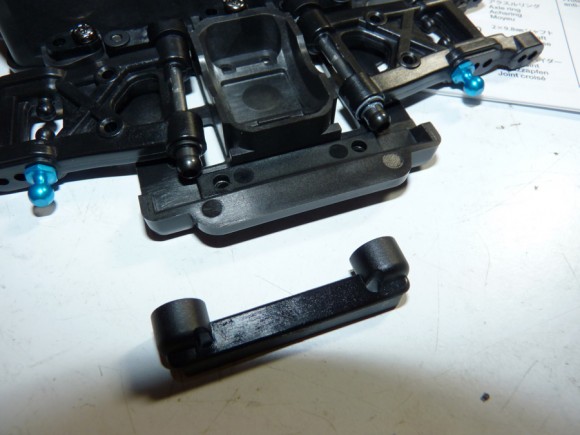
We also insert 2 locknuts in recesses in the chassis and place a plastic piece over them to prevent them from falling out. These will end up being what the screws for the battery door thread into.
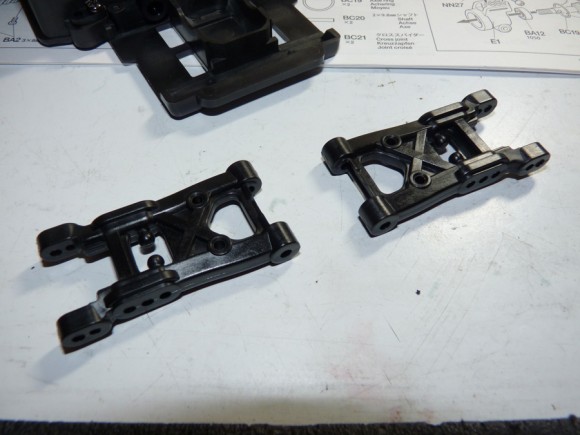
We then move on to the rear suspension arms.
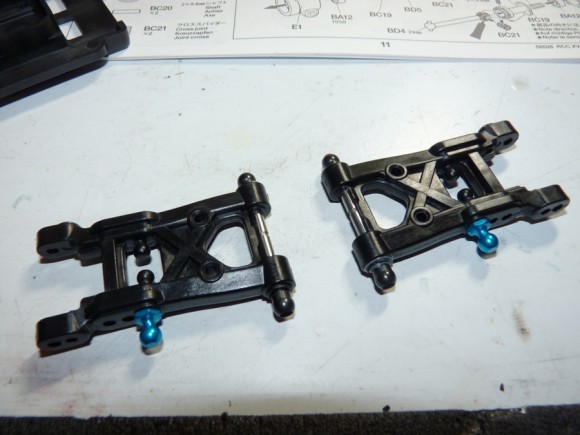
Here they are with the lower ball studs (for the shocks) and inner hinge pins installed. We also install the suspension balls on the hing pins like we did for the front.
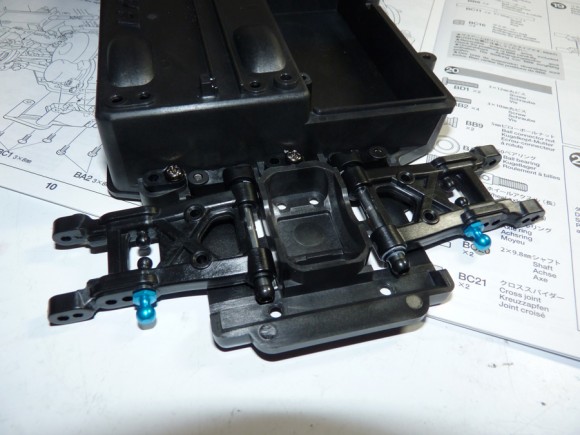
And again, we slide the suspension balls into the suspension mounts followed by a suspension mount block that holds them in place.
Rear arms are now secure and move freely.
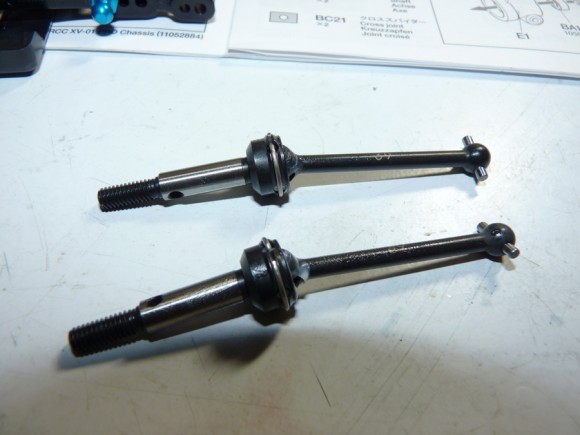
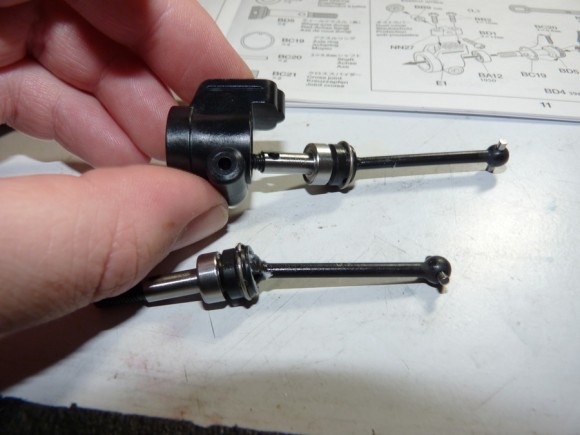
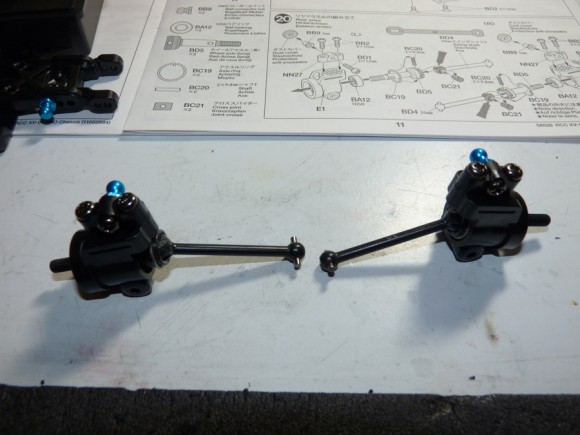
We then build the rear CVD’s. I should note that these are not interchangeable with the front. The rear bones are 39mm long, where the front’s are 42mm long. They are bagged in different stages, so there should be no confusion.
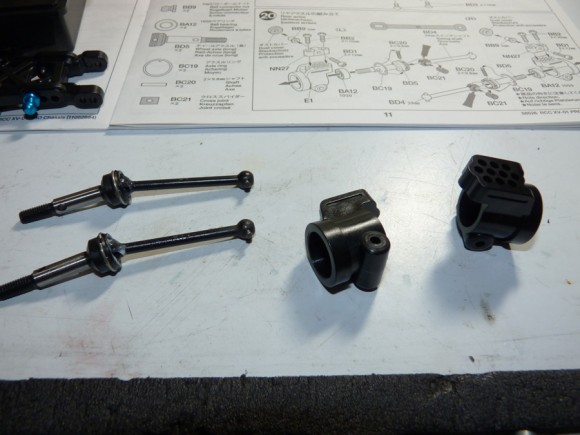
Next we install the rear hubs.
Slip a bearing over the CVD and insert it into the hub.
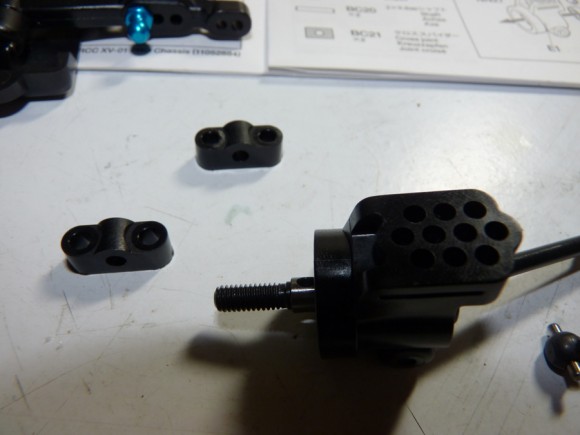
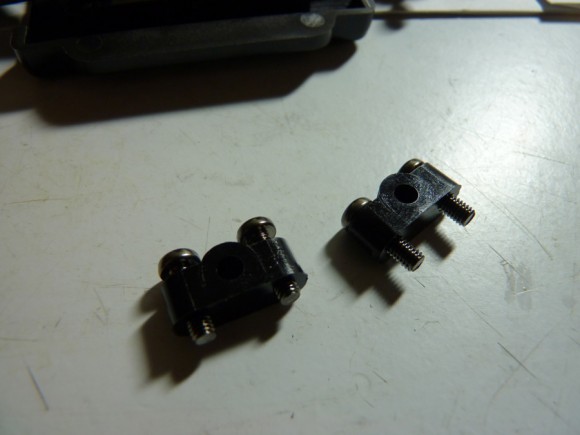
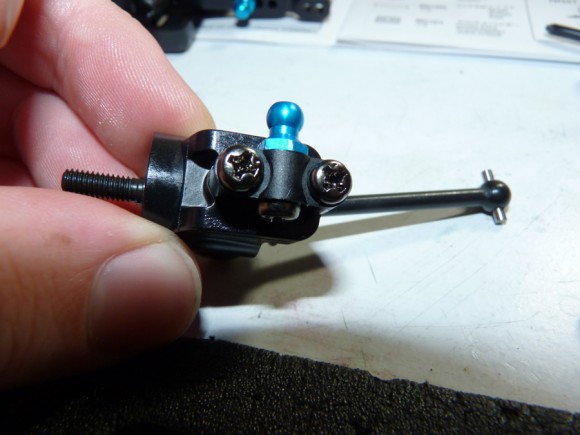
Now we have an interesting part. The rear camber link mount. With all the holes on the hub, I figured this would be just a ball stud, but in fact there is a plastic adapter that connects to the hub. A screw and ball connector nut are then attached to that piece. So there is no adjustability to this part in this form.
Here are the assembled rear hubs with the camber link mounts installed.
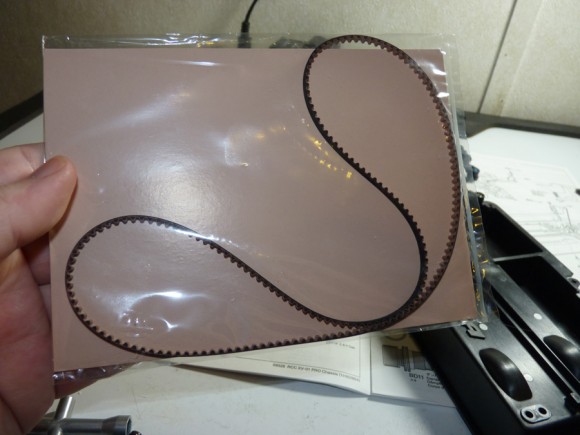
This is the belt. It ships in the kit like this to prevent damage to it.
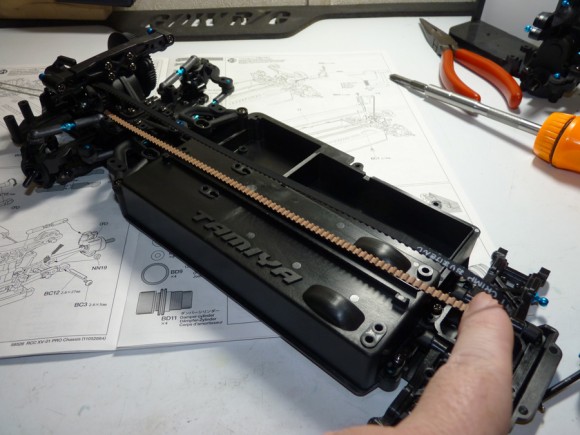
I slipped it over the front pulley and stretched it out into place of where it would go on the rear gearbox.
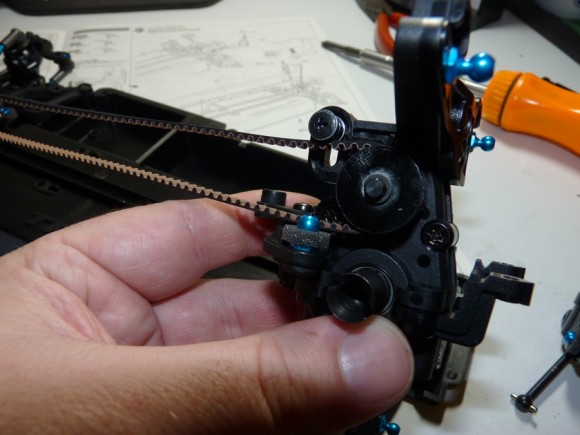
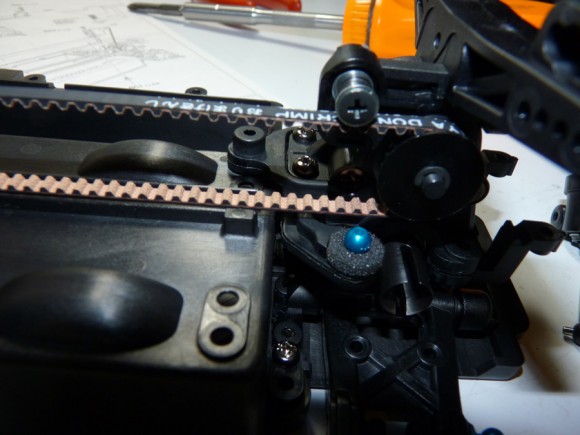
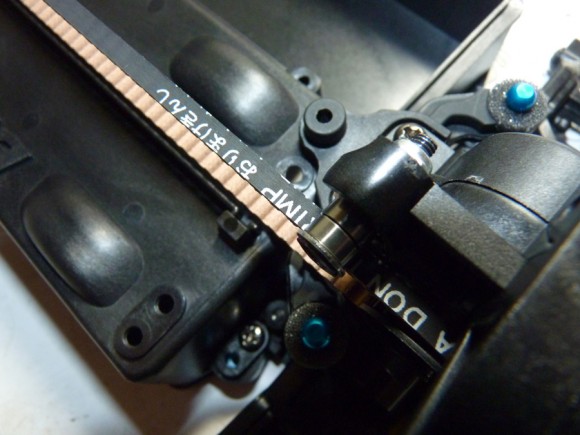
Now we slip it onto the rear pulley (and under the belt tensioner).
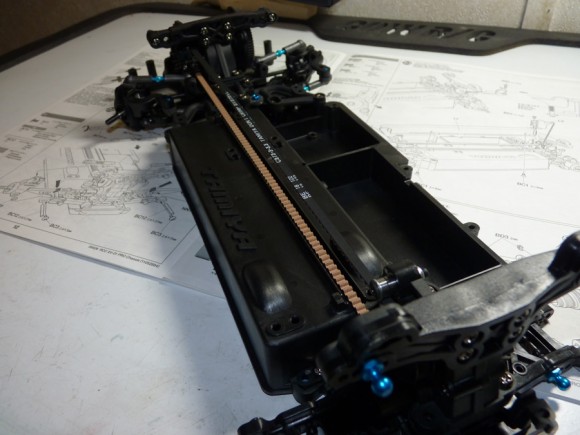
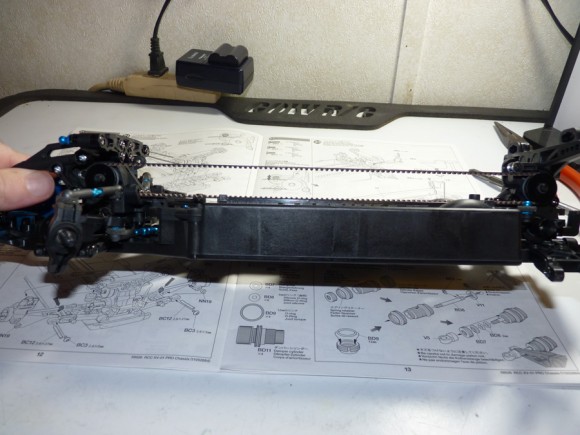
We can now drop the rear transmission assembly into place. The belt was nice and snug (not too tight, not too loose) right where the manual tells you to start with the tensioner placement.
Here are a couple more shots of the belt installed.


 October 7th, 2012
  Kevin
Kevin 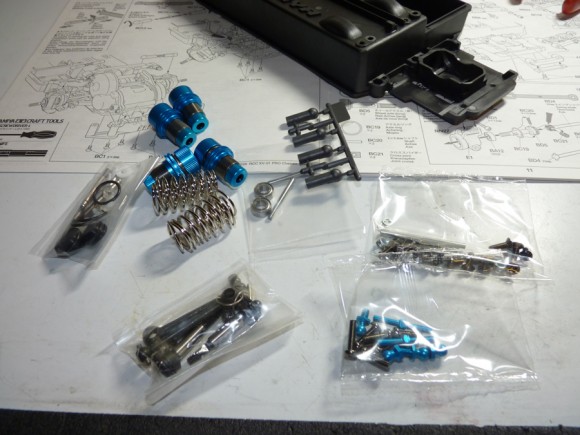
 Posted in
  Tags:
Tags:
Hi, nice build. I just did mine but located the ESC at the rear instead as there is more room under the cover there, had no problem fitting the mamba Max in there. This also gives more room for the wires exiting the cover.