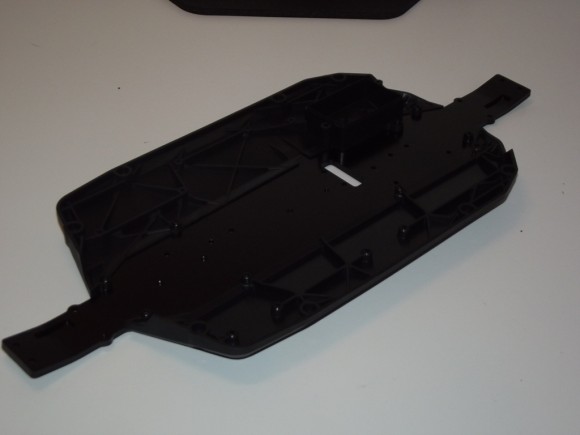
We will now start to assemble the chassis. The main chassis section is 3 pieces. The center section is a 3mm think aluminum piece, with the outsides both being made out of plastic.
We threw a dab of loctite on the screws that hold the chassis pieces together.
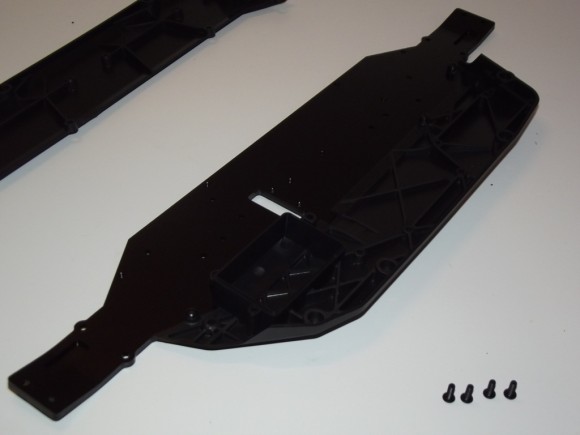
One side attached
Both sides now attached
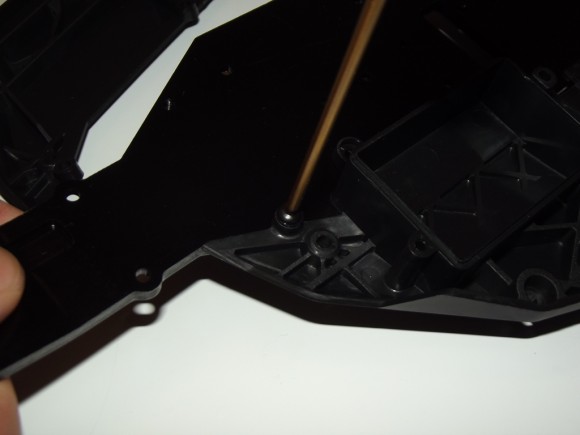
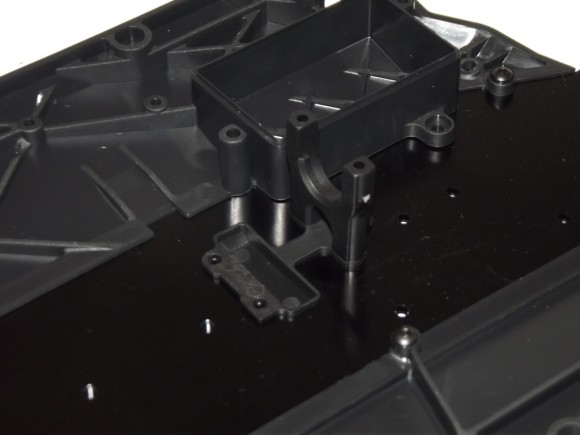
The center diff gets installed on the chassis next. This is one of the standoffs for it. First you install a piece of plastic to cover the hole in the chassis. This should help prevent rocks and whatnot kicking up through there and into your spur. I must point out that the pictures in this section of the manual are pretty dark. If you look closely you’ll see I installed this standoff incorrectly.
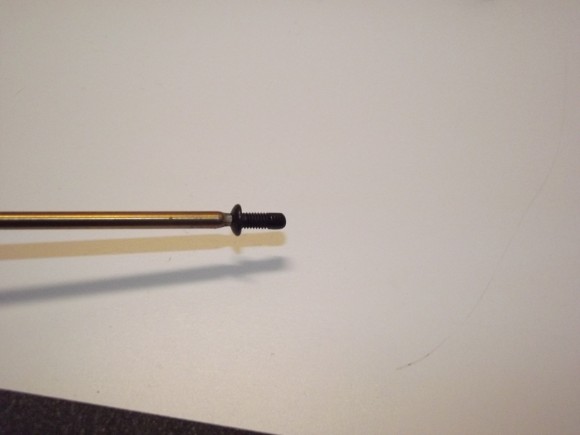
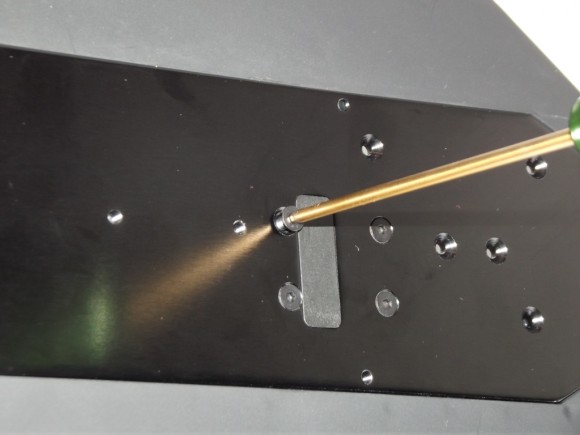
The screws for the bottom of the chassis are all flat head so they countersink into the chassis to keep the bottom as smooth as possible.
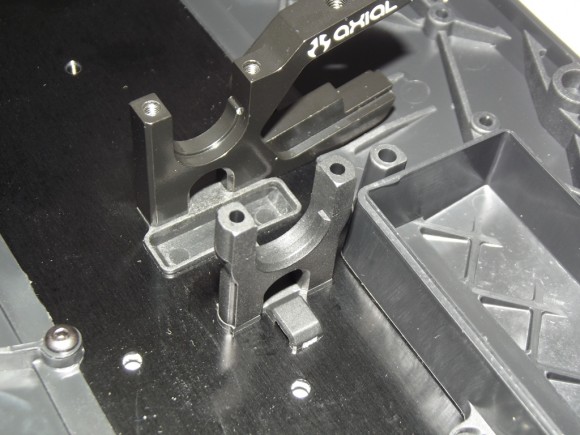
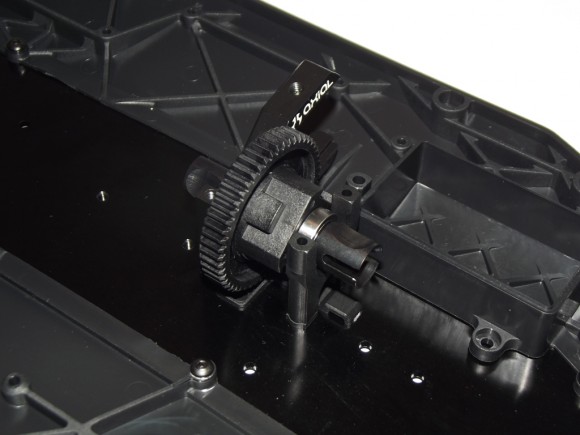
Notice the raised section inside the diff mounts. The bearings on the center diff will sit between those, keeping the differential from sliding forward or backward.
Slide the center diff into the mount
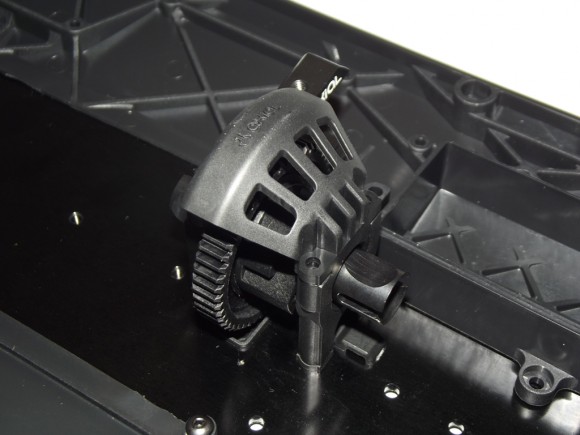
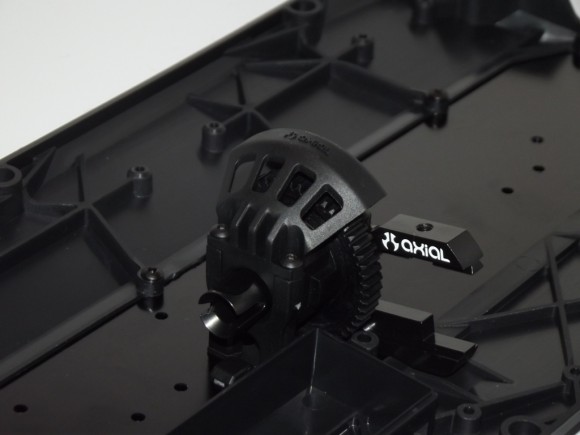
This guard is integrated into the top hold downs for the diff. It should help deflect any larger pebbles or debris away from the spur/pinion mesh.


 October 6th, 2012
  Matt
Matt 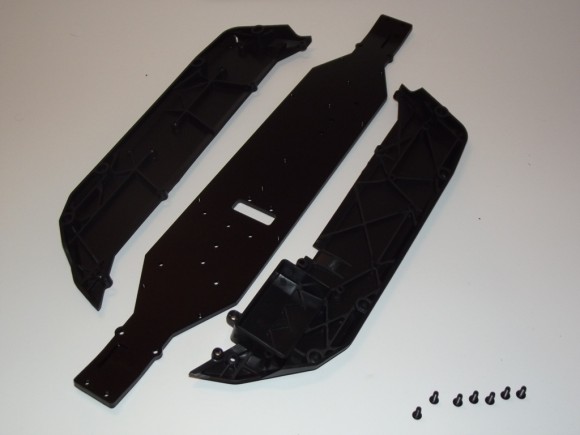
 Posted in
  Tags:
Tags:
[…] one has been a long time in the making http://www.rcsoup.com/2012/10/axial-…uggy-build-up/ __________________ http://www.rcsoup.com – R/C Reviews, News, and Tips <<- PM Me if you'd like […]
Looks like a pretty sweet set up there…I’ll be in on this raffle!
where will we find the raffle link,
I am all about the kids where I win or not is not important but it would be nice.
Nothing breaks my heart more than a Ill child!
We’ll be posting it in the next couple days hopefully. Ticket sales kick off at iHobby, and we’re “planning” for a simultaneous online launch.. we’ll see how it goes. Keep checking the site
[…] EXO Terra Off-Road Buggy View the Build Up | Read the Review (coming […]