On to Bag J! Last Bag! YAY!!
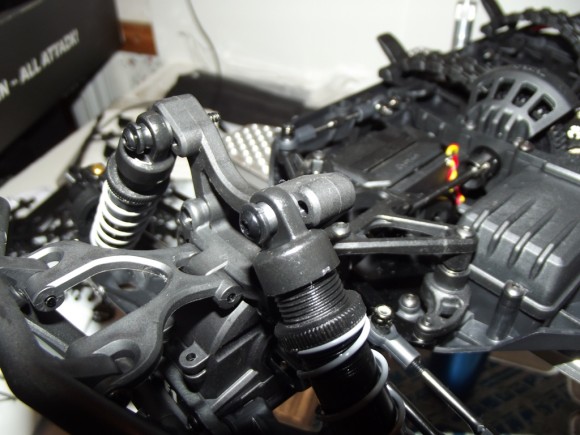
In this bag we will attach the cage to the chassis. We’ll start with two long screws that go through the tops of the front shocks, through the shocktower, and into the cage.
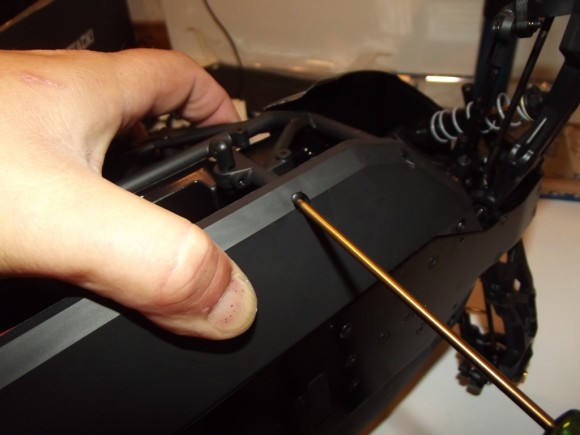
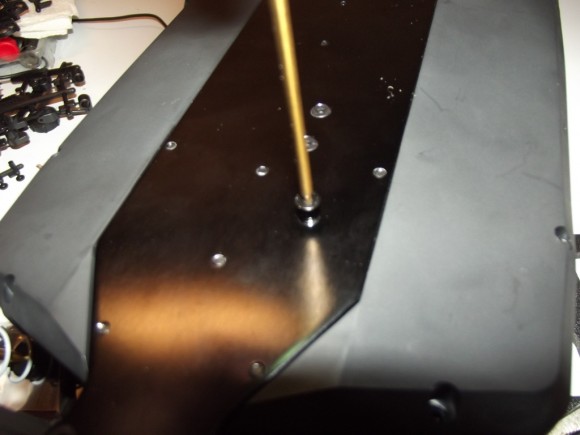
There are several screws through the bottom chassis plate that get screwed into the cage.
There are two through the metal portion of the chassis. These are kind of tricky to get lined up, so I wound up doing these two first.
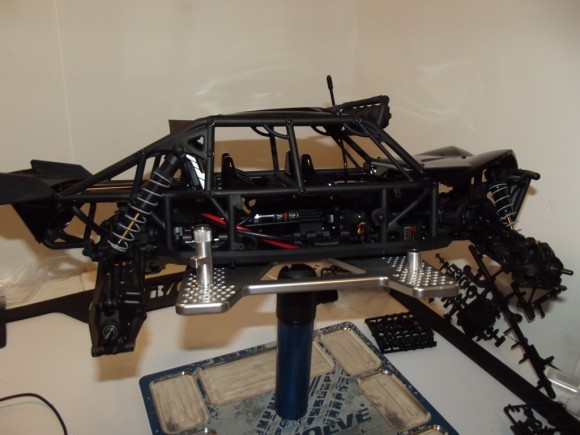
Here’s the cage mounted for the first time.
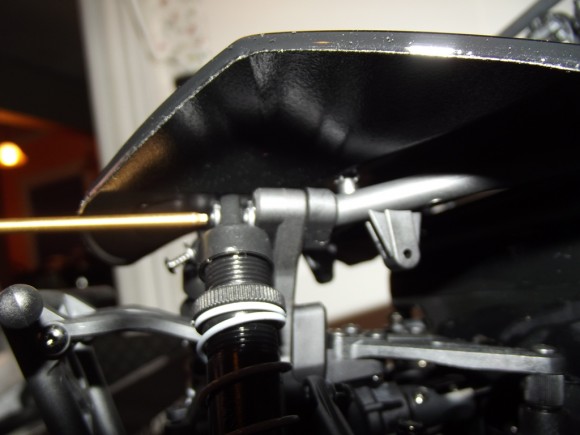
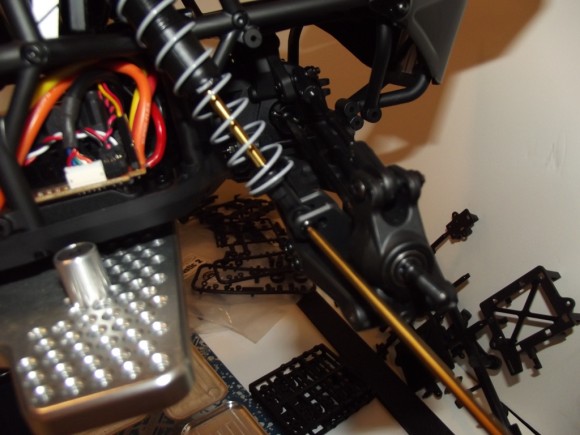
Now we’ll install the lower screw on the rear shocks
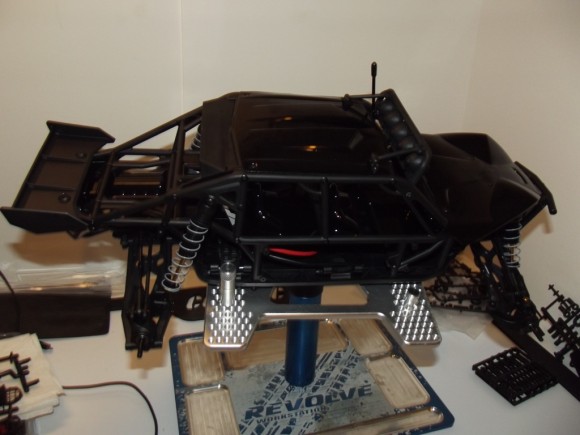
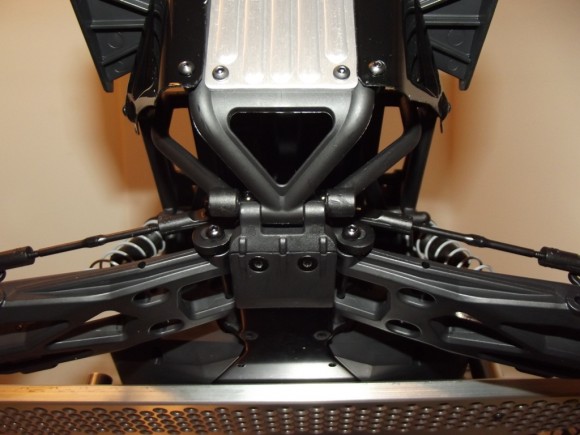
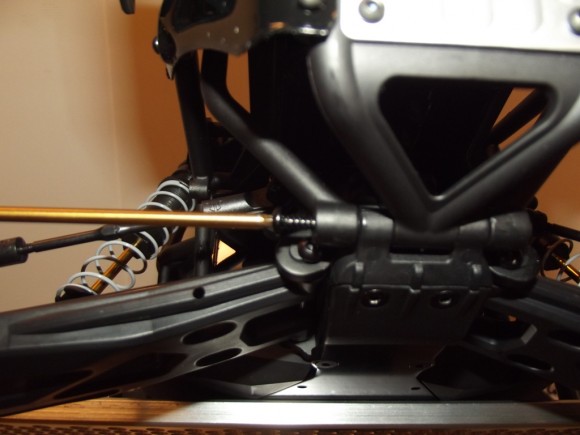
On the rear of the cage, you have to tie the sides into the rear of the chassis


 October 6th, 2012
  Matt
Matt 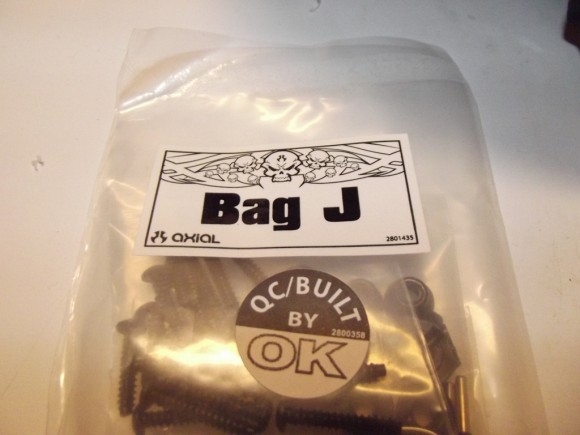
 Posted in
  Tags:
Tags:
[…] one has been a long time in the making http://www.rcsoup.com/2012/10/axial-…uggy-build-up/ __________________ http://www.rcsoup.com – R/C Reviews, News, and Tips <<- PM Me if you'd like […]
Looks like a pretty sweet set up there…I’ll be in on this raffle!
where will we find the raffle link,
I am all about the kids where I win or not is not important but it would be nice.
Nothing breaks my heart more than a Ill child!
We’ll be posting it in the next couple days hopefully. Ticket sales kick off at iHobby, and we’re “planning” for a simultaneous online launch.. we’ll see how it goes. Keep checking the site
[…] EXO Terra Off-Road Buggy View the Build Up | Read the Review (coming […]