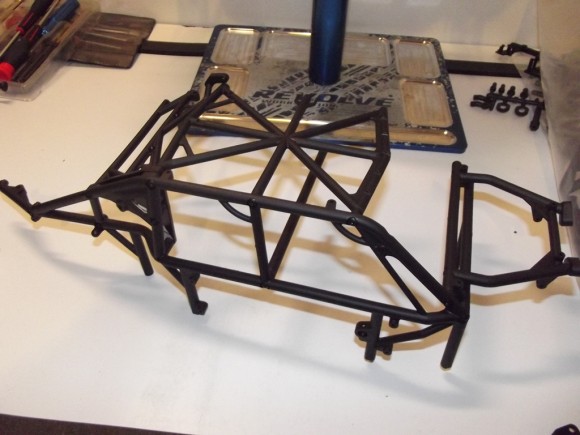
Now we’ll start assembling the exoskeleton, the outer shell for the buggy.
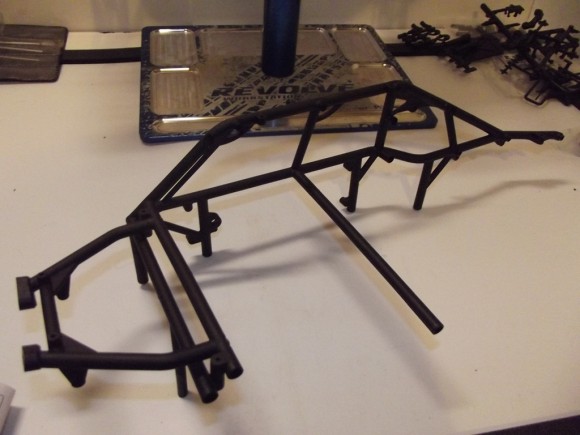
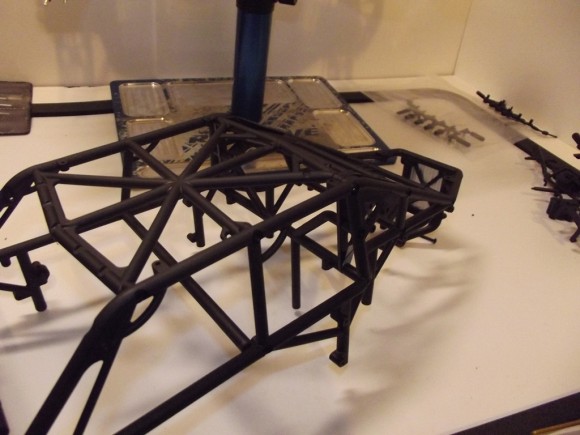
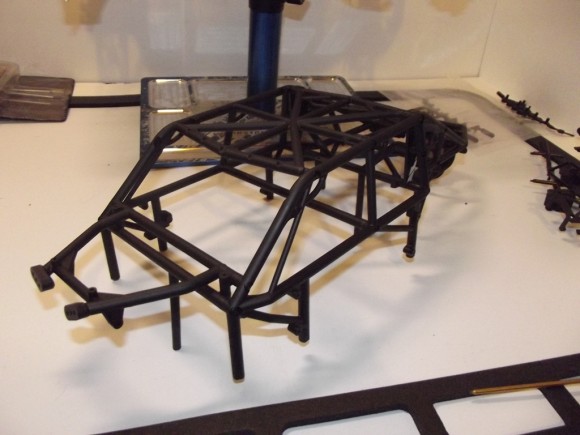
Here’s half of it done. You can see how intricate it all is. Very well put together, this thing feels sturdy already.
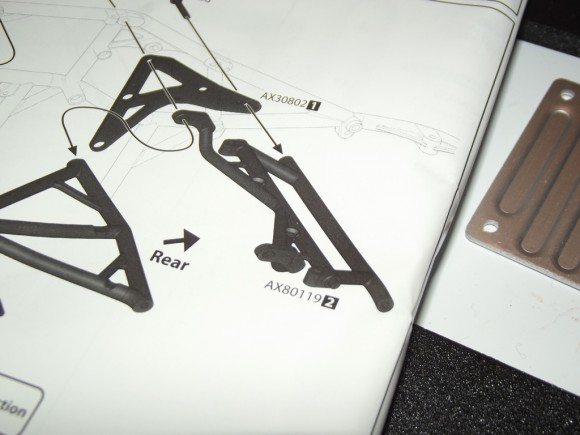
Another quick error in the book.
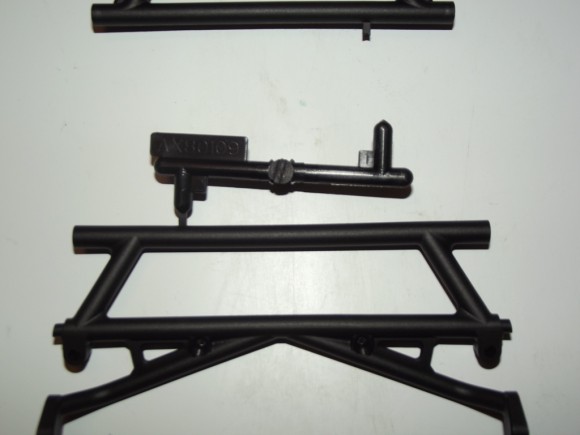
The proper pice is AX80118 (1), not (2) like it says in the book. If you look at the picture of the part in the book you’ll be able to figure out which is the correct piece.
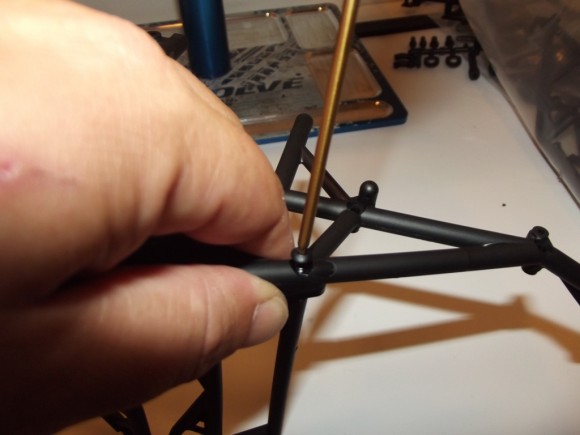
Now we’ll start putting in the cross pieces which hold the whole thing together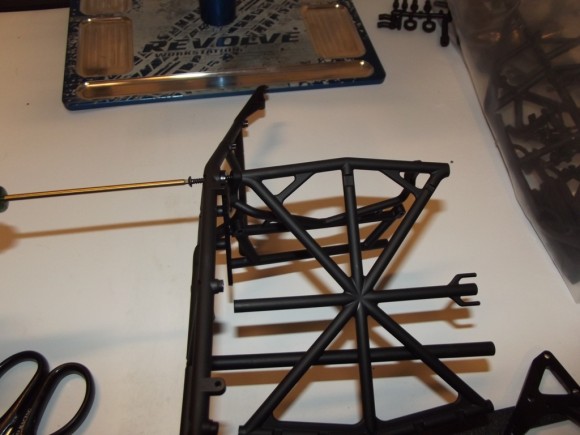
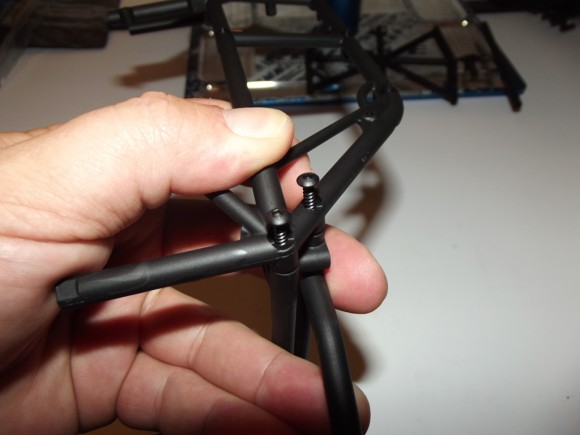
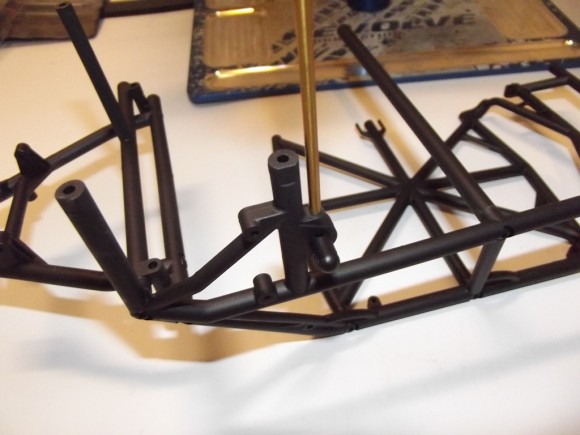
Only one body panel is designed to be removed frequently, and that’s the battery cover. Here is a body post where the clip will get inserted to hold that panel on.
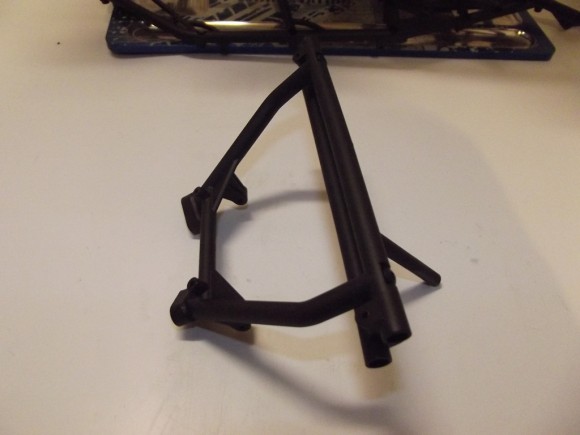
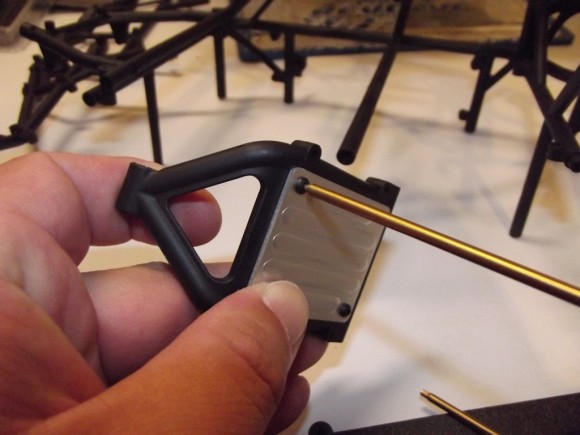
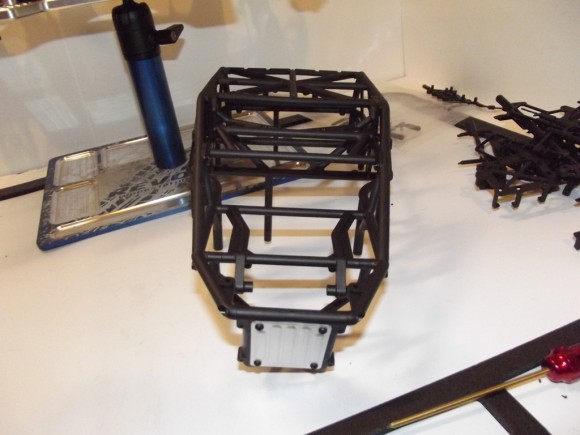
Now we’ll attach the rear bumper. It gets a similar skid plate to the front bumper.
More cross braces installed, as well as pieces of the other side of the cage.
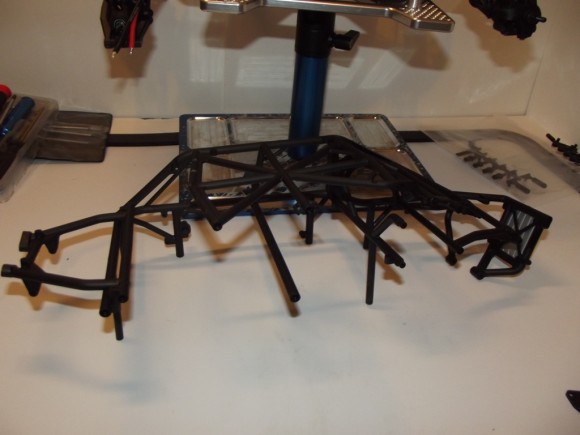
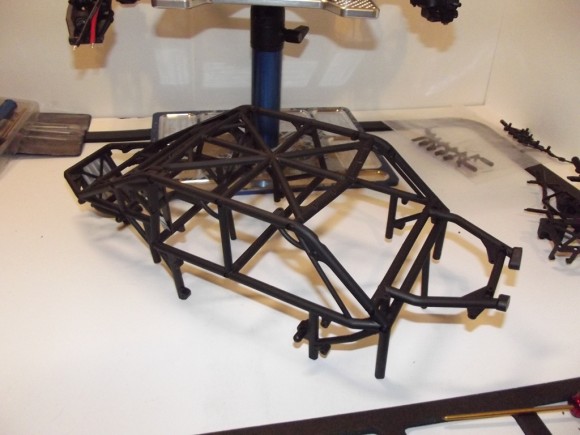
Both sides together now
This is a very complex cage, which should provide a lot of protection for the buggy in a rollover.


 October 6th, 2012
  Matt
Matt 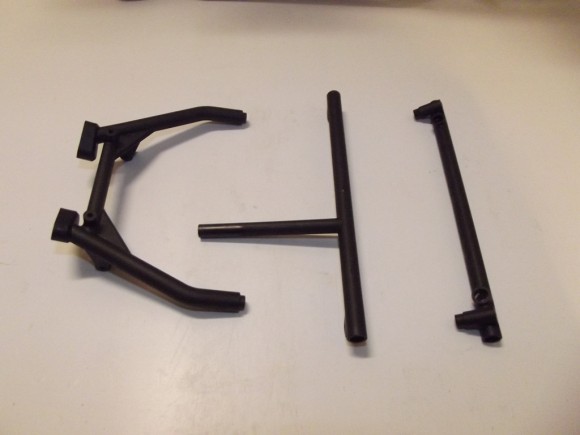
 Posted in
  Tags:
Tags:
[…] one has been a long time in the making http://www.rcsoup.com/2012/10/axial-…uggy-build-up/ __________________ http://www.rcsoup.com – R/C Reviews, News, and Tips <<- PM Me if you'd like […]
Looks like a pretty sweet set up there…I’ll be in on this raffle!
where will we find the raffle link,
I am all about the kids where I win or not is not important but it would be nice.
Nothing breaks my heart more than a Ill child!
We’ll be posting it in the next couple days hopefully. Ticket sales kick off at iHobby, and we’re “planning” for a simultaneous online launch.. we’ll see how it goes. Keep checking the site
[…] EXO Terra Off-Road Buggy View the Build Up | Read the Review (coming […]