Here’s what I hope will really tighten up the steering. It’s been said on various forums that this is no better than stock, and a lot of the slop is from the ball ends. It’s hotly contested and I believe some have better luck with these kits than others. For me, the bearings, rigidity, and losing the Z bent bar in the stock configuration is enough to make me want to try it. It’s under $15 @ AsiaTees.. what is there to loose?
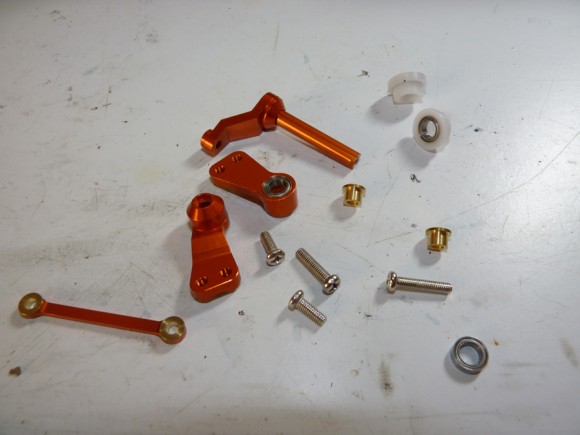
Components out of the package. I like this orange!! Will go great with the body.
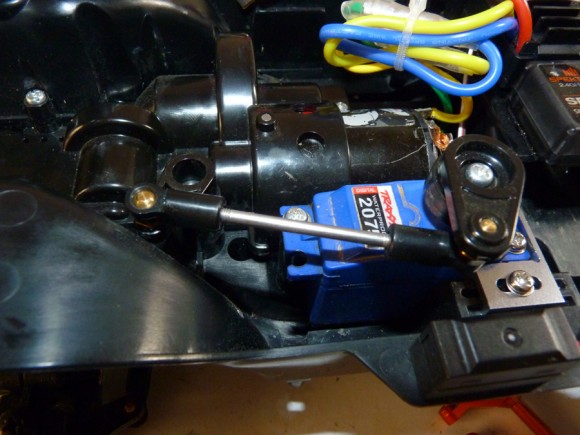
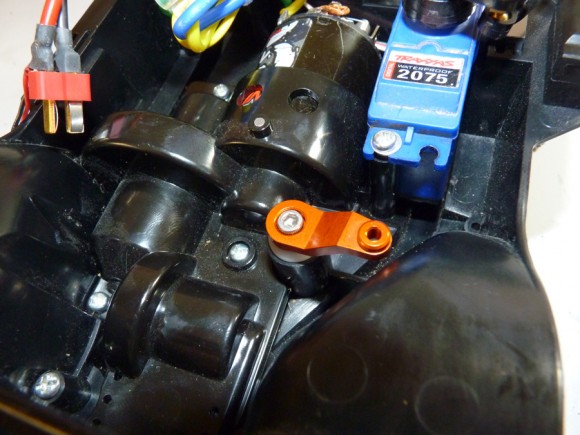
Let me remind you of what the top of the bellcrank looks like stock. It passes thru the chassis tub to the bottom.
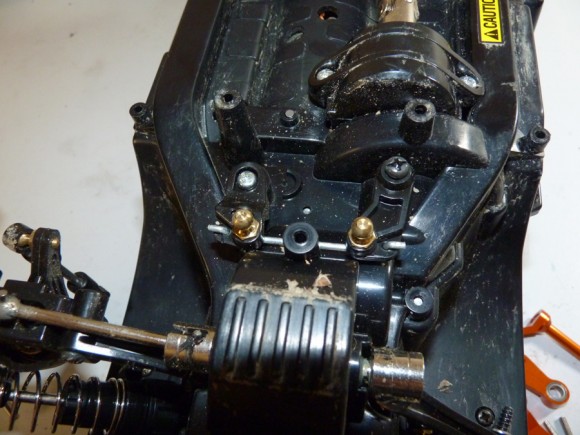
This is with the skidplate removed from the bottom.
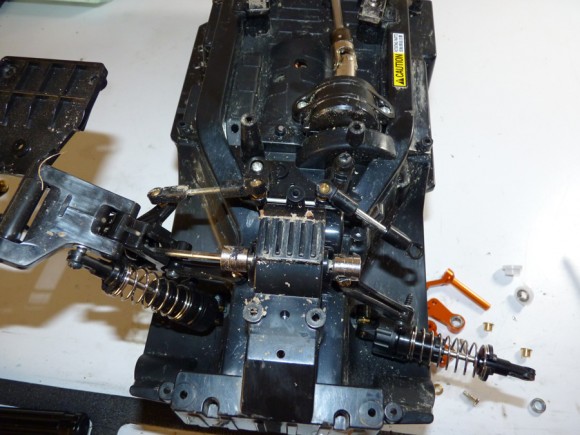
Stock bellcrank. You can see the Z bent linkage I was referring to. These also ride on shoulder bolts, not bearings.
I replaced the top part of the bellcrank first. The white sleeve spacer/bearing get inserted into the hole in the tub, and then the bellcrank piece. I replaced the included screw with one of my own M3 stainless screws because I could secure it better with the hex head.
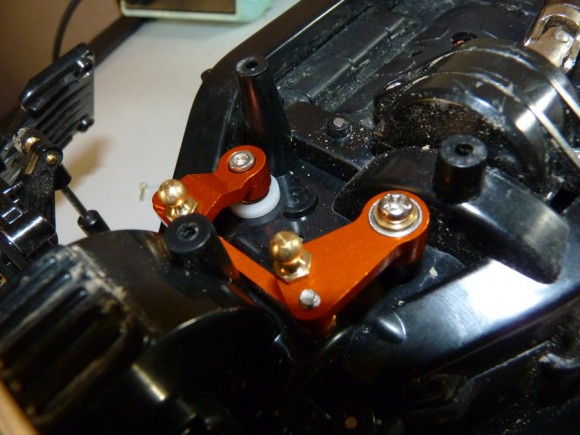
This is how the bottom piece should look. The white sleeve/bearing goes into the chassis on the left side, and the brass inserts go into the right side bellcrank to allow smooth bearing movement. The included long screw for the left bellcrank piece was too long, and I again replaced it with my own stainless hex screw, except this is a little shorter. The original one you could bottom out the screw before it tightened the piece down.
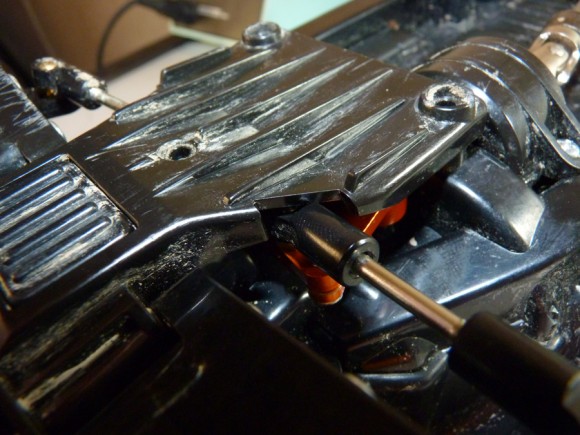
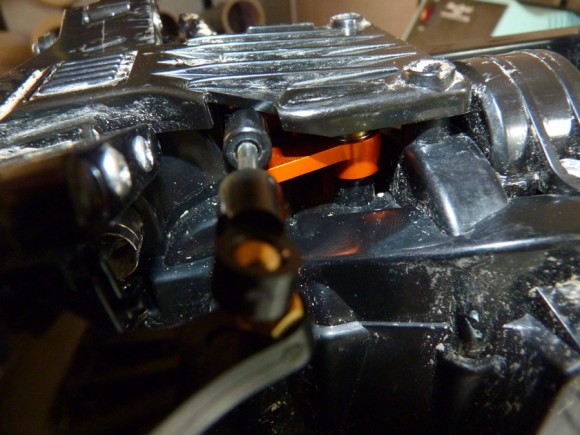
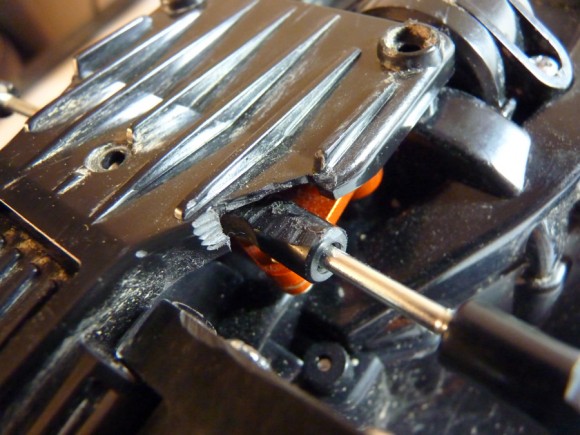
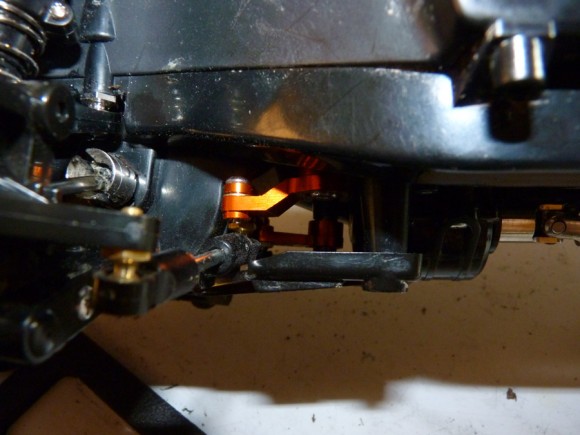
When reattaching the skid plate, I noticed some clearance issues. The rod ends for the steering links were now sitting higher because of the added height of the bearing fitment pieces and rubbing on the skid plate.
See how it’s touching?
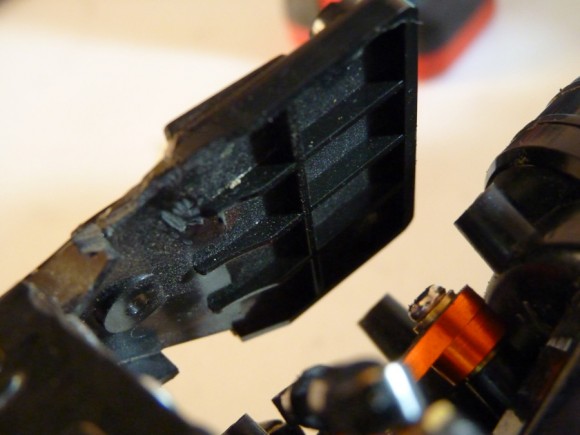
Some quick dremel/hobby knife work and there is now enough clearance.
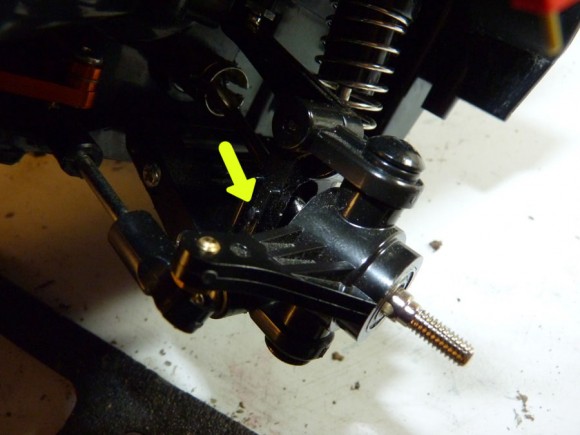
It was also catching one of the ribs in the plastic of the skidplate, so I ground that down a little too.
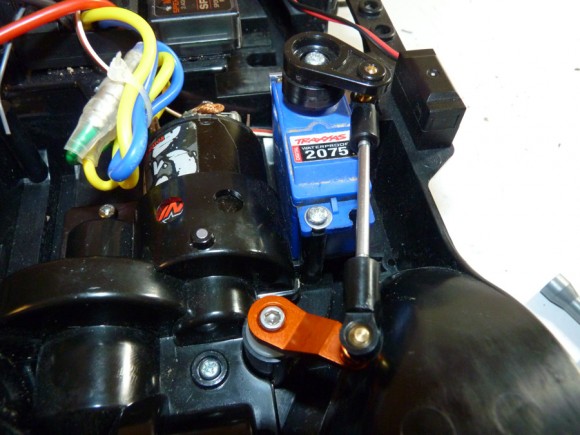
Now everything is hooked up and functioning again. It’s hard to tell how much good this did. It still feels like there is slop, and I can tell it’s from the ball ends. I may also remove the servo saver and replace it with something better.
Looks nice huh?
I also shaved down the little steering stops to give it a little more steering throw.
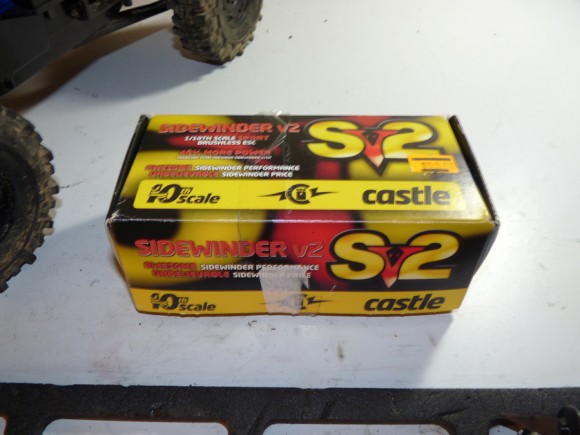
Time to replace the stock ESC! In goes the Castle Sidewinder SV2. This esc is capable of running brushed or brushless, and has many of the settings that it’s brother has.. the Mamba Max Pro. It should have no issue powering this rig, and it has the ability to run 100% drag brake, which will be an ENORMOUS help out on the trail. No more rolling downhill.
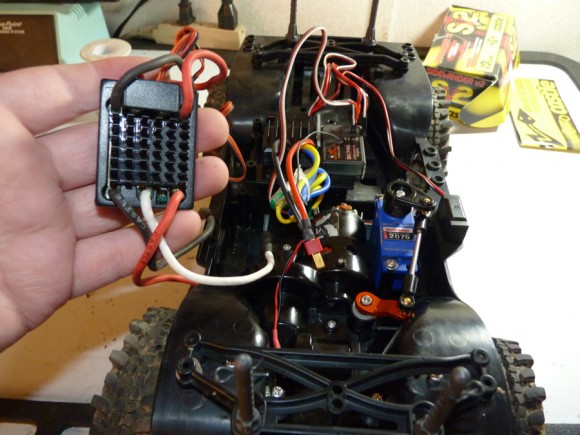
I’m sure you’ve seen one of these before.. I’m just swapping it out and replacing the stock ESC.
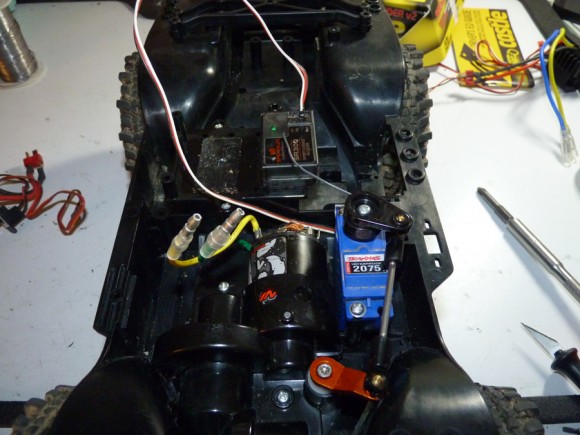
Old ESC torn out.
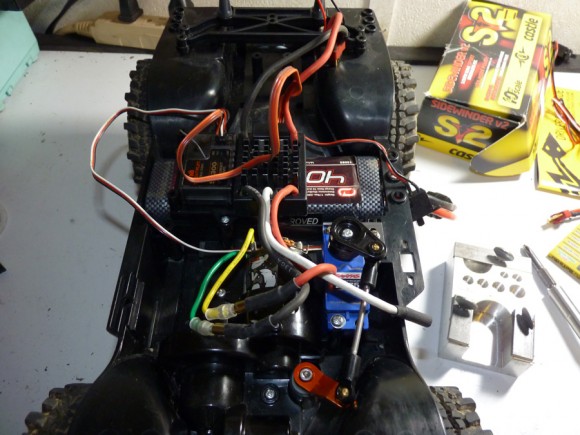
New ESC installed, and hooked up with the Venom 4000 Lipo we ran in the ADX-10 (this was it’s original intended purpose). It fits in the stock location for a stick pack, but will give me the added benefits of Lipo power.
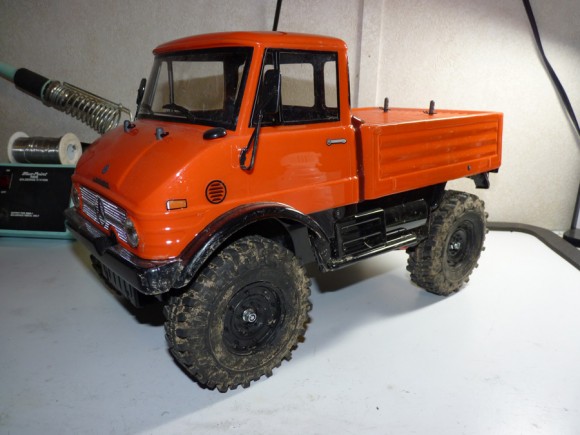
Here it is all buttoned up and ready for the trail. Can’t even tell I did anything… but I bet the performance has increased!
All in all, this was a quick modification. I still have to field test this when I get some time. I will report back on the performance when I do. Hopefully I was able to do all the things on my list.. which was gain steering, slow it down a little, and add drag brake. The heavier Lipo over what I was running before should also make the truck a little more stable.
In the meantime (while you wait for me to report back), check out AsiaTees. They have a ton of stuff, even tools… and it’s all very cheaply priced. I had pretty good luck with the pieces I received despite some minor fitment issues. I can’t wait to hit the trail again!!


 September 12th, 2012
  Kevin
Kevin 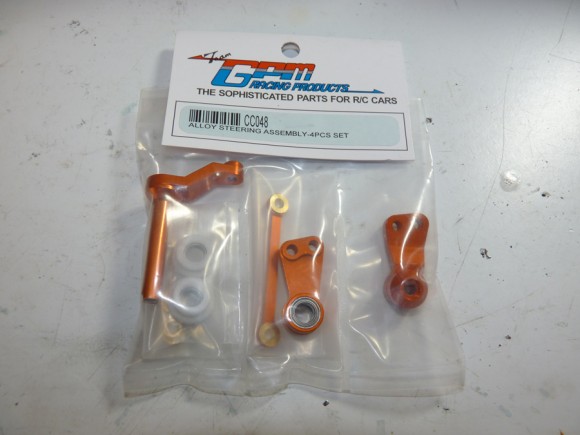
 Posted in
  Tags:
Tags:
This is cool, I am excited for pics and vids and an assessment of a few runs withe mods!
[…] Re: GPM Spur gear for CC01- issue? I did eventually make it work by swapping the motor position on the mount like said above.. Still had to shim tho… full writeup here: Tamiya CC-01 Unimog Upgrades Installation | RC Soup […]