Let’s take a look at what is included with the major component of this build, the ZRP (Zyck Racing Products) Diablo chassis. This is a HIGH end race chassis kit, that is made entirely from precision cut carbon fiber, and machined aluminum that is topped off by an awesome RED anodized finish. This kit is SICK!
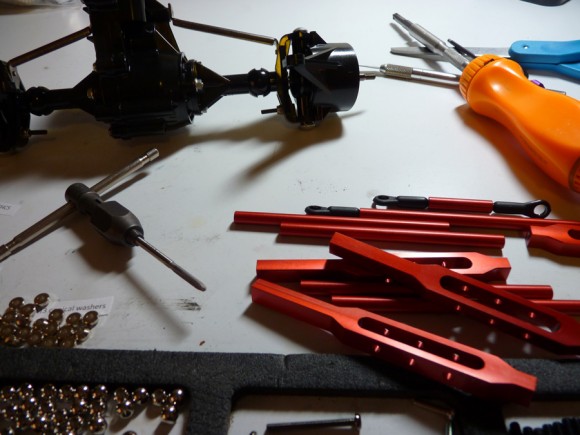
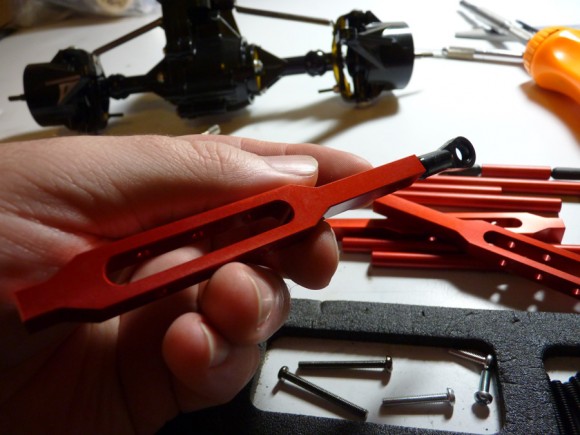
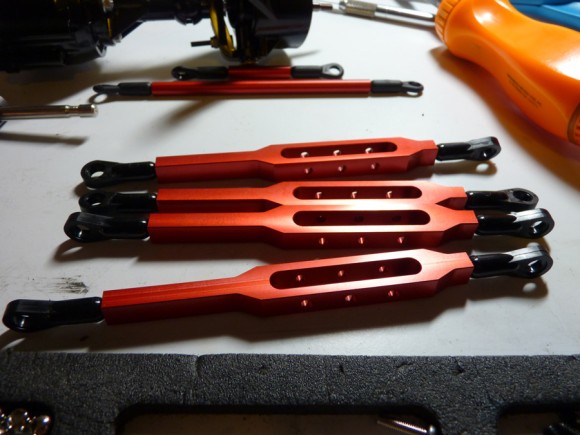
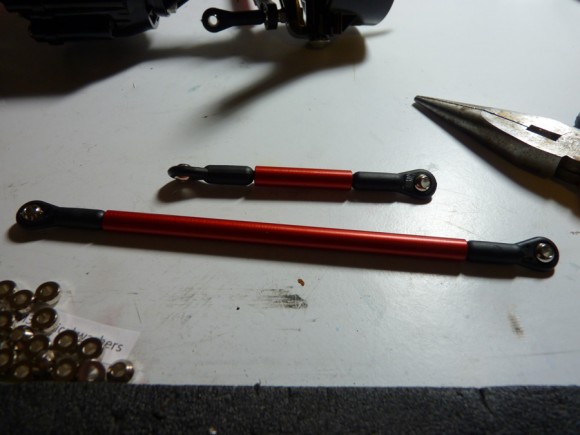
Here’s a look at the various red anodized aluminum linkages. We have the machined lower links to the right, with square chassis cross members next to them, followed by the upper links and steering links to the left of those. All of them have a great finish.
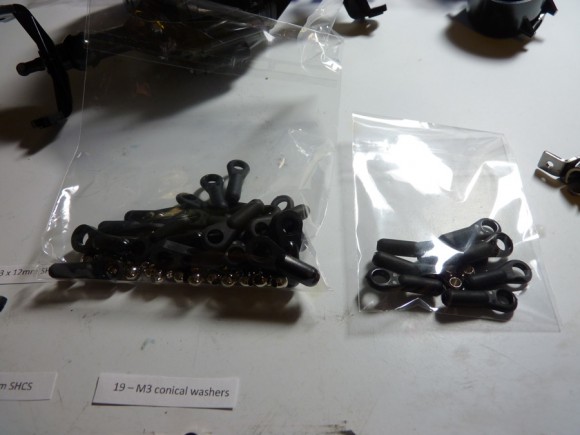
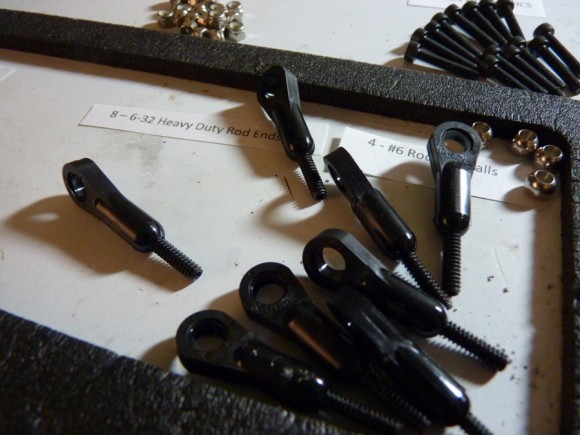
Here are some of the included hardware bags. These are all of the rod ends for the build. They go on the ends of the 4 links and steering links.
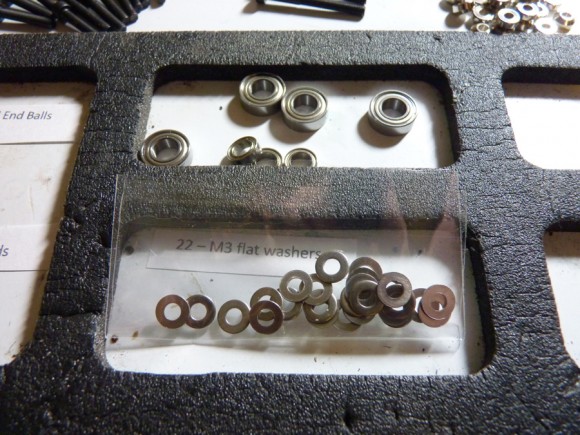
Some Washers.
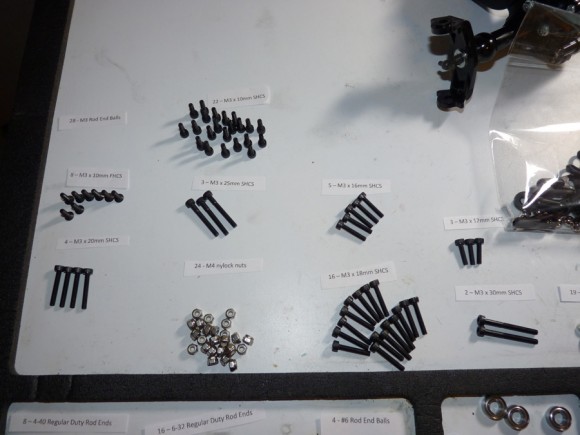
I took ZRP’s parts list and cut it up with scissors and laid everything out on my CowRC Work Mat for easy organization. This will significantly speed up the build process.
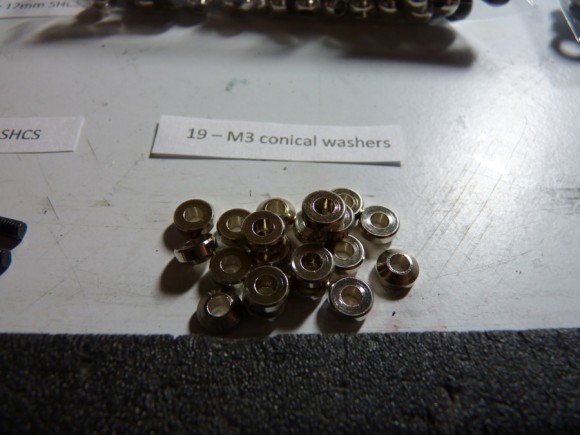
Conical washers (these are used as spacers for linkages, and are used so that they do not bind up link motion).
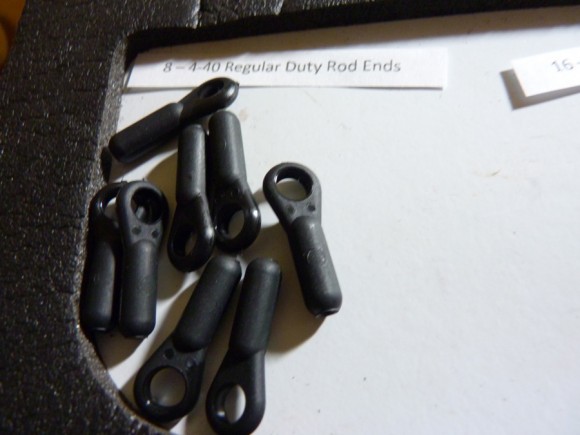
More rod ends.
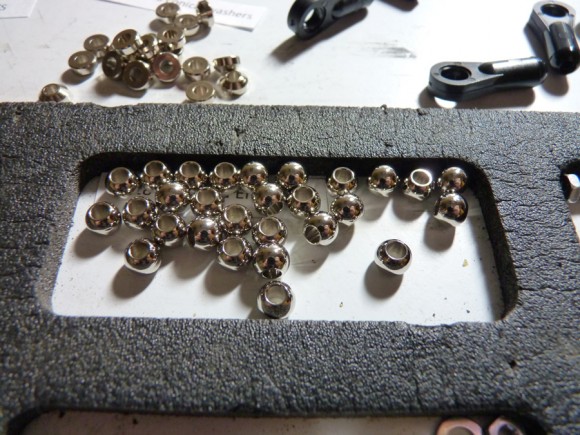
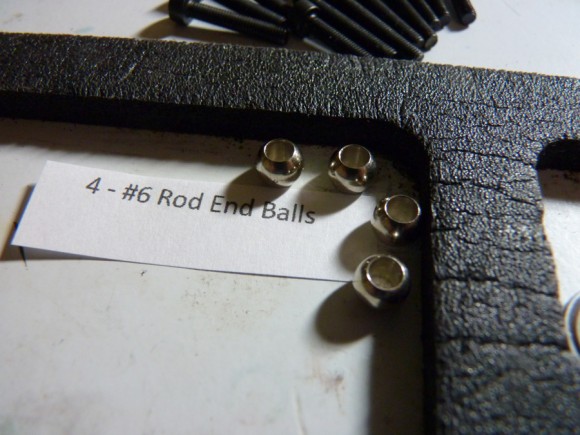
Rod End Balls. These get inserted into the rod ends.
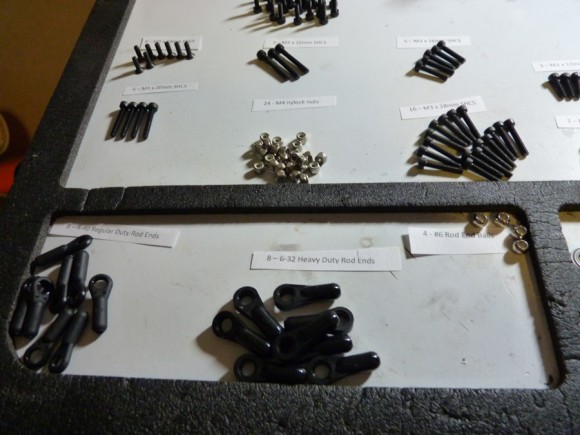
Some more shots of the hardware organization. I won’t go into them all.
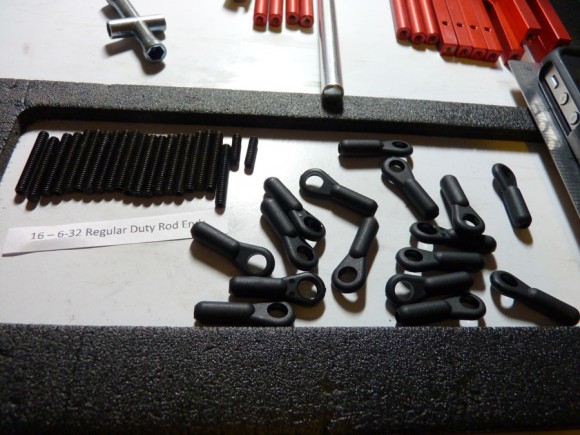
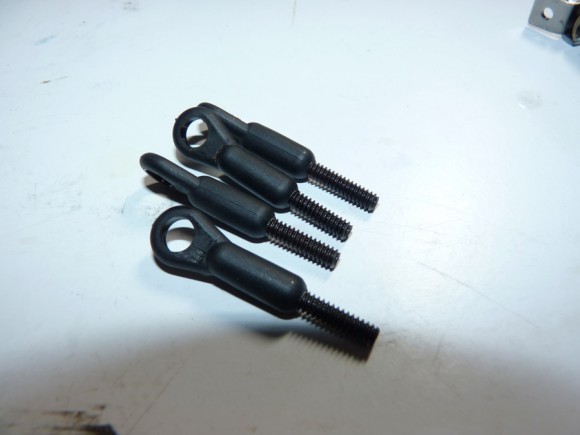
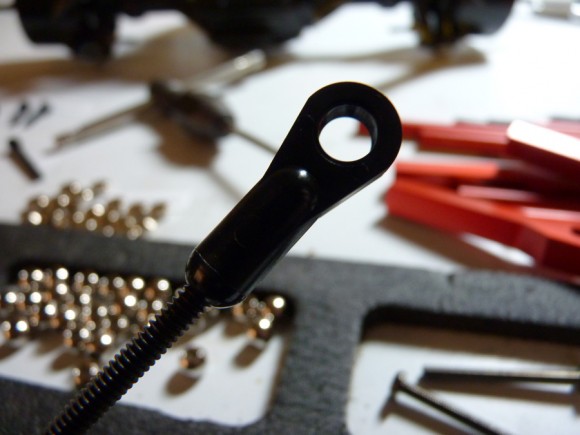
Let’s get started with building the links. These are 6/32 allen studs. They are threaded into all of the rod ends.
4 completed rod ends. These will go on the rear lockout linkages. We are only running 2 wheel steering for this build, so we need to lock the rear steering in place.
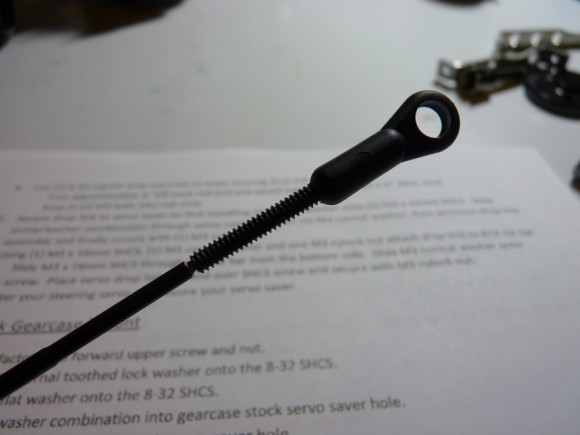
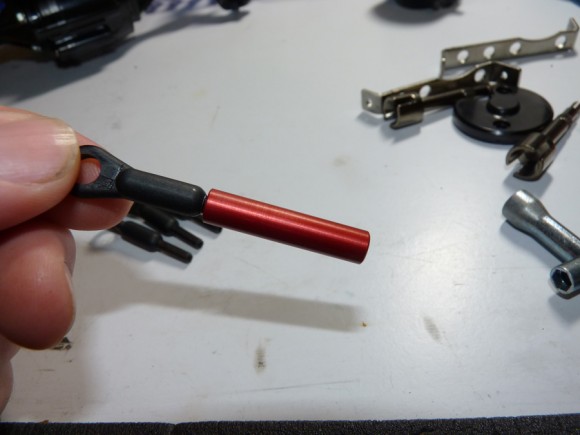
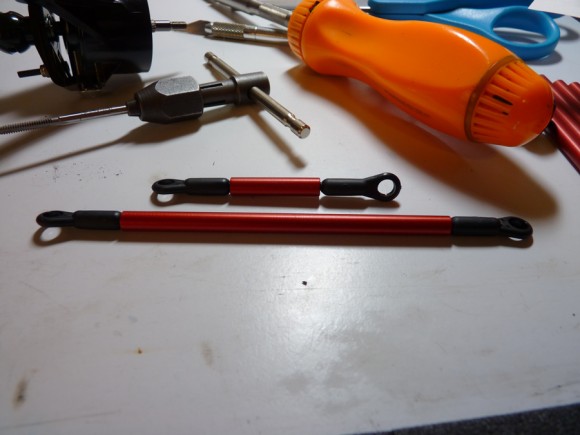
Threading one of the rod ends onto one of the short steering links.
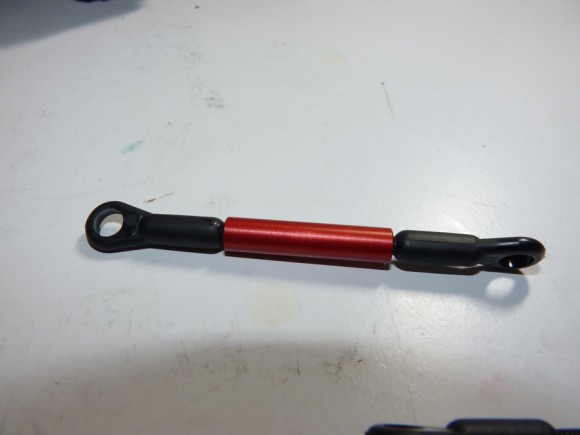
Finished steering link.
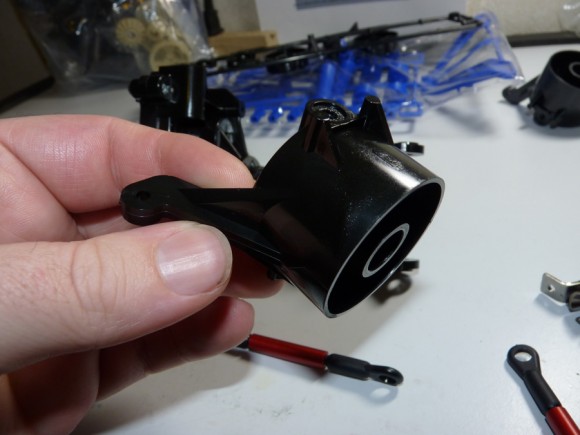
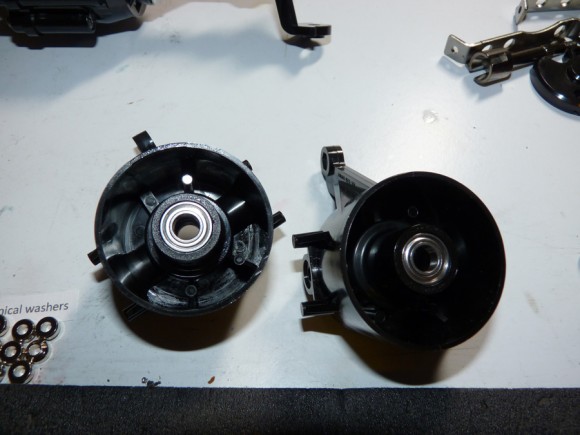
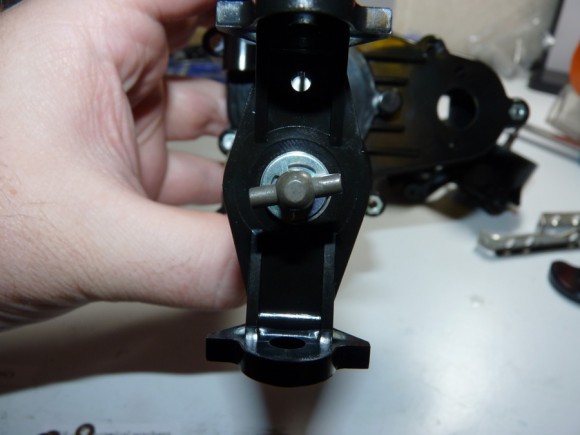
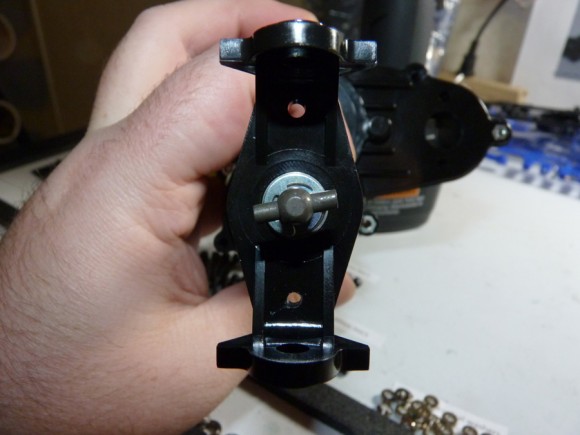
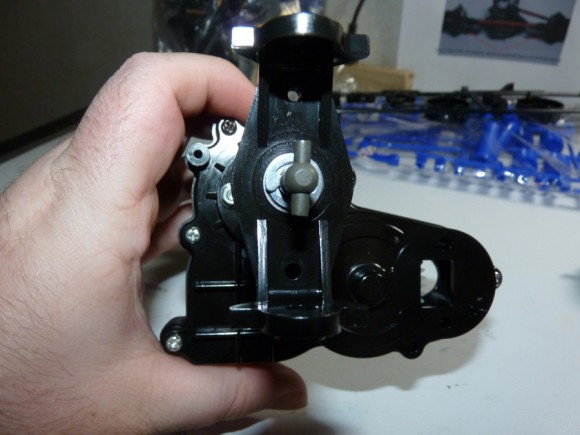
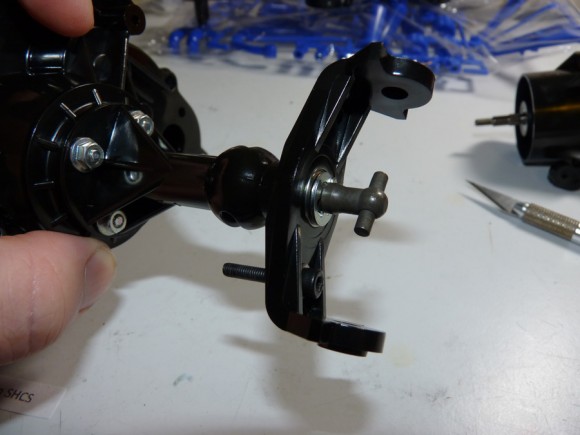
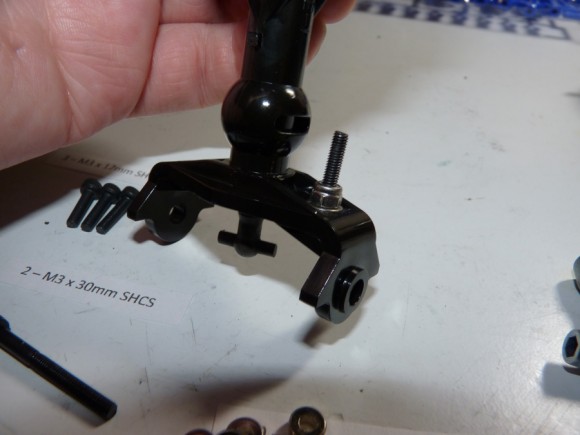
Before I get too far with the links, I am going to backtrack and finish the axles by installing the steering knuckles. Here is one below.
Inserted the Fast Eddy bearings.
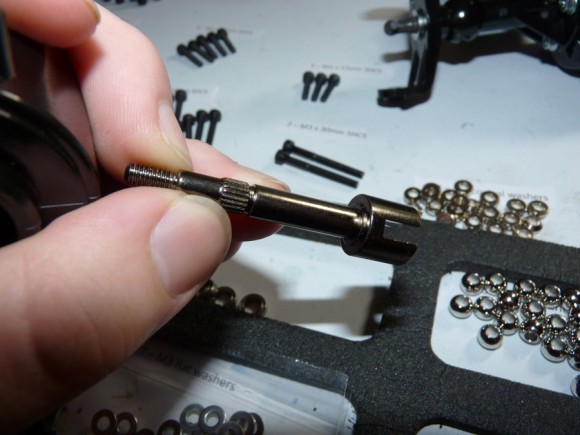
This is the Clodbuster stub axle.
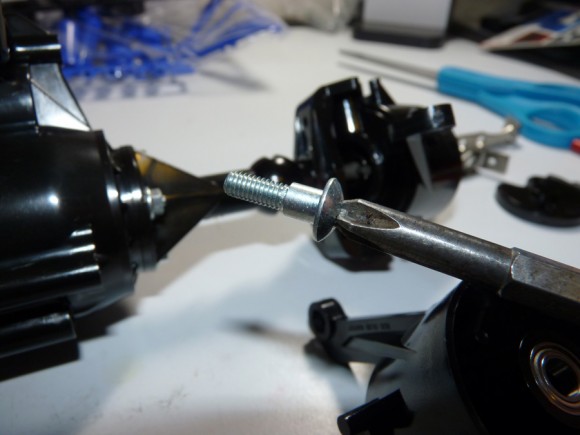
Steering kingpin shoulder screws hold the knuckles in place and allow for free movement.
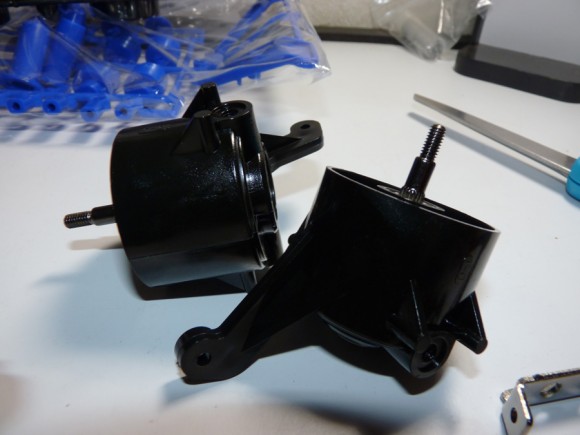
Here are the the completed steering knuckle assemblies. We will be modding these in another article to gain more steering. I know the hardcore clod guys are cringing right now as I’m about to install these in stock form. Don’t worry.. a follow up article is coming to mod these.
One thing all mod clod owners know, is that you need to drill the lower link holes in the axle tube. Tamiya does not do this for you, as the hole is not required for the stock chassis. Most aftermarket conversions require the lower links to be mounted below the axle though. It’s pretty simple.
Below is the stock axle tube / C hub area. No hole.
Simply take a drill bit that fits in the stock top hole, and mirror it’s position to the best of your ability on the bottom. That is in the center, and towards the bottom of the C.
Another angle. You’ll have to drill this hole on all 4 axle tubes.
Now we’ll take a screw/washer and insert it in the freshly drilled hole facing the gearbox. This will secure our lower link to the gearbox.
We back it up with another washer and a nylock nut for strength and security.
Both lower link screws are now installed.
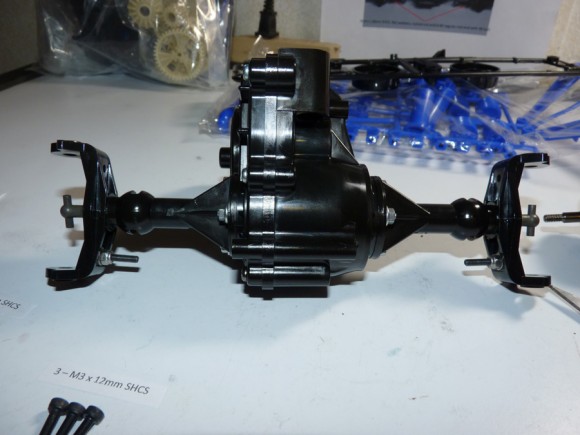
Next we install the axle tube braces. These are a tough stamped steel and help brace the axle tube to the gearbox and prevent it from breakage.
Both braces secured to the gearbox.
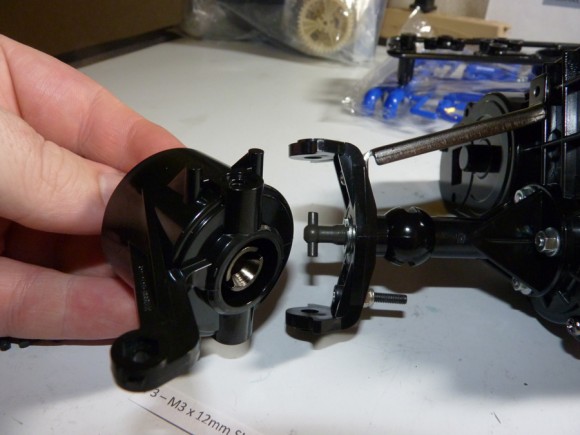
Now, like any typical knuckle/c-hub assembly we insert the knuckle into the hub and we’ll secure it with the shoulder bolts.
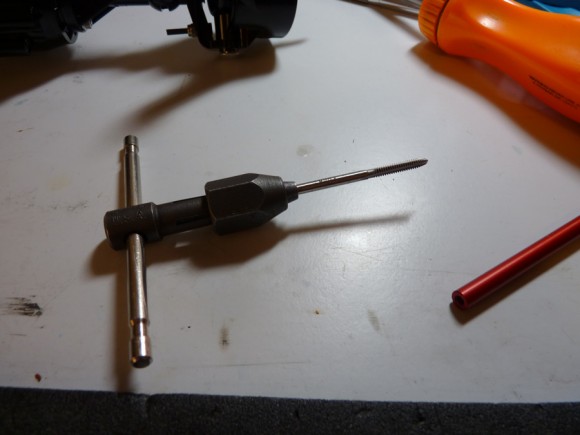
Ok, big sidenote here. This was in ZRP’s special instructions as a suggestion. I’d like to say it is required, as I attempted 1 link without doing it, and it simply doesn’t work as it should. All of the aluminum links/cross members need to have the threads in them chased with a tap. This is a simple process, but a little time consuming. Basically the reason for doing this, is the links are anodized after they have been drilled/tapped, and anodizing residue gets left behind, and will be very hard to thread in the allen studs.
Below is my hand held tap I used.
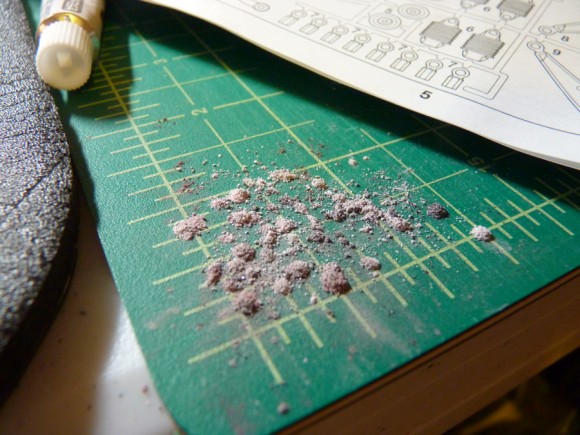
The residue that came out of one steering link.
I then finished building the steering/lockout links by threading on the rod ends. I made sure to use a dab of locktite on there to prevent them from falling apart later.
After those were assembled I decided to just chase the threads on ALL of the remaining links to get it done and out of the way. It’s a process, and I recommend going slow and letting the tap do it’s work. Don’t go too fast and risk stripping out the hole.
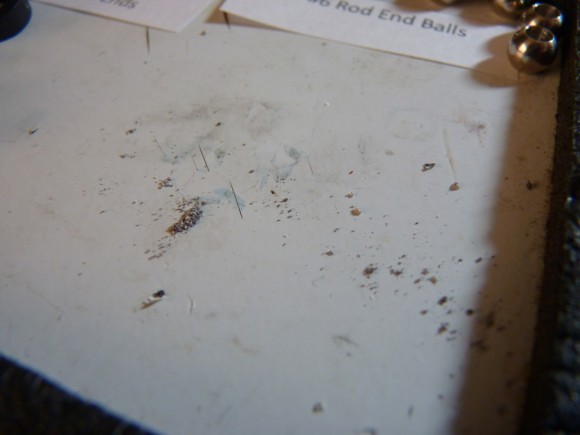
My collection of anodizing residue from tapping the links on my table.
I then proceeded to build the rest of the links and get them out of the way to save time during the next steps.
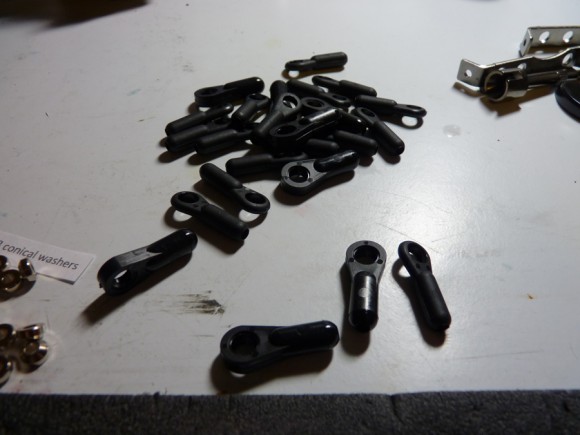
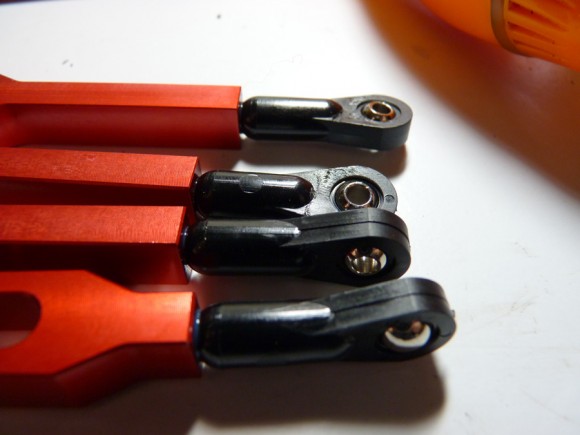
All of the lower link 6-32 Heavy Duty rod ends are complete. There are different rod ends for different rods on this truck. The lower links get the Heavy duty ends, the top links get the regular duty.
Completed lower links. These are machined with a slot in them to mount the shock onto them.
I then inserted all of the ball ends. Pay attention when building that you are using the right rod ends with the right rods, and the right ball ends in the right rod ends. This is where my previously shown organization really paid off.
Now we install the lower links onto the screw we inserted previously.
We secure the link with a rod end (which will double as the sway bar mount).
Back to the steering links. They’re now assembled with ball ends inserted.
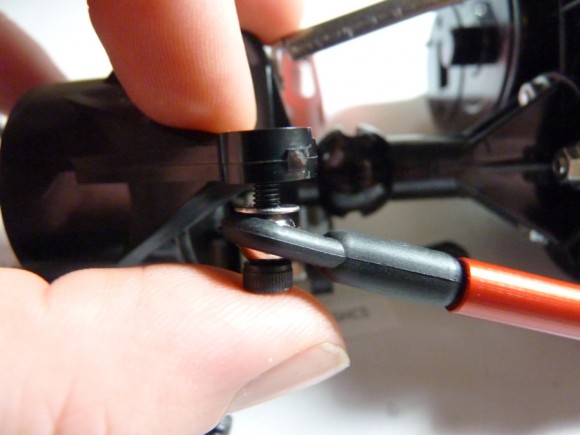
Now we’ll install it by mounting it to the steering knuckle first. The left side is secured with a screw, washer, and locknut.
The right side we insert a longer screw, washer, conical washer, and the small rod end before installing another nylock nut.
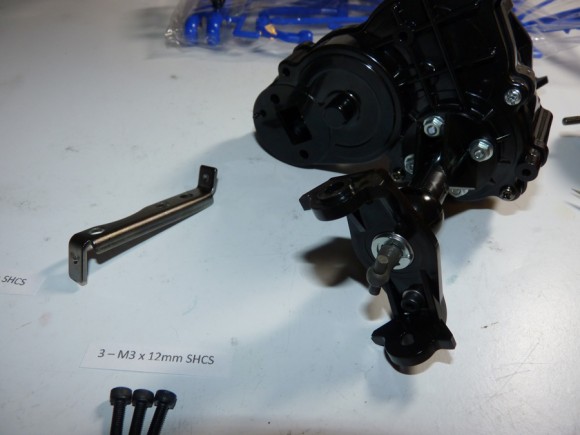
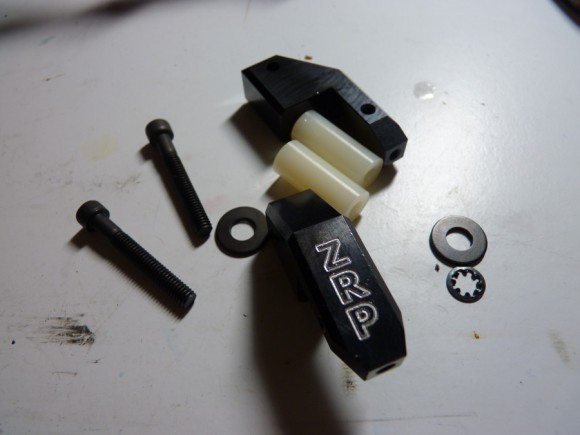
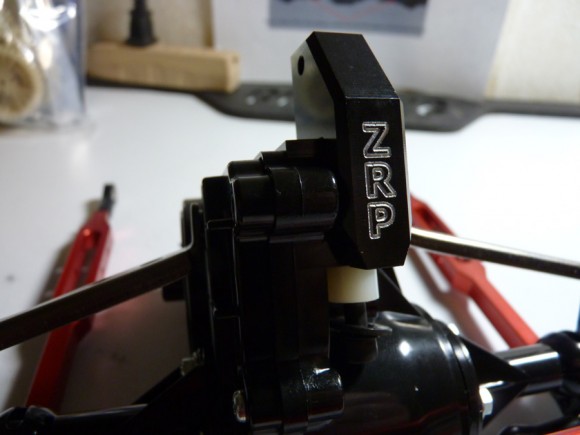
Next we have ZRP’s upper link mount/steering lockout piece. This part gets installed where the stock steering linkage usually passes thru the gearbox.
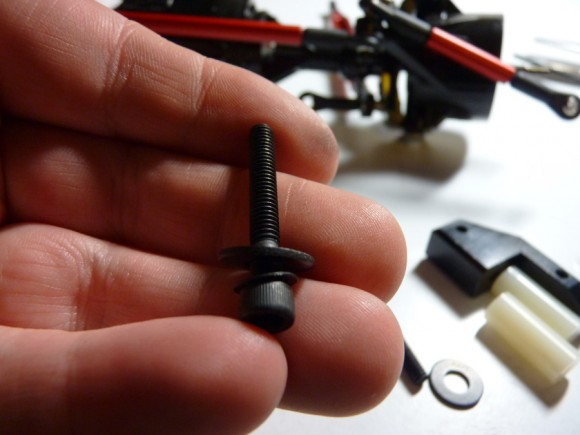
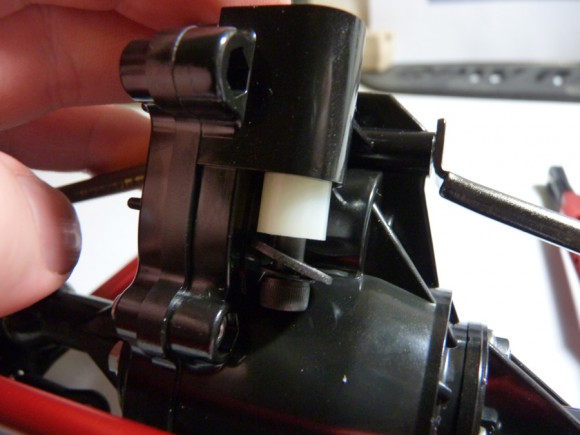
First we take this large screw with plastic insert and install it up into the gearbox.
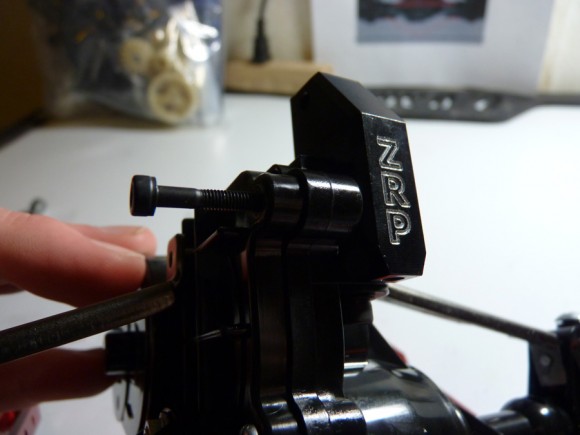
We then install the machined aluminum ZRP upper link mount, and loosely tighten the lower screw.
Next we install this screw from the side, that threads thru the gearbox and into the upper link mount.
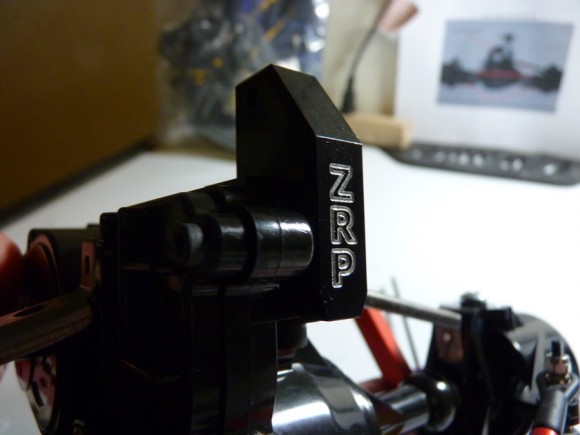
You can now tighten the lower screw all the way, and then this thing it mounted. It is a very precise fit, and I was surprised how sturdy it is (having used lesser methods in the past on my own clods). This thing isn’t going anywhere.
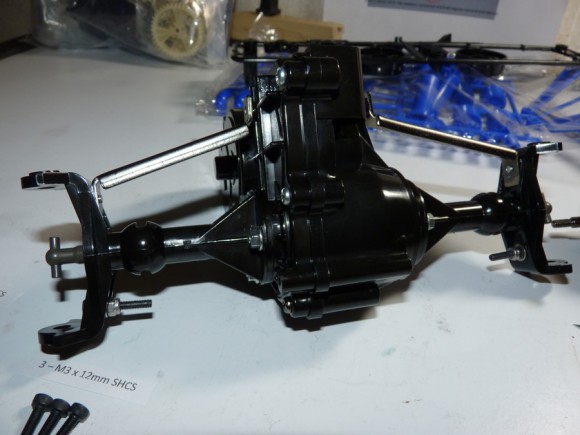
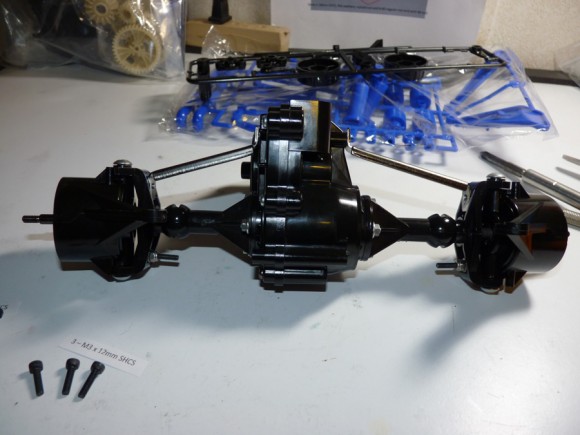
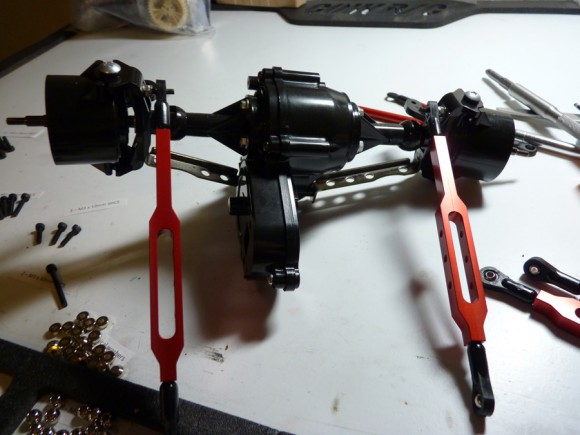
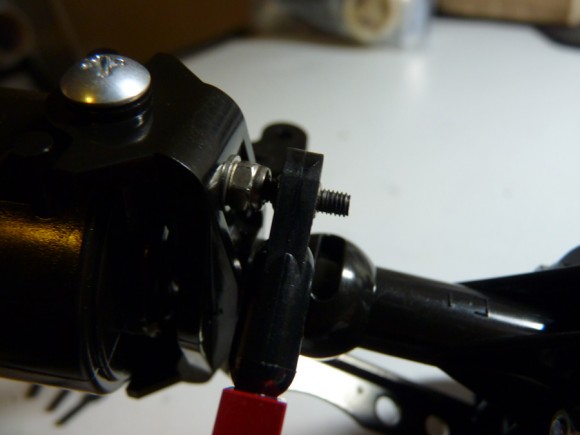
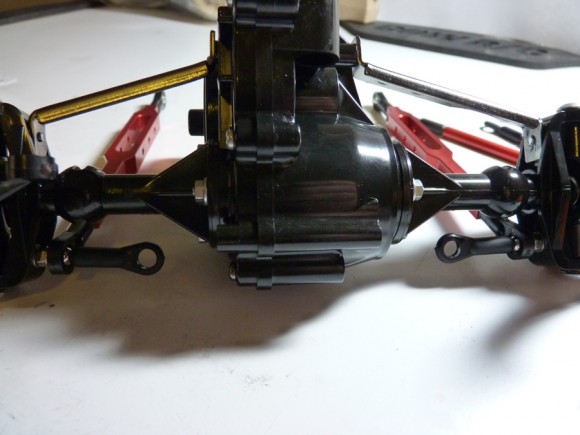
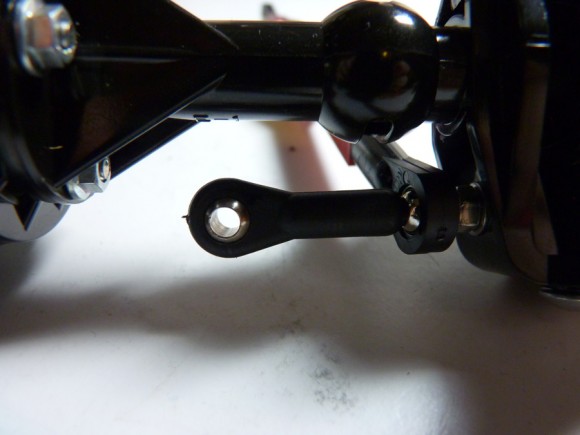
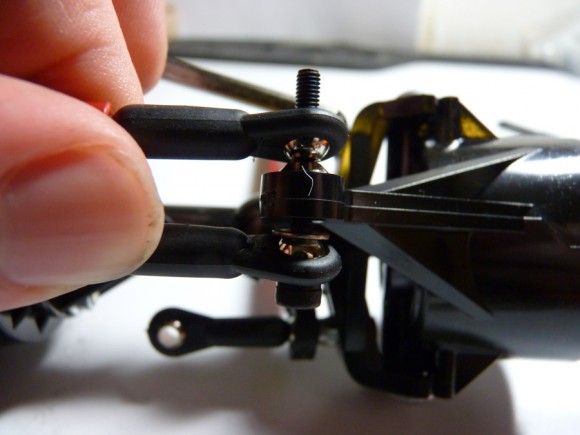
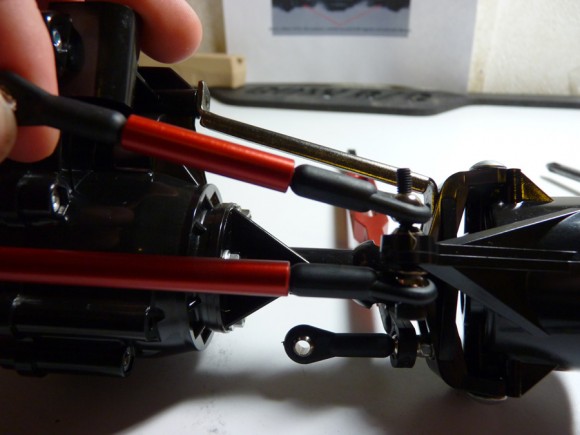
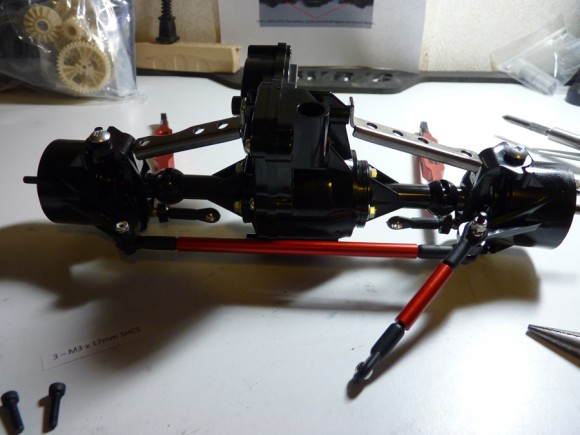
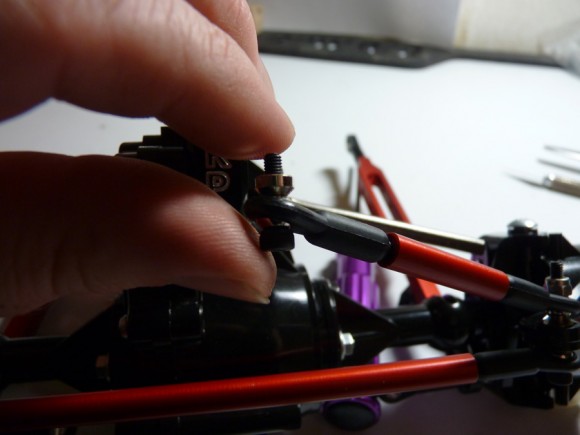
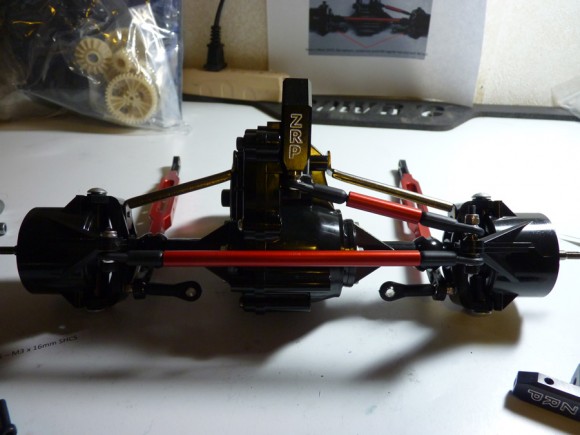
Now we attach the steering link to the ZRP upper link mount, and we’ll have a locked out rear steering!
No side to side movement with this setup! We now have a complete rear axle assembly.


 September 7th, 2012
  Kevin
Kevin 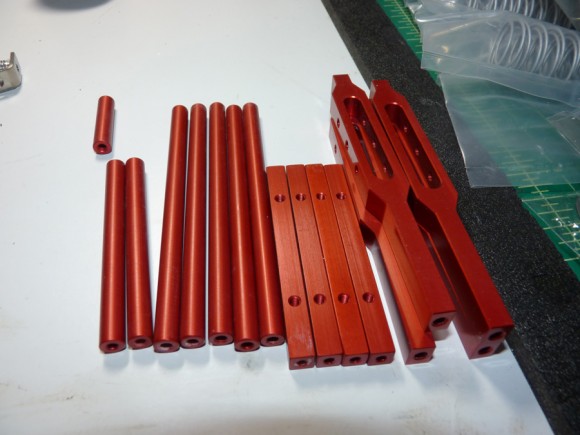
 Posted in
  Tags:
Tags:
Wow…that rig came out sweet! Slipstream did an amazing job on the lid.
It looks sweet!! That rig is going to be a force to be reckoned with !!
Awesome job!
Sweet looking Truck!
Don’t look like a out of the box Clod Buster, LoL.
But then my FLM don’t look like an out of the box Stampede.
http://www.youtube.com/watch?v=LjnMLGHJHQc&feature=plcp
[…] Check out RCSoup.com for the full article. Source: RCSoup.com […]
This truck really did turn out amazing…the ZRP chassis is tops IMO…I love the red/black Wolverine look.