Let’s get started. Tamiya, in addition to the stock Super Clodbuster they sent us this year, doubled down with us on our Road to Clodapalooza. Since it will be Matt and myself participating in the High Voltage event, it made sense to build up 2 trucks (for different classes). Being that this one is for the Clodapalooza (or Modified Clod) class, we’re basically replacing every part on the truck with something of better performance. In a case such as this, it makes the most sense to start off with just the axles, as we would be scrapping the stock chassis, shocks, ladder bars, body, etc…
These trucks are certainly an investment, but if you love solid axle monster trucks as much as I do, they are well worth the time and money being put into them. If you were creative at fabricating, you could make your own chassis and 4 link system. There have been a ton of different chassis over the years, only a handful are still in production.
But anyways, let’s tear into this puppy. We’ll start with the Tamiya Super Clod Buster Axle Set PN #84027.
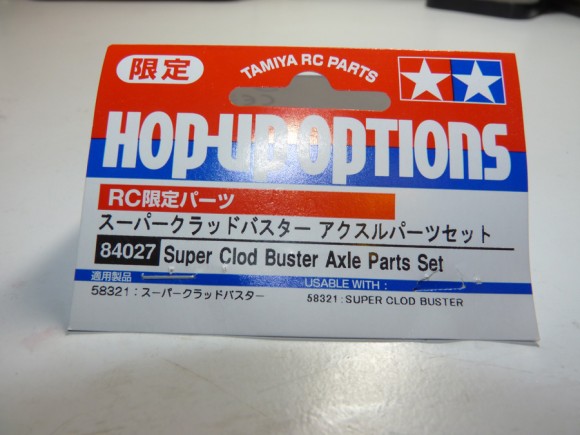
Shot of the label in case you are interested.
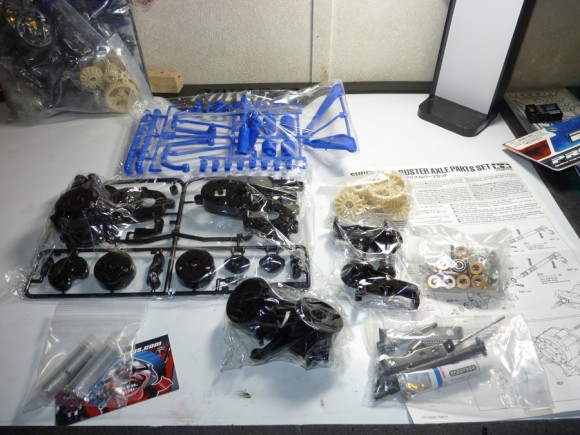
Here are the contents of the axle set all laid out. It comes with instructions. You can see the bronze bushings it comes with in the bag. It does come with SOME bearings, but for ease and less confusion, I’m just replacing everything with the high quality metal shielded bearings from Fast Eddy.
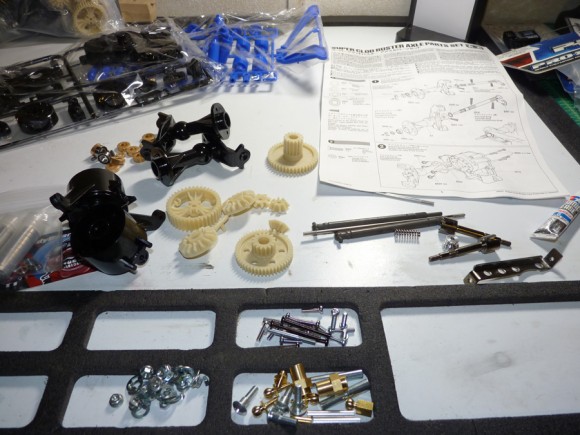
Let’s start the first few steps of the gearbox. Emptying the bags with the gears, axle tubes, axles, etc.
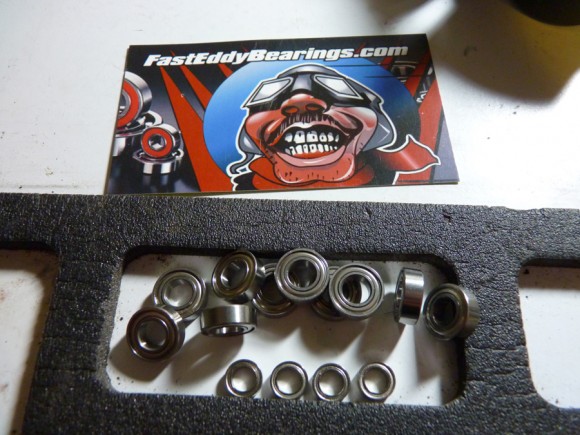
Close up of the Fast Eddy bearings.
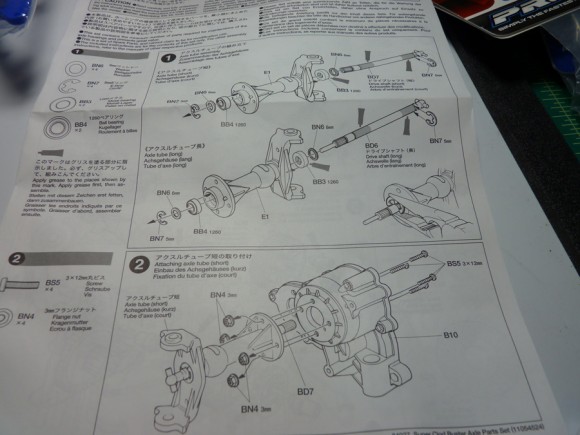
As always, Tamiya provides great diagrams for assembly.
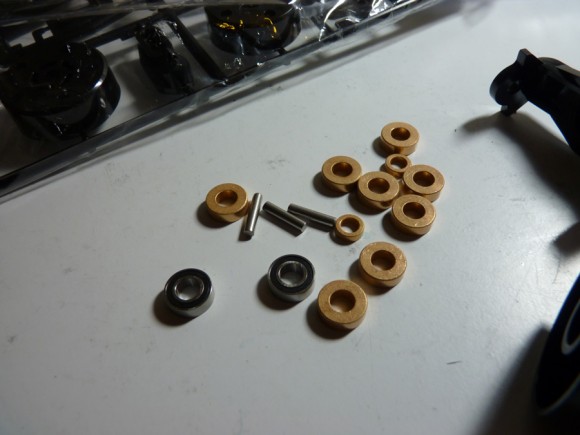
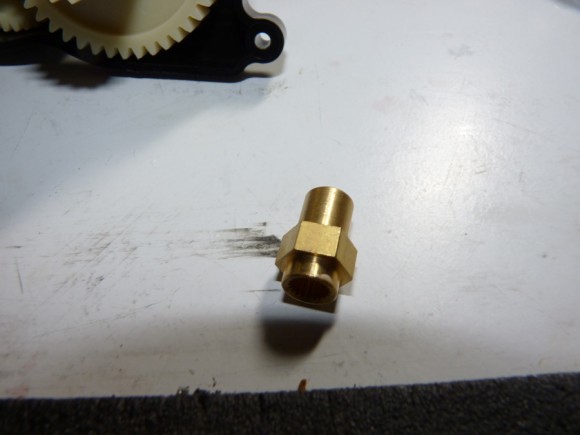
Stock bushings that will not be used in this build.
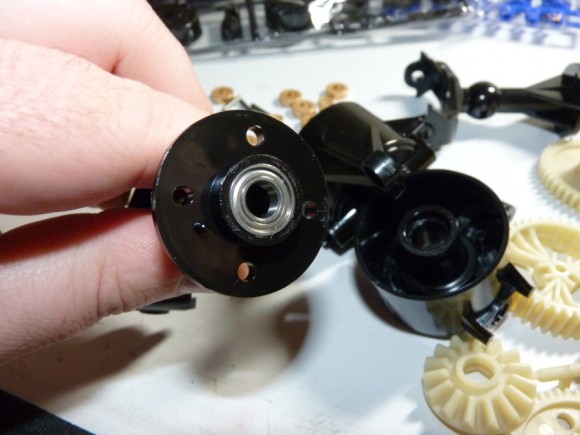
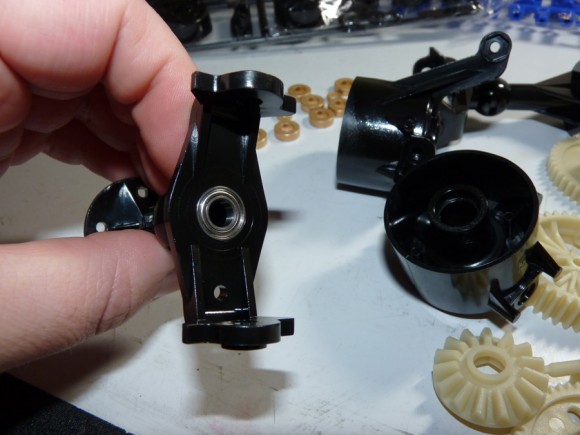
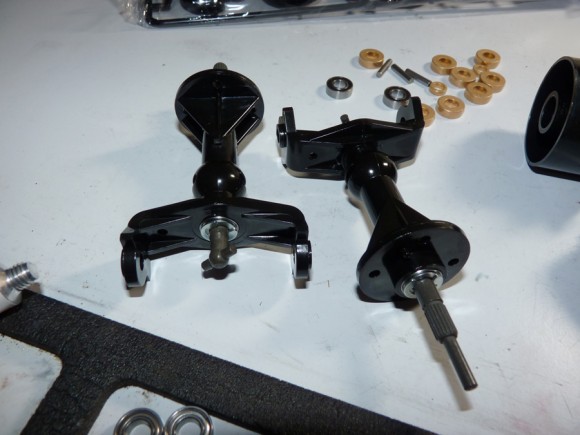
Inserting bearings into the axle tubes.
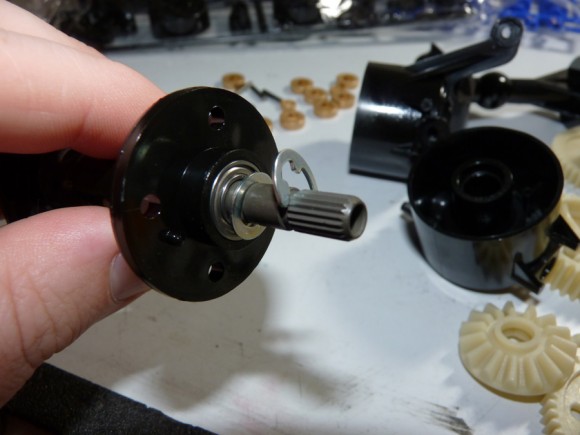
Now we insert the axle with a shim and secure it into place with the included E-clips.
Completed Axle tubes, bearings and all.
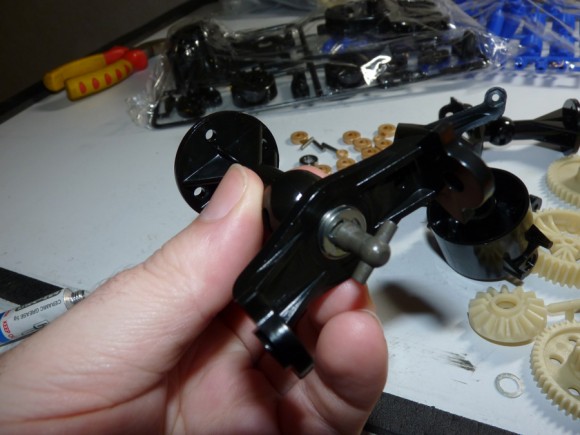
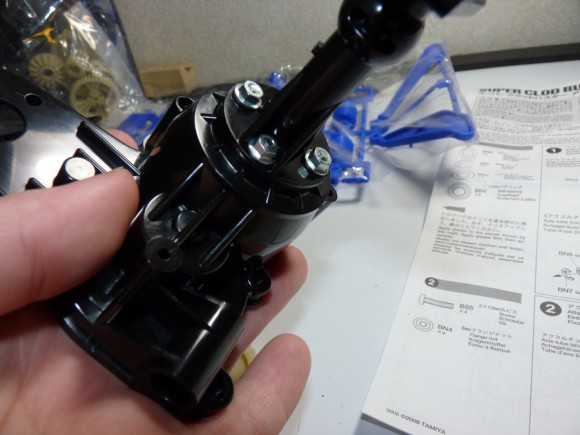
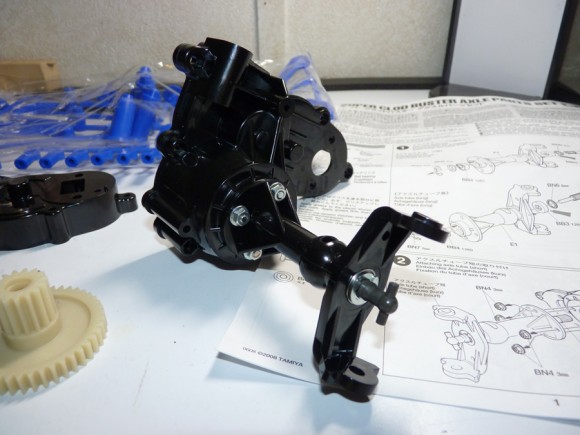
Next we’ll mount the axle tubes to the gear case halves. This is done with 4 machine screws and nuts.
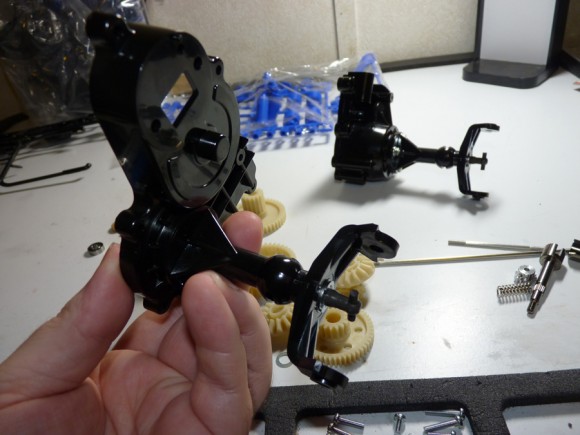
Other half of the gearbox being assembled.
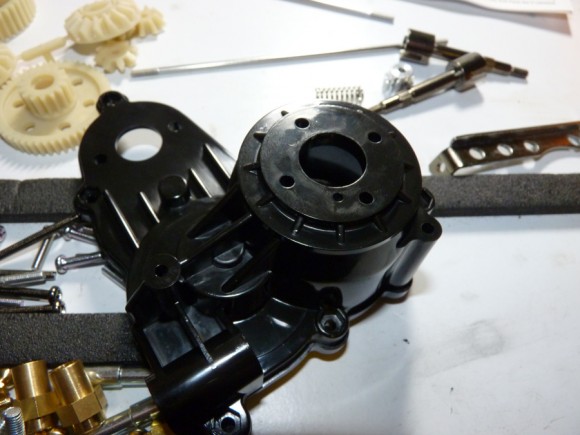
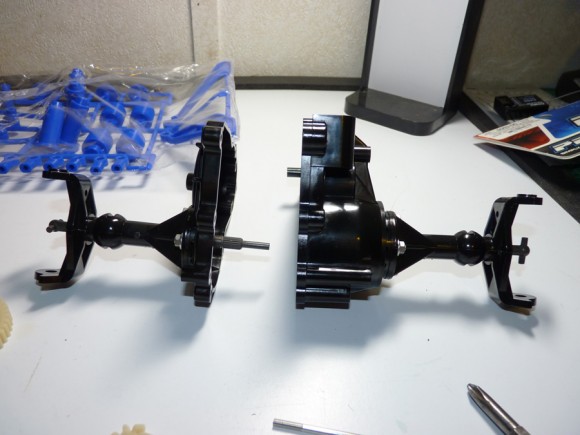
Starting to look like a gearbox!
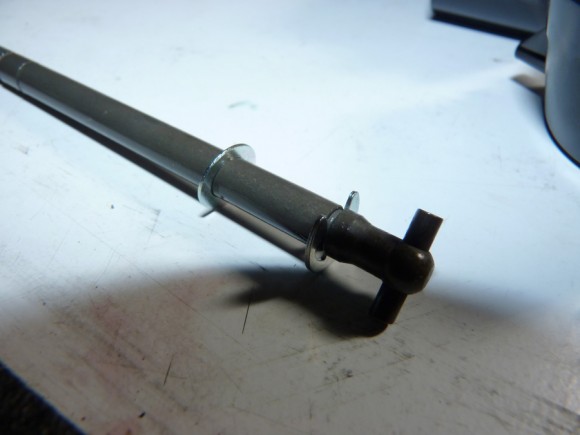
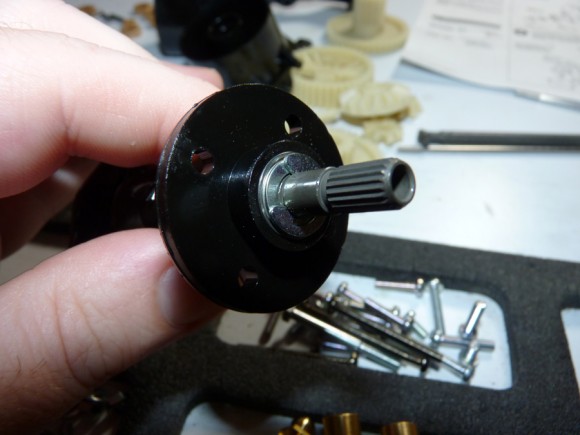
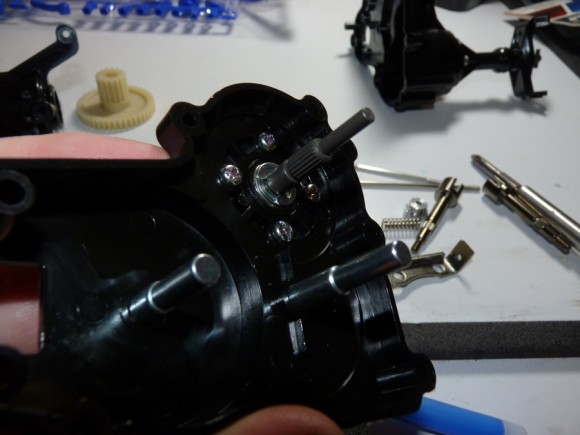
Here’s what the axle looks like as it enters the gearbox. It is splined so that it will fit into a hex in the differential.
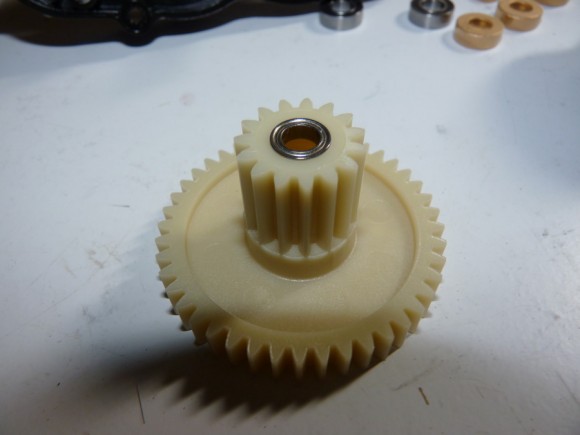
Now we install the bearings into the gears.
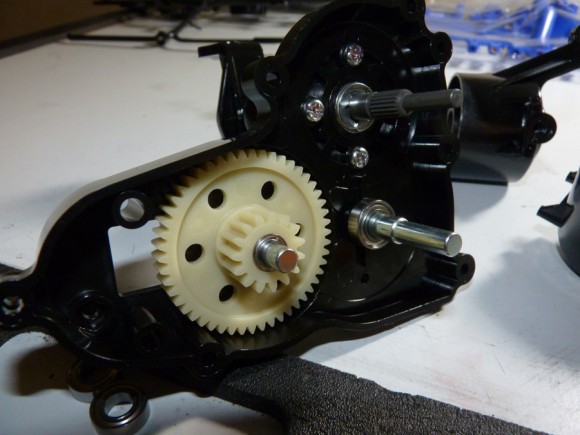
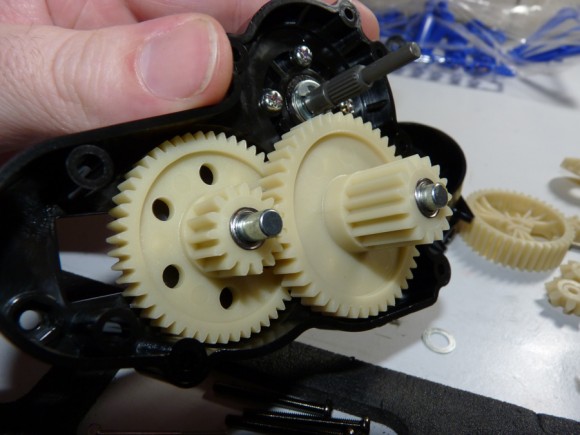
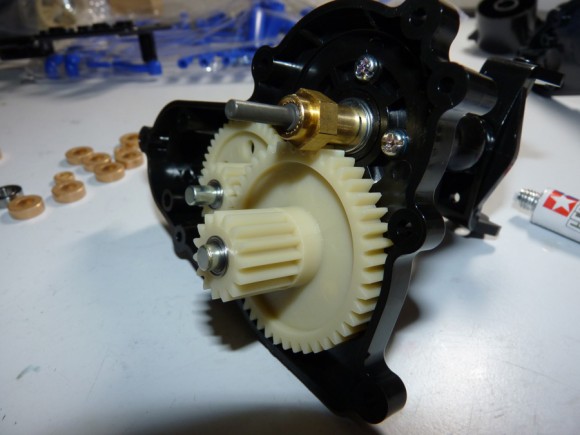
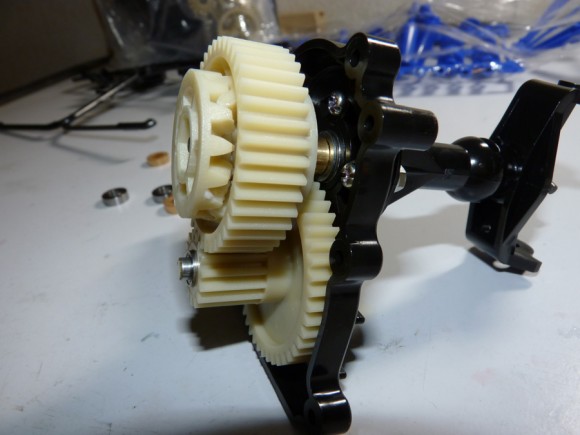
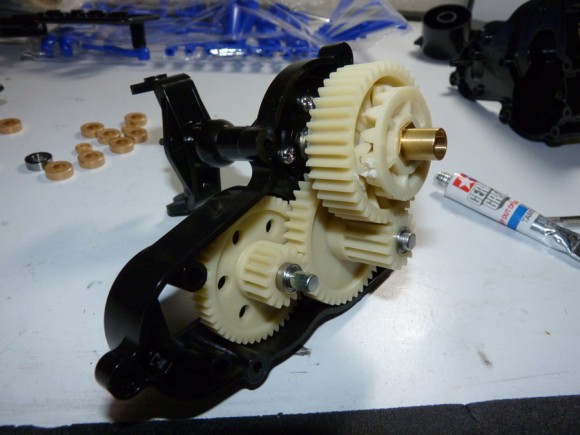
Starting to put the gears into the gearbox.
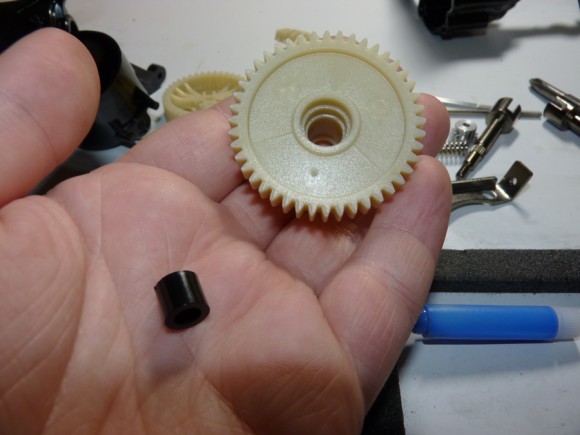
This gear gets a plastic spacer inserted between the bearings.
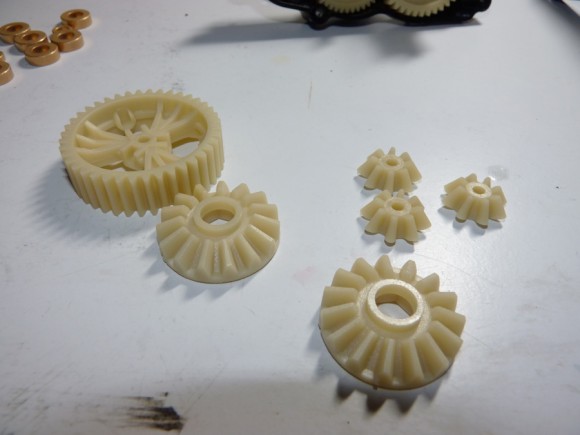
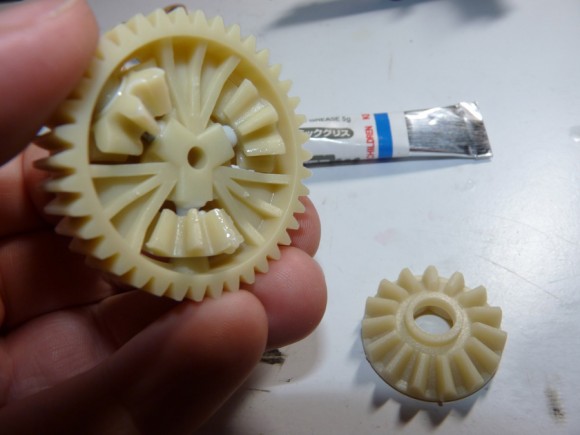
The infamous Clodbuster gear differential.
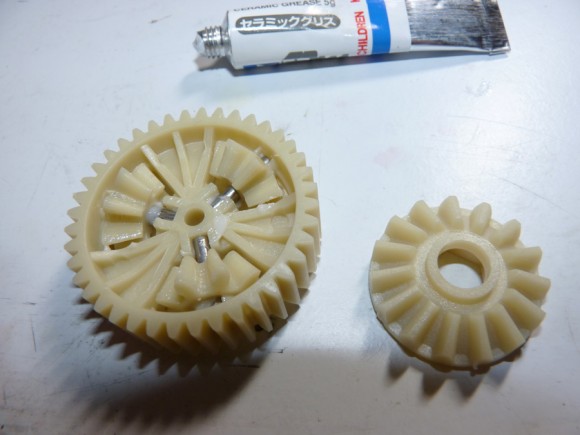
Like any diff gear, the planetary gears ride on metal shafts. I used the included Tamiya grease to slightly lubricate them. I didn’t use a ton, because this is a RACE clod, and we don’t need massive amounts of grease slowing down the drivetrain.
The hex insert I mentioned earlier.
This slides over the splined axle and gets inserted into the differential assembly.
Now that all the gears are installed, we are able to close up the gearbox.
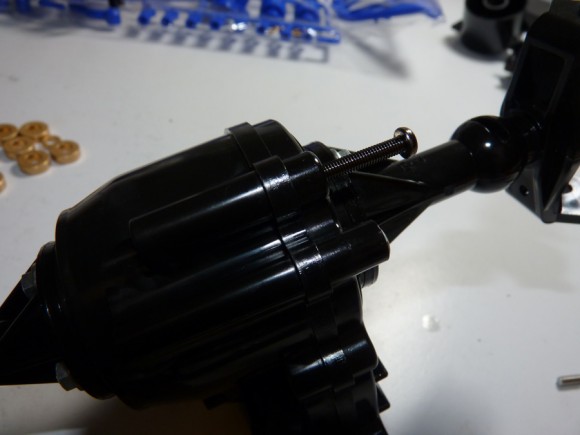
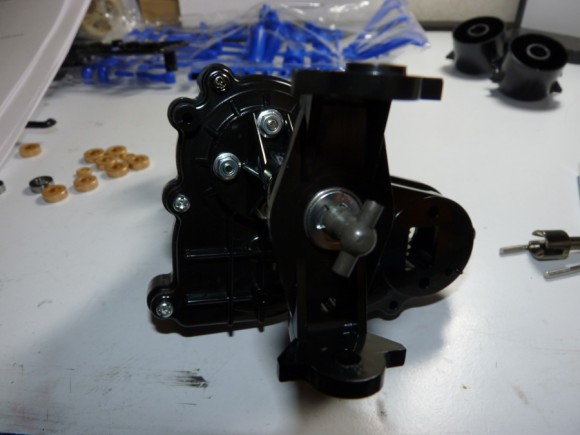
The gearbox gets held together by several M3 screws with nuts that are inserted into molded recesses in the plastic.
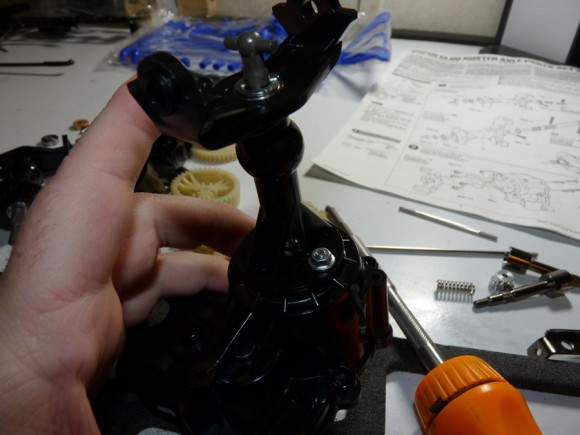
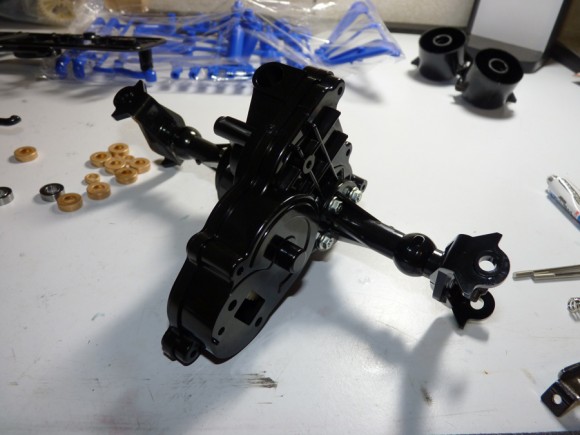
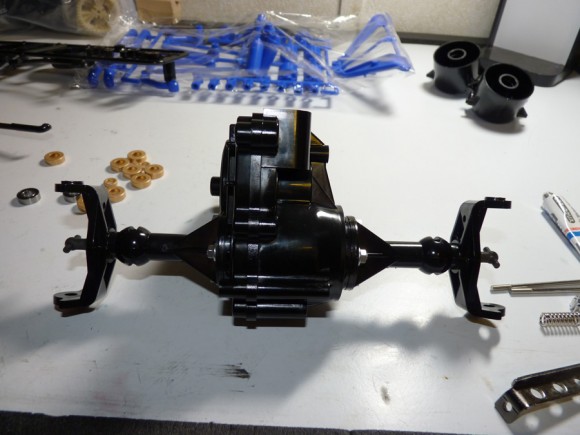
Now that we have a mostly assembled rear gearbox, I decided to move on to the next item.


 September 7th, 2012
  Kevin
Kevin 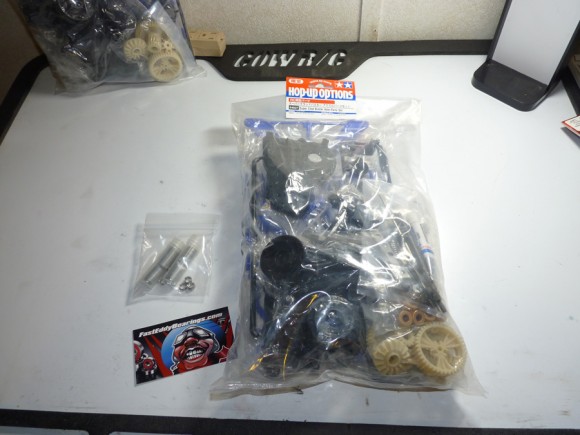
 Posted in
  Tags:
Tags:
Wow…that rig came out sweet! Slipstream did an amazing job on the lid.
It looks sweet!! That rig is going to be a force to be reckoned with !!
Awesome job!
Sweet looking Truck!
Don’t look like a out of the box Clod Buster, LoL.
But then my FLM don’t look like an out of the box Stampede.
http://www.youtube.com/watch?v=LjnMLGHJHQc&feature=plcp
[…] Check out RCSoup.com for the full article. Source: RCSoup.com […]
This truck really did turn out amazing…the ZRP chassis is tops IMO…I love the red/black Wolverine look.