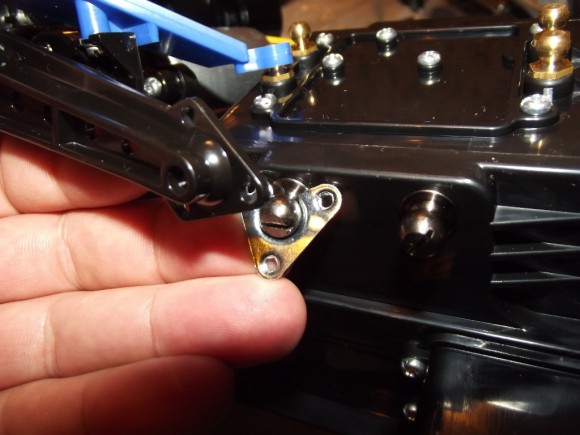
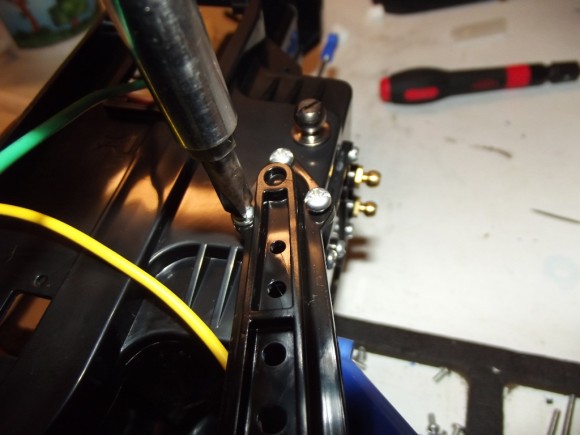
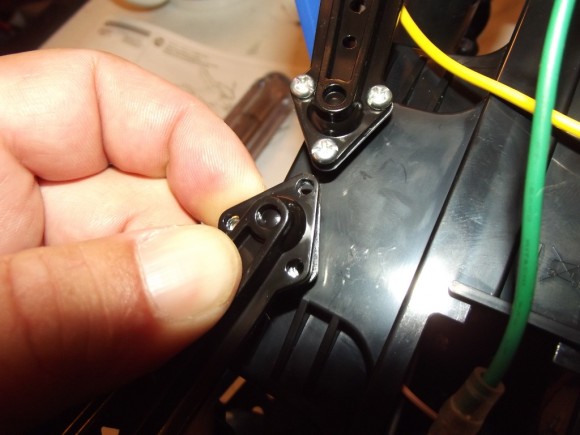
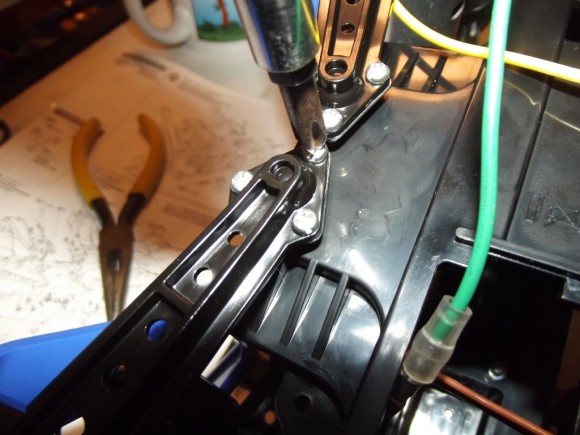
To mount the gear case/axle assemblies to the chassis, we will again create a ball and socket type connection. These metal brackets will attach to the suspension arm to form the socket.
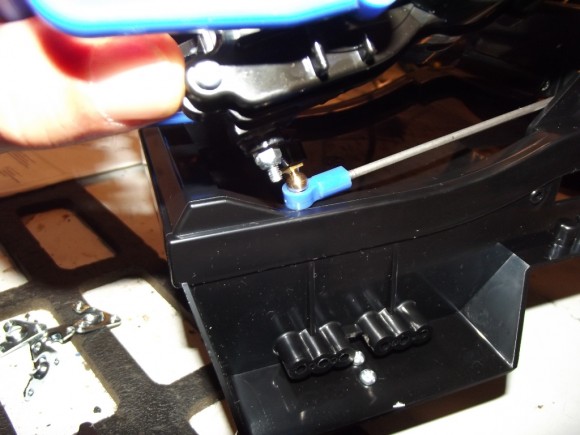
First we’ll line up the steering links and pop them on
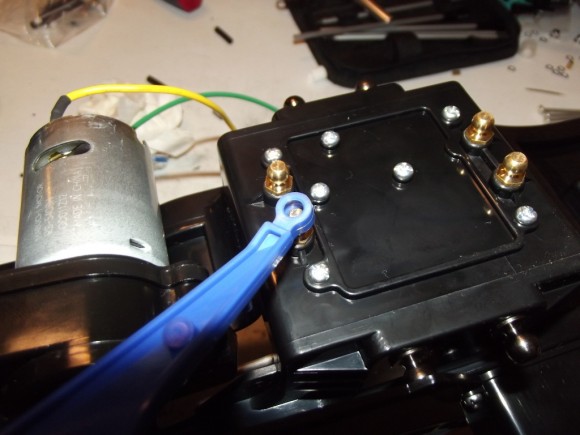
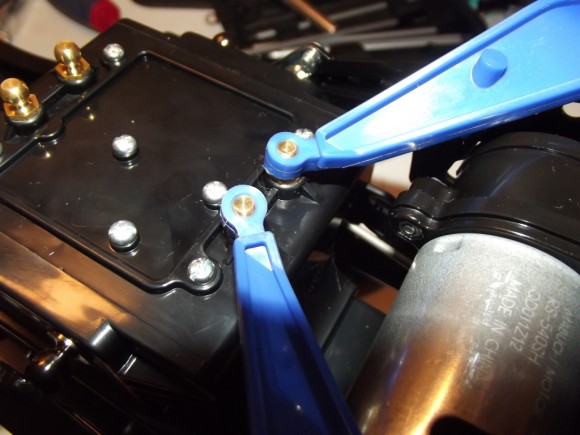
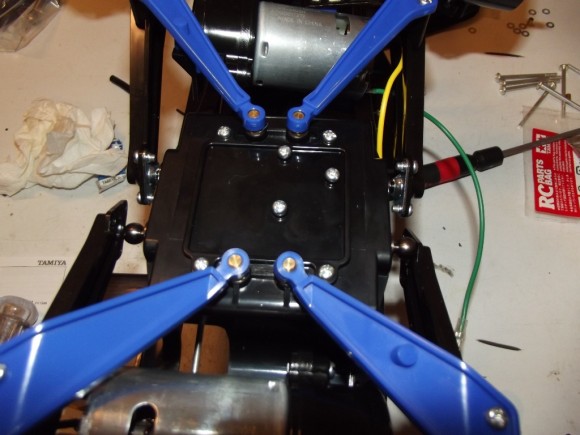
The blue lateral arms attach to the ball studs on the underside of the chassis
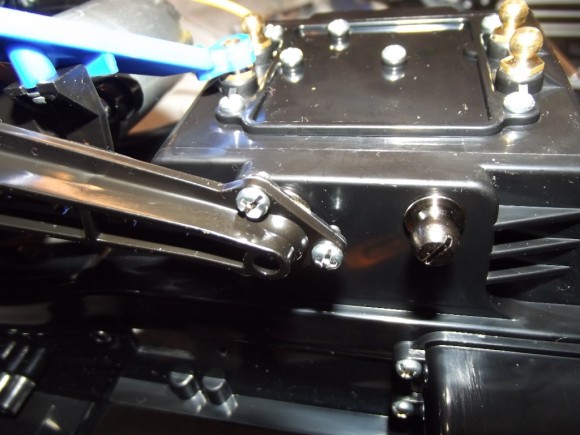
Remember those little metal brackets? Well they go on the inside of the large ball stud on the side of the chassis, and when screwed into the suspension arms form another ball and socket connection.
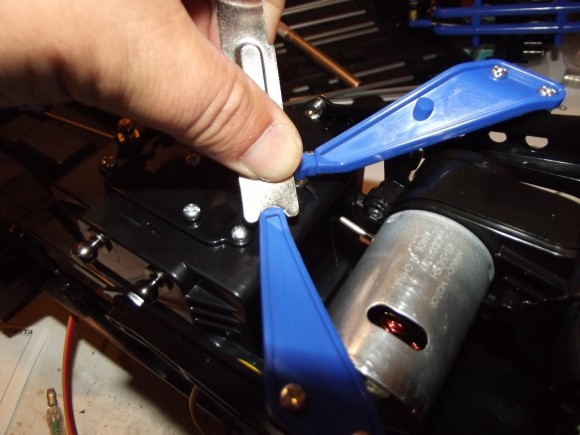
Remember the gauge we used to set pinion depth on the motors? Use the other side to apply pressure to the lateral arms to snap them on to the ball studs on the bottom of the chassis.
We’ll attach the other suspension arms in the same manner as the first.
With the 4 links attached in the front, we’ll repeat for the rear.
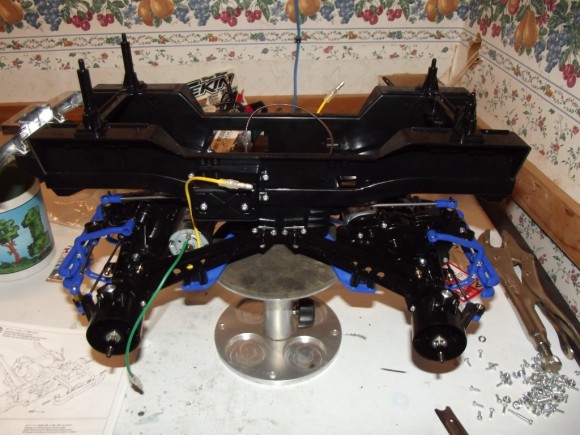
Here’s where we are at this point. Both gear cases are attached to the truck


 August 20th, 2012
  Matt
Matt 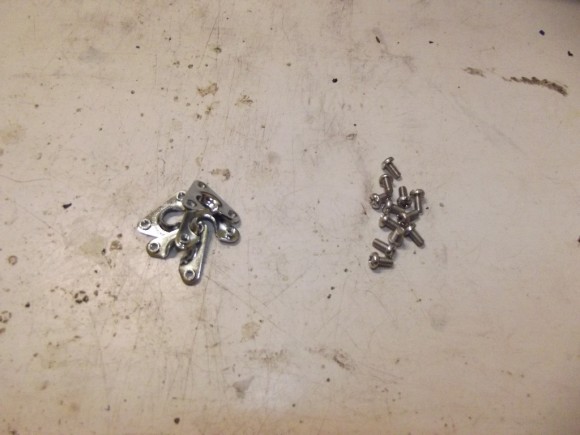
 Posted in
  Tags:
Tags:
[…] RCSoup.com Tamiya Clodbuster Build Check this out guys Tamiya Super Clodbuster – Build up | RC Soup […]