The Tamiya Clodbuster comes stock with a lot of plastic bushings for use on rotating parts. Once again we went to Fast Eddy Bearings for a complete set of bearings for this truck. Fast Eddy’s bearings are affordable, and the performance you gain from them is leaps and bounds better than stock.
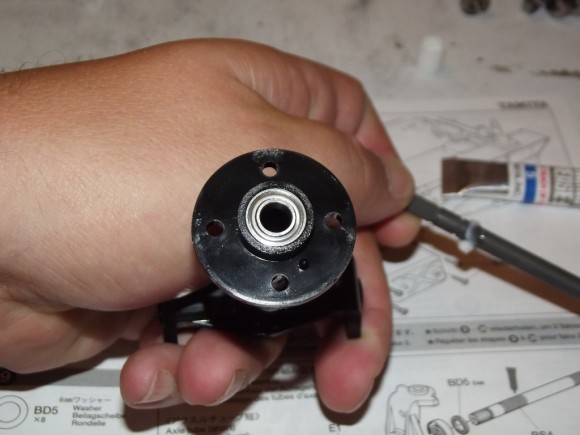
The first one will be used in the end of the Axle tube assembly
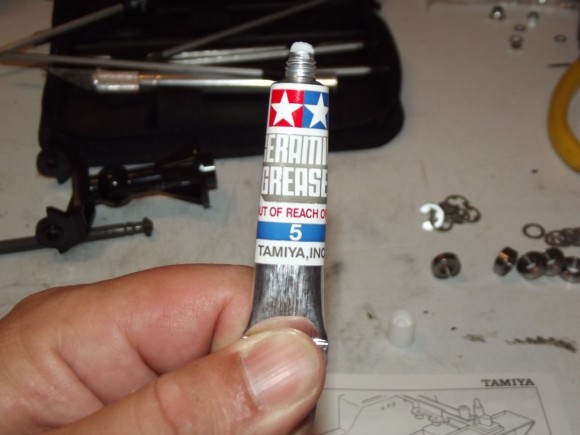
Tamiya included a tube of white grease in the box. The manual points out where to use it
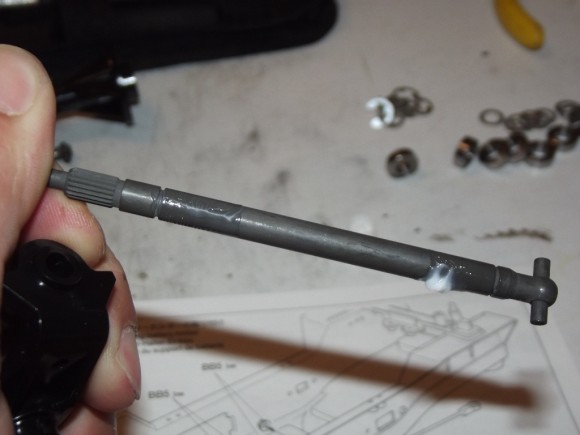
The drive shaft will get a few dabs
Before we slide it into the Axle Tube
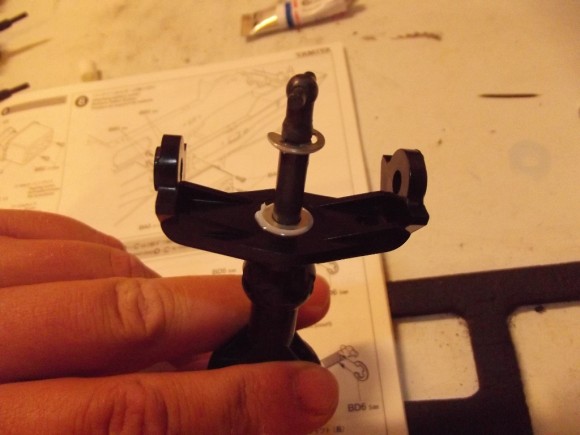
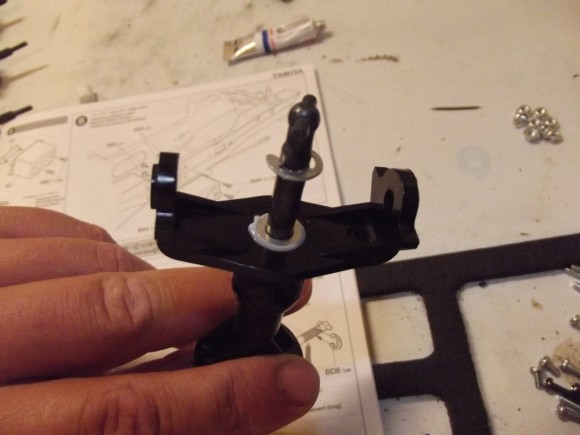
The driveshaft is held in the axle tube with an E Clip.
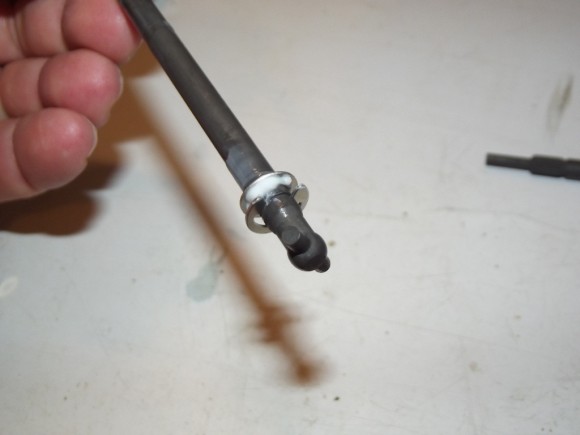
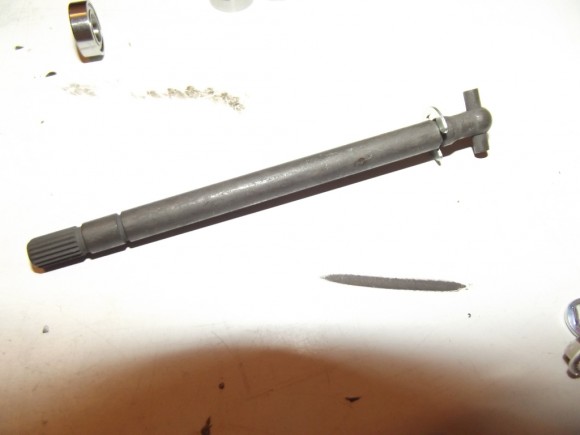
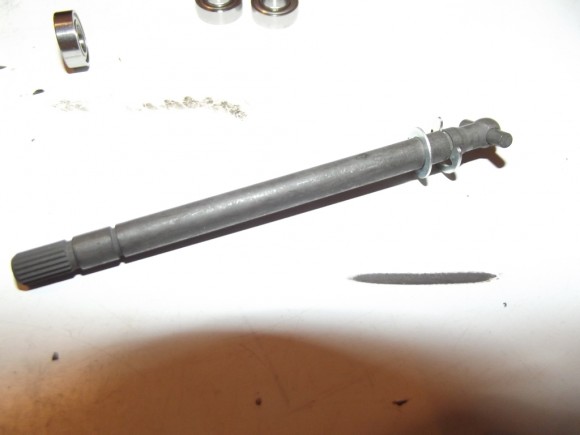
Aside from the grease, we also prep the driveshaft by installing an E Clip
And a washer
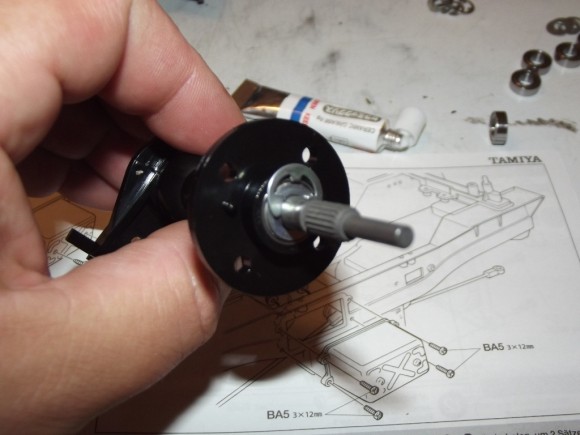
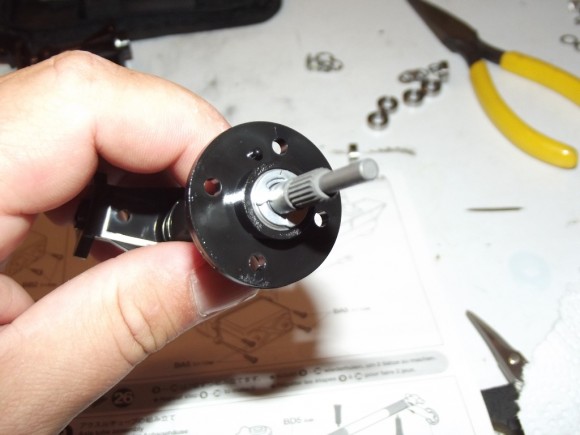
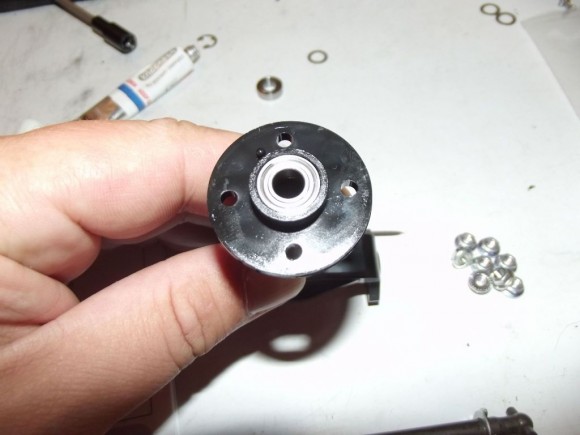
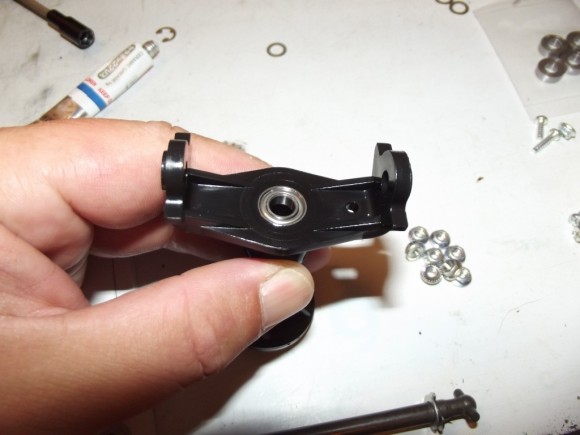
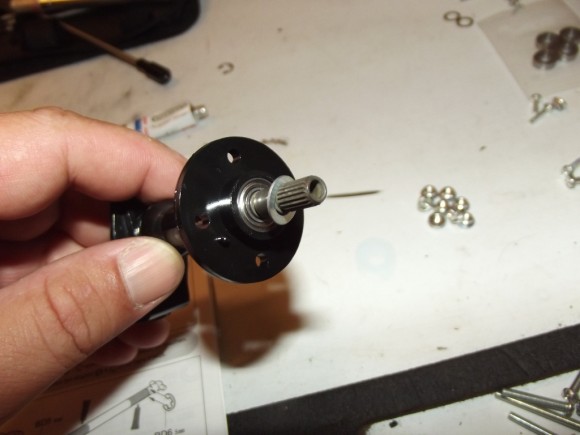
Bearings go in both sides of the axle tube
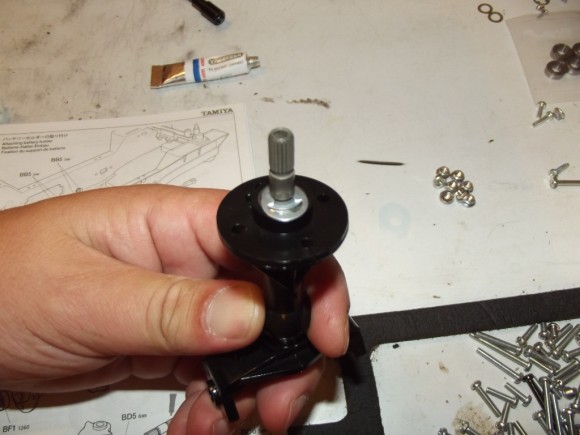
Before we slide the driveshaft into place
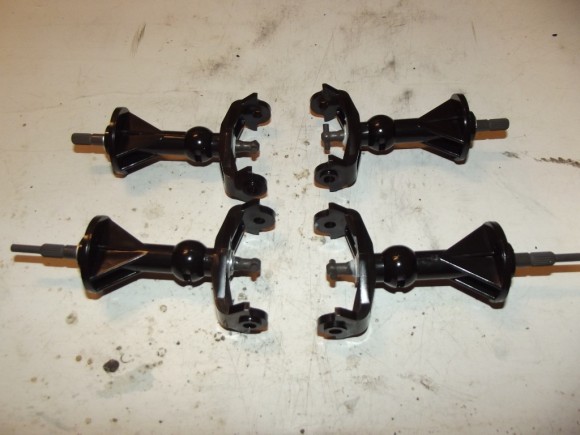
You wind up repeating that process 4 times, one for each corner of the truck
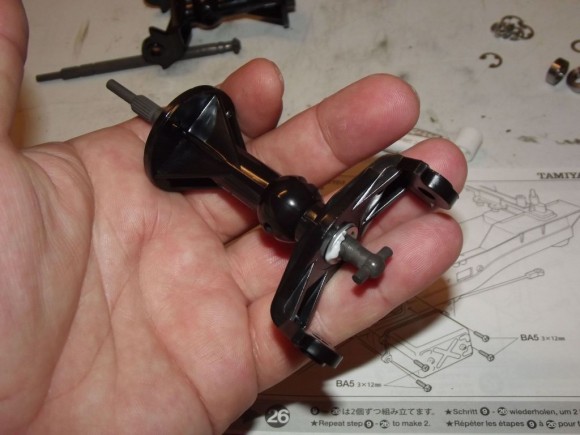
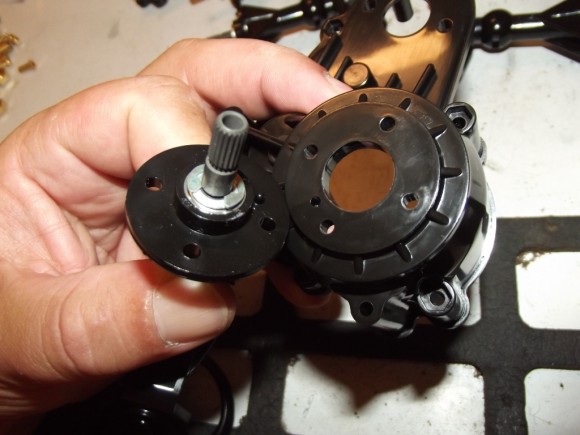
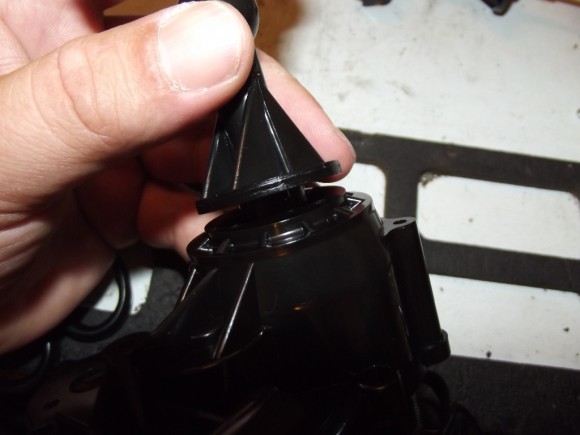
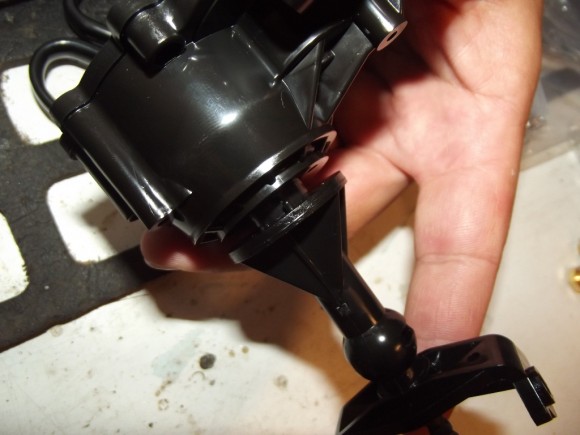
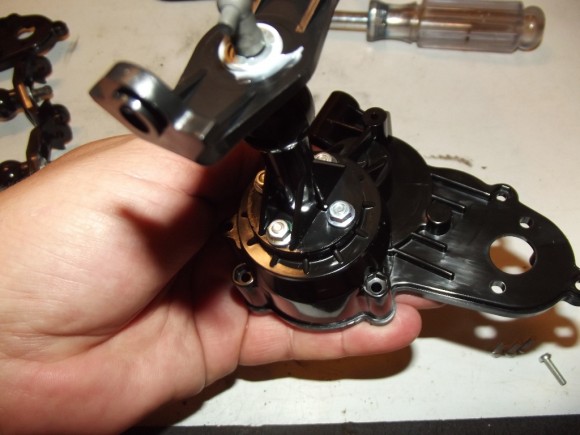
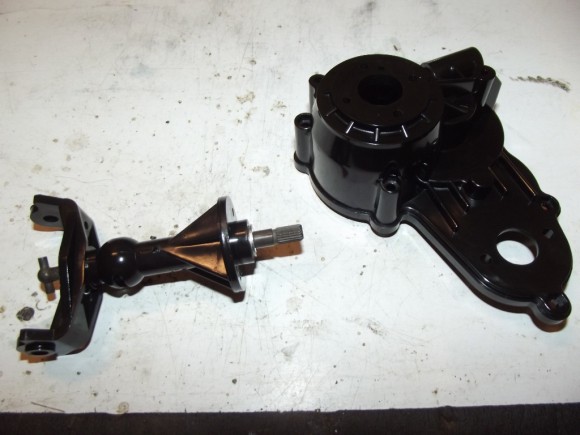
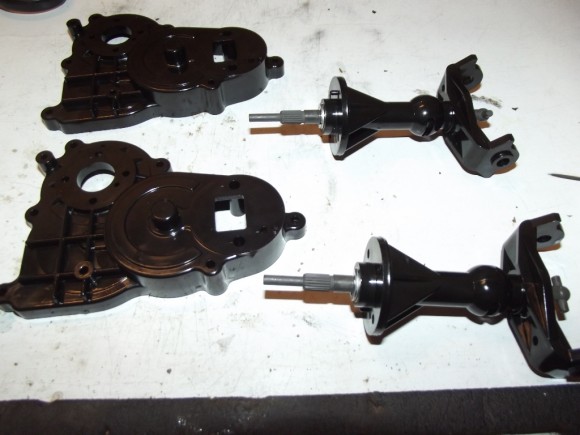
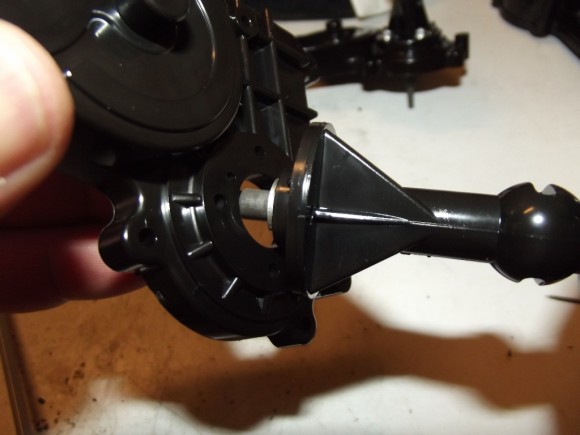
Next we’ll attach the assembled axle tubes to the gearbox halves
There is a little pin to help you align the holes correctly
There is a twin for the other side of the truck
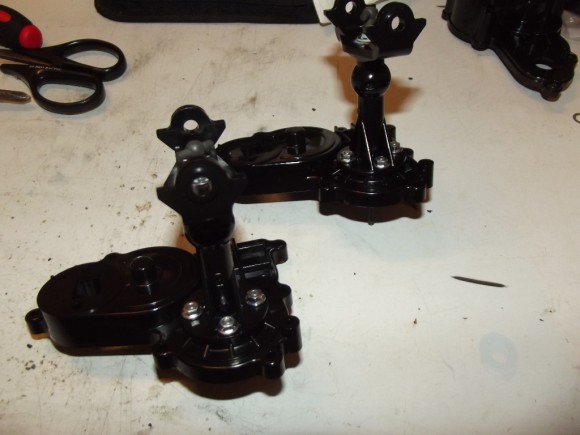
Once again we’ll be doing this a few times to complete both the front and the back
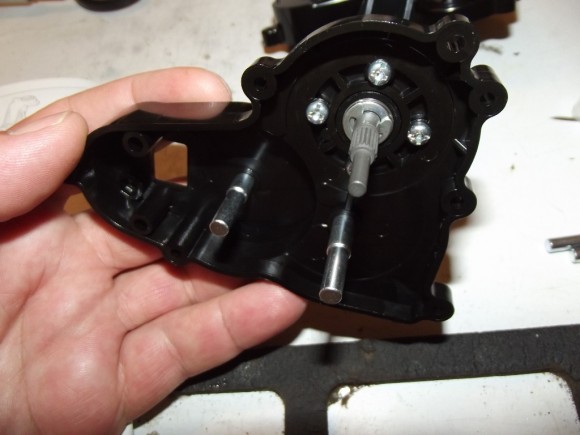
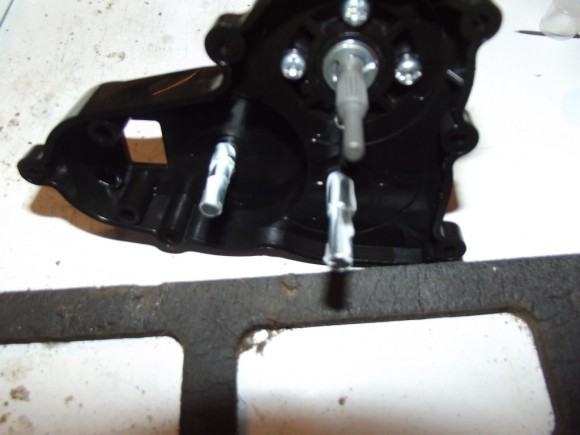
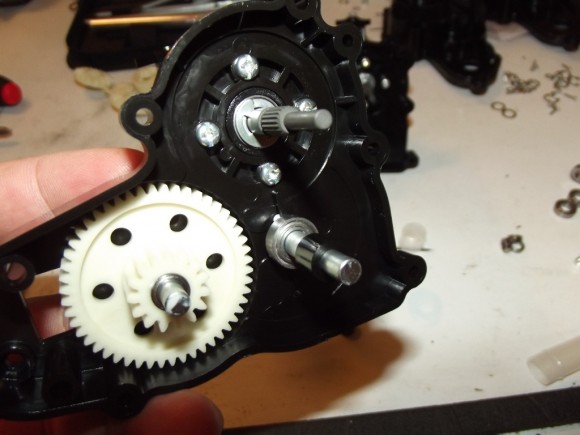
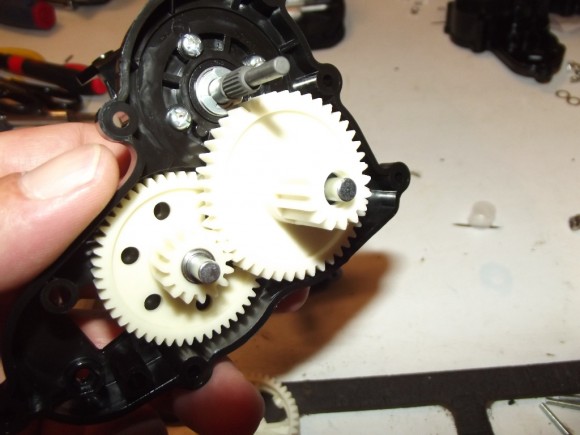
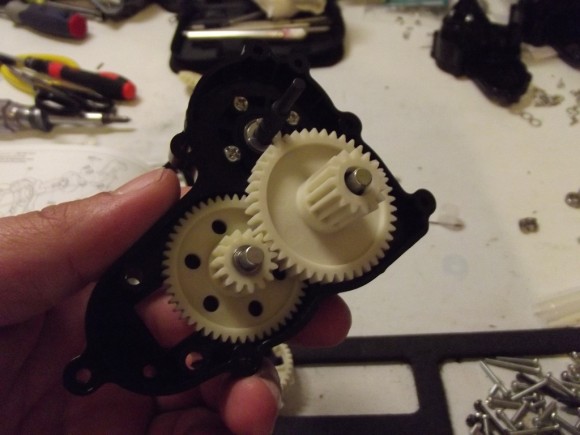
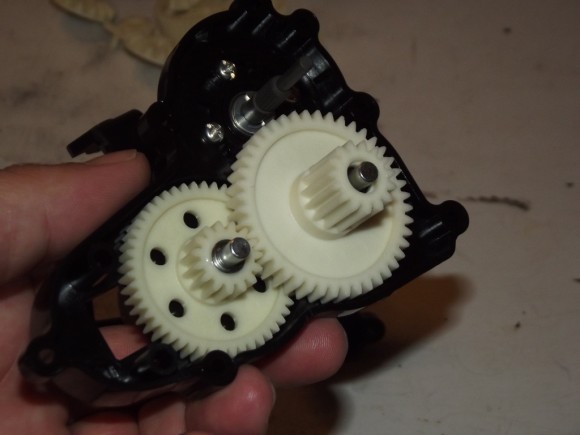
Now we can start to assemble the gearing in the gear boxes. These pins will serve as the mounting points for some of the gears to come
We’ll grease them up with some more of that white grease Tamiya provided with the kit.
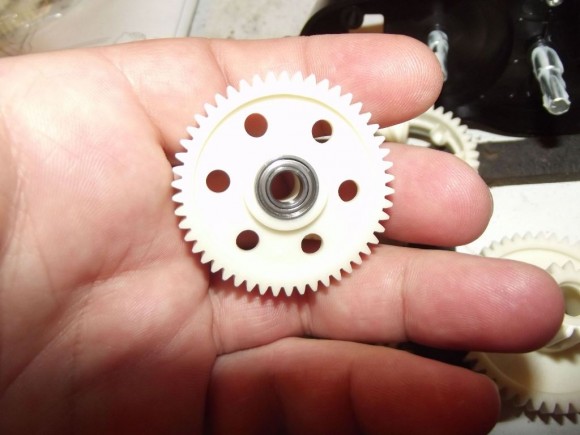
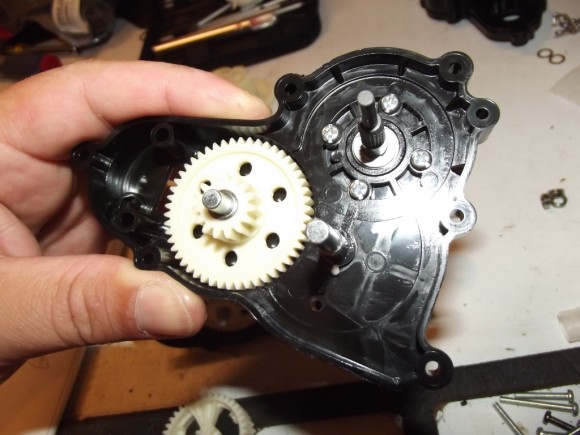
The internal gears will get Fast Eddy bearings now instead of the stock plastic bushings.
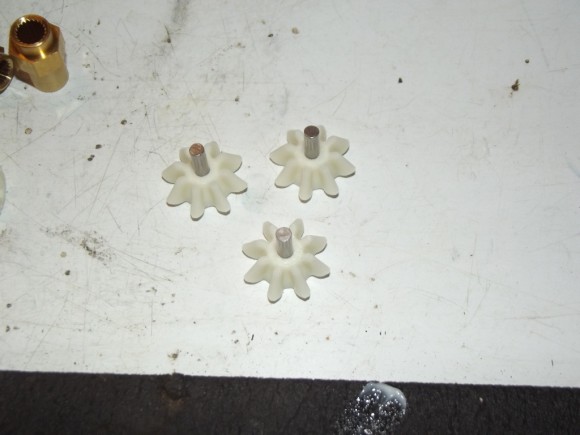
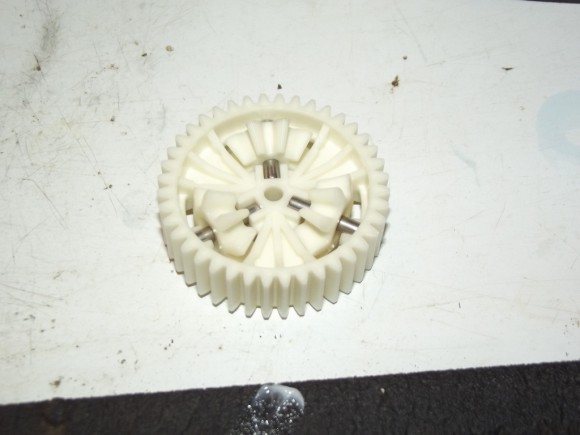
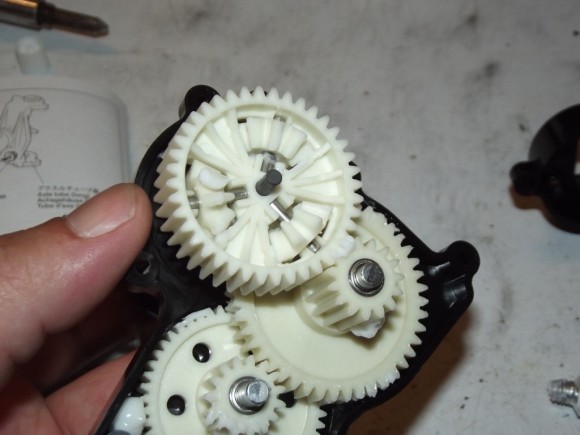
These little gears are for the differential
We’ll put a little grease on the gears to keep them lubricated
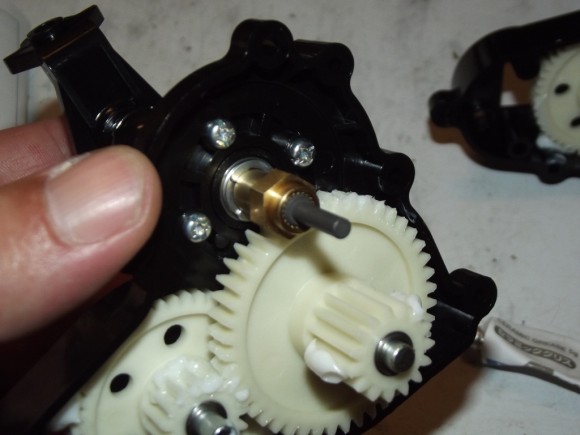
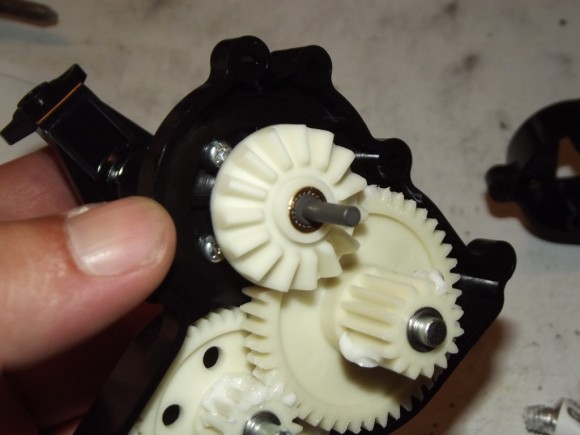
This bevel gear serves as one side of the differential
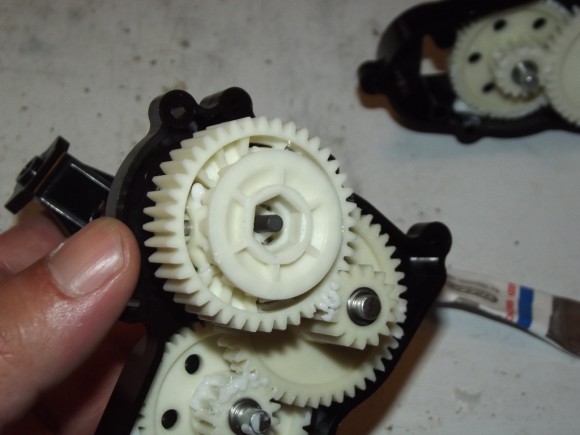
The differential goes over the output shaft, twist it around a little to get it to mesh with the bevel gear you just installed as well as the other gears already in place.
Followed by the opposing bevel gear
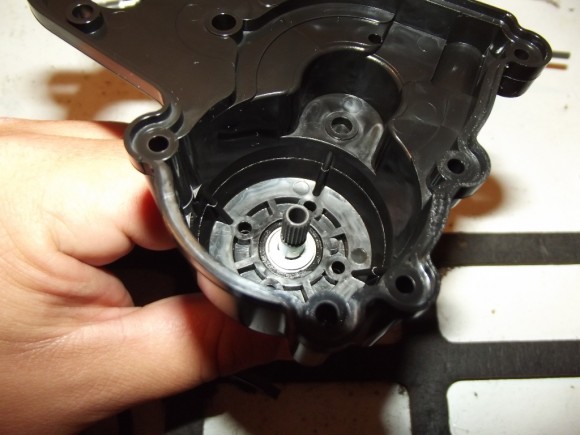
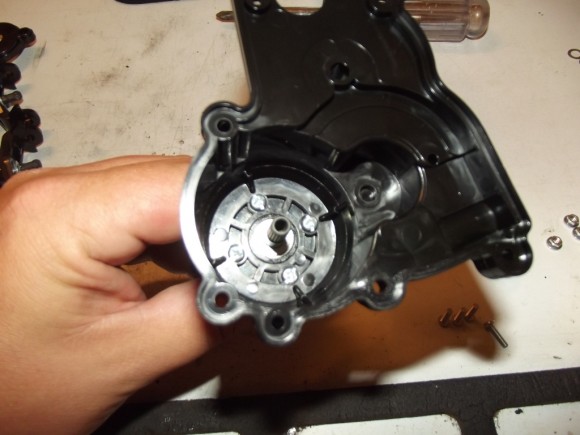
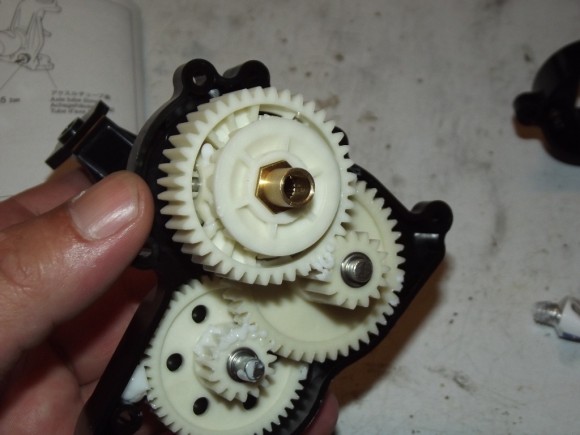
This brass outdrive will turn the axle on the other side of the case
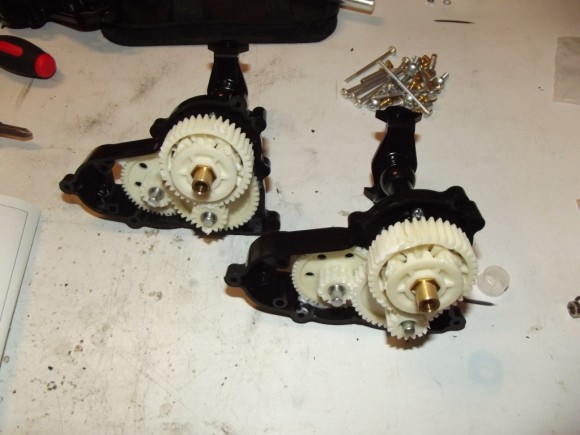
Here we show how we again repeat the same processes for both front and back gear boxes
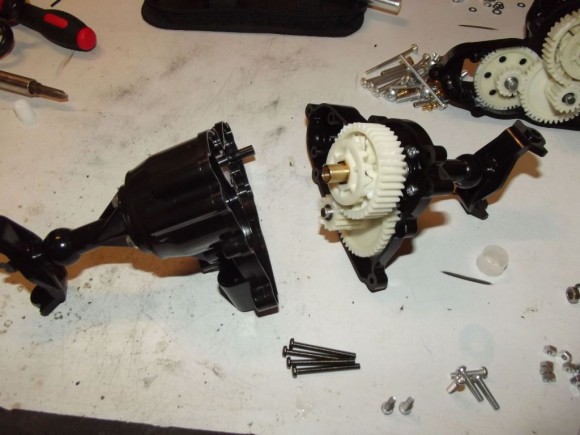
Now we prepare to mate the two gear box halves
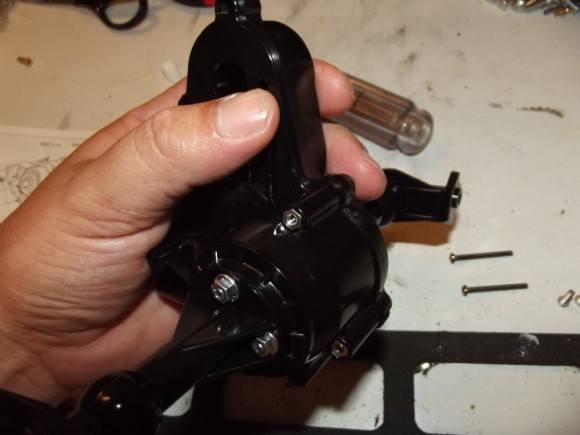
One side has hex cutouts for nuts, while screws will come through the other side
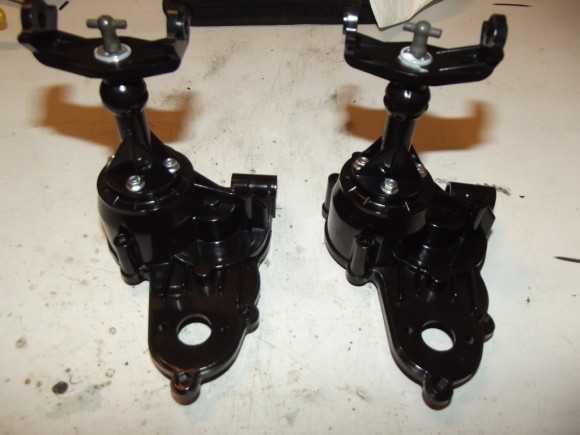
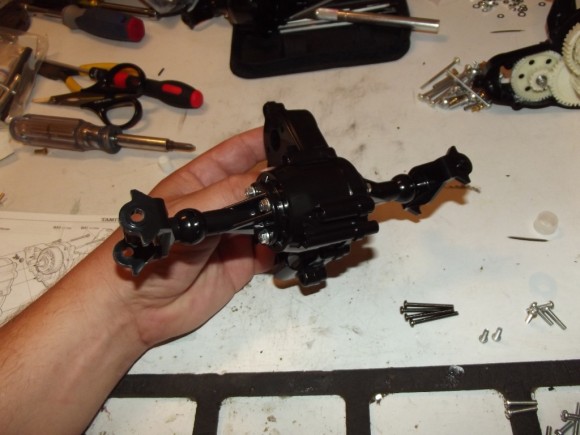
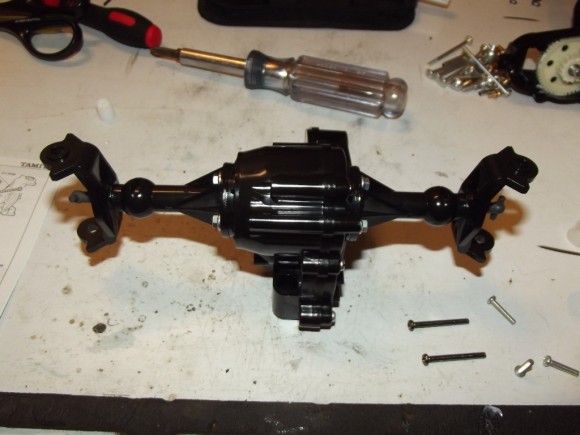
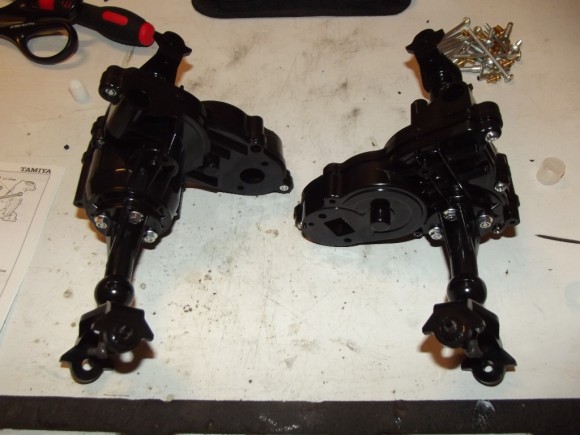
The completed gear box assembly…one of them anyway
The two are identical units, and can be used on either the front or the back. They are interchangeable.
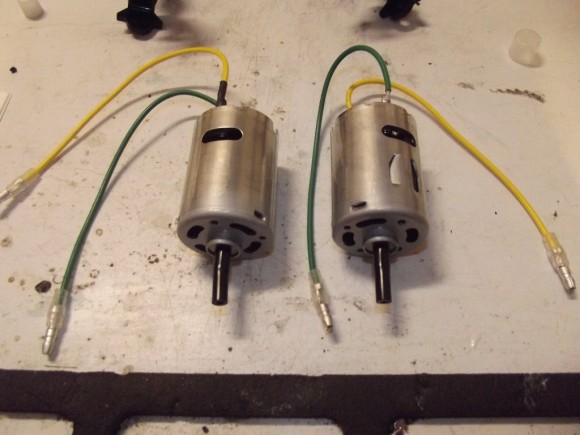
The Clodbuster uses two motors, both of which are included in the kit.
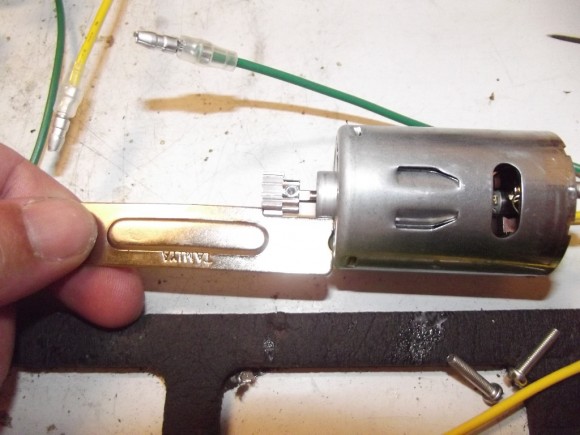
Tamiya also supplies pinions, as well as this gauge which is used to set the pinion to the appropriate depth.
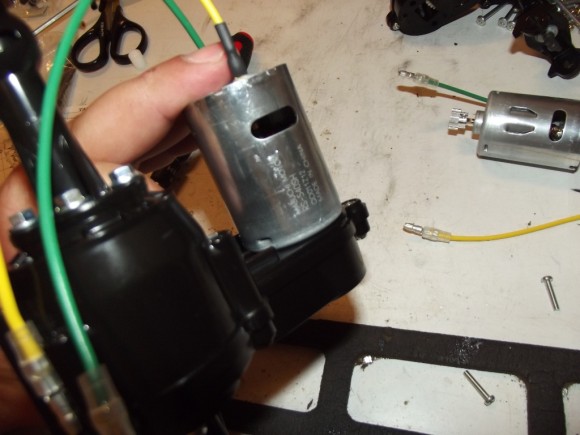
Mating the motor to the gearbox is easy enough
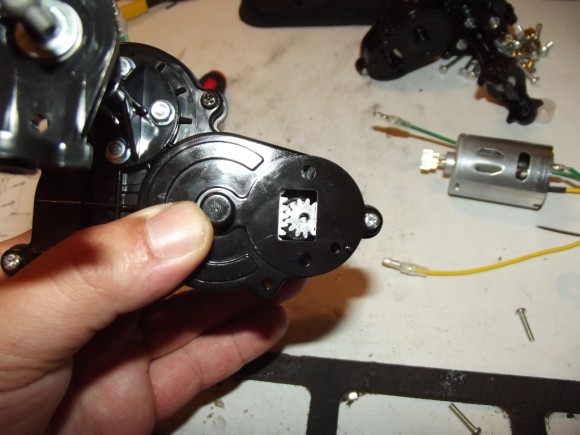
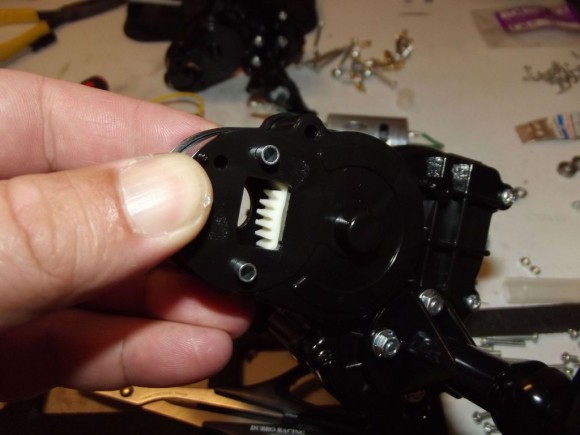
You can check that mesh is set correctly through the other side. But as you can see there is no way to move the pinion on the motor shaft once it is installed, so make sure you use that gauge for best results.
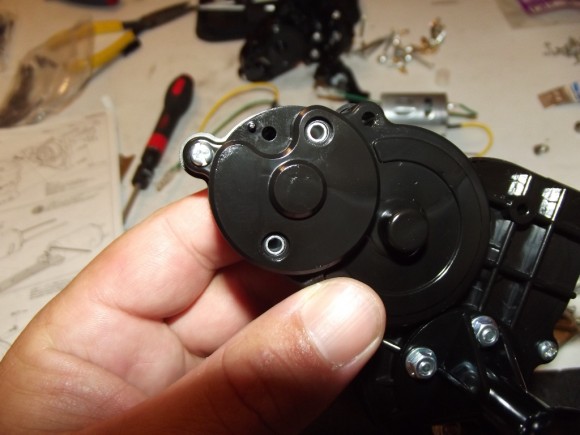
The motor screws go through these metal tubes, which get inserted into the gearbox housing.
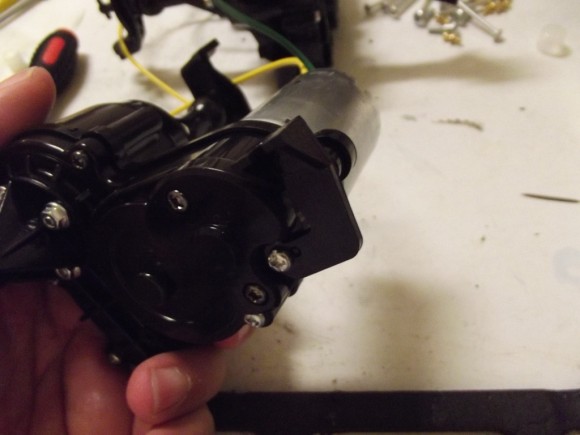
This piece slides over the tubes, the recess created will be used for a gearbox mount later.
Two screws hold the motor in place. Repeat the process for the other motor.


 August 20th, 2012
  Matt
Matt 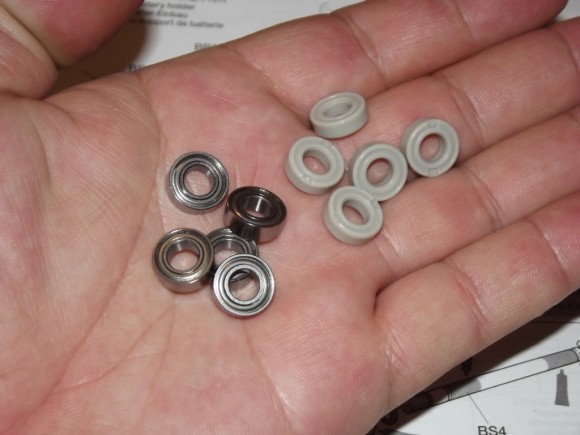
 Posted in
  Tags:
Tags:
[…] RCSoup.com Tamiya Clodbuster Build Check this out guys Tamiya Super Clodbuster – Build up | RC Soup […]