Ah, yes. The Tamiya Clodbuster. If you had an RC in the 1980’s, there is a pretty good chance you had a Tamiya. And if you had a Tamiya, chances are you WANTED a Clodbuster!
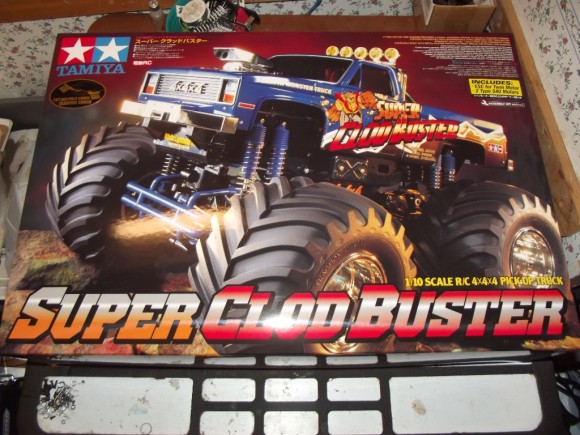
Tamiya USA has once again come to the table in a big big way for our annual Children’s Miracle Network Raffle. They have donated this sweet Clodbuster for us to build and review for your viewing pleasure, then we will be including it in the raffle later this year. What you see in the first picture below is the Clodbuster which we will be building for iHobby 2012. At iHobby, there is an event geared towards Monster Trucks called High Voltage. A part of that event will be Clodapalooza, celebrating 25 years of the Tamiya Clodbuster. We will be running this truck in the “Retro” Class, which will pay homage to Monster Trucks of yesteryear.
Also pictured is a Spektrum DX3C, which will be included with the raffle of this truck. We reviewed the radio, and you can check that out here. There is a Savox 1258TG there, donated by Savox USA for this build and raffle. The CPE parts or for the 4 wheel steering delete, which we will tackle in a future post after we are able to review this truck in stock form.
Follow along as we build this classic RC that has been rejuvenated for the new millennium.
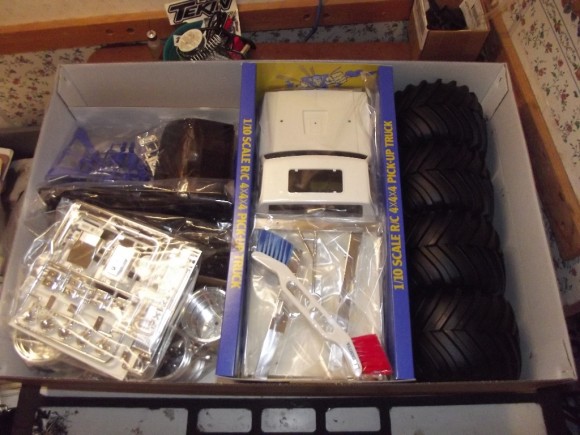
Tamiya does a very nice job with packing the box. Everything has a place, and it all stays in order for shipping.
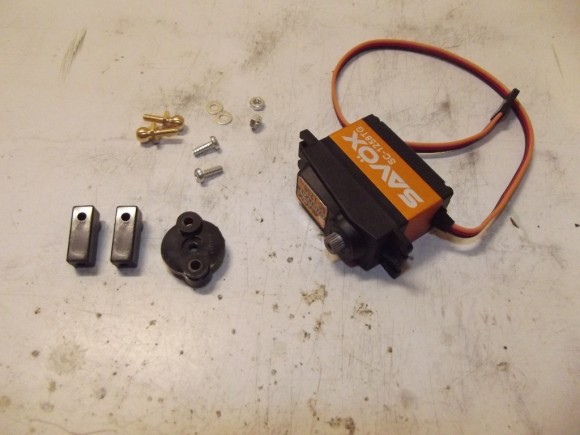
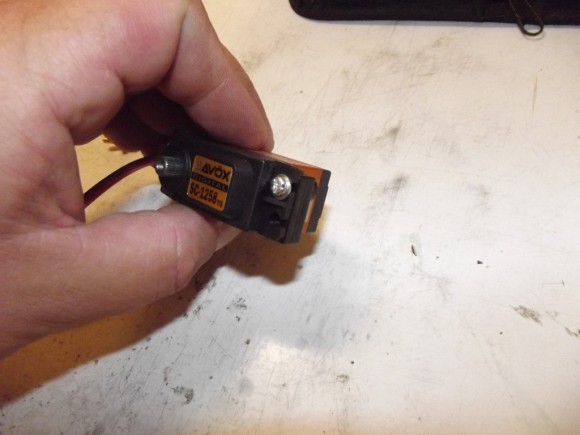
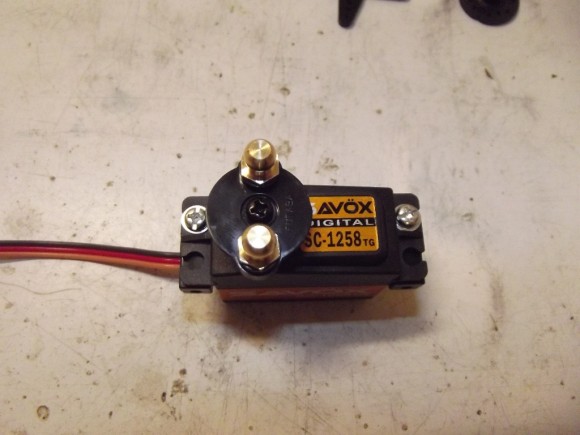
We start things off by putting together the servo horn that is used for the stock 4 wheel steering. Savox USA sent us this 1258TG to be included with the raffle of this truck.
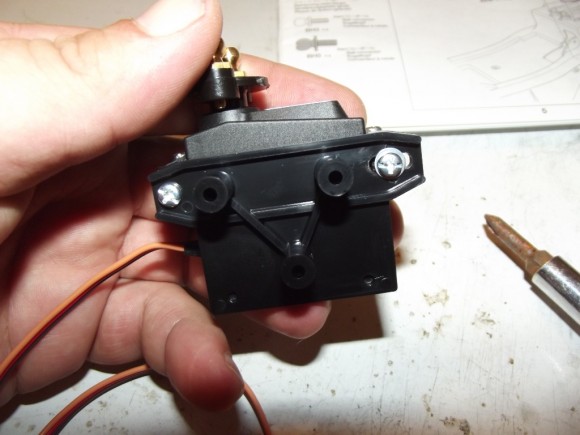
The servo mounting blocks get screwed to the servo in preparation of mounting it in the truck
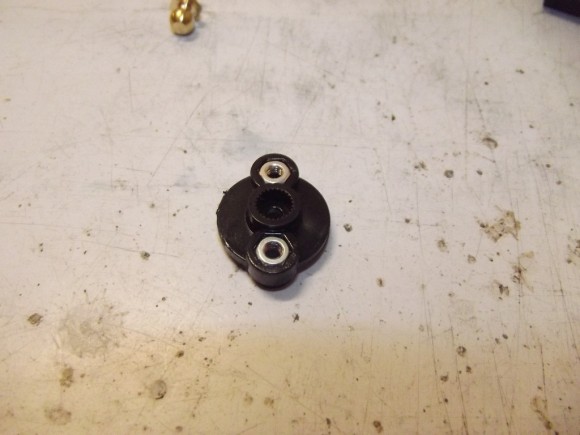
This will become a common theme, but the ball studs that the steering links attach to get a nut on the back
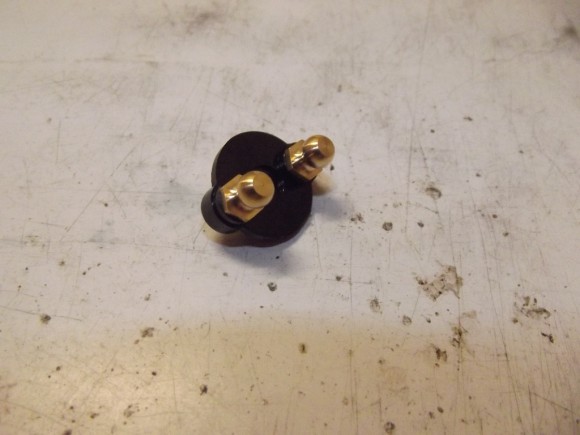
These are the ball studs that the steering rods will attach to for the stock 4 wheel steering configuration
Tamiya includes a few different servo horns, in the spline varieties of the popular servos on the market. Pick the correct one for your servo. In this case, the Savox 1258TG uses the 25 spline count horn, just like a Futaba.
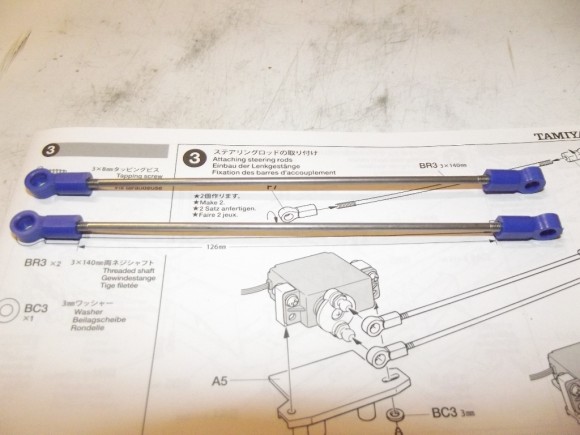
In the manual, there is a full scale drawing of the steering links, so that you can build them to the appropriate length.
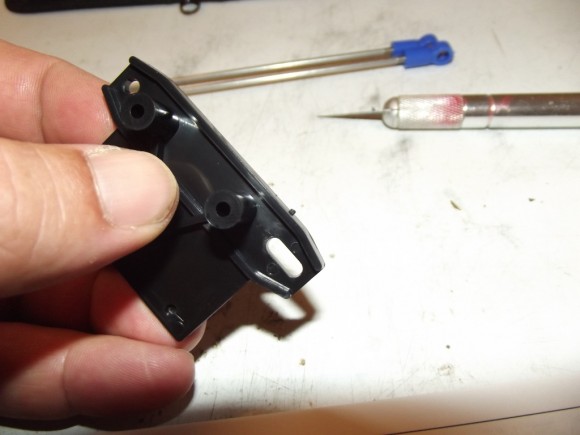
Tamiya uses plastic trees for a great majority of the parts in this kit. When you cut the part off the tree, it will most likely have these little burrs. I use a sharp Exacto knife to clean up the edge.
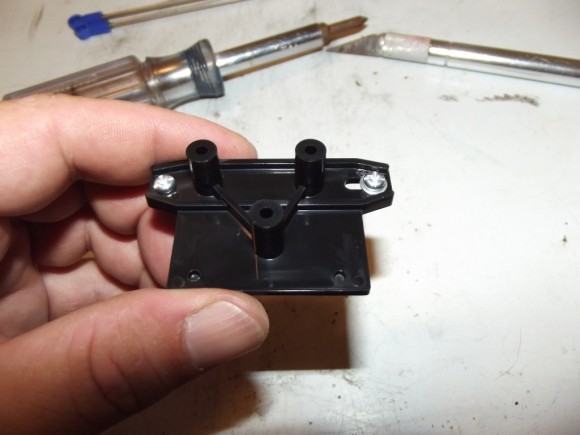
This plate gets mounted to the servo, and will serve as the mounting plate in the truck
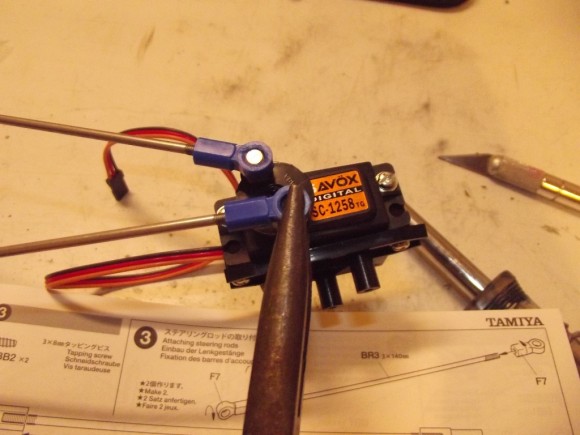
Next we’ll snap the steering links onto the ball studs on the servo horn. I used a pair of needle nose pliers
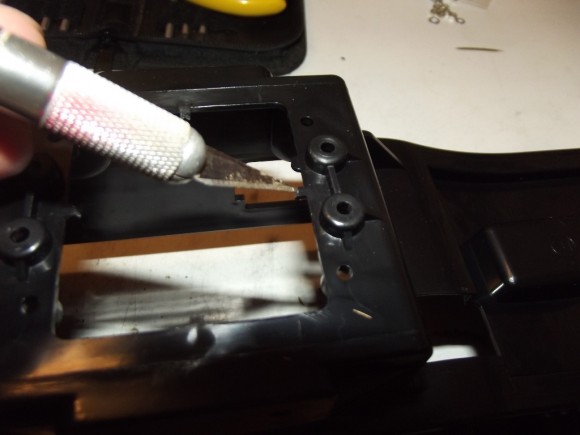
Just like on the plastic parts trees, the chassis has little plastic burrs that you will need to remove.
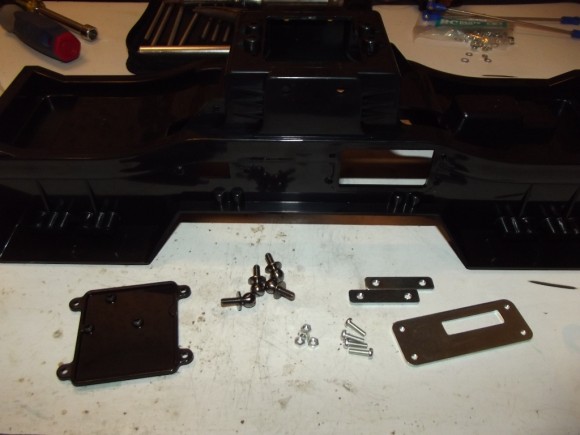
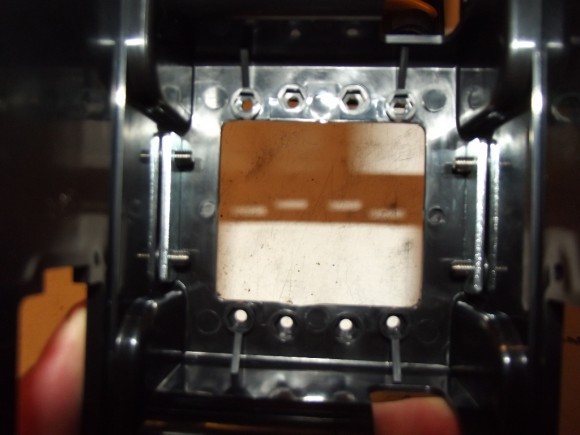
Before we can mount the servo, there is a reinforcing plate that must be put in the chassis first.
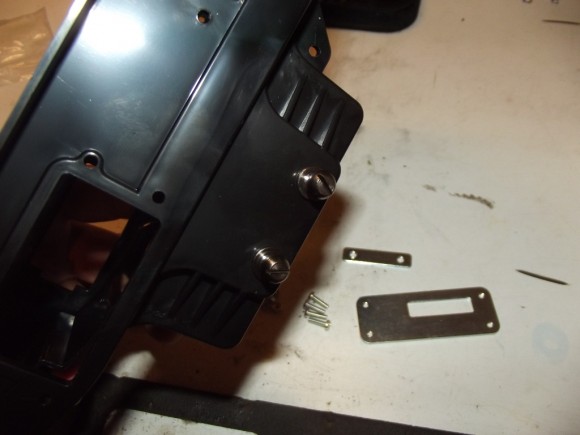
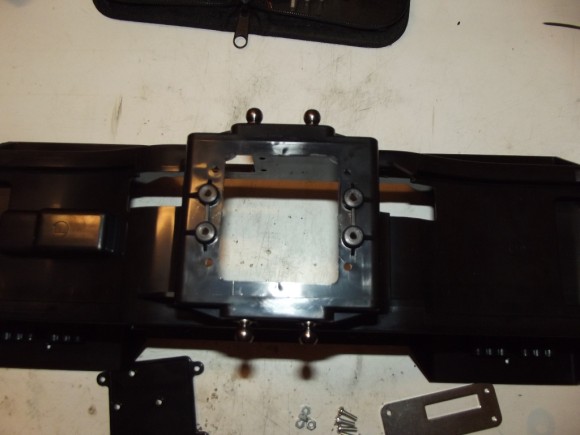
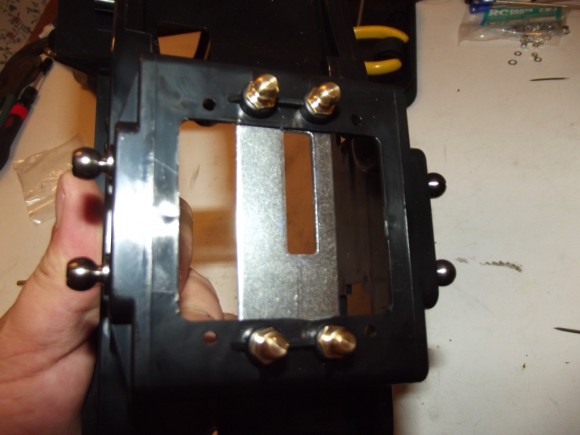
We are also putting on the ball studs for the 4 link suspension.
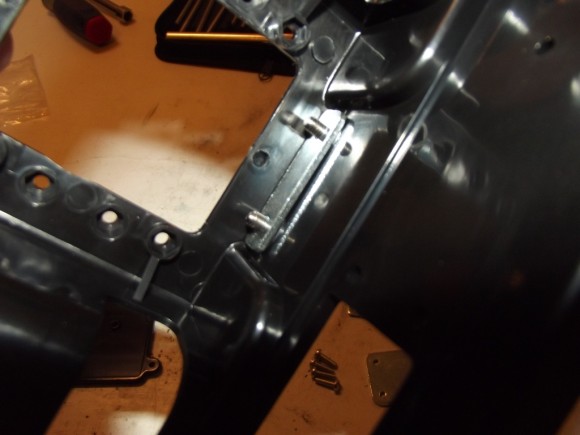
These ball studs thread into a metal plate housed inside the chassis.
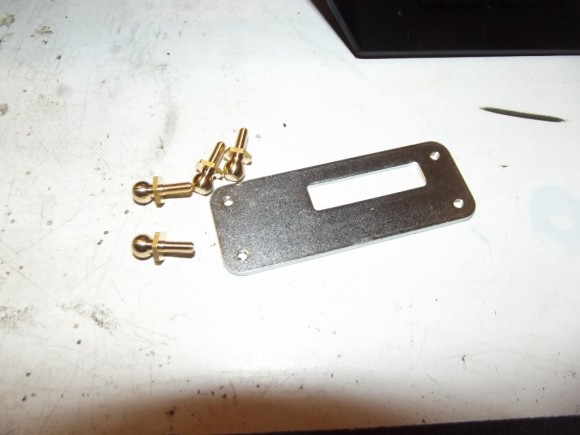
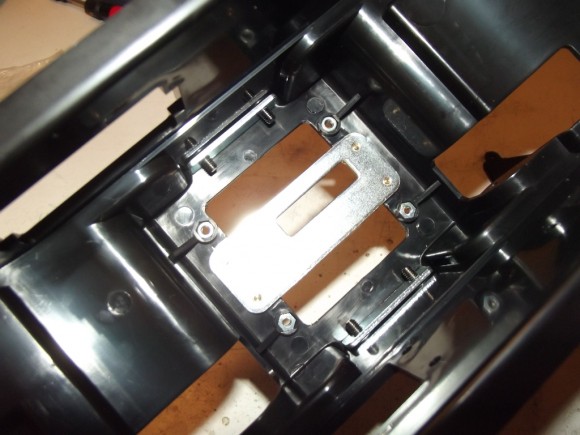
More suspension link ball studs for use later, as well as the steel reinforcement plate for the bottom of the chassis
You’ll notice we have put a few nuts into their slots in the bottom of the chassis, these will help us mount the bottom plate
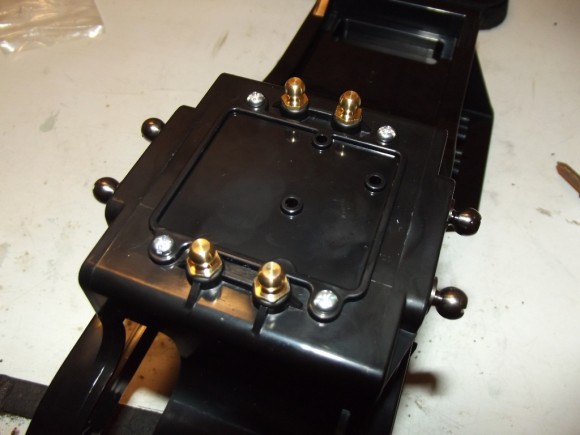
Here we have installed the bottom plate, with screws at all 4 corners being threaded into the nuts we showed you above.


 August 20th, 2012
  Matt
Matt 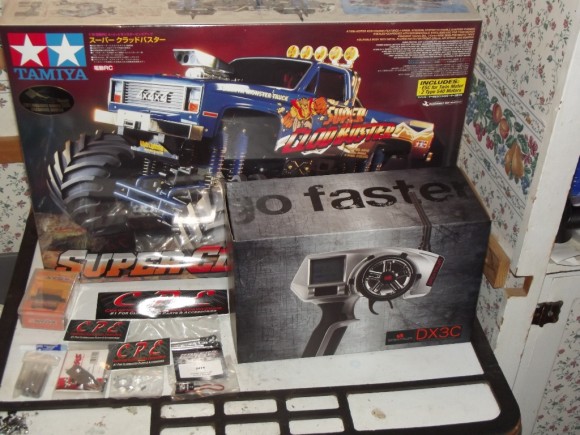
 Posted in
  Tags:
Tags:
[…] RCSoup.com Tamiya Clodbuster Build Check this out guys Tamiya Super Clodbuster – Build up | RC Soup […]