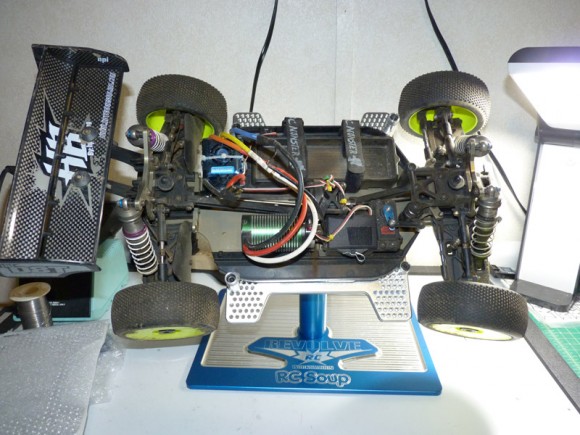
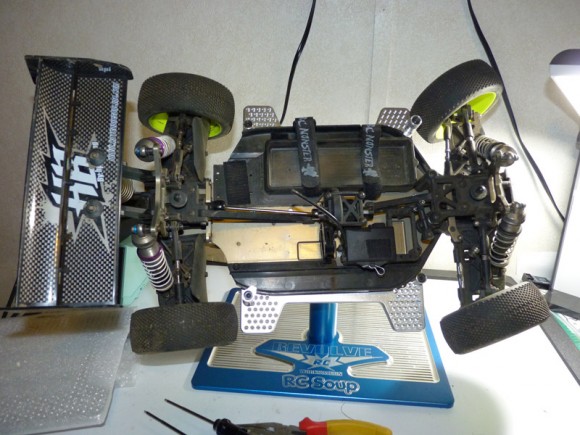
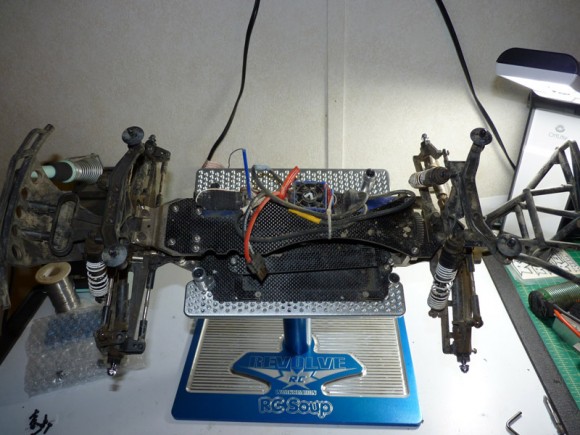
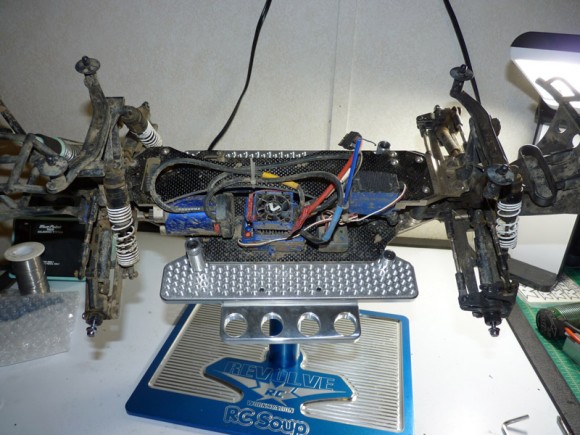
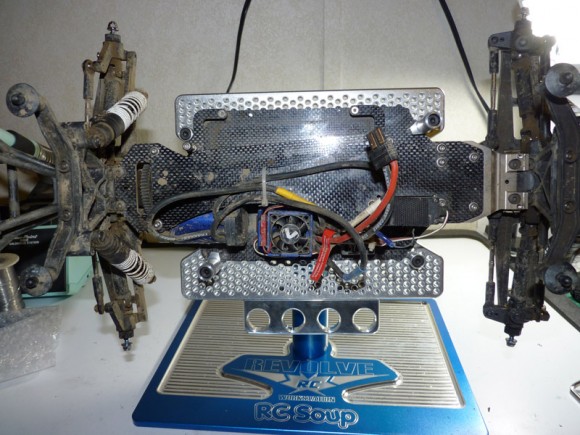
First, let’s try the E-buggy on the stand. This is an RC Monster E-Converted Hot Bodies D8 buggy. I centered it on the stand (with the ball head in locked position to prevent movement).
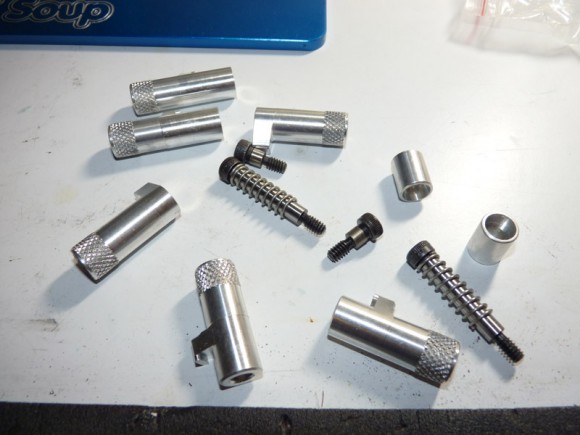
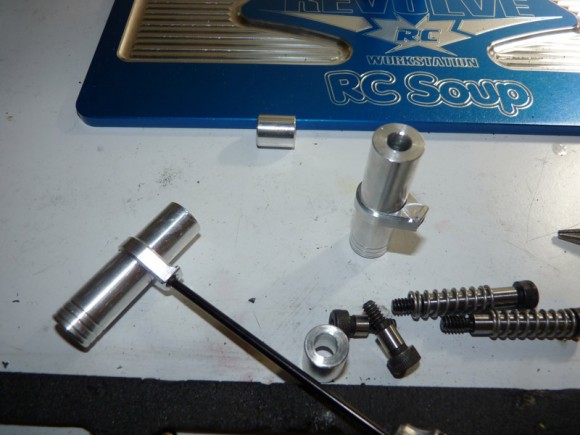
Below are the locking tabs and chassis locators. They mount around the top plate in a way that you best feel will securely hold your vehicle in place. You need to mount them to the holes closest to the car without binding the screw. The awesome thing about these top plates, is EVERY ONE of those holes is drilled and tapped. All of them are usable for mounting these tabs.
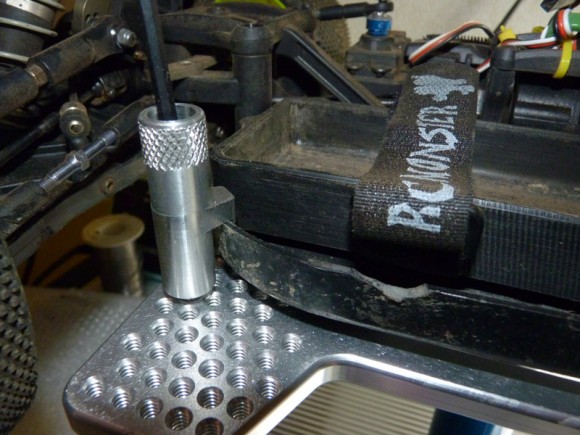
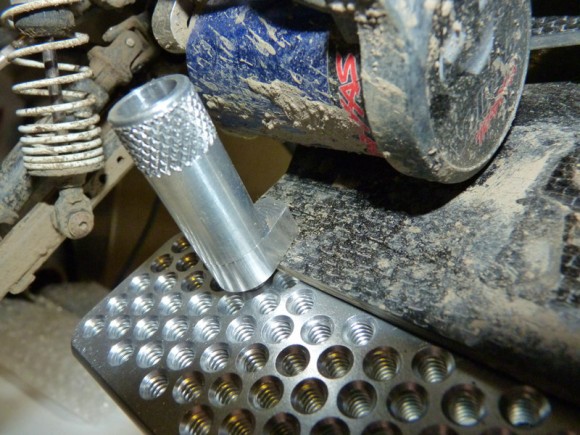
The chassis locators are essentially just a standoff. They are there to help you position the vehicle on the stand, and to prevent it from sliding off when locked in.
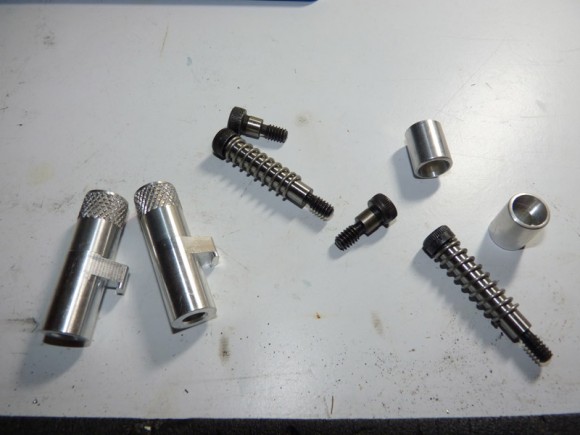
The lock tabs come in a few different height offsets. We have a flat bottomed pair, a medium pair, and a taller pair. For this we’ll be using the tallest of this group. Notice the springs on the screws for the locking tabs. That’s right, the tabs are spring loaded for easy installation and removal of your chassis. These work great to hook over mud guards, or the flat ones work great for if you have a flat bottomed chassis.
I test fit them by holding them up to the chassis to see which one fits the best. Below are the ones I decided to go with.
We’re using the truggy top plate. I wasn’t quite sure which way I wanted to mount the car, but I ended up mounting it sideways. It probably would have fit the other way too. I first installed one of the chassis locators. The locking tabs and chassis locators are supposed to mount diagonally from each other to best lock in the vehicle. So, on each side of your car, you should have one of each.
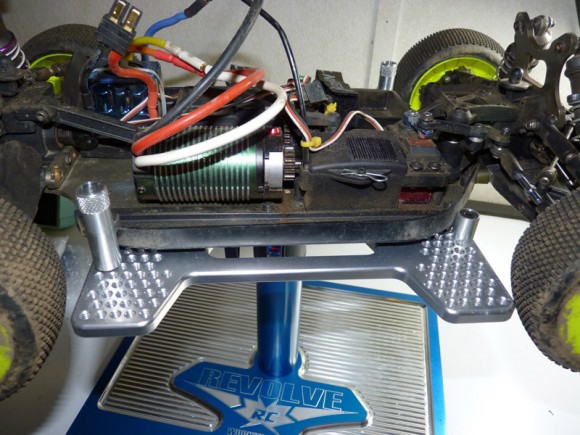
I then, on the same side, installed the locking tab. As you can see it grabs right over the mud guard. The screw will bottom out on the top plate, and the spacer built into it allows for tension on the spring. All you have to do is pull up on the tab, turn it so the locking part is away from the car, and the car should then pull free from the stand.
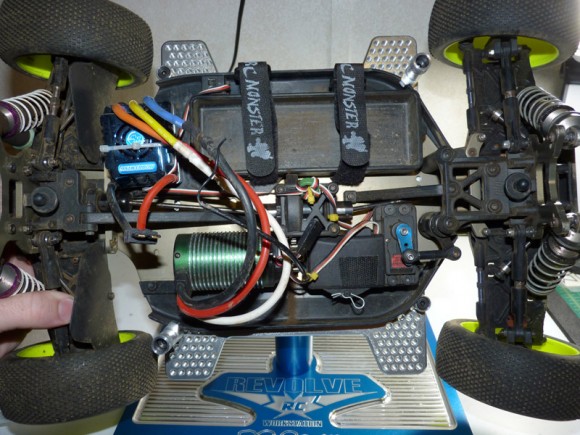
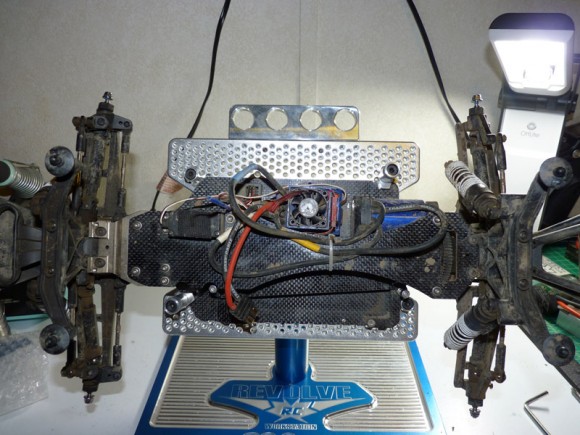
Finished mounting the opposite side. As you can see, the locking tabs are positioned diagonally from each other.
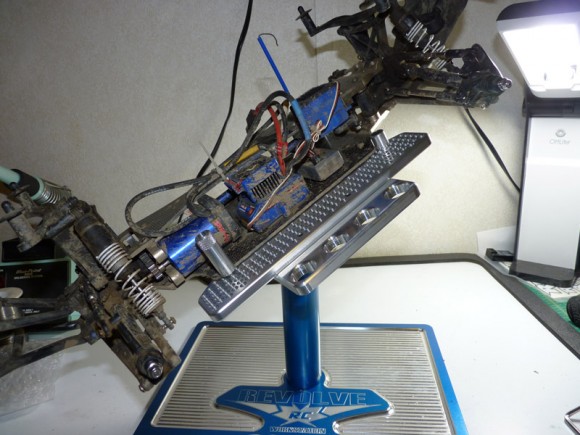
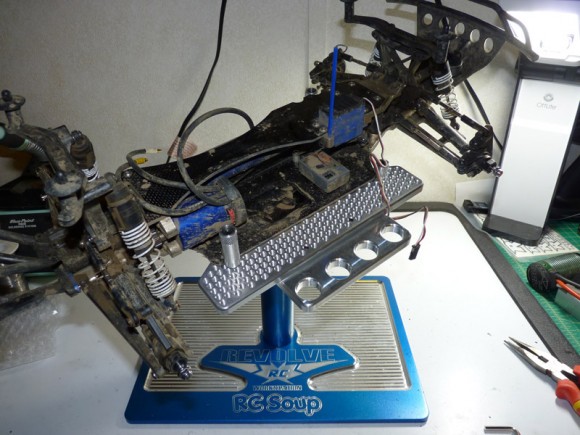
Buggy is locked in.. lets check out some of the crazy angles you can now work on your car without it being in your lap.
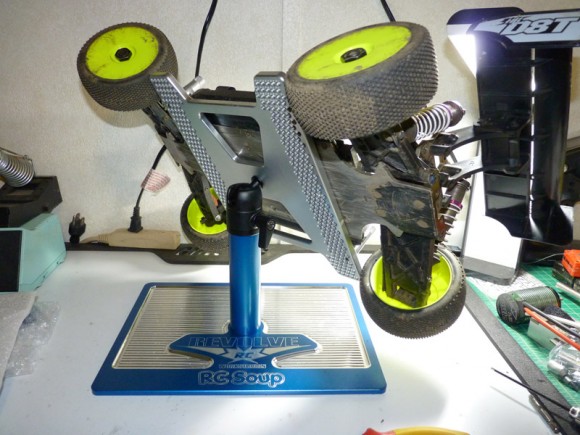
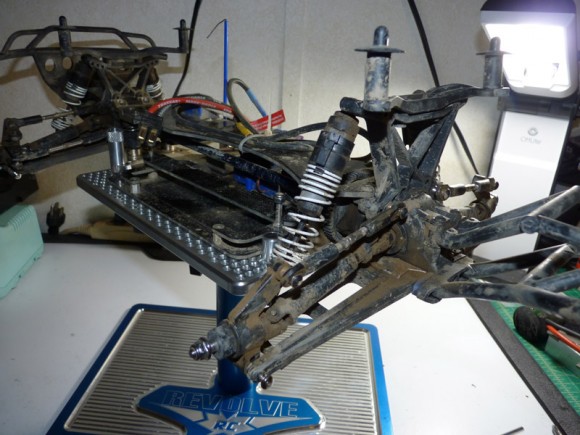
I actually had some quick work to do on this buggy (prepping it for sale and stripping out the electronics). I tipped it near vertical and locked it in place to start stripping out the running gear.
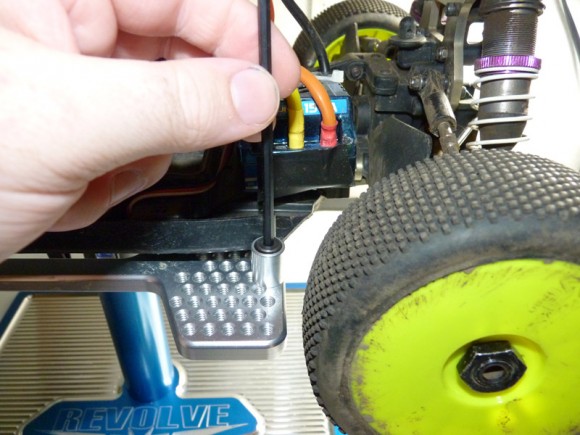
In virtually no-time I had everything out. I had to remove 1 screw from the bottom to loosen the radio tray so that the motor would slide out. It was as simple as swiveling the 2 lock tabs and pulling the buggy off the stand. I removed the screw, pulled the motor, and put it back on the stand to finish removal of everything else.
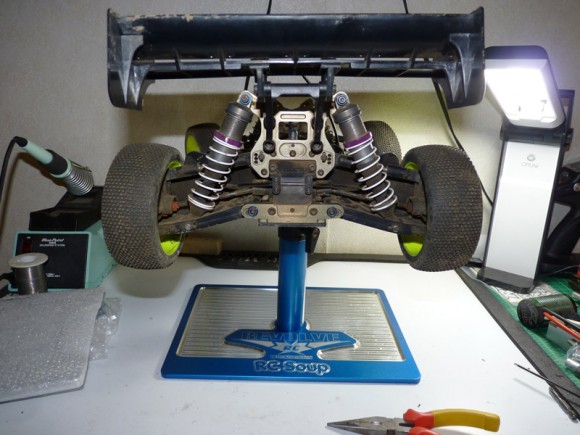
Same angle, just swiveled around.
This thing is going to amazing once I have to do shock work.
After I was done with the buggy, I popped on the other top plate and positioned up the T-RCE Slash 4×4 (fresh from the Slash 4×4 LCG Chassis Shootout). This thing is grungy, and I can’t wait to get it cleaned up and modded for stage 2 of it’s upgrade cycle.
In our kit, we also got these universal locking tabs, which are height adjustable with a grub screw. This looks like the logical next option for them to include with their stands, as it would replace the need for multiple sets. You could even install the tab ring upside down to get the equivalent of the flat surface tab. I didn’t end up using them for this segment, but we’ll be sure to put them to use before the review.
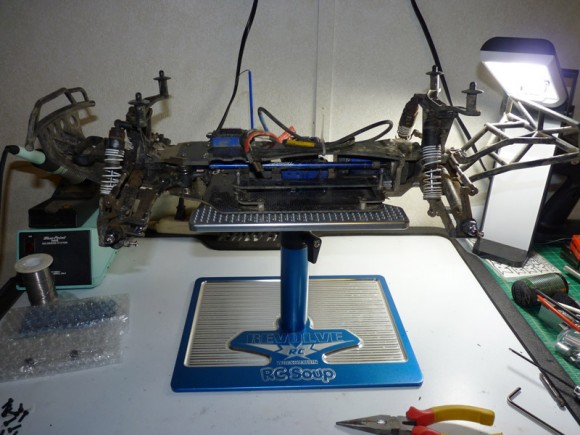
I’ll save you the trouble of seeing me install the tabs again. Here I’ve mounted up the T-RCE Slash 4×4. I mounted it a little off-center to give me a little more working room on the one side.
Here is why. I mounted up the shock holder to the side with more space on it. One of the items I will tackle in Stage 2 of this build is replacing the horrible stock shocks with those from the Factory Team SC10 4×4. Look for that soon!
I’m not really ready to work on this truck yet, and that’s a whole different article. So here are a few more angle shots to give you an idea of the near limitless pivot positions you have while working on your truck.
Straight vertical!
Pretty much anything you need to get to, with exception of screws from the bottom (in the center section only), is easily accessible.
A close up of the flat bottomed locking tab. It holds the carbon fiber plate of the T-RCE chassis perfectly.
So, my first impression?
This thing is amazing. I have a little bit of OCD when it comes to getting covered head to toe in dirt.. so keeping the car on the stand, and out of my lap to get to odd angles of the car is a HUGE HUGE plus for me. This stand actually has me excited to clean up the T-RCE Slash 4×4 for stage 2 (will likely do sometime in the next week or so). I can only imagine this will be a great conversation starter in the pits as well once people who haven’t seen it get to check it out.
Is it expensive? For a car stand, yes. Especially when you compare it to stuff like the Duratrax or Ofna car stands which are under $20 (which are no match for the weight of a 1/8 buggy by the way).
However.. that old adage of “You get what you pay for”, definitely rings true here. First, this thing is made of QUALITY 6061 aluminum, that is HEAVILY machined, drilled, tapped, and can even be engraved. They are also made in the USA. These admittedly have a lot more functionality going for them than your run of the mill cheapo stand. When you factor that in, the pricing difference makes sense.
It is expensive, no other way to say it.. but this whole hobby is expensive. This will likely outlive any vehicle in your fleet and would be considered an investment, just like your $400 radio, $100 soldering iron, $200 pit bag, $150 charger, etc.. this will become a staple of your pit table, and trust me.. you won’t want to work on your car without it.
I’ll leave you with their own YouTube setup video to give you a better idea of how this beast works if my photos were not enough. Check them out at revolverc.com
[youtube]http://www.youtube.com/watch?v=ET2K6FbgZwA[/youtube]
Pages: 1 2


 July 17th, 2012
  Kevin
Kevin 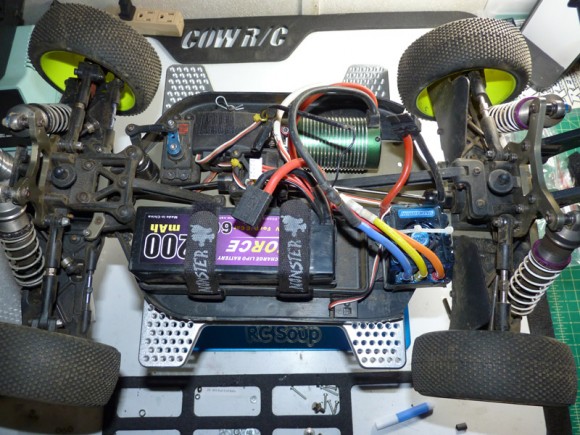
 Posted in
  Tags:
Tags:
That is one sweet vehicle stand! Awesome!