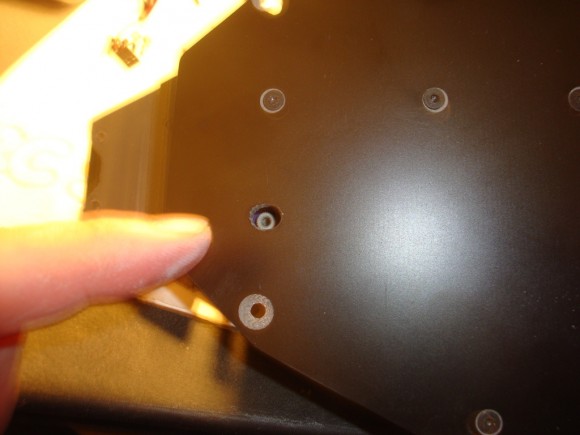
Here is where I found another modification was necessary. In order to install the servo horn on the servo, there is a pre-drilled hole in the lower plate. However, it is very small and was nearly impossible with my fat fingers to get the servo horn installed. I reamed out the hole to approximately 1/4″ round. This helped me position the servo horn in place, and install the set screw. I had a bit of a time getting it centered up but I did finally get it right
Now I installed the stock side nerf bumpers w/ 3mm X 12mm screws and hex nuts
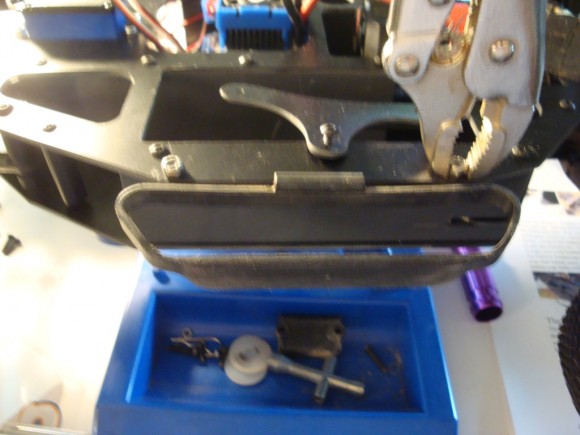
Here I installed the battery gate. This holds the battery in the chassis and prevents it from popping out in a tumble. I added some thin foam padding for my Lipo batteries; just added cushion to protect my battery investment
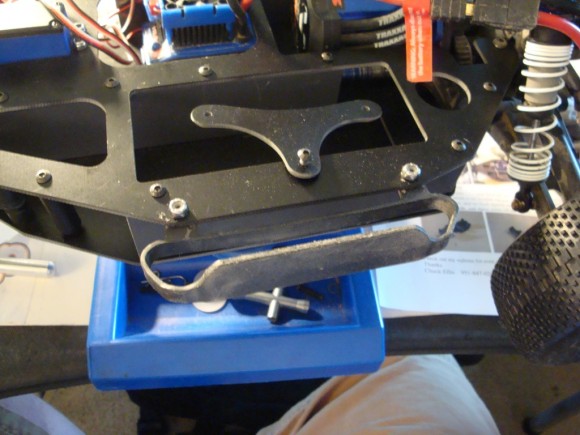
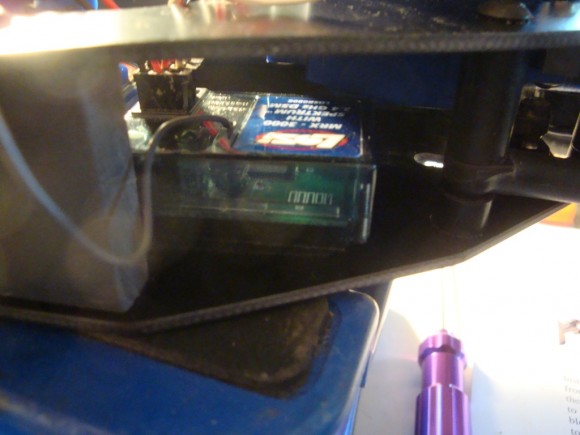
Here I did a slight modification and drilled a small hole for the antenna. I had to twist it into place but it fit up nice and provides a nice safe place for my receiver antenna.
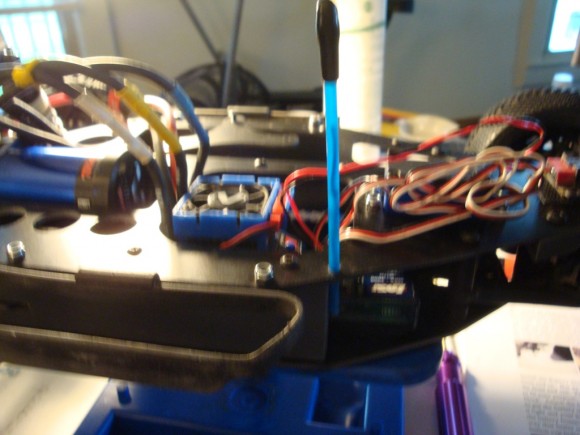
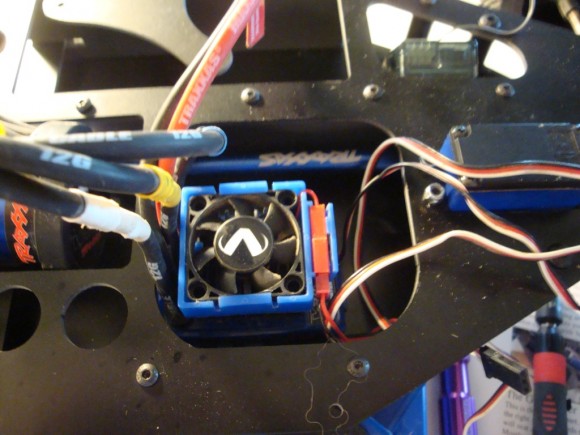
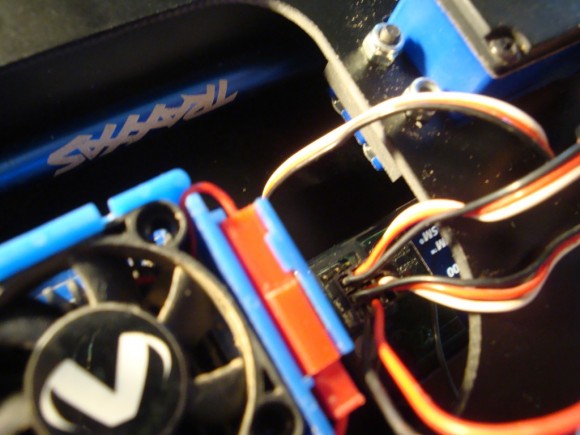
I installed my stock VXL ESC and motor. Here is another tip, you will have to remove the 2 screws that hold the VXL motor and motor plate together, rotate the motor 180 degrees and reinstall. This will tilt the motor wires into the center of the chassis instead of outwards. if you don’t do this, the motor wires stick out and there is very little clearance for the wires as well
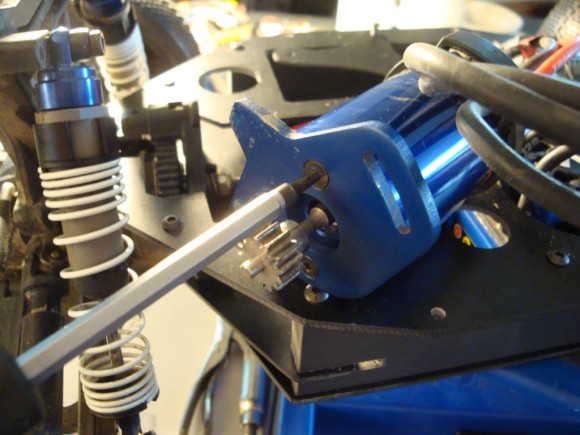
I also had to dremel out a small area of material where the VXL motor shaft was rubbing on the upper plate. 30 seconds later I had plenty of clearance
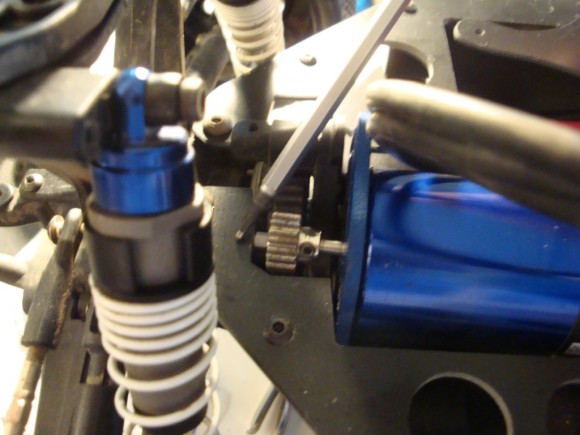
Here it is after the small modification w/ my dremel
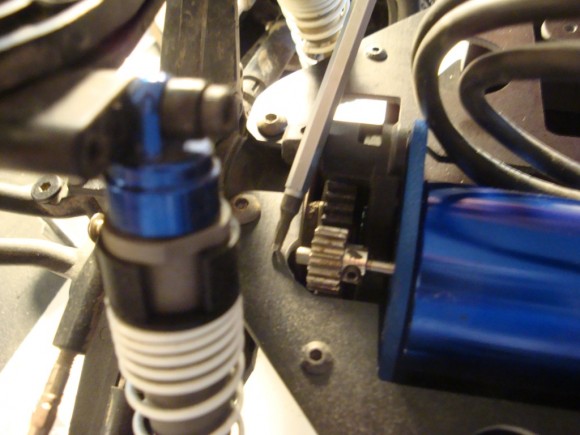


 June 22nd, 2012
  Jim
Jim  Posted in
  Tags:
Tags:
[…] Re: LCG Comparison – very cool read!!! Chuckworks RC Build Article posted […]
[…] the build post for our 3rd and final Slash 4×4 LCG conversion is up.. Chuckworks 4x chassis.. http://www.rcsoup.com/2012/06/traxxa…version-build/ __________________ http://www.rcsoup.com – R/C Reviews, News, and Tips <<- PM Me if you'd like […]