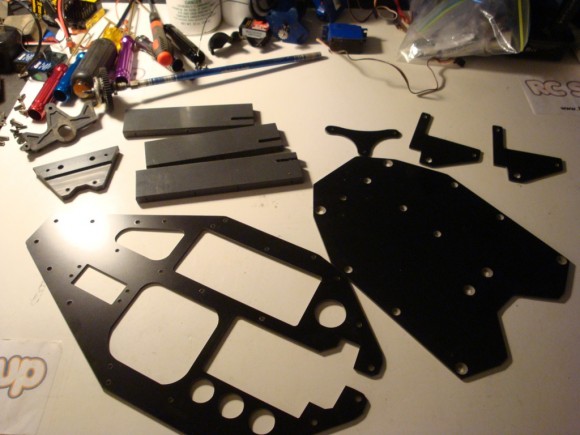
Here is the Chuckworks RC Slice 4X kit all ready for assembly
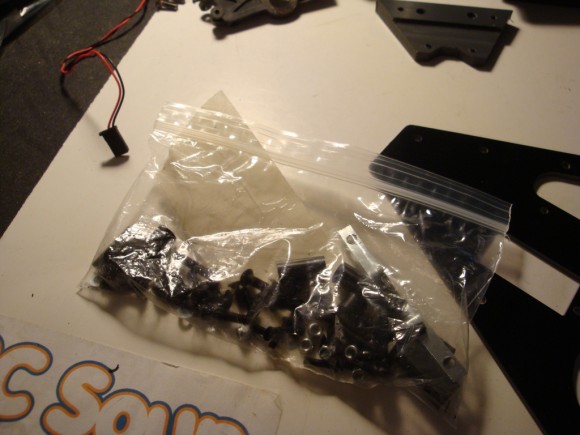
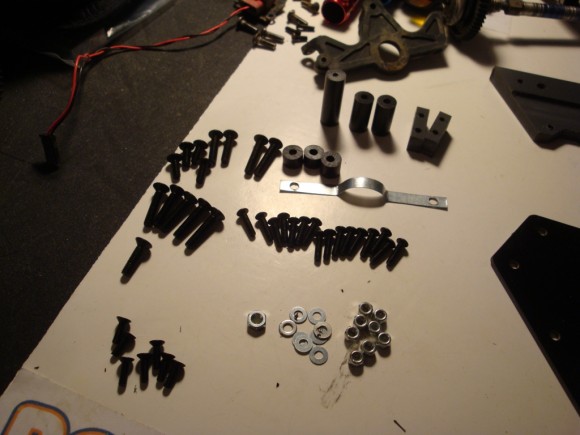
The provided screws and spacers
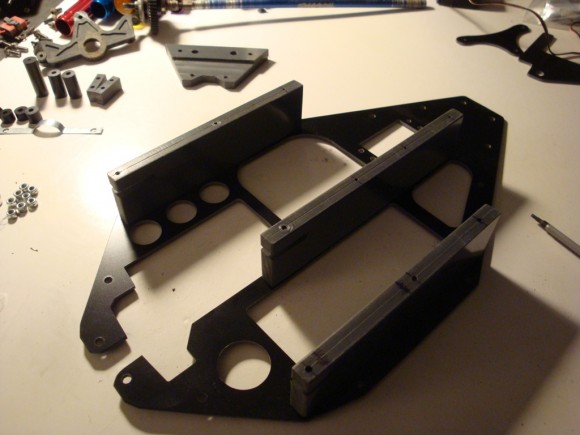
First take the top plate and line up the 3 gray chassis spacer blocks to the pre-drilled holes. Make sure the slots are towards the rear and away from the top plate. The longest block goes in the center area. Using the provided 3mm X 12mm screws, secure all 3 spacer blocks to the upper plate
Now install the front bulkhead adapter block
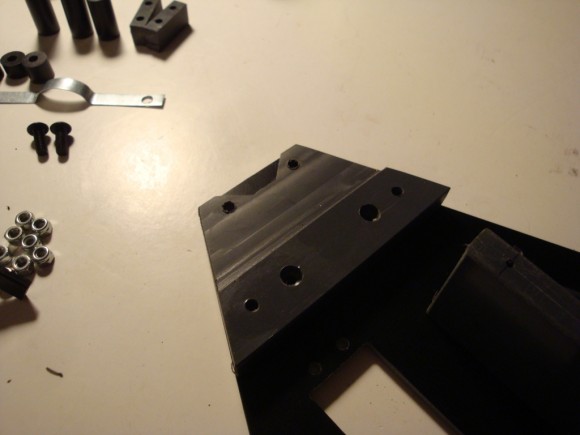
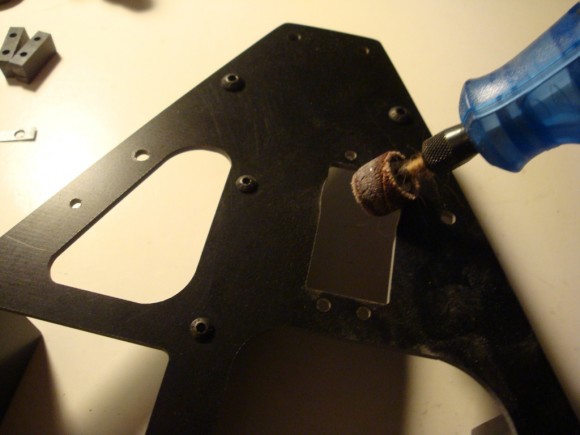
Before you install the lower plate, install your servo. In this build we are using the stock Traxxas 2075 servo. I had to dremel out a little material on each side of the upper plate to accomodate the slight bulge at the base of the servo
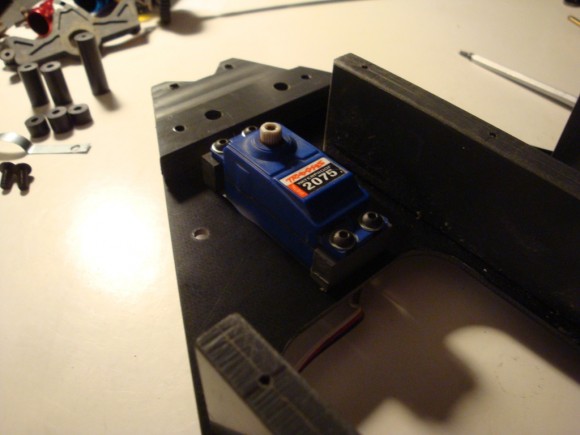
Using the 2 provided small gray spacer blocks, install the servo to the upper deck. The spacers go between the servo and the upper deck. This provides enough clearance for the stock servo horn and keeps the steering geometry the same. You can use any servo though. With the correct servo horn you could flush mount the servo to the upper deck and delete the spacer blocks altogether. Keep in mind you have to have clearance for the center driveshaft though! Use the provided 3mm X 16mm screws to install the servo


 June 22nd, 2012
  Jim
Jim  Posted in
  Tags:
Tags:
[…] Re: LCG Comparison – very cool read!!! Chuckworks RC Build Article posted […]
[…] the build post for our 3rd and final Slash 4×4 LCG conversion is up.. Chuckworks 4x chassis.. http://www.rcsoup.com/2012/06/traxxa…version-build/ __________________ http://www.rcsoup.com – R/C Reviews, News, and Tips <<- PM Me if you'd like […]