Now we can dig in to the SSC Chassis
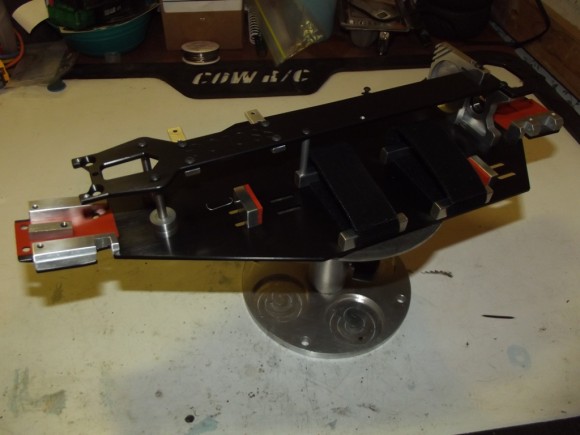
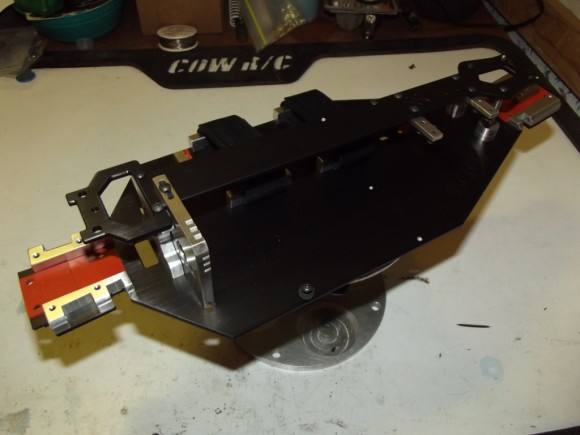
The SSC chassis comes mostly pre-assembled
The SSC uses a 2 piece motor mount
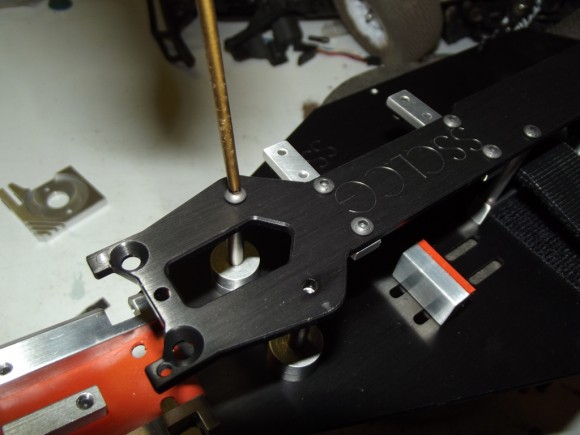
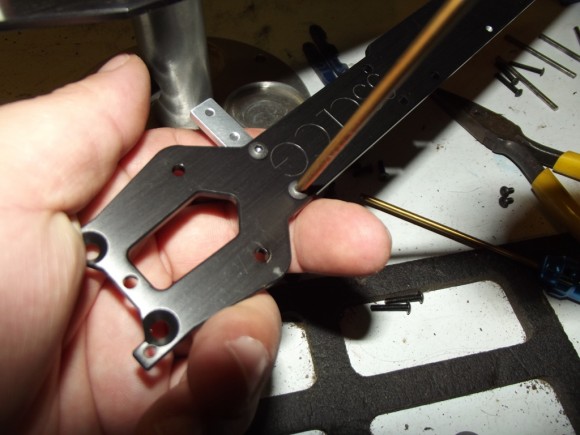
Now we’ll remove the center top plate
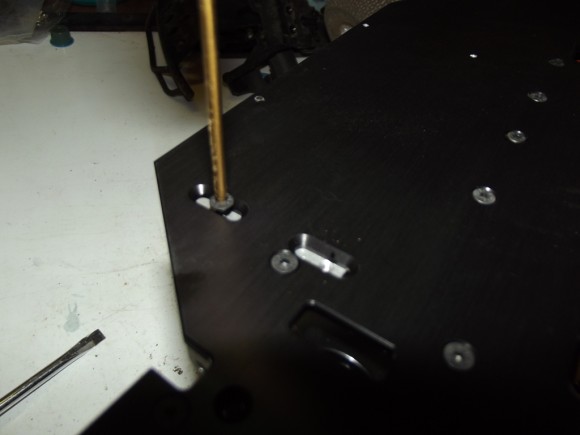
And the servo mounts
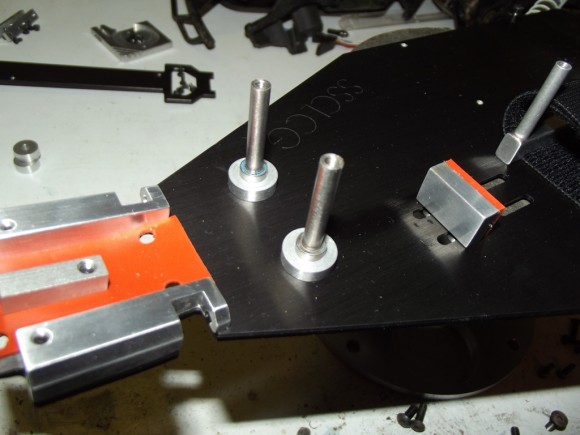
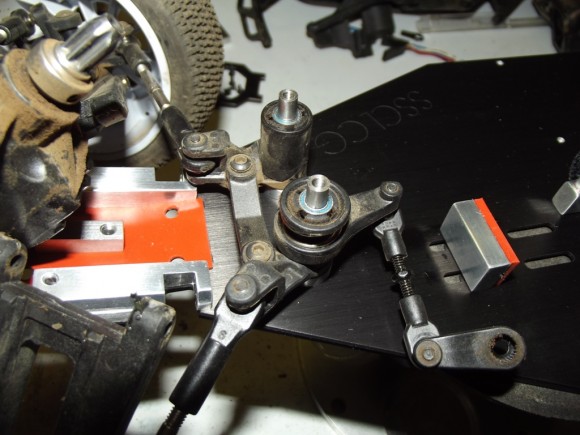
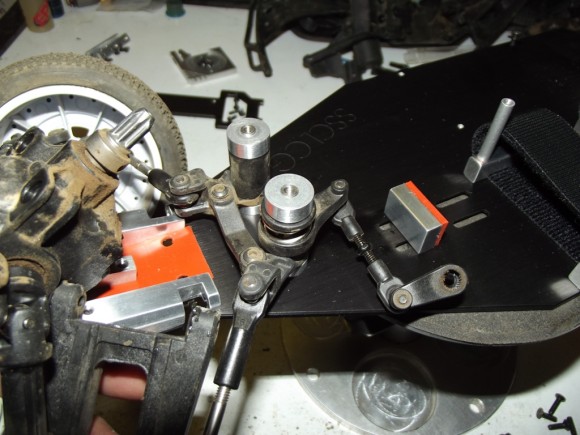
There are two spacers in each steering post. Leave the thinner spacers on the posts, but remove the thick spacers. Remember those bearings that were such a pain to get off the stock posts? Put them on over the thinner spacers
The stock steering rack slides on next, followed by the top bearings
And the thick spacers
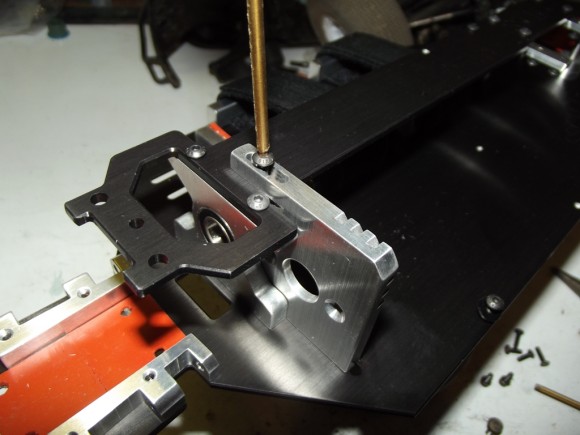
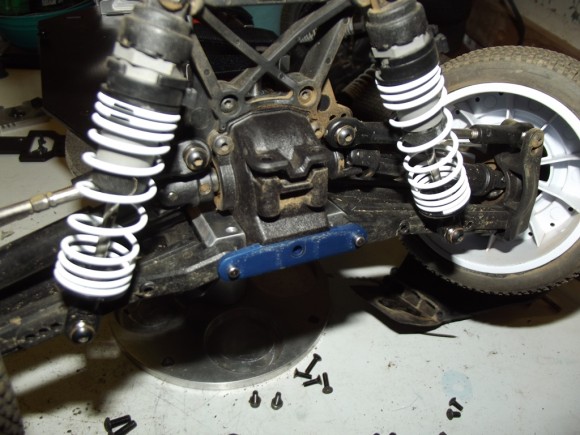
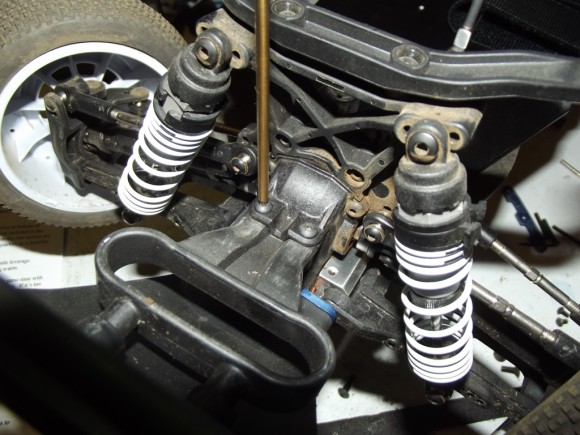
We’ll start attaching the front gear case by throwing two screws in the rear two holes, but leave them loose for now
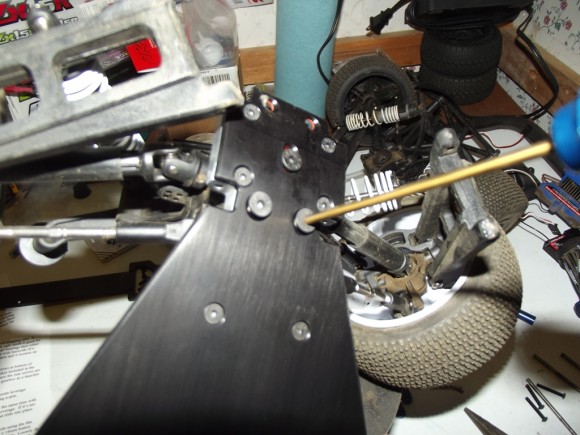
Work the hinge pins in, wiggling the arms as necessary to line up the holes
Once both arms are on we attach the hinge pin plate
One center screw holds it together
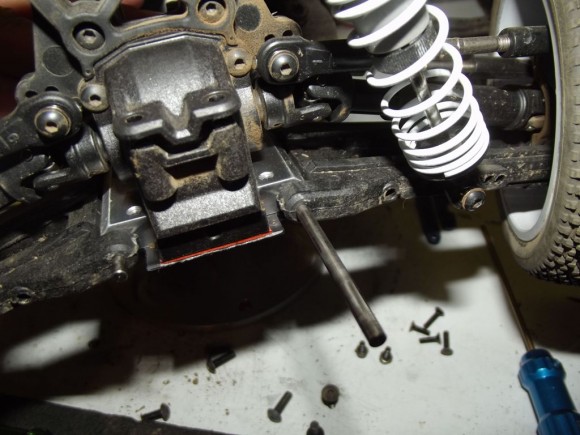
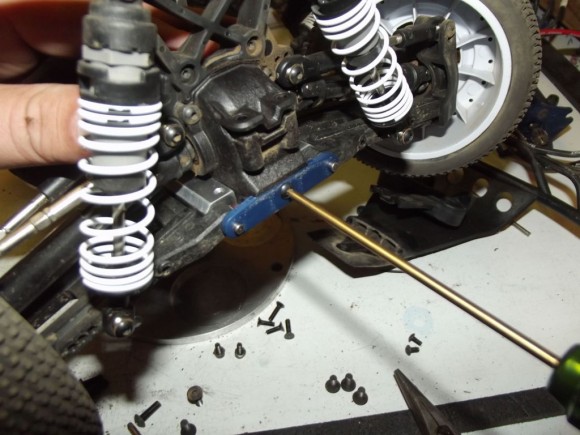
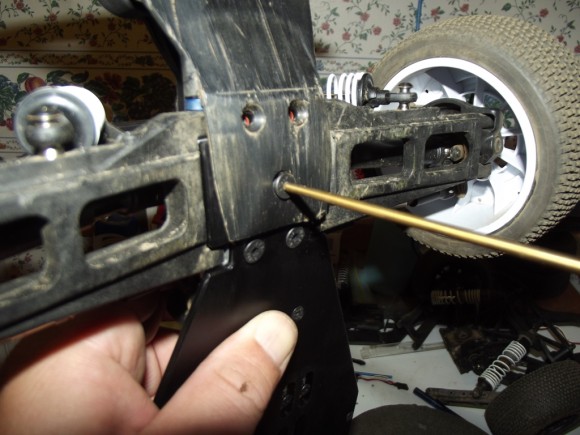
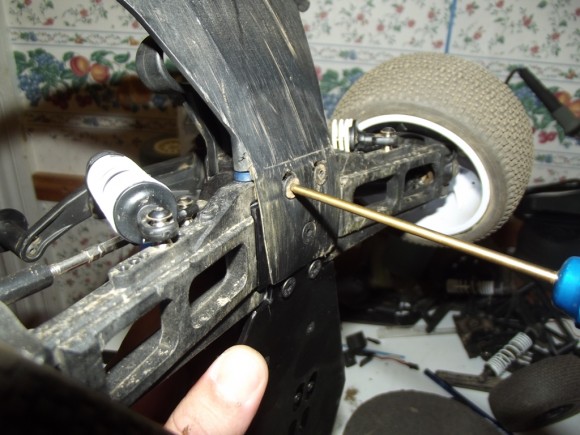
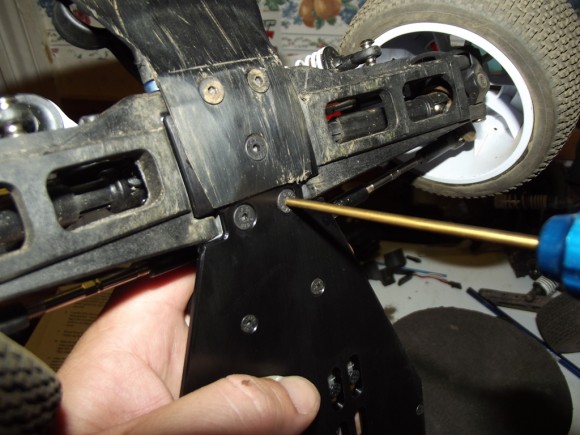
This next part was a little tricky. The center screw for the front bumper screws into a small metal block. The block needs to be aligned with the hole, which you can adjust with the front center hinge plate screw you just put in.
Leaving the center screw slightly loose, now we can put the front two bottom bumper screws in
We now go back and tighten the screws in the gearcase
Finally the top two front bumper screws


 May 27th, 2012
  Matt
Matt 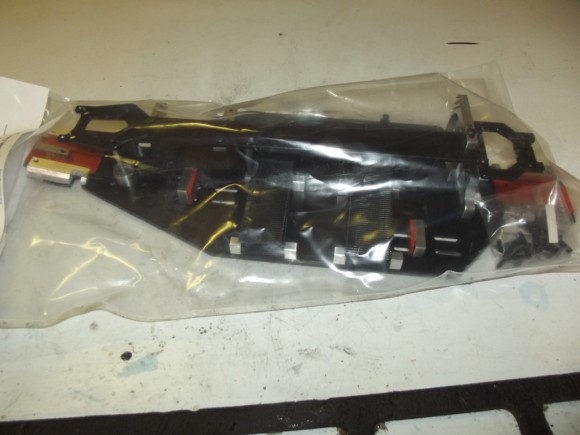
 Posted in
  Tags:
Tags:
[…] and the shootout in a few weeks when it is complete, so stay tuned. Up first is the SSC build. Enjoy. __________________ http://www.rcsoup.com- R/C Reviews, News, and Tips <<- PM Me if you'd like […]
[…] mentioned, we’ll be having a 3 way shootout between LCG chassis conversions soon. It will be Shining Star Chassis (SSC) vs. Team RC Engineering (RCE) vs. Chuckworks […]
[…] LCG Comparison – very cool read!!! "We're doing an LCG shootout over at RCSoup.com. We are pinning the Team RCE against the SSC against the Chuckworks RC. We'll be posting the builds first, and the shootout in a few weeks when it is complete, so stay tuned. Up first is the SSC build. Enjoy." […]
[…] […]