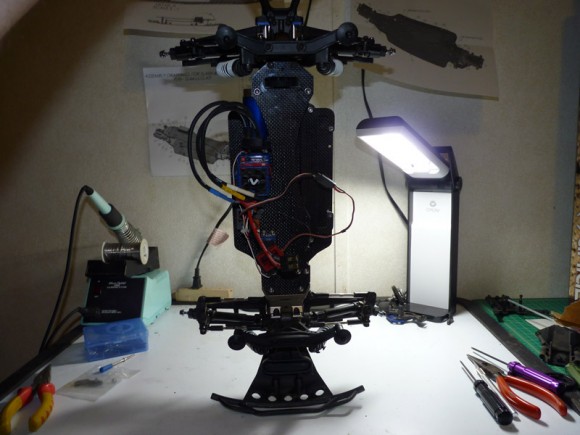
That’s it really.. well.. we’re close. I still need to do a few things (notice my front bumper is still off as well.
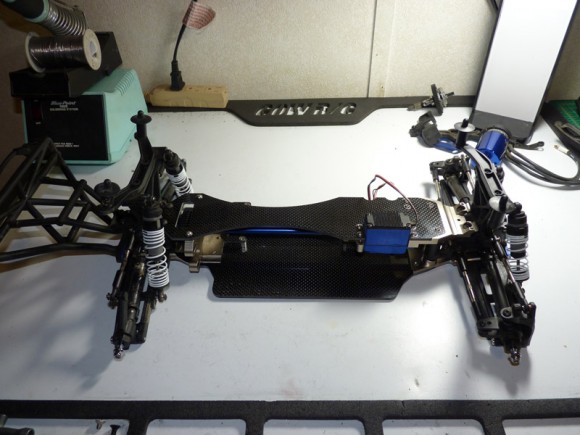
Another shot of this beauty.
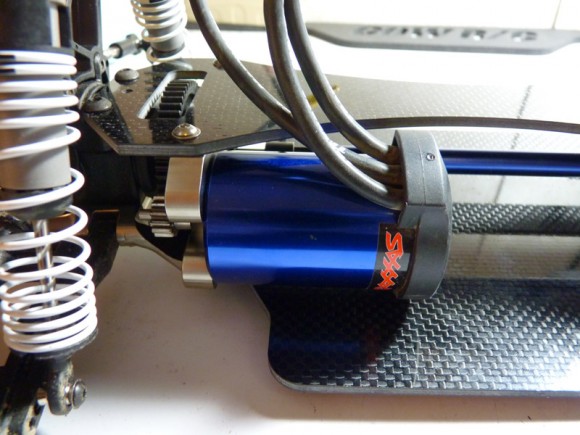
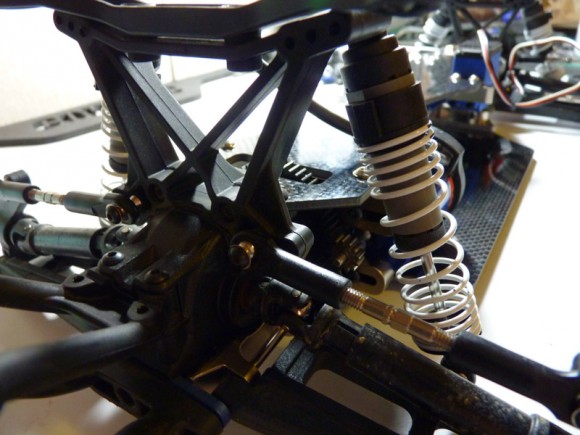
Time to install the motor. If I had to do this again, I would probably install this at the time of the motor plate installation. Getting to those motor screws through the mess of rear suspension is not a fun experience.
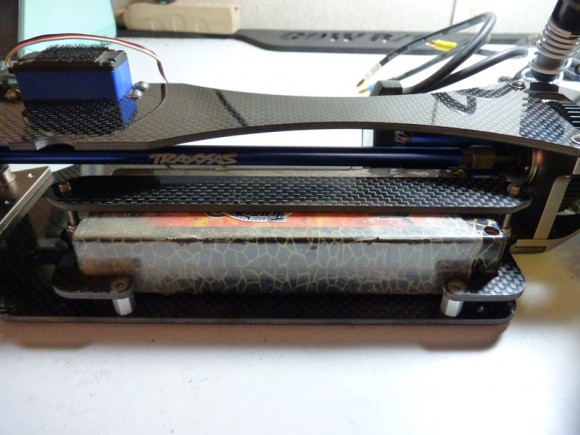
I then mocked up a battery (old Gens Ace pack) to see how it fit. The answer… like a glove. There is no movement at all with the lock nuts in place. The battery might as well be part of the truck. My only concern is the top plate overhangs the battery. For top port lipos this is a little bit of a pain, and depending on how your wire lead is setup, you might have clearance issues. Thankfully my harness has wires coming off the 4mm terminals at a 90 degree angle and I don’t need a lot of clearance.
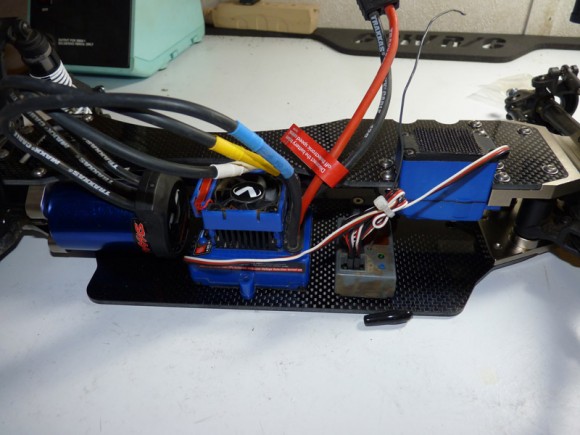
Next we mount the esc (with servo tape), there are no pre-drilled holes for this esc like on the SSC that Matt pointed out. I could care less, because honestly if you are racing, chances are you won’t be keeping this esc around too long. I also installed my receiver (don’t pay attention to how dirty it is LOL) directly under the antenna/servo mount. I had issues finding an antenna tube that fit. I had two on my table, I believe one was the stock one, and another clear one.. neither fit. I dug through a parts box and found one that fit perfectly snug.
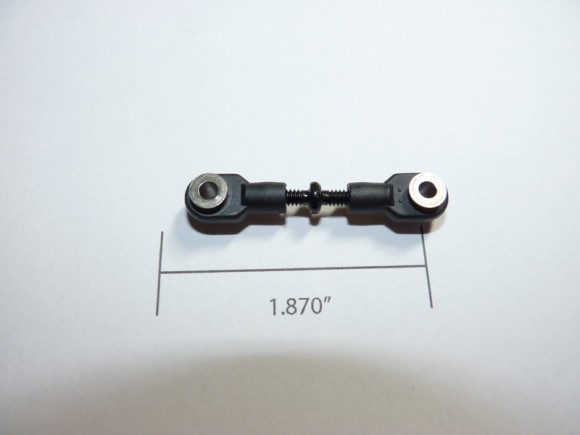
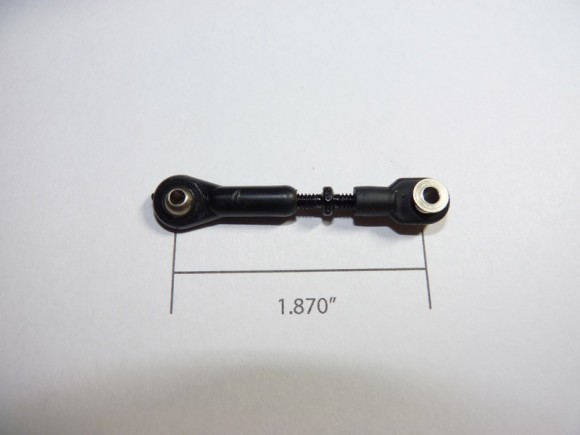
Alright, now for that steering mod I mentioned earlier. Repeatedly Jason had told me that the steering link needed to be exactly 1.870″ between center holes. I don’t own a set of calipers, so precise measurement is something I’m not really able to do. Being a designer though, I opened my graphic design program and whipped up a little 1.870″ gauge and printed it out in full scale. (This would be nice to include on the CAD drawing in future kits maybe). As you can see, the stock link is a little short. Jason said that using the steering link from a 2wd Slash would work, as it is longer. I could also use an RPM ball end and ball stud (on the servo end), to make life easier. Well, being ill prepared I had neither of those things on hand before the build.
What I did have was an old ball end from some project 10 years ago. I really can’t remember what it was from, for some reason I think it was from a lower link on an ESP Clod Buster chassis kit or something of that nature. Either way I had something suitable to get me the right width. The RPM ball cup would have been a better option, and I will likely swap this out for that down the road.
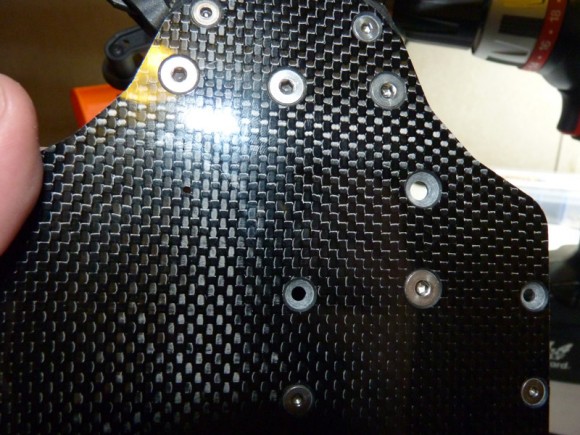
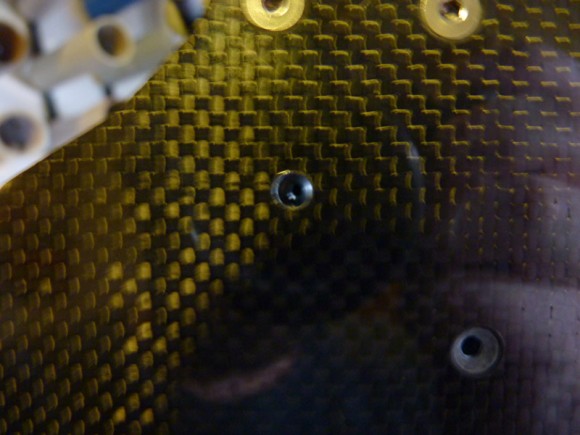
Another thing Jason mentioned to me was that I could drill a hole in the chassis to allow direct access to the servo horn screw without removing the top plate. As much as it pained me to drill through this beautiful carbon fiber, I felt it was a mod worth doing. I did some precision eyeballing (noting that the servo horn screw was just to the inside of the outer front bulkhead screw, and just below the optional battery placement screw). I drilled a SMALL hole first as a test. I inserted the drill bit all the way through and it was dead center in the screw in the servo. AWESOME!
I then used a larger drill bit to make the hole bigger for easier tool access. Here you can see how perfect the hole lined up with the servo.
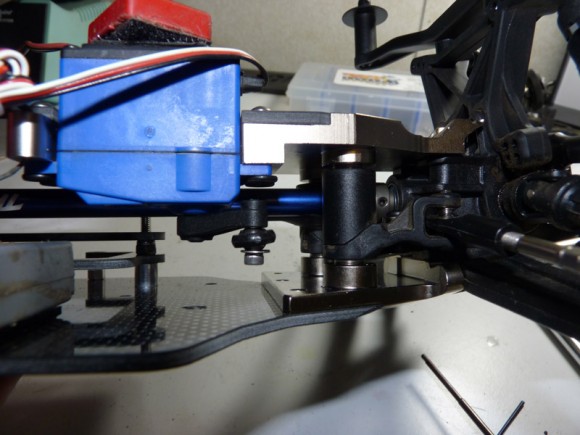
I then was able to easily install the servo horn onto the servo and mount the link to the bellcrank.
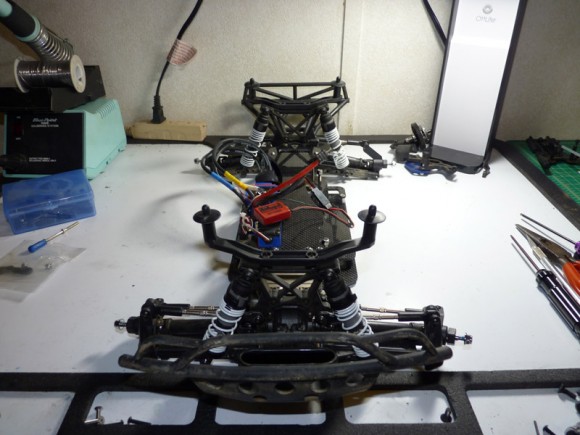
Then I installed the front bumper.
A complete chassis conversion!
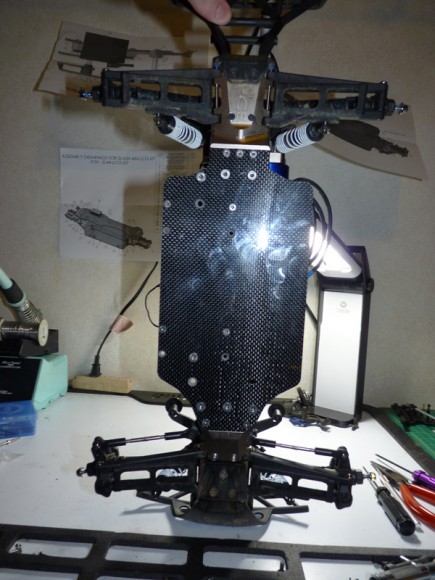
Underside.
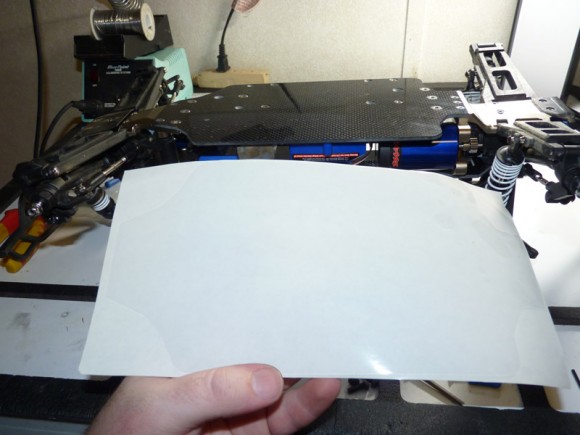
Well maybe not yet. I then decided to install the included chassis protector. This is hard to see, but it is cut to the same shape as the chassis and is basically peel and stick.
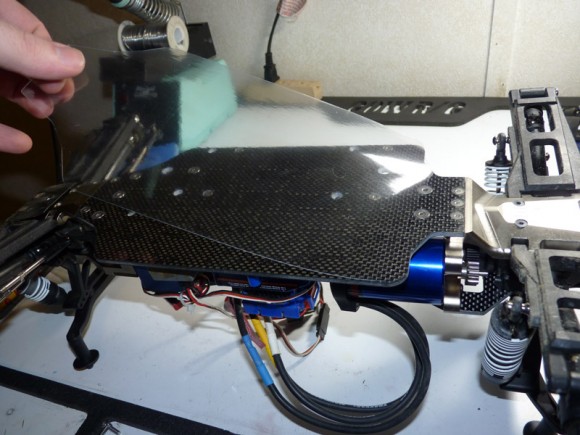
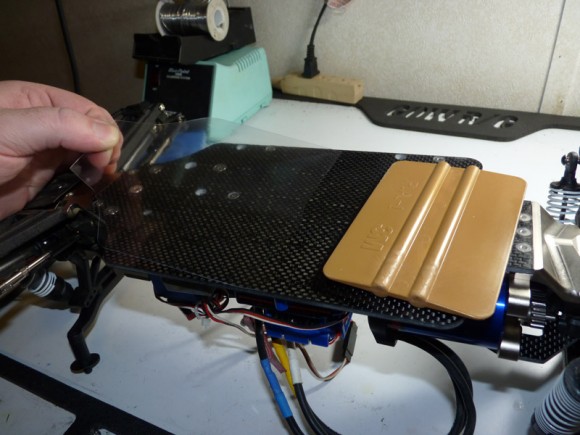
Being a vinyl guy as well, I decided to take my time installing this (still only a moment) and do it right. I started at the rear and held up the front end.
I then worked my way down the chassis with one of my squeegees for a precise, bubble free installation. Someone without access to such a tool could use a credit card or something similar in material and rigidity.
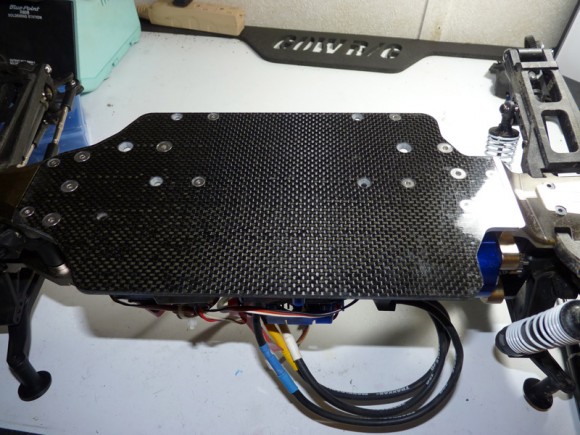
Look at that thing shine! You can’t even tell it’s protected!


 May 27th, 2012
  Kevin
Kevin 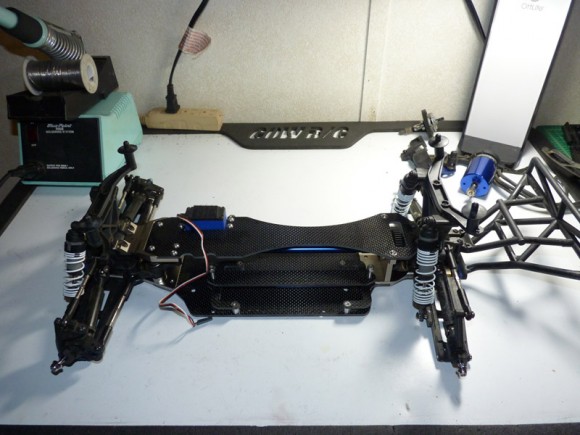
 Posted in
  Tags:
Tags:
[…] to follow.. the RCE build! Check it! http://www.rcsoup.com/2012/05/team-r…er-conversion/ __________________ http://www.rcsoup.com – R/C Reviews, News, and Tips <<- PM Me if you'd like […]
[…] […]
Sweet build Kevin, cant wait to see how it performs against the other two chassis’s, thanks for all of the pics.
[…] LCG Comparison – very cool read!!! Thanks, Toast. Here is the RCE Build […]
[…] […]