Bag L – Shocks/Springs
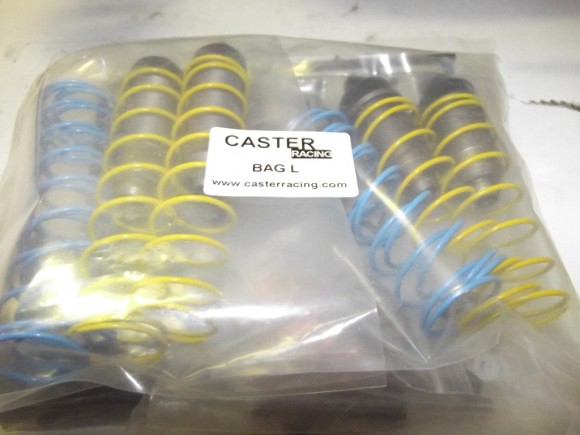
Time for shock assembly. You have to build these from scratch. Some kits come with pre-assembled shocks, some don’t.
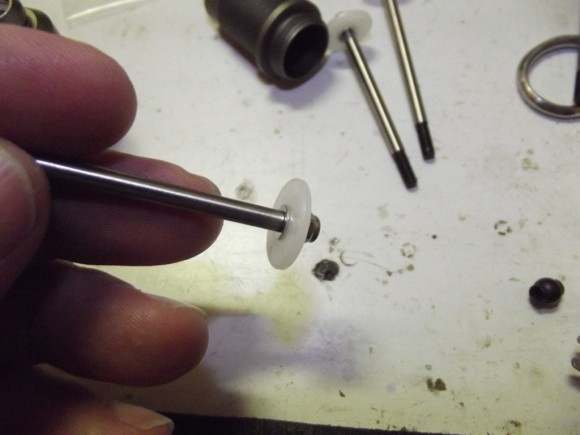
On top of the shock shaft, you put a washer on first, then your shock pistion (they give you a few varieties for setup) and a nylon nut.
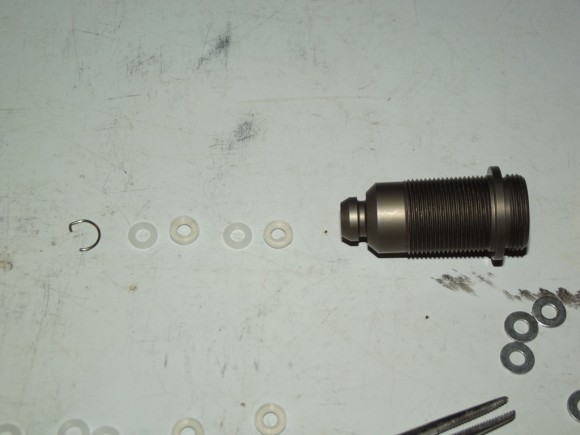
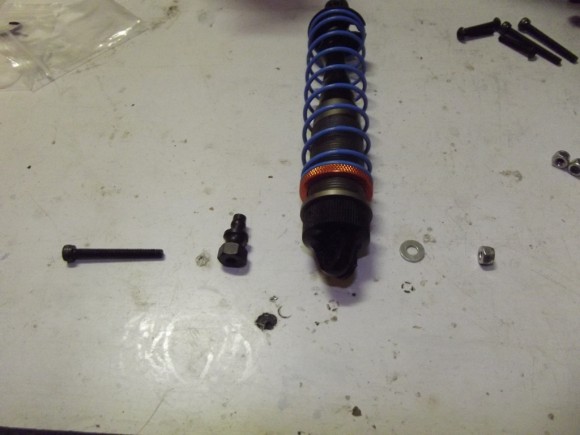
In the bottom of the shock body, you need to install some O Rings and collars, and it all gets held in with a “G” clip
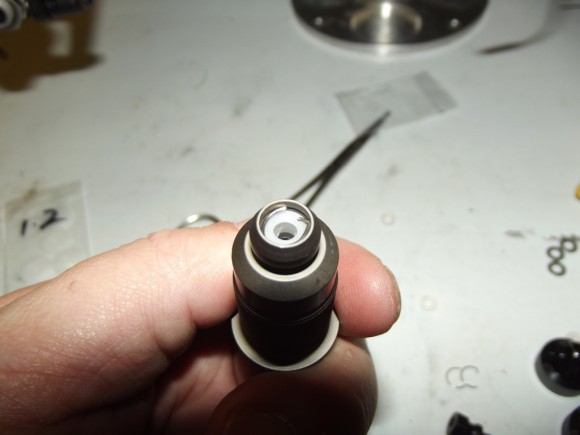
Heres what it looks like when you finally get it all in there. It can be a bit of a pain to get that G Clip in there
Once we get all 4 done, we’ll thread on the spring collars. The threaded shocks are an upgrade over the RTR
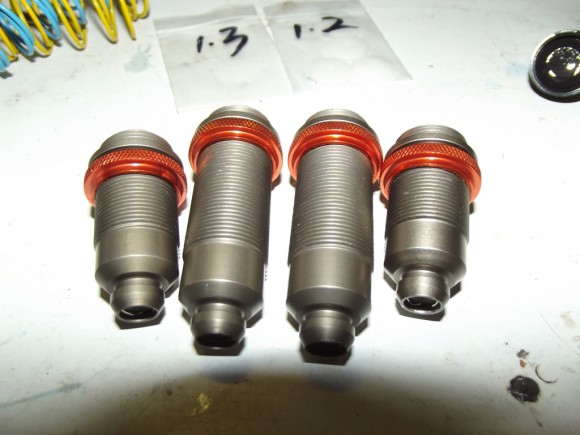
Before we put the bladders in the shock caps, we’ll wet them with a drop of shock oil
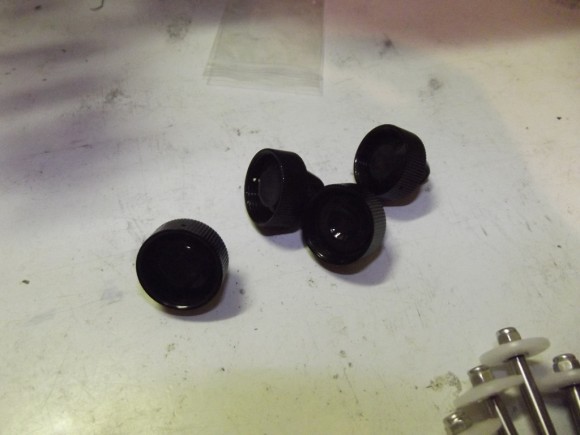
The rest of the shock was pretty messy…didn’t want to grease up the camera. So…basically you insert the shaft into the shock, fill it with shock oil. Get all the air bubbles out, and put the shock cap on. In this case I used 40 in the front and 35 in the back. We’ll play with it a bit once we get it on the track. The EX1.5R came with rubber shock boots to protect the shafts. In many cases you see these removed, but we’ll leave them on for now. The kit comes with two sets of springs. One set blue and the other yellow. As I understand it, they are both the same spring rate. They give you the two colors so you can pick the one that suits your liking. And here’s a completed shock, ready to be mounted
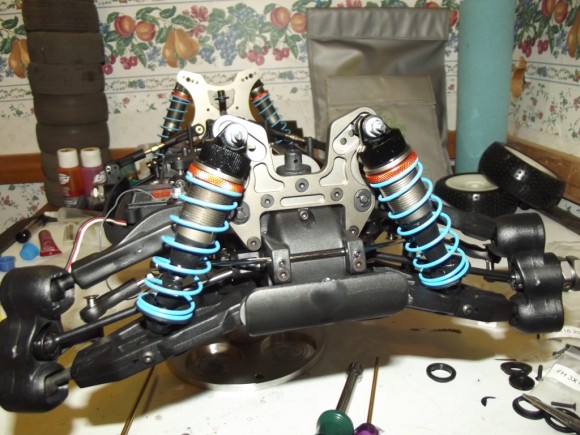
It’s fairly obvious which are back and which are front. The long shocks go on the back
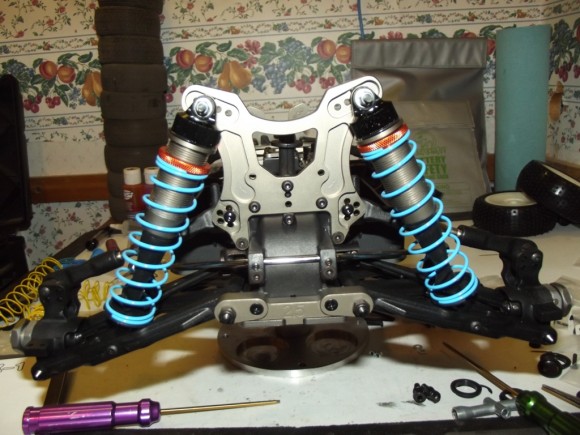
And the short shocks go on the front


 April 23rd, 2012
  Matt
Matt  Posted in
  Tags:
Tags:
[…] out our build article of the Caster Racing EX1.5R! Stay tuned for our initial review, and our long term review as we […]
great wright up. Cars will be coming with clear bodies soon and also I’m hoping new captured cvd’s. FYI,also we just found out about the side guards not fitting correct and we have fixed problem
Rick Jenkins
Caster racing USA team manager
When that things needs a set-up let your local Caster guy know! 🙂