Now for a “Shocking” good time. Shock assembly! These are by far some of the crudest shocks I’ve ever built. They are oil filled, but definitely not high tech like on a race rig. Look at those shock shafts! They kind of resemble a nail. One piece shaft/piston.

Install 2 red o-rings into the bottom of the shock. I lubed them a little with shock oil so that when the shaft passes through them, the threads on the shaft will not tear into them.
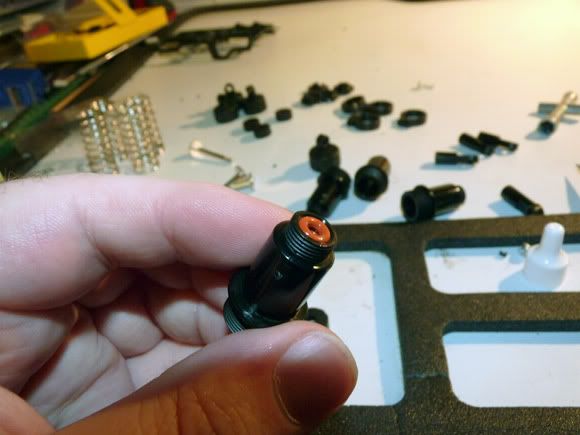
Install the bottom cap over the o-rings and then pass the shaft through the body.
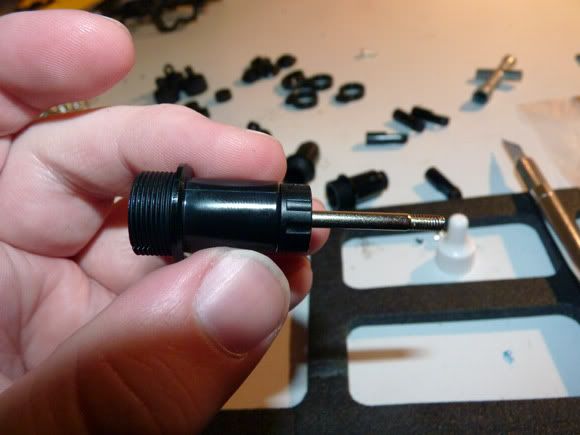
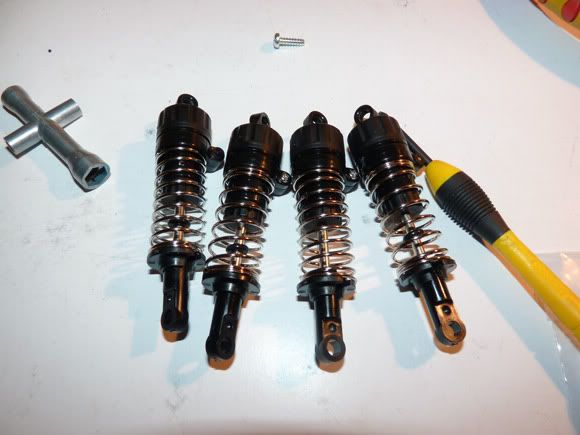
The rest is pretty simple.. attach the lower mount, spring retainers, fill with oil, bleed, and cap. Once assembled the shocks actually operated smoother than I had anticipated. They are TINY though. Nothing like on something like an Axial SCX-10. Then again, this is a whole different animal.
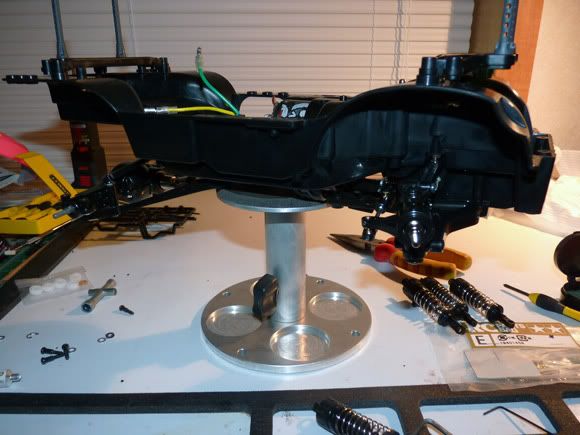
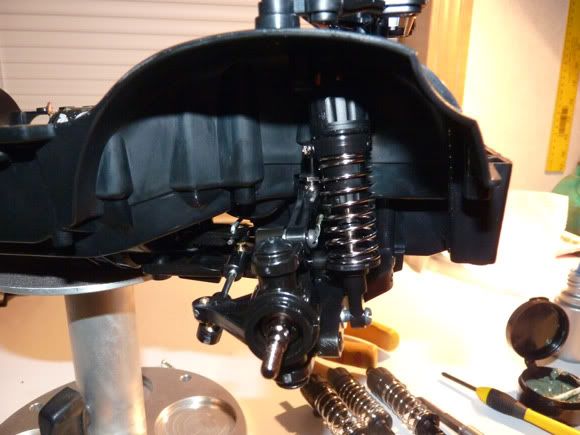
Here’s the chassis without shocks propped on my AJS Machine stand. It lets everything hang down freely. I’m sure there’s a joke in there somewhere. It made popping the shocks on pretty effortless. The top of the shocks snap over the ball studs we installed earlier and the bottoms attach to the arms/axle.
Completed front shock assembly.


 November 18th, 2011
  Kevin
Kevin  Posted in
  Tags:
Tags:
nice build up…i want a big wheel again !
[…] the whole thing over, but the images wouldn't link.. if you don't mind.. please follow the link. Tamiya CC-01 Mercedes-Benz Unimog Build Up | RC Soup Here's a […]
[…] you missed our build up of this truck, please check it out HERE. This is our review of the Tamiya CC-01 Mercedes-Benz Unimog. The truck is 90% stock, as it was […]