Rear diff gear time. You can install this locked, or unlocked. If you want to run unlocked, then you need the spider gear that I already used up front, so either buy an extra set or don’t lock the front. (Or use JP Weld). Anyways, I built mine for crawling/scaling.. so fully locked diffs are in order.
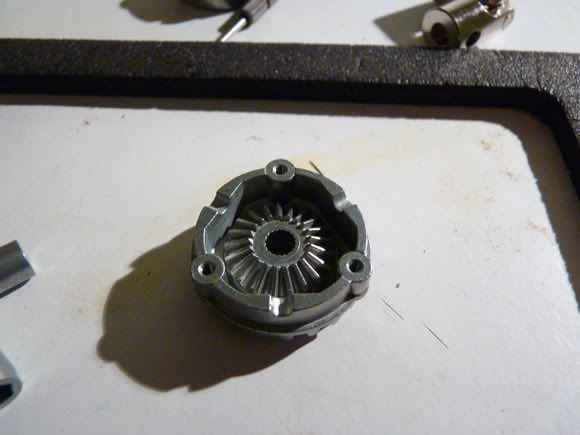
To run locked differential, we use this plastic piece instead of the spider gears. It’s splined to fit over the large bevel gear shown above.
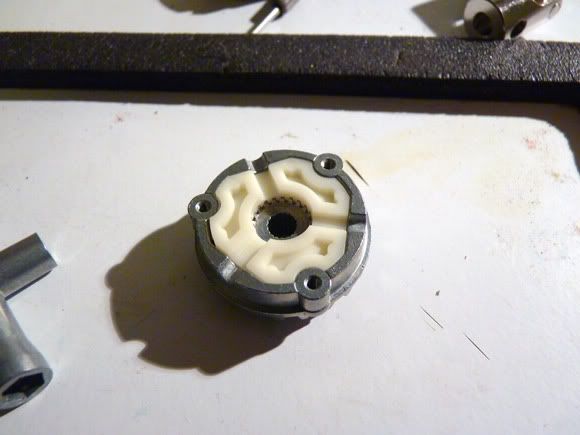
We then install the other plastic insert and the other large bevel gear and close it up for a fully-locked unit.

Now we drop the locked diff gear into the axle housing with the axles (again, riding on bearings instead of bushings).
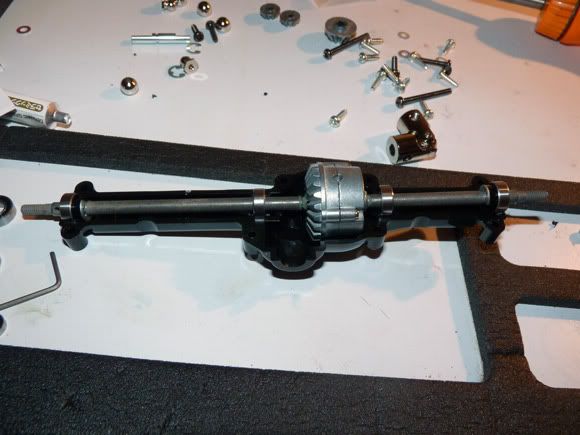
I took the Z-OPT and applied a liberal coating on the gears, and then a nice thin coat on the axles (again, just to help prevent corrosion as well as provide lubrication).
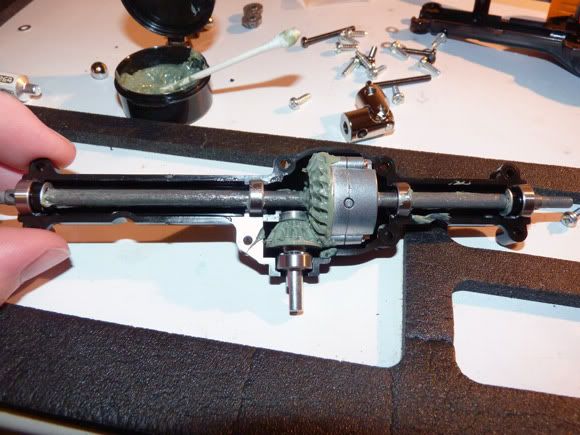
Close it up and we have a completed solid rear axle.
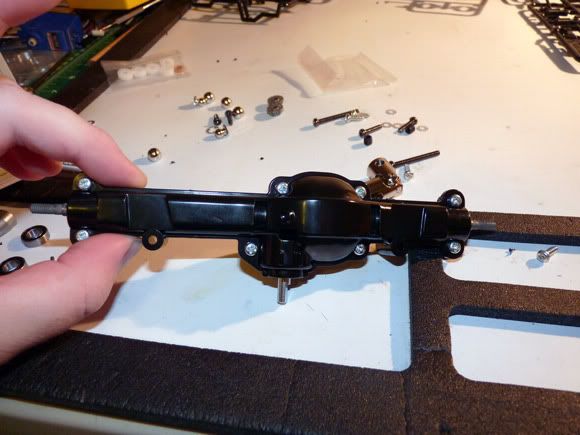
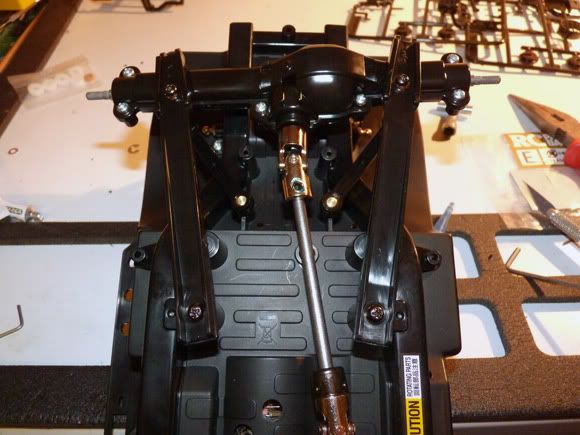
These are the rear trailing arms. They sort of act like leaf springs and are more flexible than they look. They attach directly to the axle and chassis tub and pivot on large diameter balls.

Let’s not forget the rear axle coupling.

Hey look, out of nowhere, it’s body mount installation time again.

Here you can see the rear shock mounts we installed earlier. The black screws are for the body mount, which again, we mount before we put junk in the way, making them hard to get to.
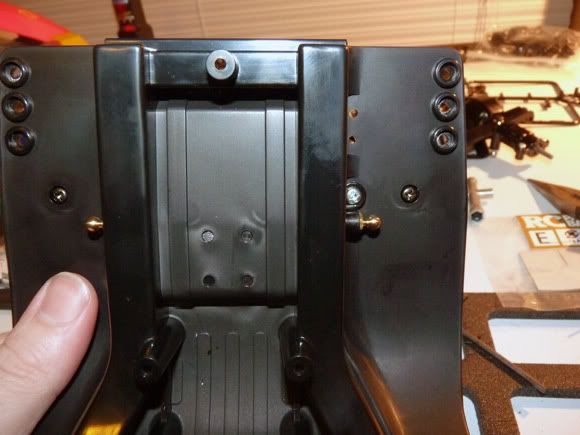
Upper arms.
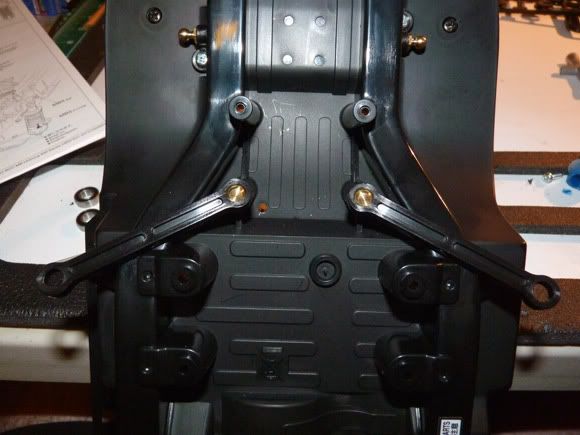
We snap the upper arms onto ball studs mounted on the axle, and install the trailing arms.


 November 18th, 2011
  Kevin
Kevin  Posted in
  Tags:
Tags:
nice build up…i want a big wheel again !
[…] the whole thing over, but the images wouldn't link.. if you don't mind.. please follow the link. Tamiya CC-01 Mercedes-Benz Unimog Build Up | RC Soup Here's a […]
[…] you missed our build up of this truck, please check it out HERE. This is our review of the Tamiya CC-01 Mercedes-Benz Unimog. The truck is 90% stock, as it was […]