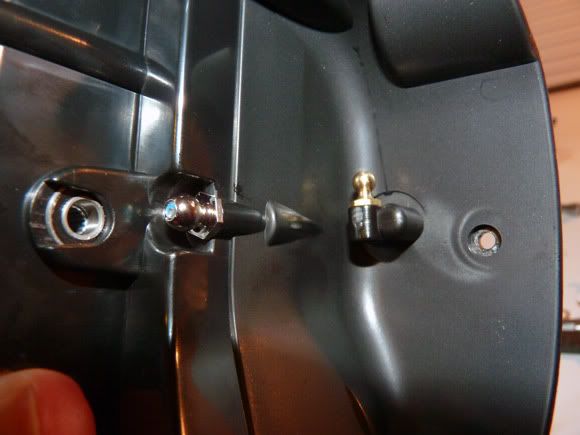
Next up, front shock damper mounts. Believe it or not, these little nubs hold the shock on. They attach in the wheel wells with a single screw. The molded pin lines up with a hole in the wheel well to keep the mount from spinning around.

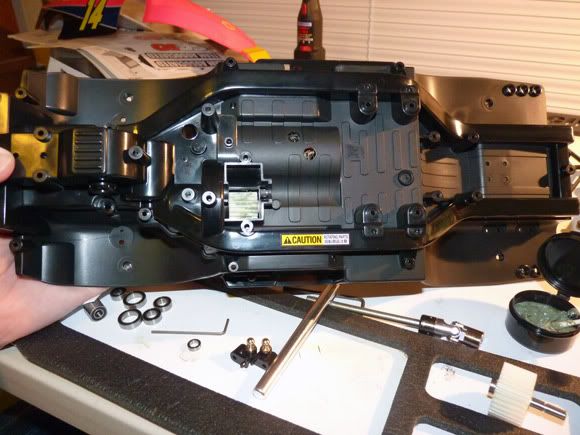
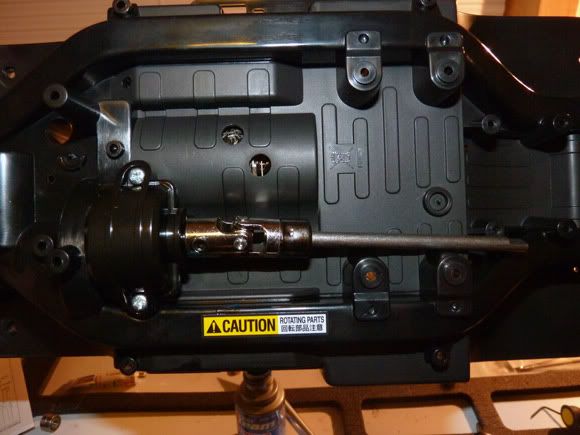
Here’s the bottom of the tub chassis. You can see the exposed gear that the drive gear meshes with.

Shock mount installed to the fender.

Must have been distracted again, no pic.. but the drive gear installs in the spot above, gets the driveshaft attached, and is covered.

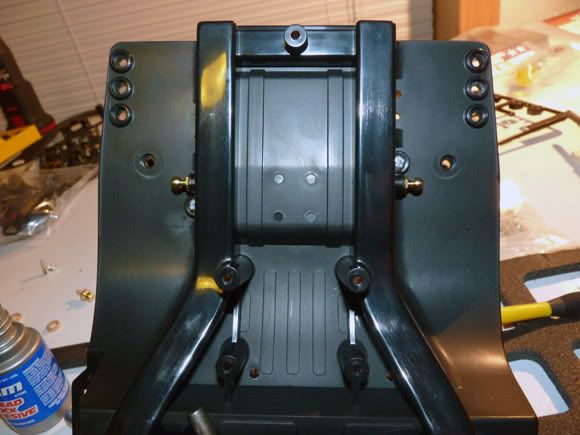
Rear shock mounts are also little nubs of plastic, but they tuck close to the frame, unlike the fronts that kind of dangle in the center of the wheel well.

Assembled steering bellcrank. From the forums, this seems to be the most hated part of this kit. The bellcrank uses linkage that passes through the chassis tub, down underneath. It eventually develops a lot of slop. I’m running it stock for now, but a GPM upgrade may be in my future.


 November 18th, 2011
  Kevin
Kevin  Posted in
  Tags:
Tags:
nice build up…i want a big wheel again !
[…] the whole thing over, but the images wouldn't link.. if you don't mind.. please follow the link. Tamiya CC-01 Mercedes-Benz Unimog Build Up | RC Soup Here's a […]
[…] you missed our build up of this truck, please check it out HERE. This is our review of the Tamiya CC-01 Mercedes-Benz Unimog. The truck is 90% stock, as it was […]