Just behind the front shock tower, in between the frame rails, we install the radio box. It isn’t water proof, but should provide some protection for the receiver.
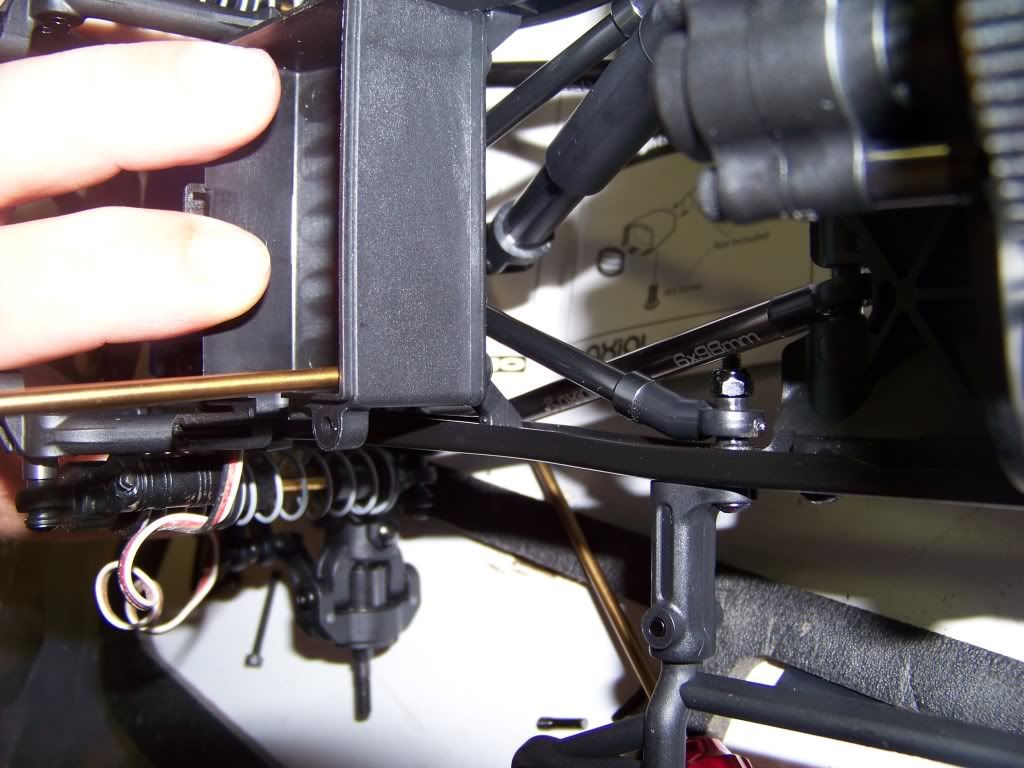
Holding down the back of the receiver box, we install a plastic cage with 1″ spacers. This will become the base of the battery tray.
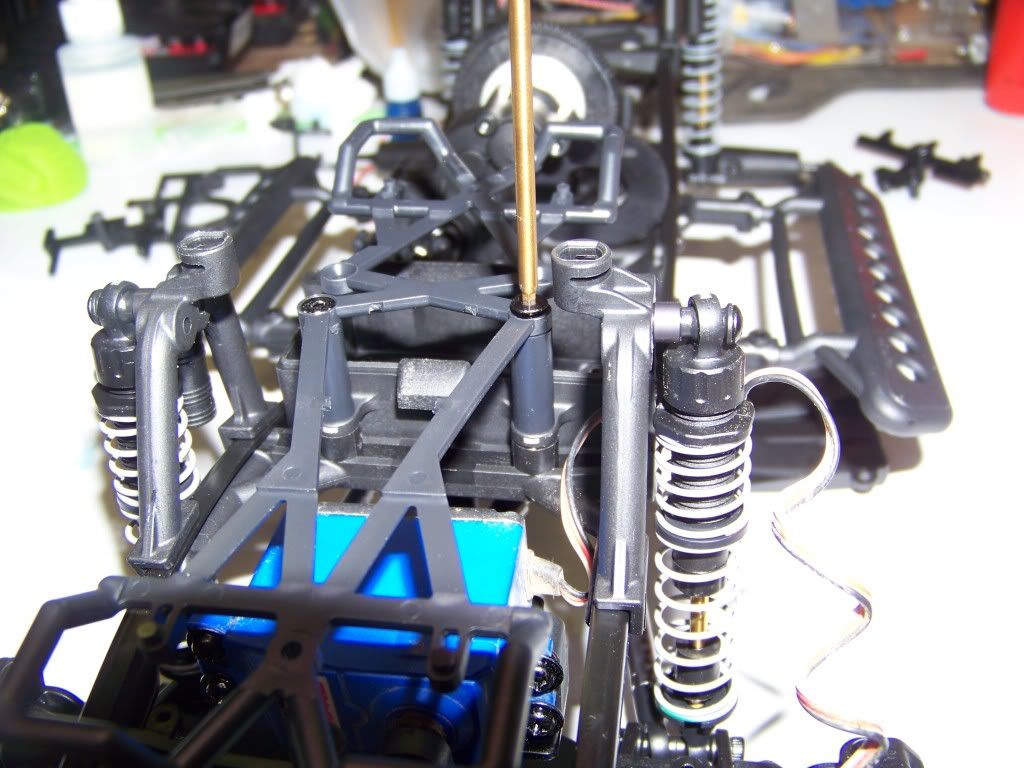
At first, I had the nerf bars mounted upside down, as you can see in this picture. I have since flipped them the right way up
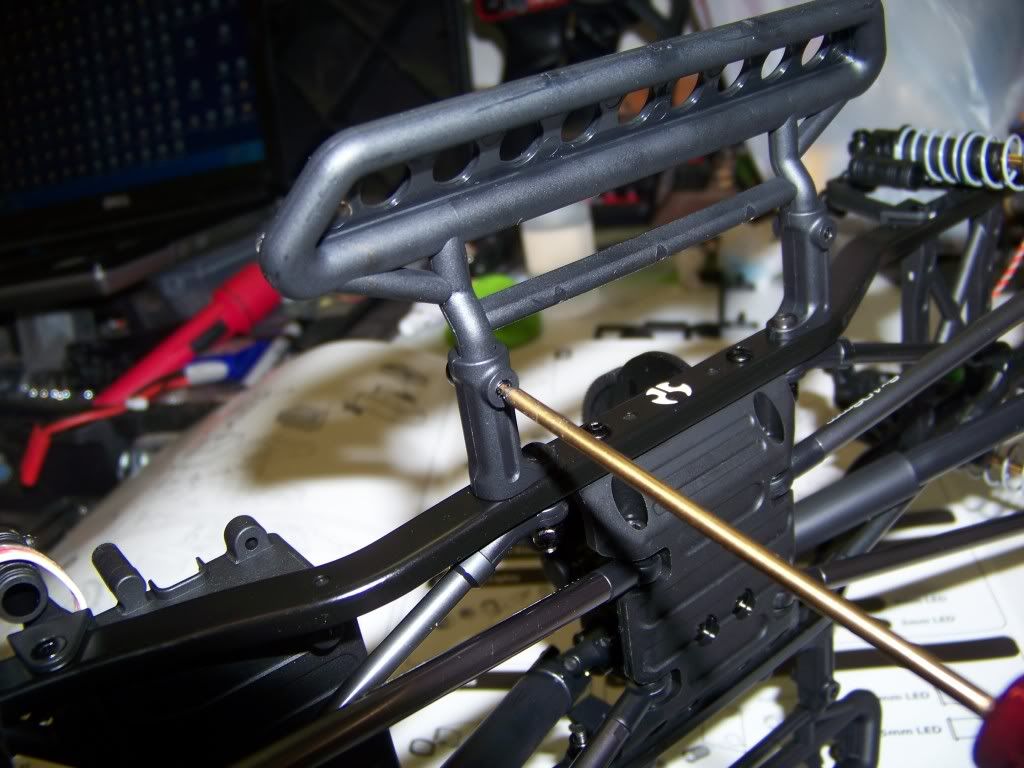
When constructing the bumper, I had to decide which fog lights I wanted to use. They include a few options in the kit. It was nice to have the option to pick a fog light that suited my style. The LED gets installed from the back of the light
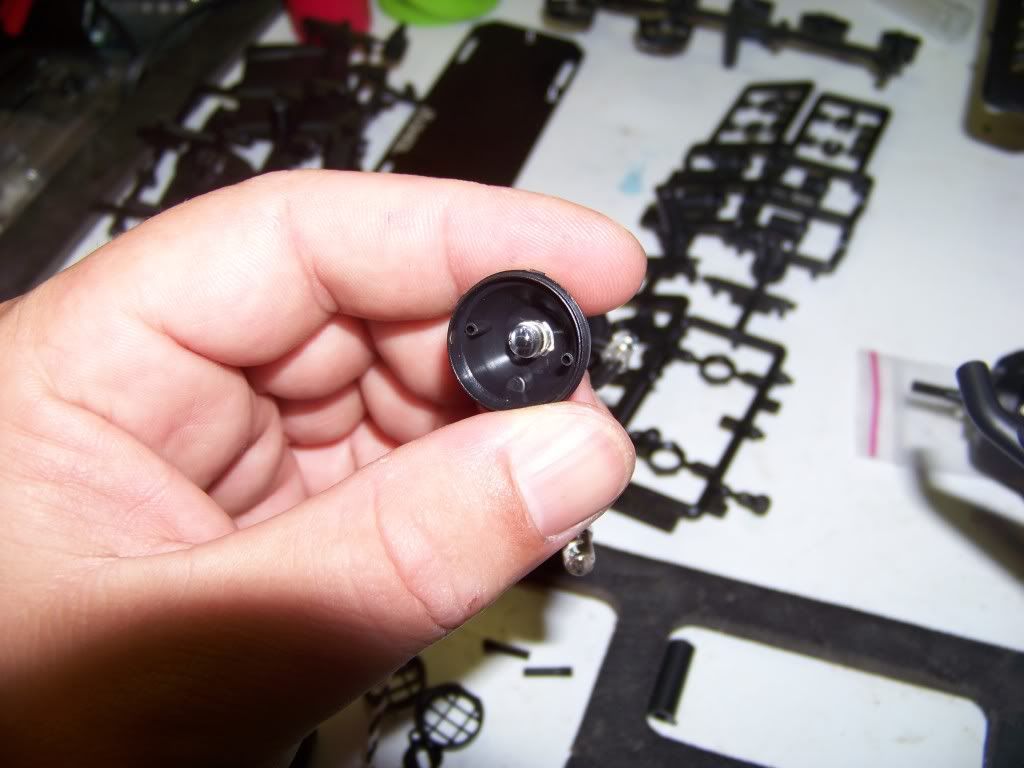
The kit includes clear plastic lenses for the various fog lights. The lens has two small pins on the back that line up with holes inside the light bucket
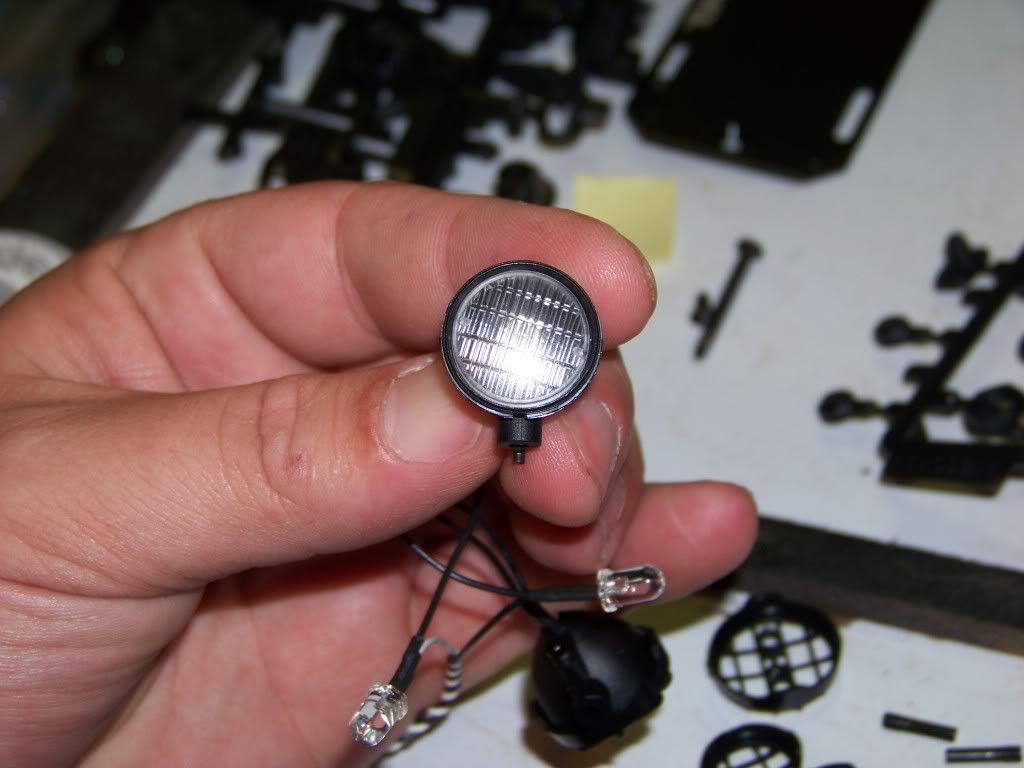
They also give you a few choices for the rock guards on the front of the light bucket. I went with the Axial branded guards.
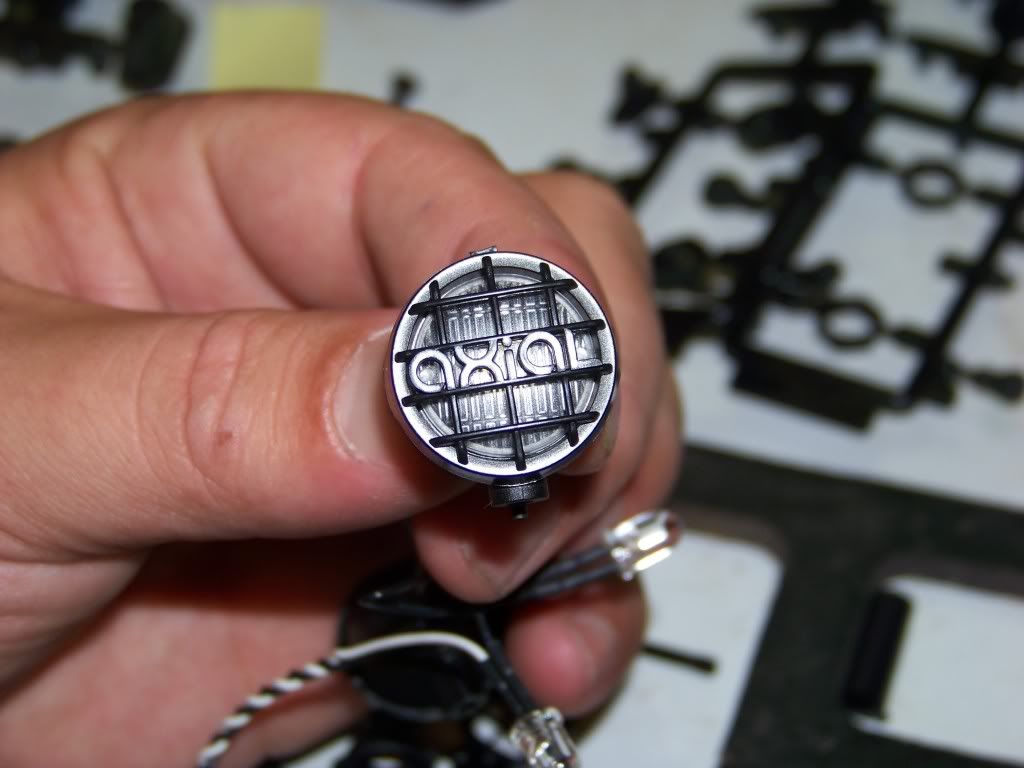
A single screw holds the lights to the bumper
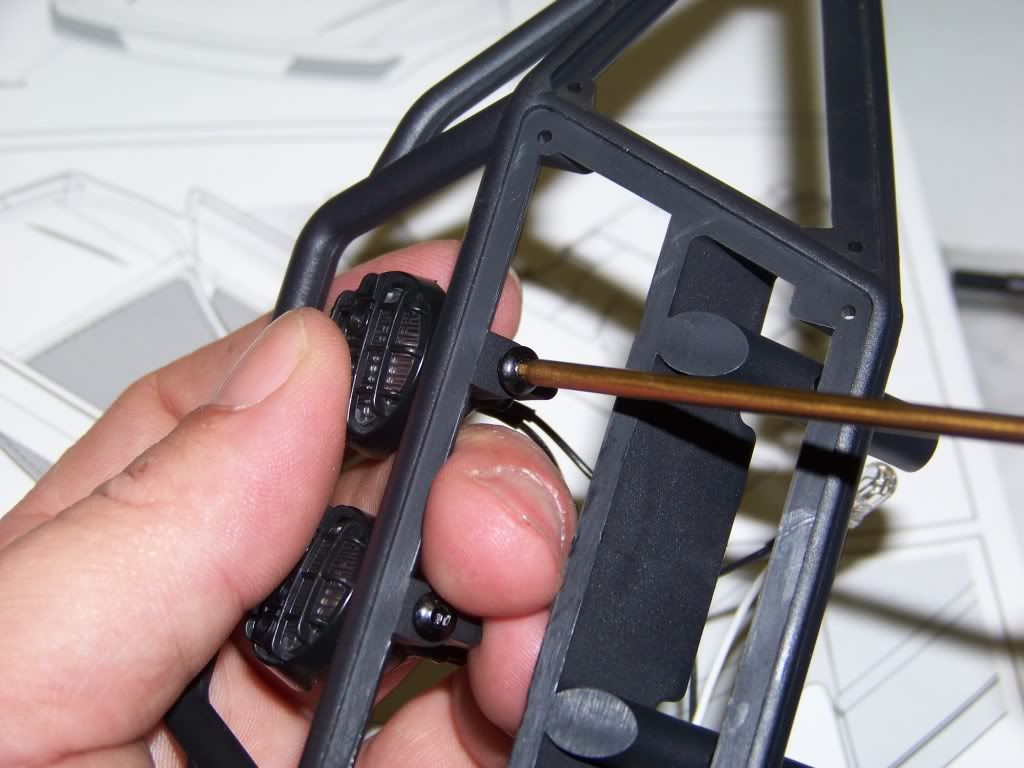
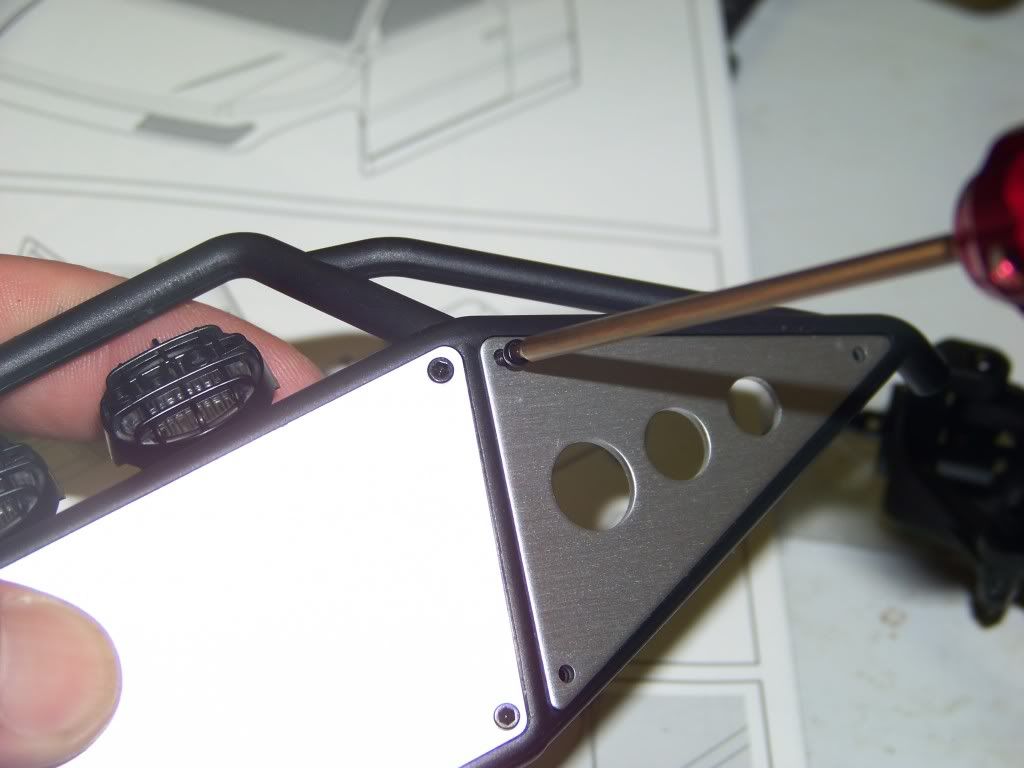
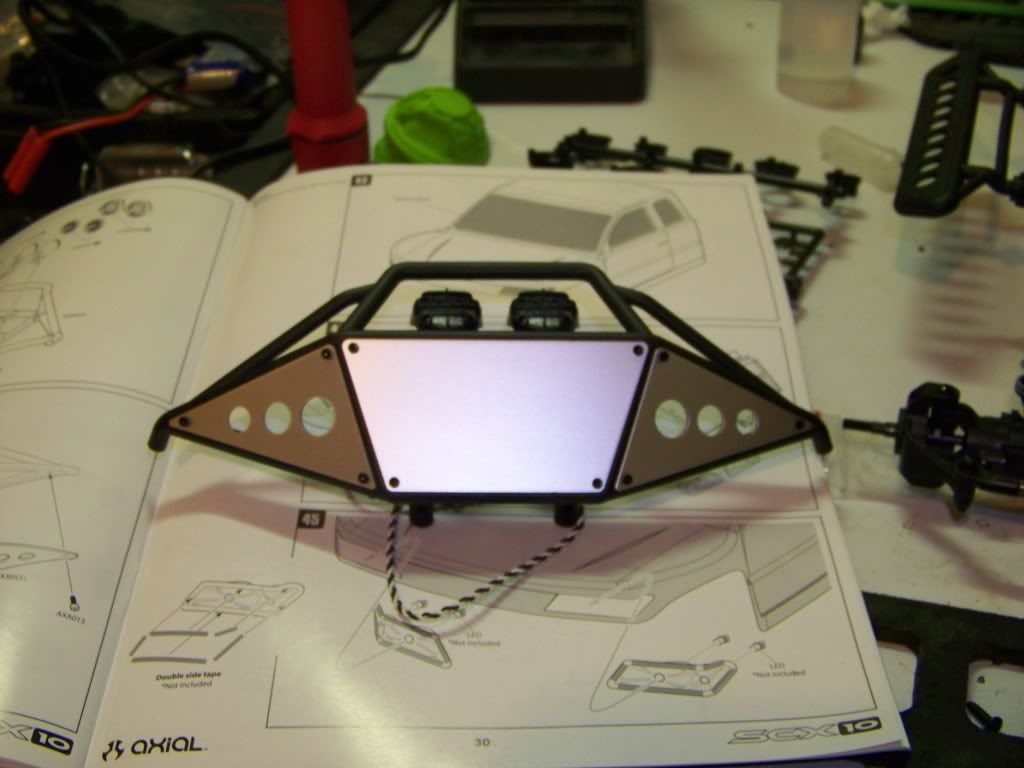
The bumper gets fitted with flat aluminum guards that look really cool in my opinion
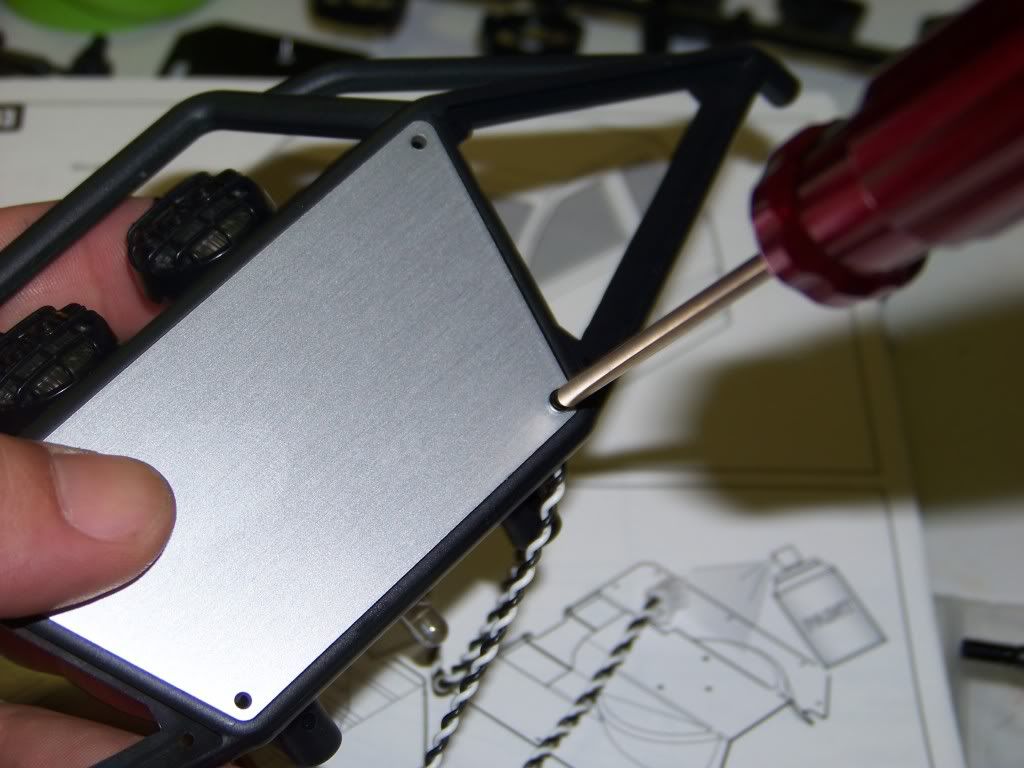
The aluminum guards on the side have pre-drilled holes. These will come in handy shortly
And the completed front bumper
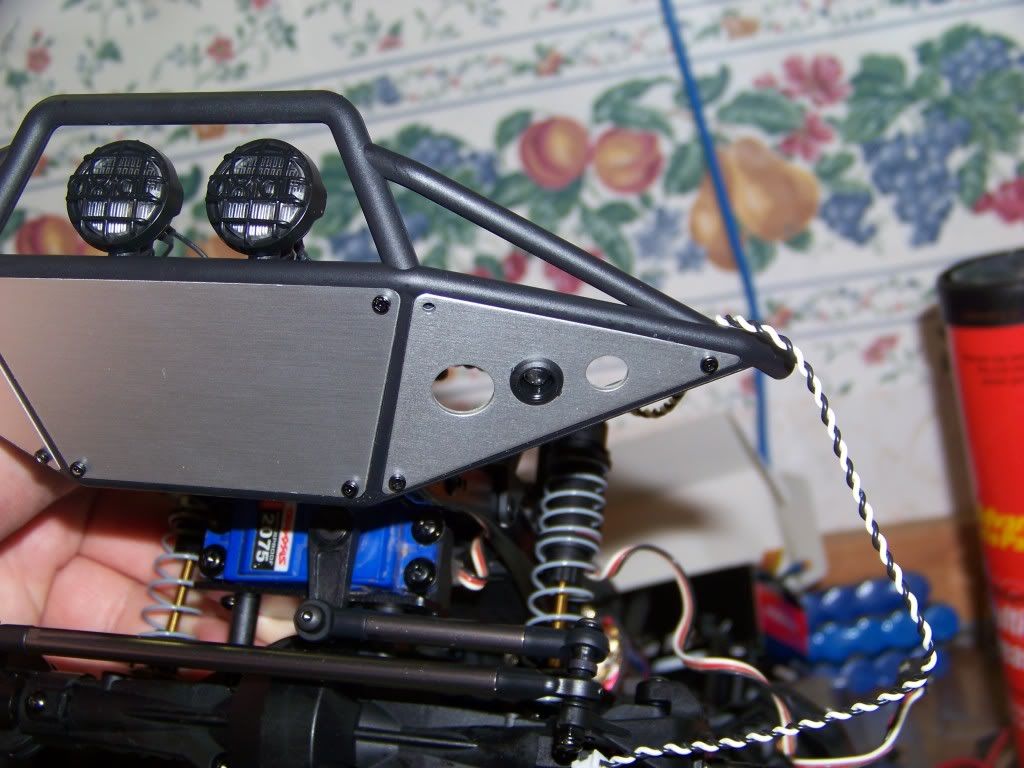
The LED light kit I got from Axial has 4 white LEDs for the front. The pre-drilled holes in the side bumper guards proved a perfect place for the other two front LEDs!


 September 21st, 2011
  Matt
Matt  Posted in
  Tags:
Tags: