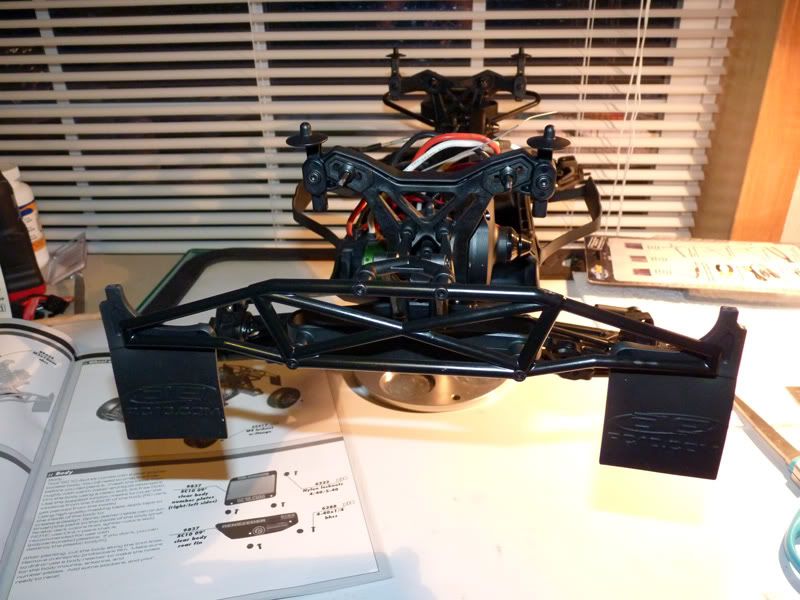
Now we have bumper assembly. Fairly straight forward. I like that they used a much softer material for the mudflaps as on the 2wd SC10.

At this point we’d normally be done.. but remember I skipped the shocks.. so now comes the fun part. The shocks actually come assembled, but after reading on RC Tech, I decided I would tear them down and make sure things are as they should be. I’m glad I did.
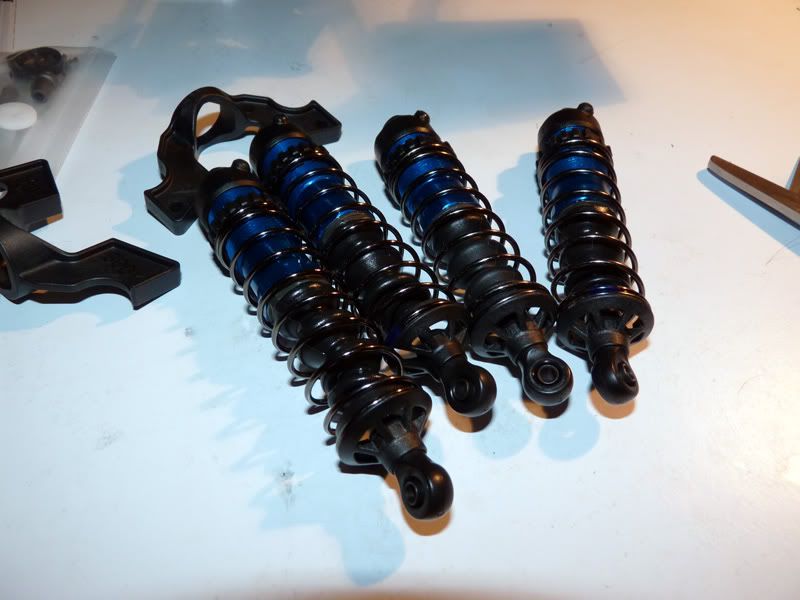
The shocks come with some nifty tools for taking them apart. Actually.. these are some unique shocks. They open at the top for filling like a traditional Associated shock, but the cartridge with O-rings and seals is removable from the bottom more like a Losi shock. I quite like the design. Be sure to keep a firm grip on the tools though. It’s easy to strip the very short area that the tool grips.
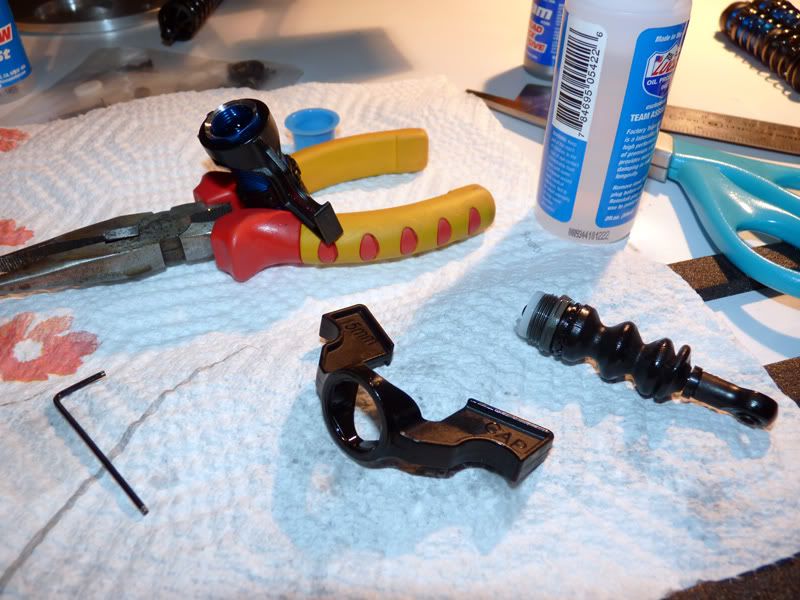
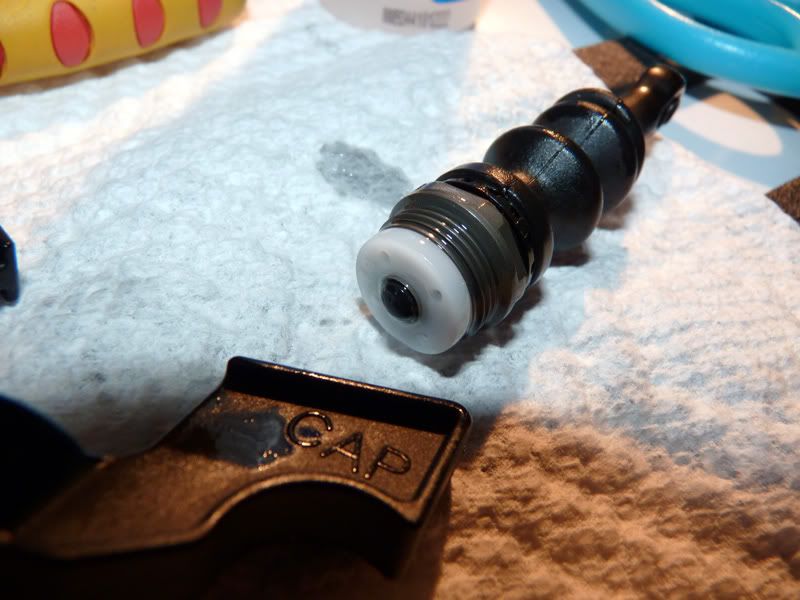
The main reason to check your shocks from the factory is that Associated came up with a new shaft design. Now, instead of relying on E-Clips to hold on the shock piston, there is a small button head screw that holds it on by screwing into the shaft. What others, and myself have found is that this screw is not well tightened, and could loosen while running. I checked all of mine and used a dab of threadlock for extra security.
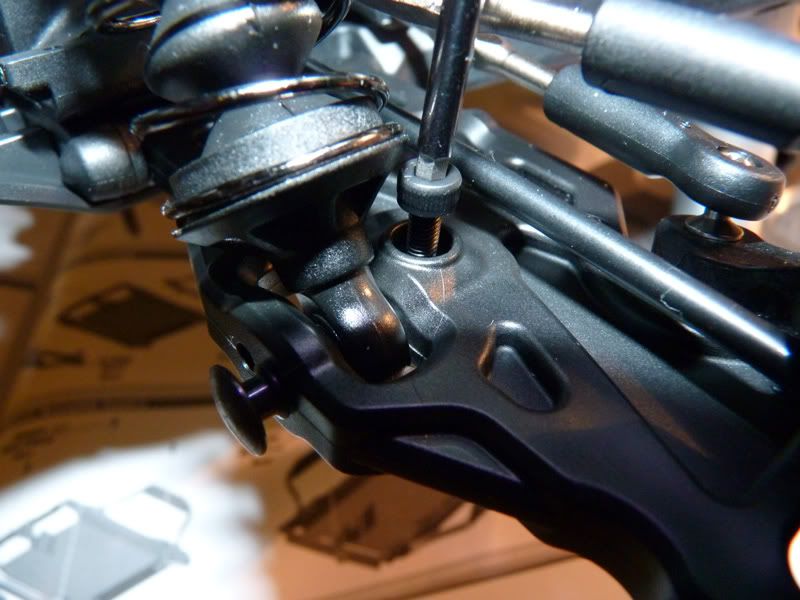
Mounting the shocks revealed another unique design. Instead of just using a screw in the lower end of the shock, there is a pin, that is held in by a screw from the top of the arm. This means no more mud jammed in the end of those screws. A much welcomed design change!


 May 28th, 2011
  Kevin
Kevin  Posted in
  Tags:
Tags:
[…] will be starting the build in the next week or two and it will be posted in the same format as the SC10 4×4 […]