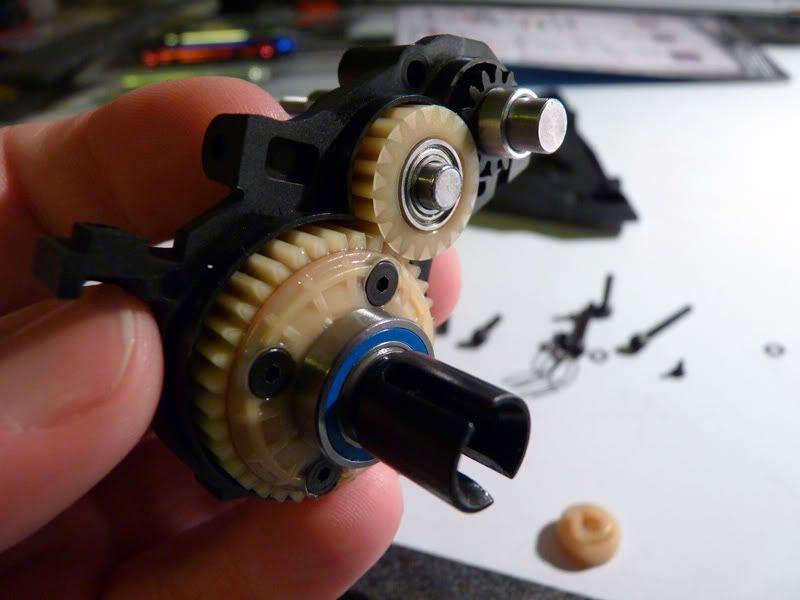
Now comes the front gearbox assembly. This is fairly simple. It’s your standard 3 gear transmission. The manual notes to make sure you install the diff with screws facing the opposite direction of the topshaft. It will end up looking like this:
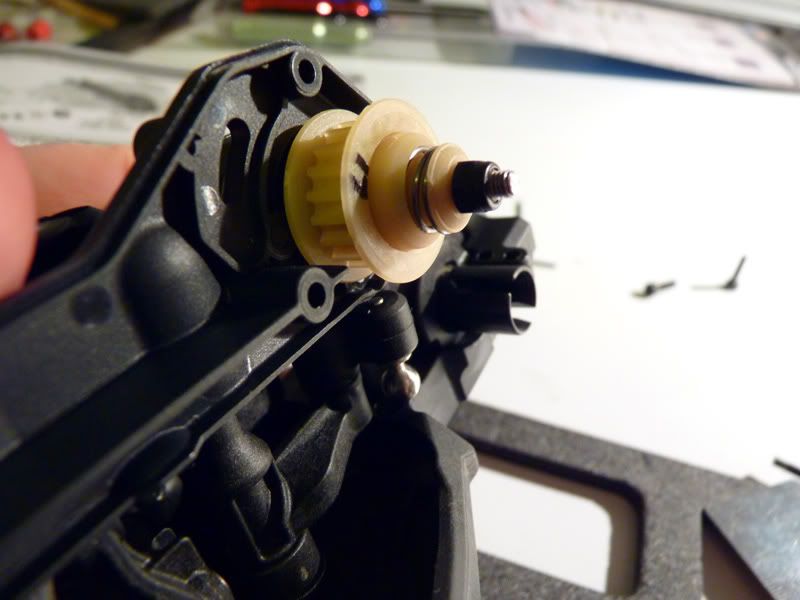
Next we install the clicker assembly onto the front gearbox’s topshaft and connect is to the servo/bulkhead assembly. I opted to run the optional Overdrive clicker gear in the front. It’s 19 teeth instead of 20. This will make the front end spin a little faster than the rear, helping with corner exit speed and punch. The 19t gear is designated with an “O” on it. I decided to also write the tooth count on it with a sharpie. I am running the clicker in a locked position for full time 4wd.
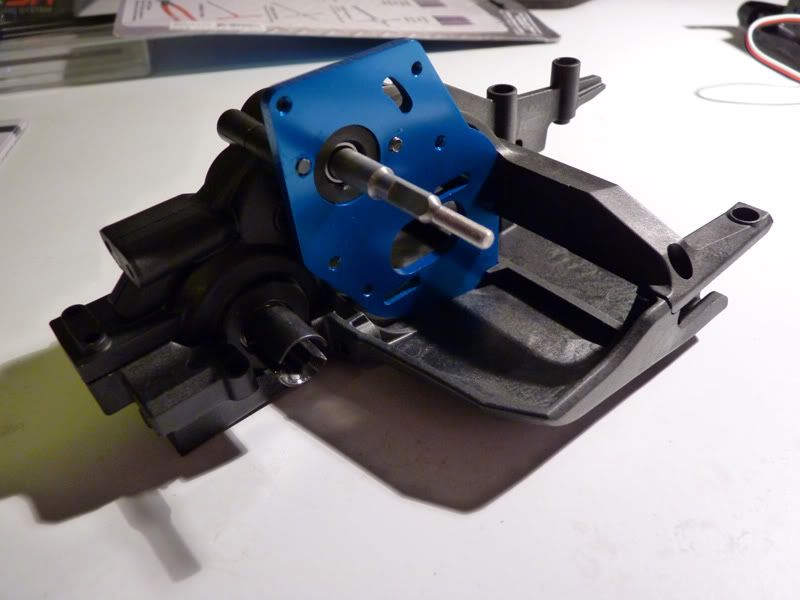
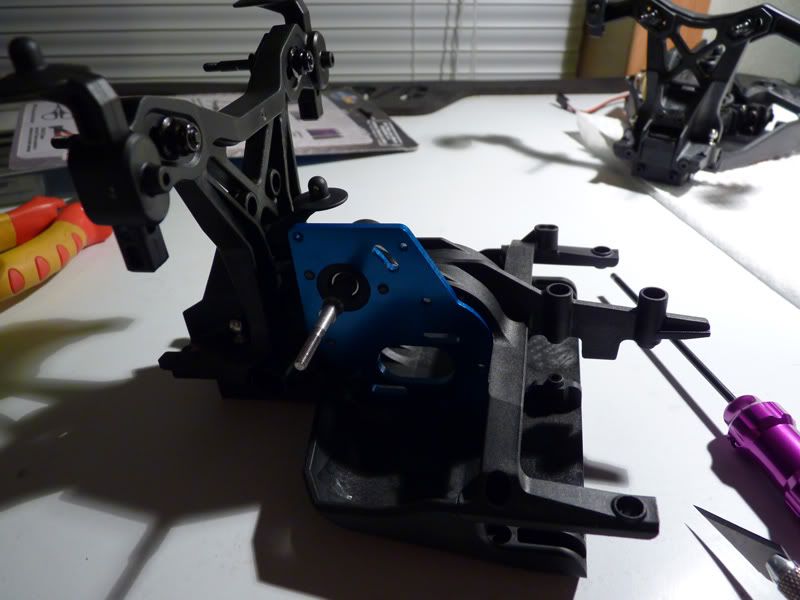
Then comes the rear gearbox assembly which is pretty much identical to the front gearbox. We’ll attach it to the rear chassis section and install the motor plat on it. Be sure not to overtighten the screws to the motor plate as it could cause a binding in the transmission.
After we have the gearboxes installed on their respective chassis sections, it’s time to install the front shock tower. A couple notes on this step. The plastic used for it is quite soft. When you install the shock mounts, be careful not to overtighten. My shock mounts were rotating in the recessed area, warping the plastic.
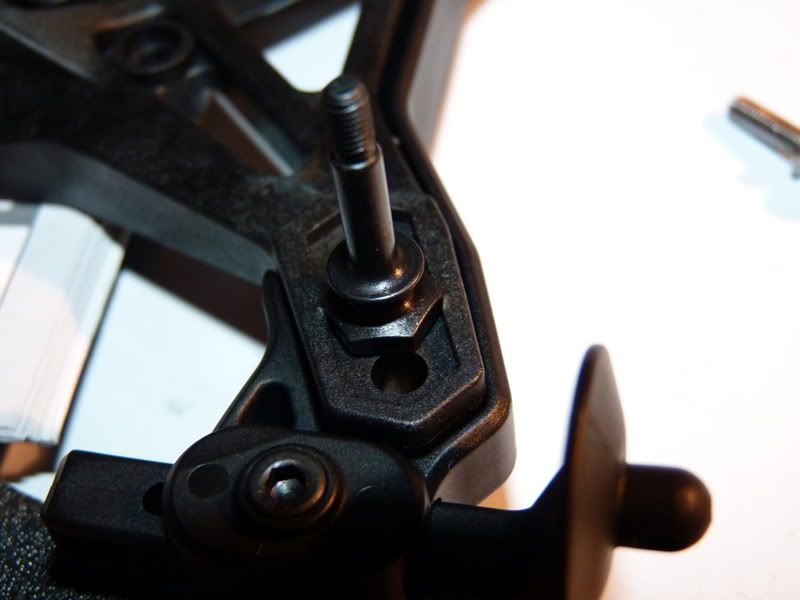
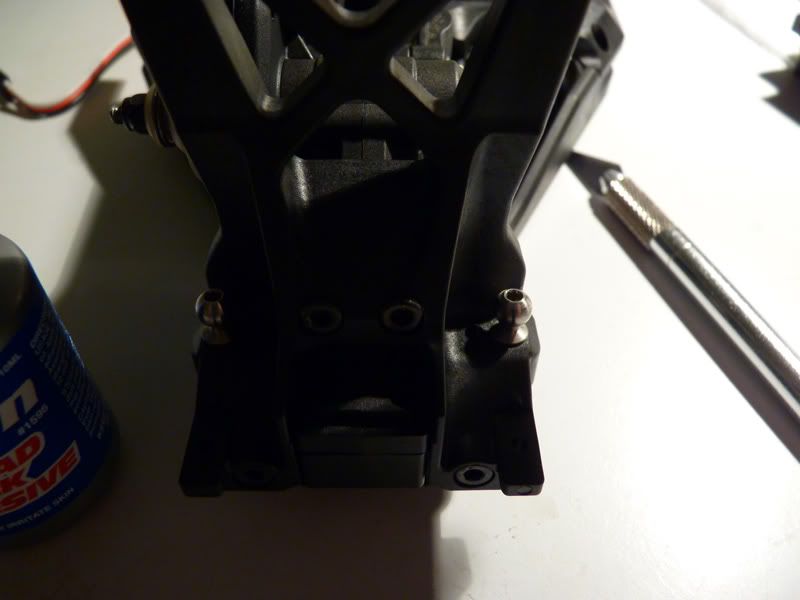
The other thing to note is (as found by RC Tech members), is that the manual is incorrect in where they tell you to mount the ball studs for the camber links. The manual says they should be on the inner holes, when in fact they should be on the outside ones as seen here:
The rear shock tower is pretty straight forward.


 May 28th, 2011
  Kevin
Kevin  Posted in
  Tags:
Tags:
[…] will be starting the build in the next week or two and it will be posted in the same format as the SC10 4×4 […]