When deciding which four wheel drive short course truck I wanted, I did a lot of research. I asked some of the guys at the track what they were running. I paid attention to which ones broke, which ones performed well, and which ones were constantly being worked on.
I didn’t take the decision to go with the Losi lightly. I knew of both the positives and negatives around this kit. The big negative I had heard about had to do with the differential pins. Apparently the stock differential pins in the initial production Losi Ten SCTE’s are made of a softer metal. People were wearing out the pins, and as the pins would wear the diff gears would not mesh properly. This was causing premature wear and failure.
Losi has since corrected the issue, and the new batch of trucks coming from the factory have new diff pins. If you happen to have one of the original trucks, you can either contact Losi directly, or find an alternative manufacturer online.
I will outline the main steps needed to complete the swap. It really wasn’t that difficult, just remember which screw came out of each hole and you will do fine.
Center Differential
For the purpose of this write up, we’ll assume the motor is still installed in the truck. Loosen the adjustment screw a few turns, just far enough to slide the motor and motor plate out of the mount as one piece. Then remove the four screws holding the center diff to the chassis.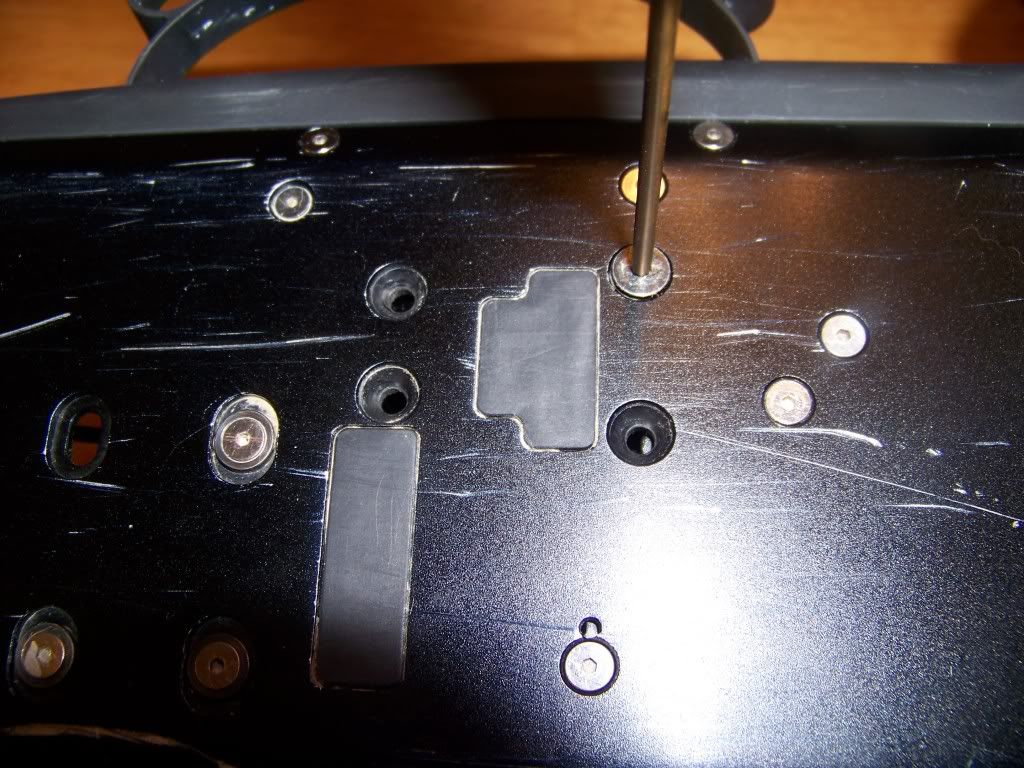
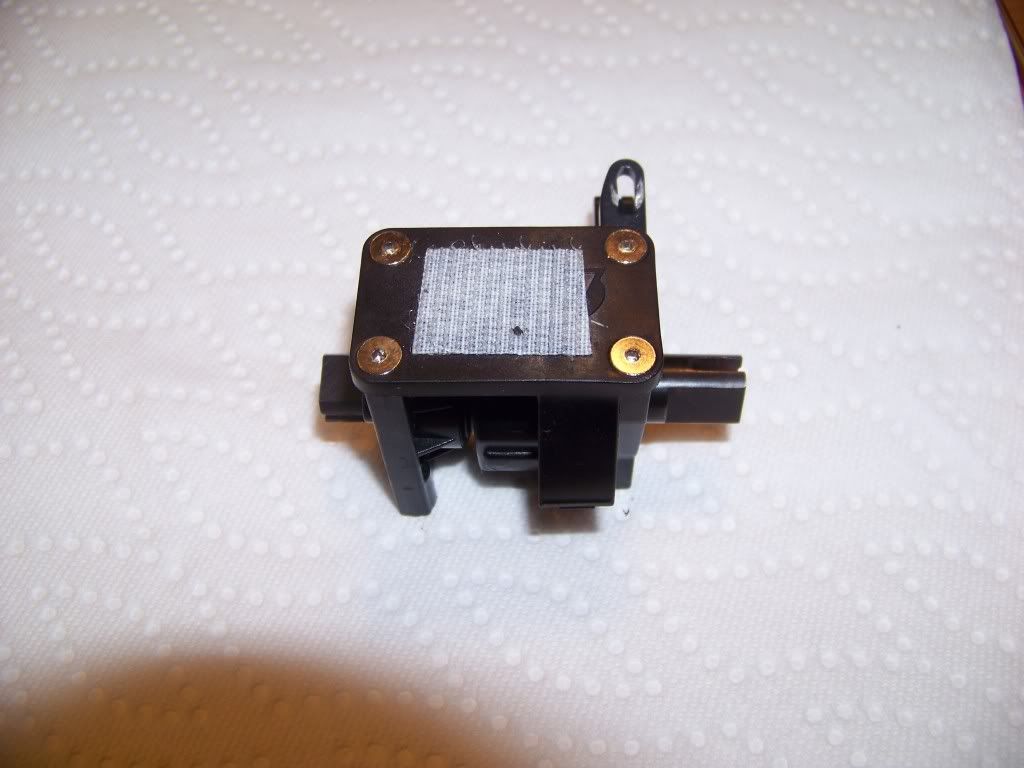
Remove the top plate. You will then be able to slide off the two sides.
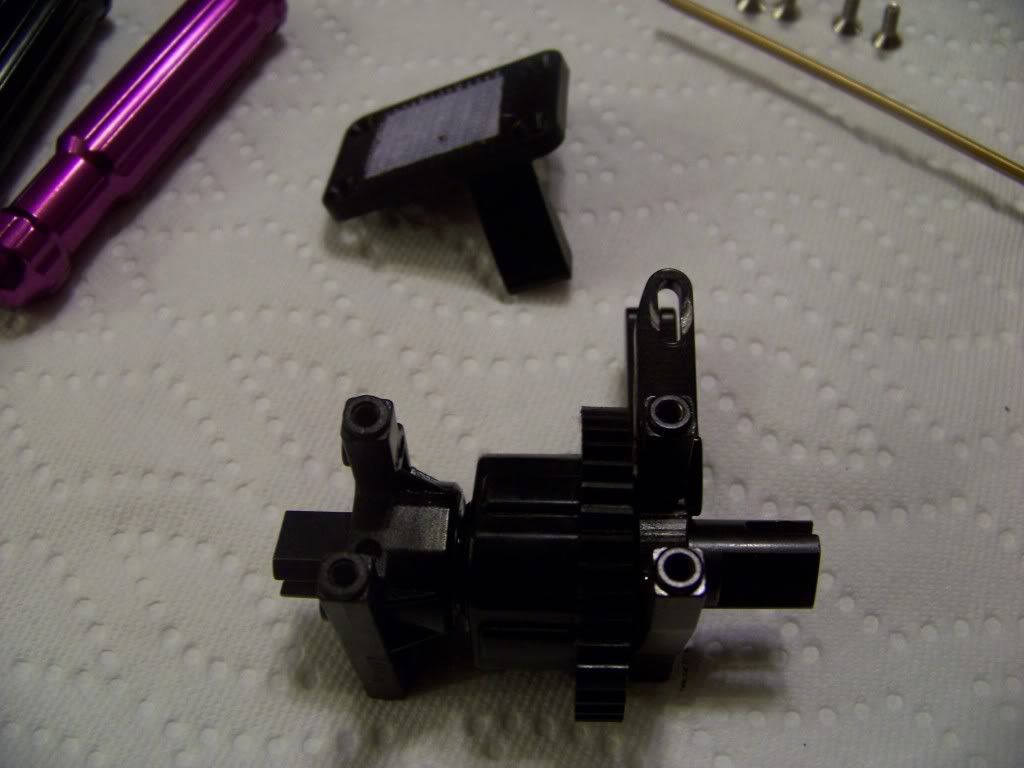
Next remove the screws holding the diff together. Inside, you will see the differential gears, with the two interlocking pins.
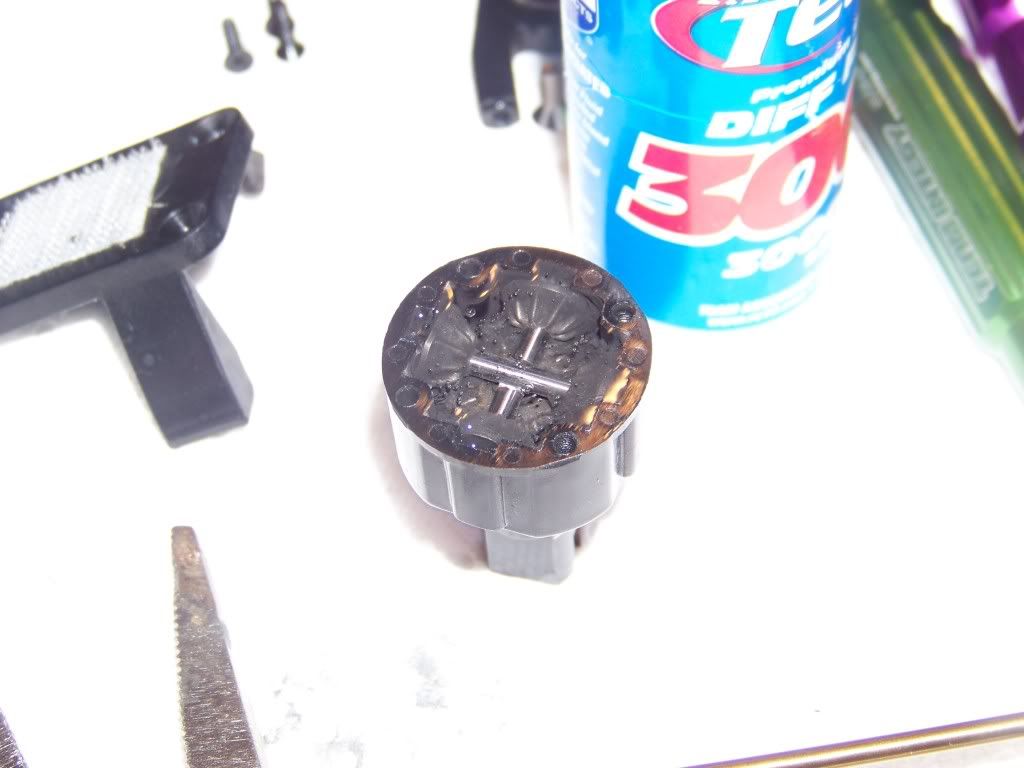
Next remove the differential gears from inside the housing. Pay attention to the square blocks on the end of the pins. There are small shims that you will need to put back in the right locations. Remove the differential gears from the stock pins. Using an electric motor cleaner, clean out all of the grease from the stock housing, as well as around the stock gears. Reinstall the diff gears in the reverse order, using the new differential pins. Then fill the housing either with grease or with silicone differential fluid. Differential fluid is available in various weights, and can be used to tune the truck for various track conditions. When the housing is full, reconnect both halves of the differential. Slide on the two front and back mounts over the outdrives. Reattach the top plate. When reinstalling the center diff on the chassis, you have to slide both the front and rear output shafts into the outdrives before seating the diff on the chassis.
Rear Differential
There aren’t any real tricks to getting the rear diff out of the housing. First remove the 4 screws on the bottom of the chassis that hold the transmission to the chassis.
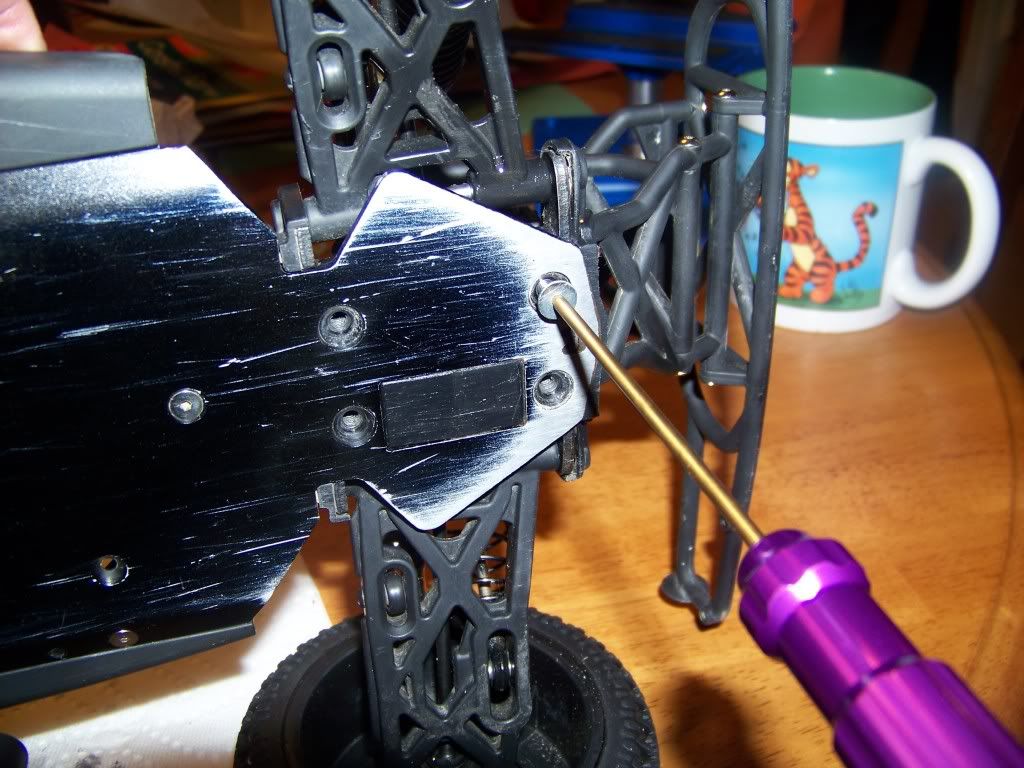
Then remove the one screw on the forward brace on the chassis, and the entire rear clip will separate from the truck.
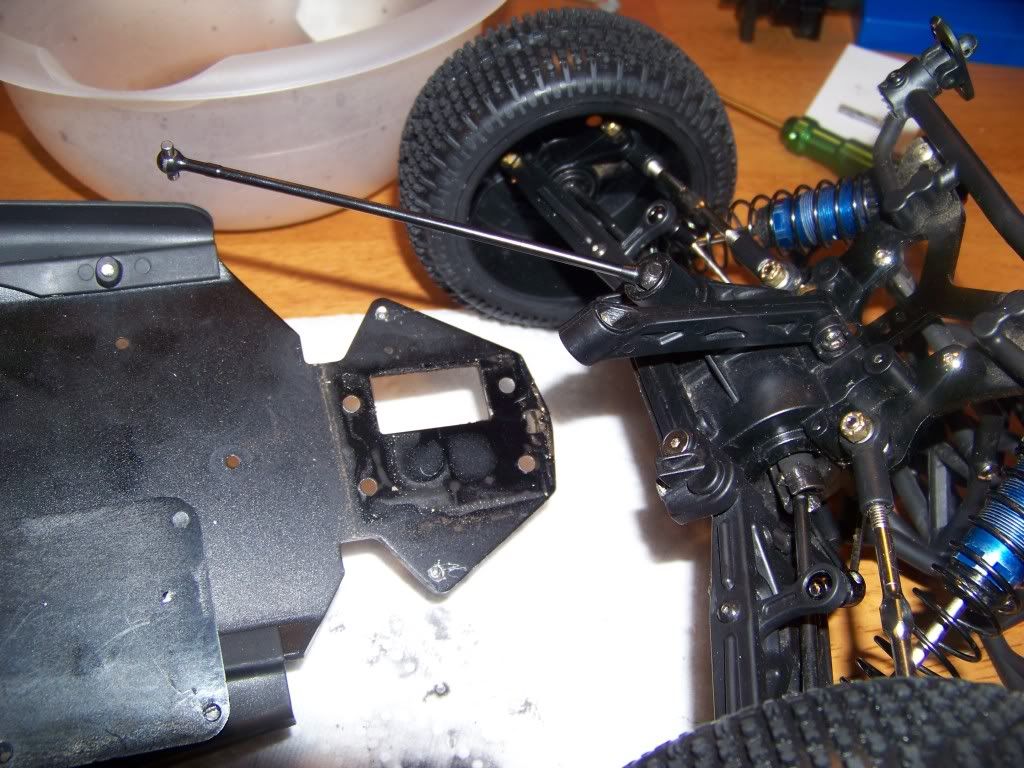
Once the rear clip is separate from the chassis, you will see the cross brace on the front of the transmission. Remove the two screws, and remove the brace. With this brace removed, you can remove the rear A arm hinge pins. There are two more screws through the housing from the back. Once they are removed, you can separate the housing.
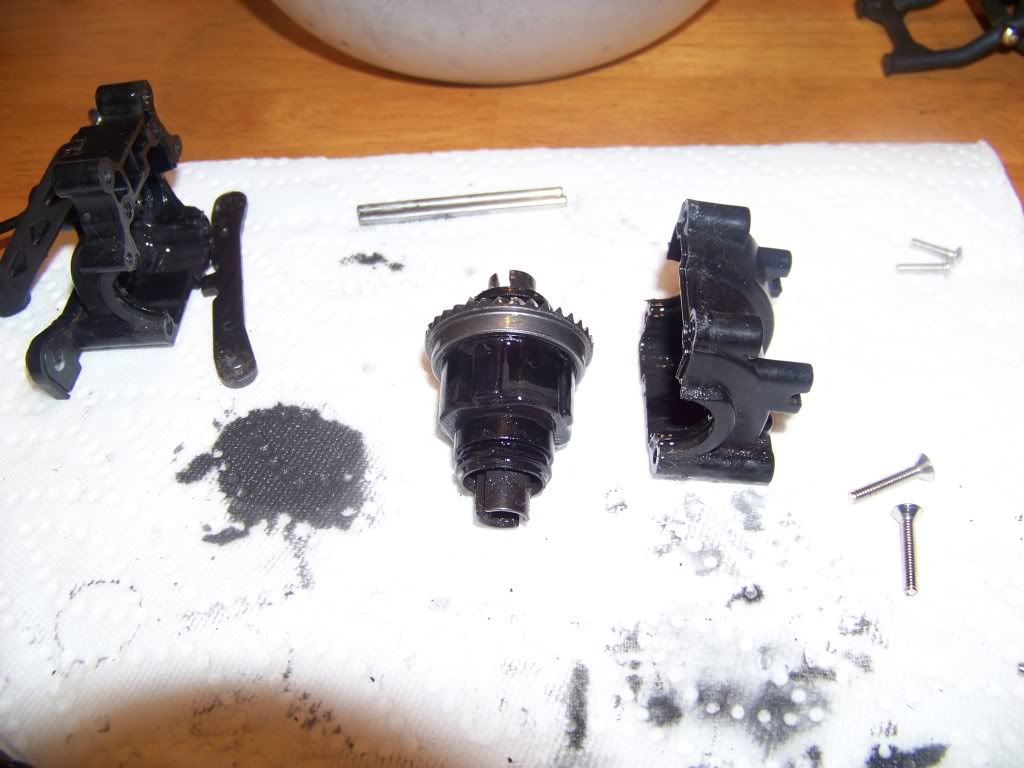
Remove the screws holding the differential together, and separate the halves. This process is identical to the center diff, in that you have to be careful with shims. Any shims that come out must go back in the same way. Replace the stock pins with the new pins, and fill the housing with grease or silicone differential oil. Attach the two differential sides, and reassemble the rear housing in the reverse order you disassembled it.
Front Differential
The front differential is almost identical to the rear. There are a few extra screws that need to be removed, such as the two screw through the upper chassis.

The upper chassis secures the steering linkage, so don’t remove the upper chassis completely. By removing the two front screws, as well as the 4 screws through the bottom of the chassis, the front clip can be removed from the truck in much the same way the rear was done. Follow the same procedure as the other two diffs, where you separate the halves, replace the pins, clean it out, and refill. Pay close attention to the shims, once again.
Overall its not a difficult task. It is quite messy though, so make sure you lay out some newspapers or paper towels. My test drive after the pins were replaced was quite successful. No leaks, no binding, everything turns very smoothly.


 May 16th, 2011
  Matt
Matt  Posted in